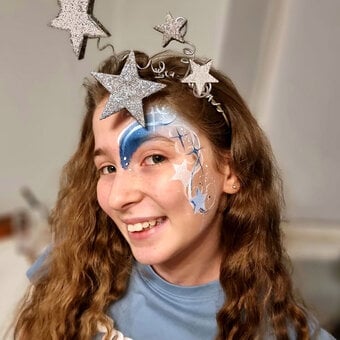
How to Face Paint a Witch
If you're looking to transform your little one into a wickedly wonderful witch for Halloween, this face painting project is ideal for you! Quick and easy to do, you'll be able to create this look with just a few Snazaroo face painting supplies.
Complete the look with a classic witches' hat to get your little witch ready for a magical evening of casting spells!
Project and instructions by Sam Green
You will need
Subtotal
Is $ 4.49
Subtotal
Is $ 7.49
Subtotal
Is $ 7.49
Subtotal
Is $ 7.49

Subtotal
Is $ 7.49
You Will Need
* Makeup Sponges
* Paintbrushes
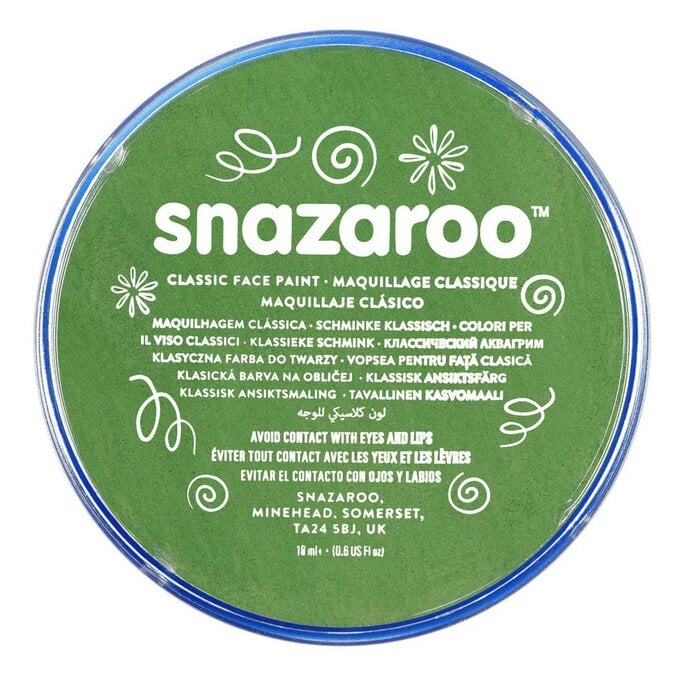
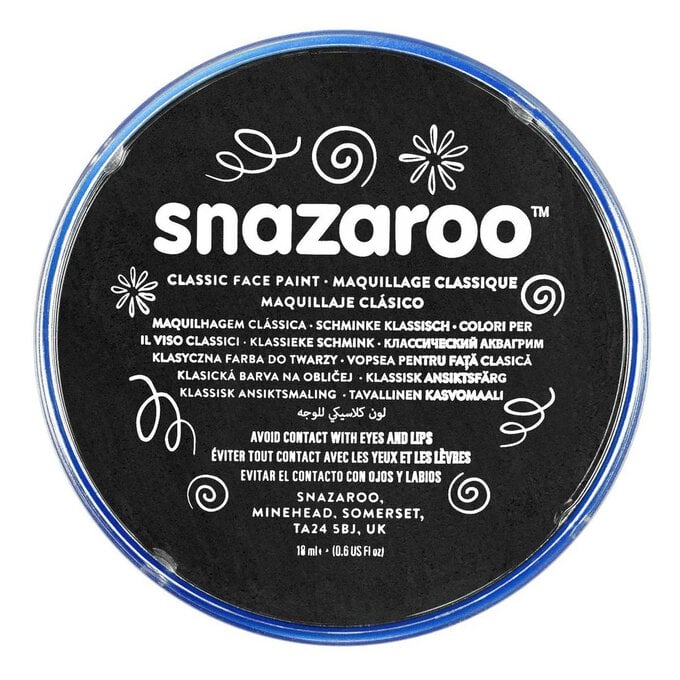
* Face Paint - Green, Purple, Red, Black, Blue
How to make
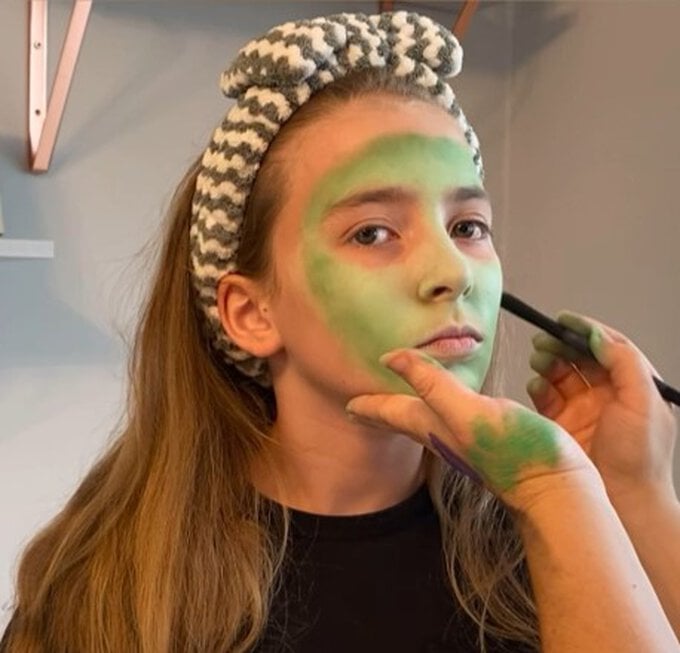
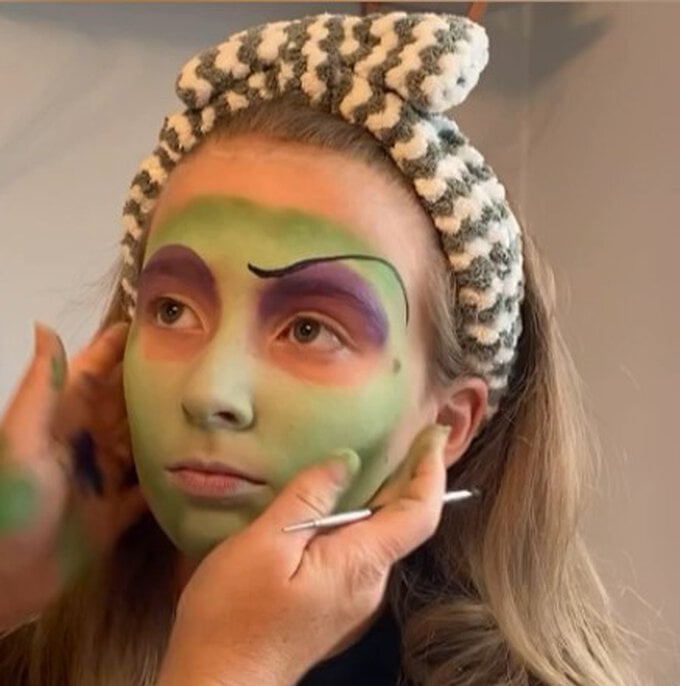
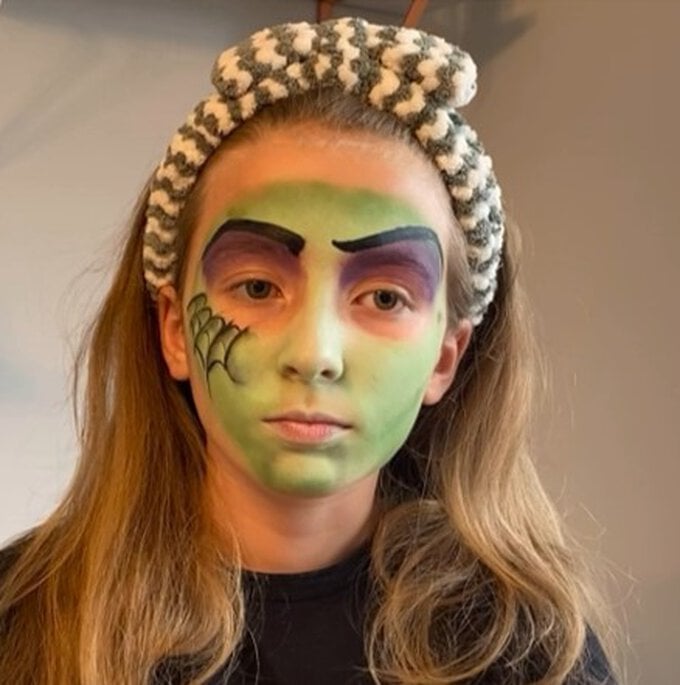
Start off by applying the Snazaroo green face paint all over the face. Apply with a sponge and avoid the eye area.
Top tip: Use a damp sponge and not a wet sponge.
Then, shade the outer area in darker green with a brush.
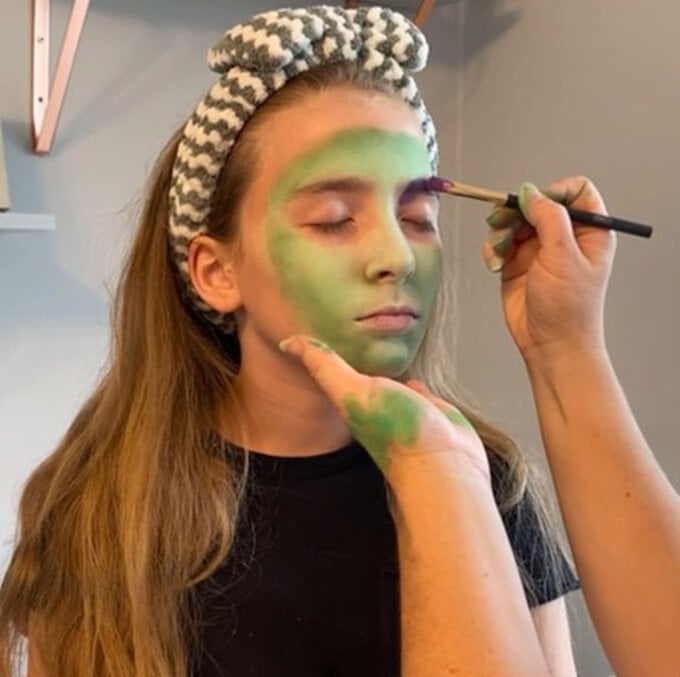
Using Snazaroo Purple Facepaint, colour in the eyebrows. Then, colour in an 'arch' shape above the eye area.
Top tip: Don't forget that you can always mix colours on the back of your hand to create the exact colour you want. Here I used red and blue to get the shade of purple.
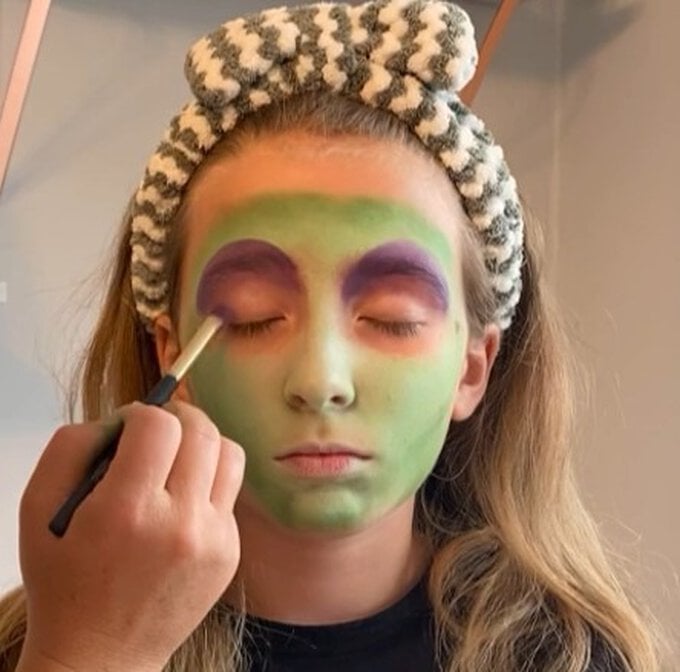
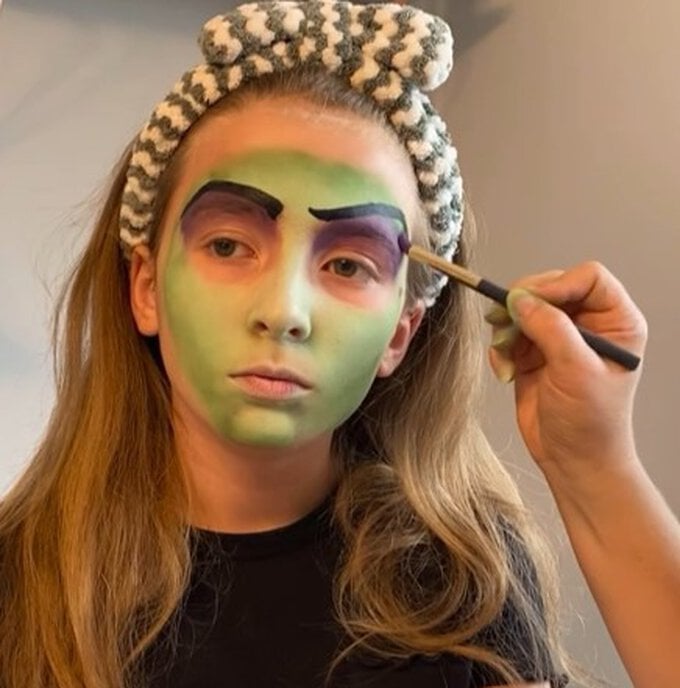
Start to position the witch's eyebrows in black. Start off with a thin line and then thicken the line when you're happy with it.
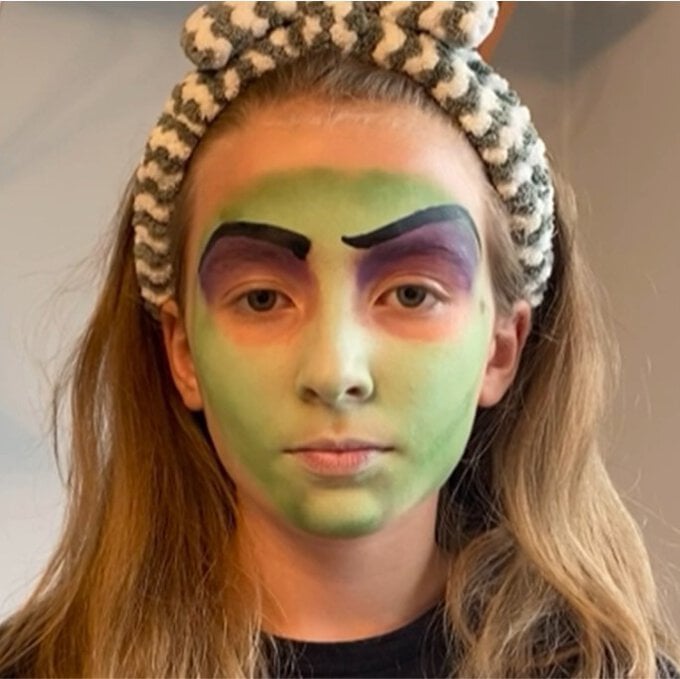
Once you have the nice, thick, expressive eyebrows in place, create more shading in the purple area with a brush.
Now that you're happy with your shading, you're ready to add the finer details.
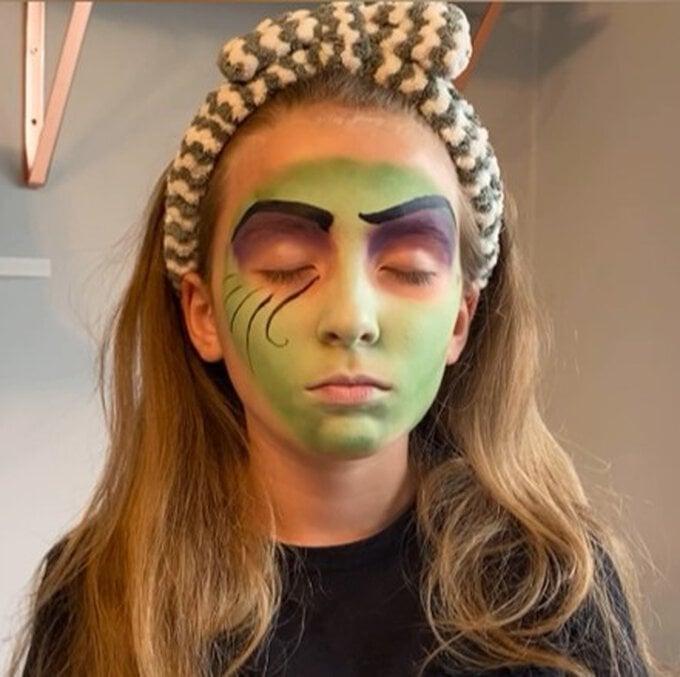
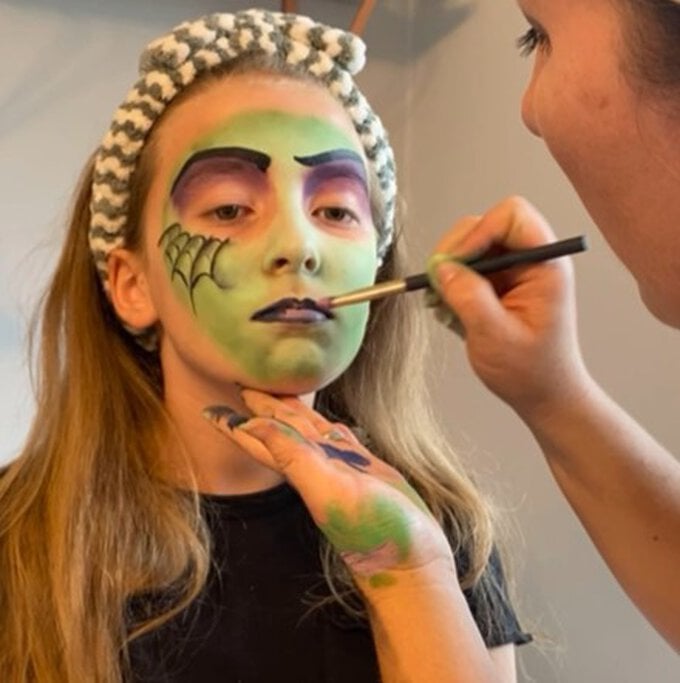
Draw some black lines with a fine brush and curl the ends of the line. Then you just need to connect the lines with a curved shape to create the cobweb.
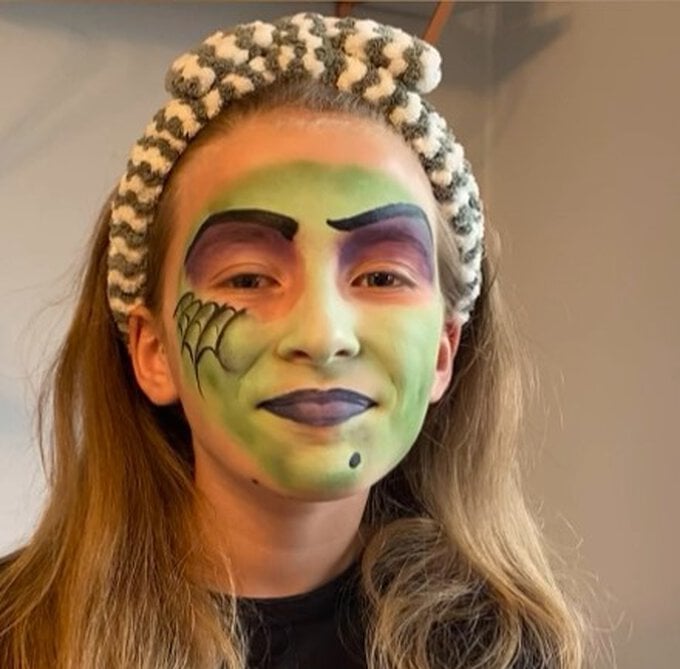
Outline the lips with a dark lip liner. Finish the lips with a gloss and you're good to go! Get ready for the witching hour!
Craft with us at our workshops


Related Products