Skip to Content (Press Enter) Skip to Footer (Press Enter)

How to Make Christmas Cone Trees

Level
Beginner
Time
1 hour
Budget
<10

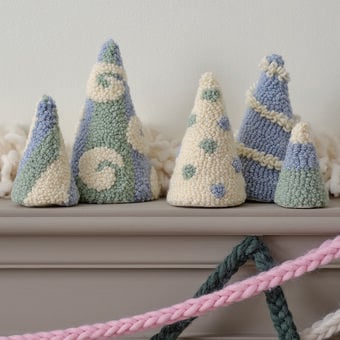
Perhaps you're looking to create something a little bit more simplistic for Christmas this year that will still add lots of style to your home? Well, this Christmas tree cone make will be right up your street! Colours such as the combination of gold and duck egg blue are very trendy amongst home decor. The two colours add a touch of style and sophistication to any room.

Project and instructions by Becki Clark

You will need

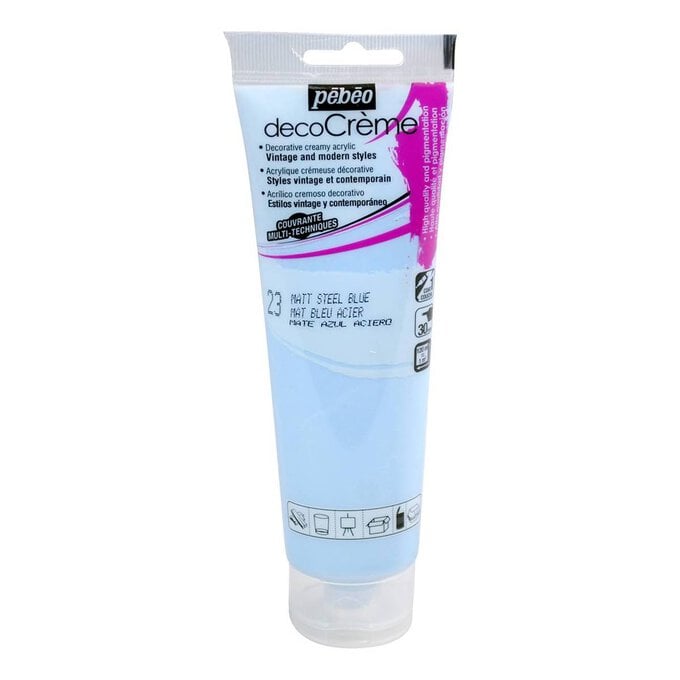
Is $ 9.49

Quantity: 1

Subtotal

Is $ 9.49

Is $ 1.49

Quantity: 1

Subtotal

Is $ 1.49

Is $ 1.49

Quantity: 1

Subtotal

Is $ 1.49

You’ve viewed 2 of 3 products

Total:

You Will Need
* Mache cones

* Coloured crepe paper

* Glue Gun

* Pva

* Pompoms

* Wool

* Scissors

* Rope

* Lollipop sticks


How to make

Step 1
Cover your mache cone with a sheet of crepe paper so you have a green base, you can do this my applying a light layer of pva glue and gently wrapping the sheet around.
Step 2
Cut folded lengths of crepe paper into streamers, leaving around an inch at the top of the length.
idea%5Fchristmas%2Dcone%2Dtrees%5Fstep2.png?sw=680&q=85
Step 3
Begin attaching to the bottom of the cone with a hot glue gun, securing the inch border in place and leaving the streamers hanging down freely.
idea%5Fchristmas%2Dcone%2Dtrees%5Fstep3.png?sw=680&q=85
Step 4
Continue up the mache cone until your cone is covered in streamers.
idea%5Fchristmas%2Dcone%2Dtrees%5Fstep4.png?sw=680&q=85
Step 5
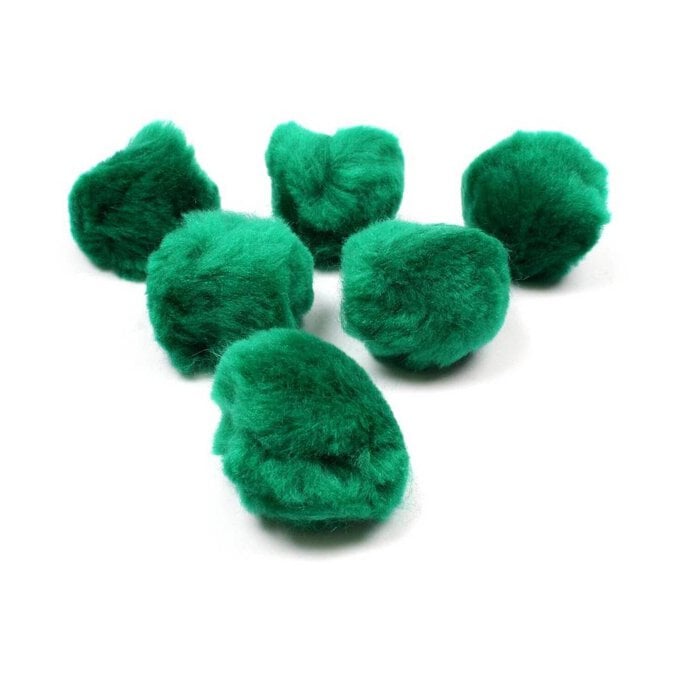
For the next tree, take your pom poms and begin glueing them tightly together around the base of the mache cone.
idea%5Fchristmas%2Dcone%2Dtrees%5Fstep5.png?sw=680&q=85
Step 6

Work upwards making sure there are no gaps or mache showing through the pom poms.


Add a pom pom to the top of the mache cone to create a point.

Step 7

Cut 2cm off the top of the mache cone, Pull out lengths of wool and thread up the middle of the tree through the hole so you can pull down and begin wrapping around your mache cone.


Wrap in different directions to create a textured look and so your wool will stay in place.

idea%5Fchristmas%2Dcone%2Dtrees%5Fstep7.png?sw=680&q=85
Step 8
Once covered, work back up to the top of the mache cone, cut your wool and push the end back through the top of the cone using a needle or the end of a fork.
Step 9
For the rope cone, repeat the process of cutting the top of the mache cone off and pulling the rope through, for this design you are going to work so that you are wrapping neatly to create a different effect to the wool.
idea%5Fchristmas%2Dcone%2Dtrees%5Fstep9.png?sw=680&q=85
Step 10
Apply a layer of glue down the mache cone as you pull your rope around so you can secure the rope in place.
idea%5Fchristmas%2Dcone%2Dtrees%5Fstep10.png?sw=680&q=85
Step 11

For the lollipop cone you will need to cut your lollipop sticks so you can begin hot glue gunning them around the base of your tree.


Create another layer this time overlapping the bottom layer with your sticks.

Step 12
You may need to cut extra shapes or jigsaw the sticks in to cover your base.
idea%5Fchristmas%2Dcone%2Dtrees%5Fstep13.png?sw=680&q=85
Step 13
Your superb cone trees are complete and ready to take pride of place in your home!
idea%5Fchristmas%2Dcone%2Dtrees%5Fstep14.png?sw=680&q=85
Rated 5 out of 5 by from Great idea I have bought a cone and am going to make a Christmas Tree for my house and if it turns out okay then I will be making more. The cone is of excellent quality and will be brilliant to work with.
Date published: 2023-06-12
  • y_2024, m_10, d_31, h_6
  • bvseo_bulk, prod_bvrr, vn_bulk_3.0.42
  • cp_1, bvpage1
  • co_hasreviews, tv_0, tr_1
  • loc_en_GB, sid_how-to-make-a-christmas-tree-cone, prod, sort_[SortEntry(order=RELEVANCE, direction=DESCENDING)]
  • clientName_hobbycraft
  • bvseo_sdk, dw_cartridge, 18.2.0, p_sdk_3.2.0
  • CLOUD, getReviews, 4ms
  • reviews, product

Related Products

Top