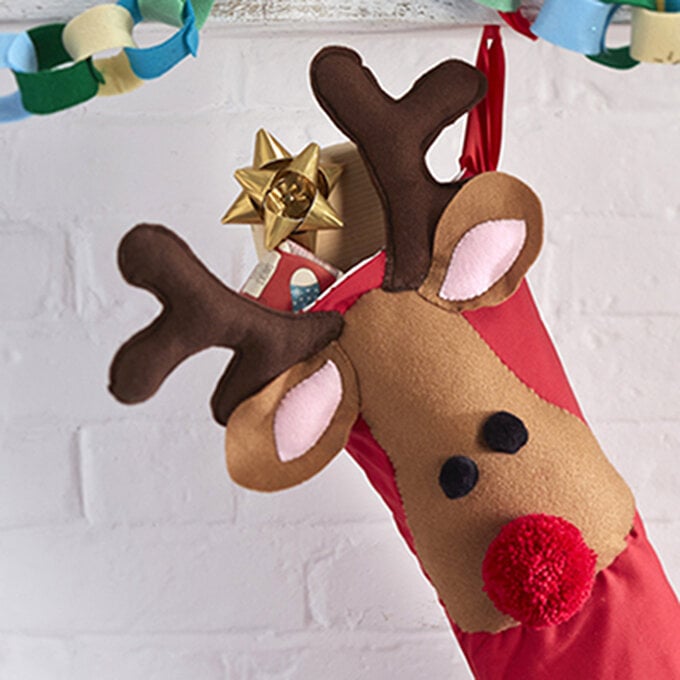
How to Make a Crazy Quilted Stocking
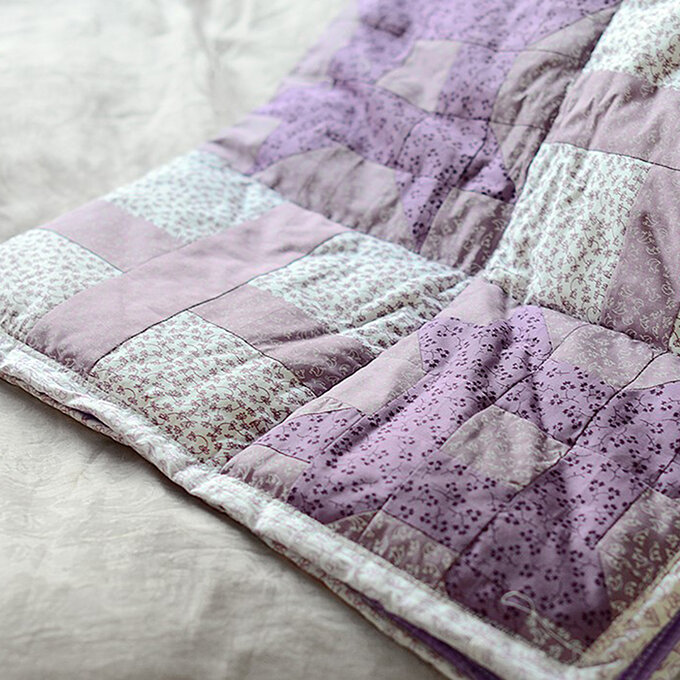
Love quilting? Have a go at this fun 'crazy quilted' style stocking for Christmas this year! Crazy quilting involves sewing randomly cut/sized pieces of fabric together, as opposed to matching the shape and size of all your pieces of fabric.
You will need
Subtotal
Is $ 123.00
Subtotal
Is $ 28.00

Subtotal
Is $ 4.49 , was $ 7.49
Subtotal
Is $ 7.49
Subtotal
Is $ 20.00
Subtotal
Is $ 2.49
Out of stock
Subtotal
Is $ 4.49
Subtotal
Is $ 4.49
How to make
You will also need : An iron
Take your template and cut out 4 pieces of the plain fabric and two piece of the wadding, about 2cm larger than your template all the way around.

Take two pieces of the cotton and sandwich a piece of the wadding in between them.

Take a fat quarter and cut a piece long enough to go across your stocking shape. Cut it with straight edges, but don't worry about it being of equal width, the more random, the better it will turn out.

Keeping all your layers lined up, stitch this piece in place down both sides. Iron it well.

Measure and cut another piece of fabric.
Place this piece face down across the edge you wish it to be joined to, then sew in place.

Turn your new piece back and iron it well. (There is no need to sew the other side as this will be done in the next step.)

Now we are just going to repeat the process, so go ahead and cut another strip. Place it face down along the edge you wish to join it to, sew, turn back and press in place.

Continue in this manner, adding one piece at a time until the toe of your stocking is covered. Don't worry about trimming bits off at this stage, it is better to do it later on.

Work in the same way up the leg of the stocking, until you end up with something like this.

Now place your original template on the stocking and cut it out.

Time to make the other half – do it in exactly the same way, but remember you need to reverse the stocking so you do not get two sides with toes facing the same way.

Place your two stocking pieces face to face, then sew down one side, just a little way, to join.


Cut a piece of fabric the length of the top of your stocking pieces, and twice the depth of the cuff that you wish to add.

Cut a piece of wadding to sandwich inside.

Fold the cuff in half with the wadding inside, then place it, pointing down, raw edges at the top to match the stocking top.

Sew it in place. Turn upwards, press then add a row of top stitching to both top and bottom.

To make the strap cut a strip of fabric the length you require by 8cm width.

Fold it in half lengthways and sew down the open side only.

Turn it the right way in, press it with the seam facing down in the centre, tuck the ends in and press them too, then top stitch all the way around.

Pin to the centre top of the stocking cuff and sew in place following the top stitch row from before.

Fold your stocking face to face again and pin in place. Sew all the way around. If you wish, you can also zig-zag the edges for extra strength. Turn the right way in and give it a good iron.

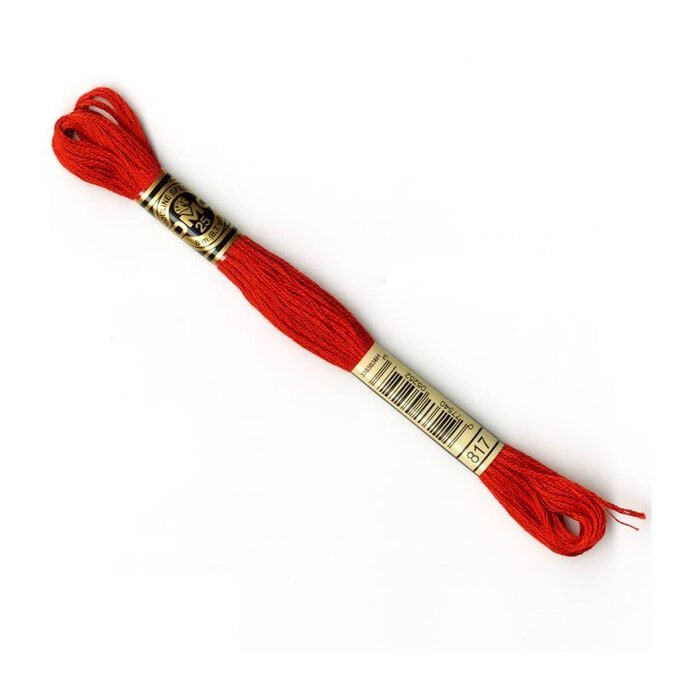
To add an embroidered name, use a friction pen (heat sensitive) to write the chosen name on, then embroider it in place using embroidery thread, with a back stitch. Gently iron the pen off when you are done.

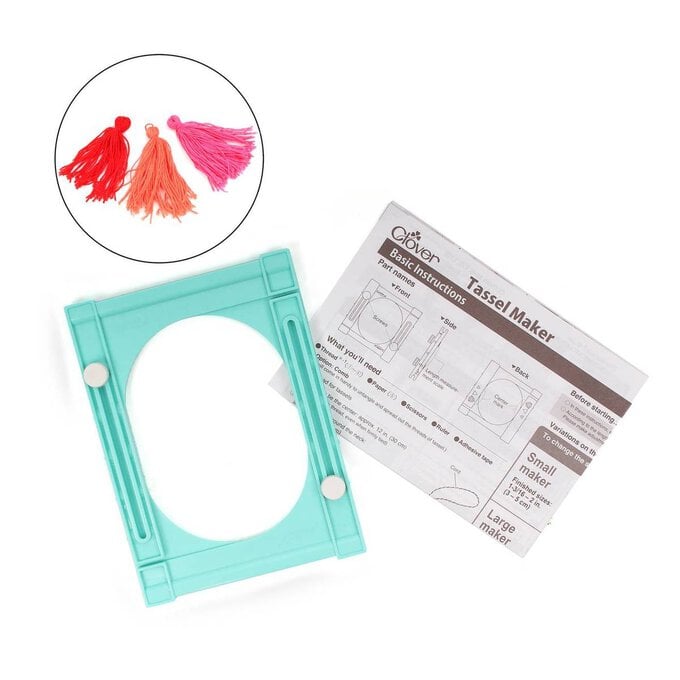
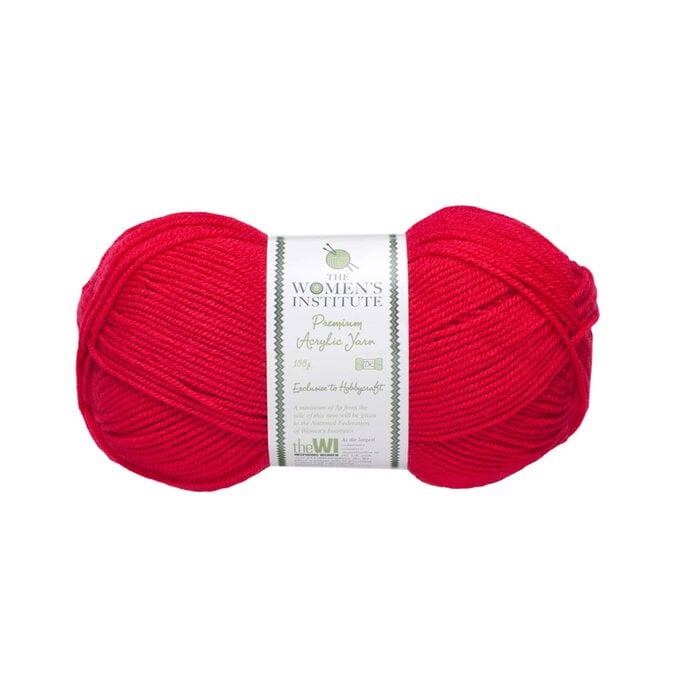
Using the Clover tassel maker and following the instructions enclosed, make two tassels from your chosen yarns. Make sure they hang at different lengths, then attach them to your stocking.

Related Products