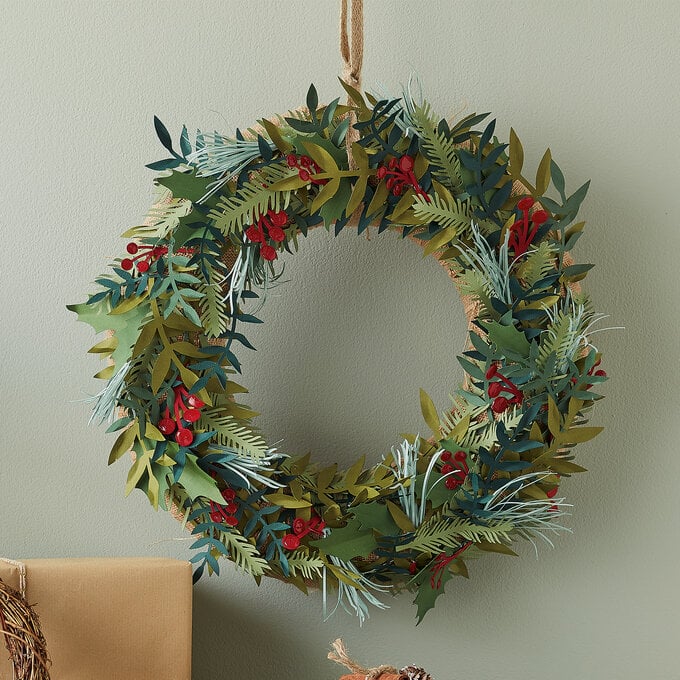
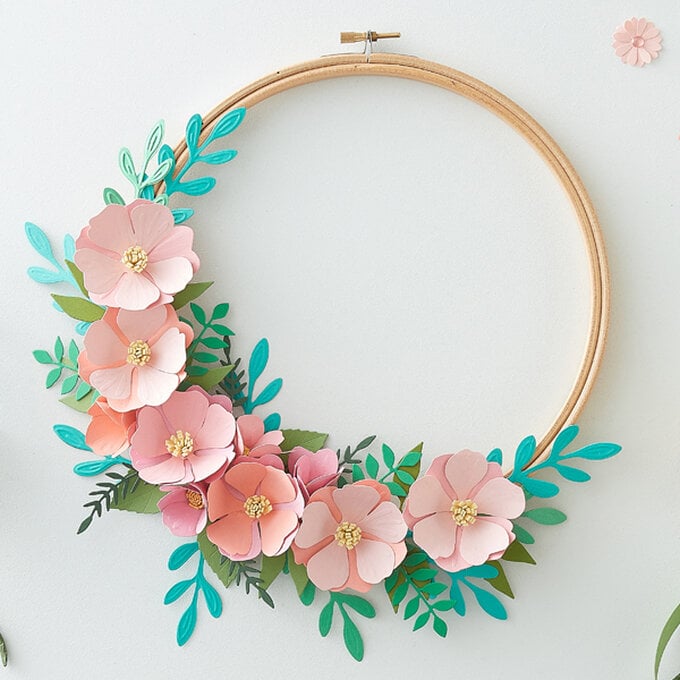
How to Make a Die Cut Spring Wreath
You will need

Subtotal
Is $ 3.49
Subtotal
Is $ 11.00
Subtotal
Is $ 121.00

Subtotal
Is $ 8.49
Choose coloured cardstock for your flowers and leaves.
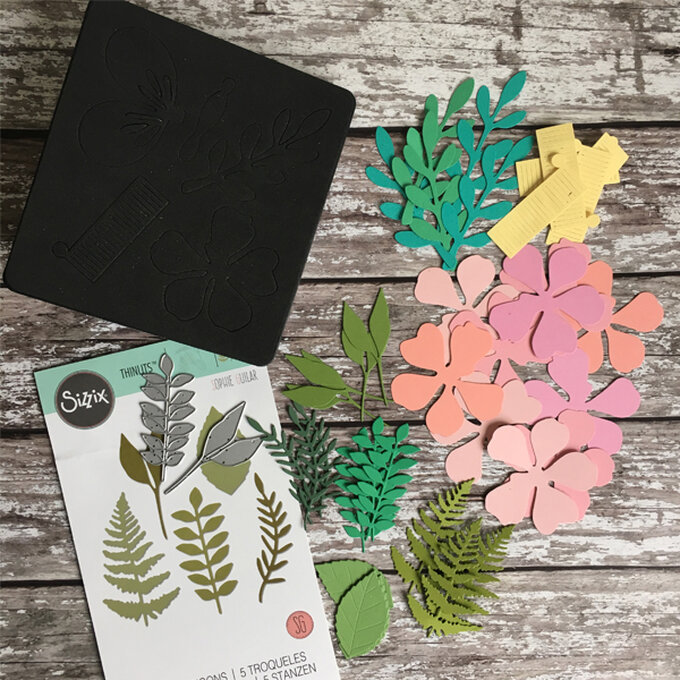
Die cut flowers and large leaves with the Sizzix Bigz Die. You'll need four die-cut flowers in four slightly different shades (16 in total), ten stamens in yellow and about ten leaves in two shade of green.
Die cut additional smaller leaves using the Sizzix Thinlets Leaf Dies – Meadow Leaves in a variety of greens.
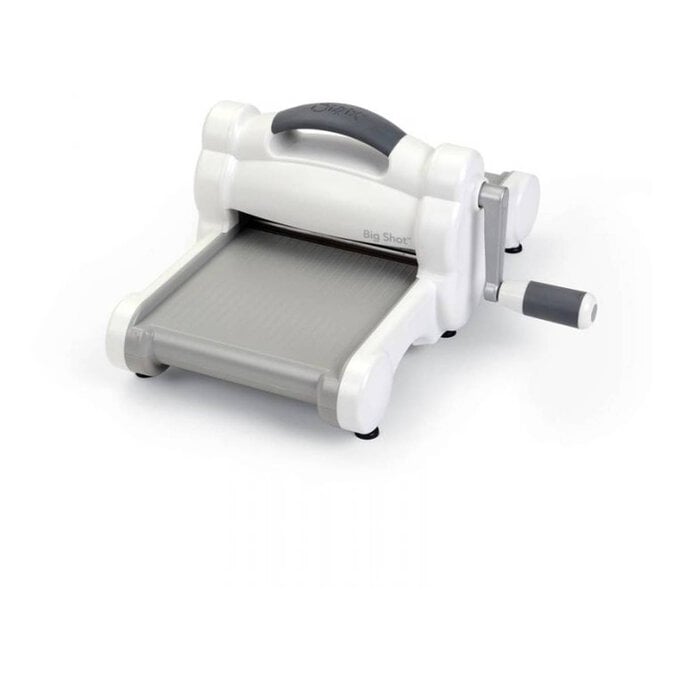
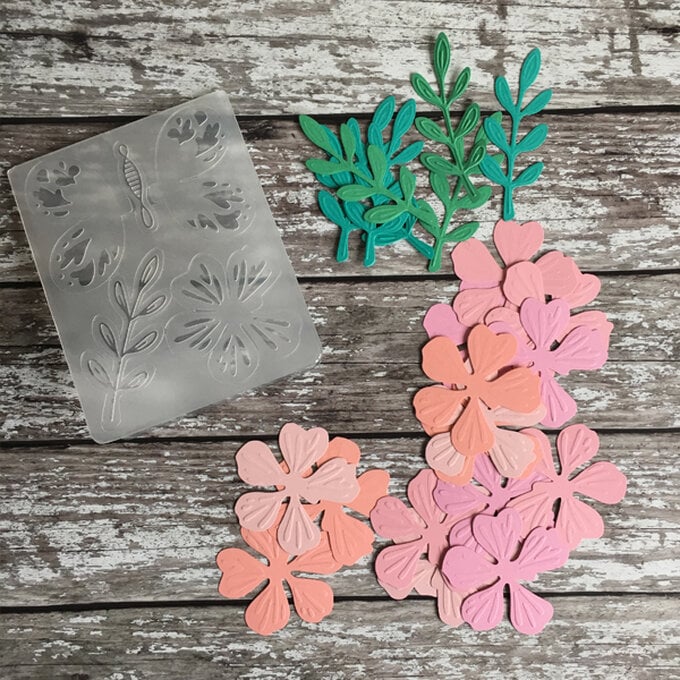
Emboss the flowers and the larger leaves with the embossing folder that comes with the Bigz Die set. To do this you simply place your die cut flowers and leaves in position inside the embossing folder and run it through the die cutting machine. A light pressure on the plates is all you need to create a nice impression.
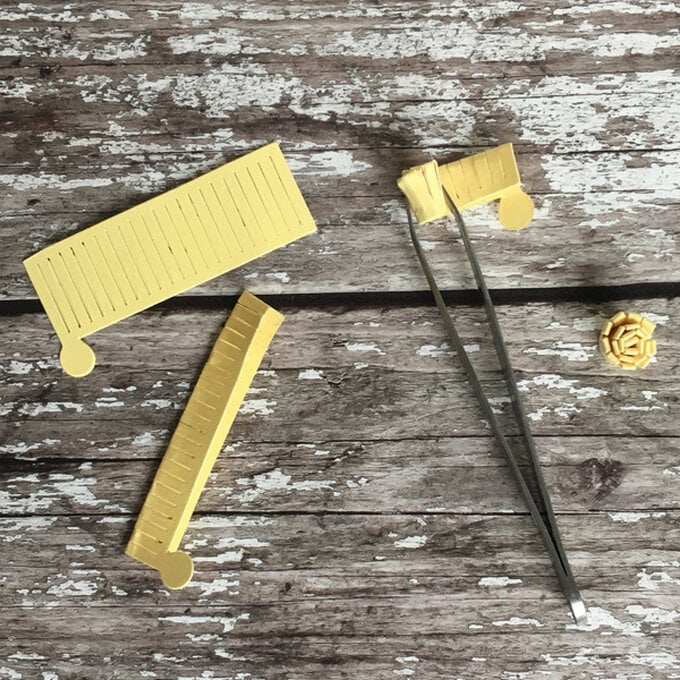
Fold the flowers stamens in half and roll from one end towards the other end with the circle on attached. Use a hot glue gun to glue the circle flat other the rolled up bottom to securely hold it in place. Tweezers are helpful to achieving a tight roll. Spread out the stamens with the tweezers or your fingers.
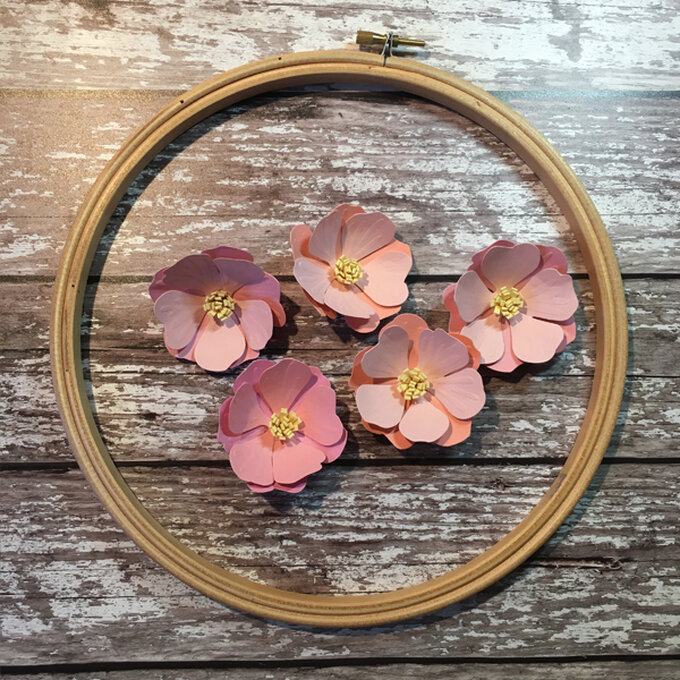
Make flowers 3D by gluing the tab on the side of one of the petals to the adjacent petal. Make 12 single flowers this way. Now layer one flower on top of another to make each open flowers double layered. Glue a stamen into the centre of each of the six double flowers.
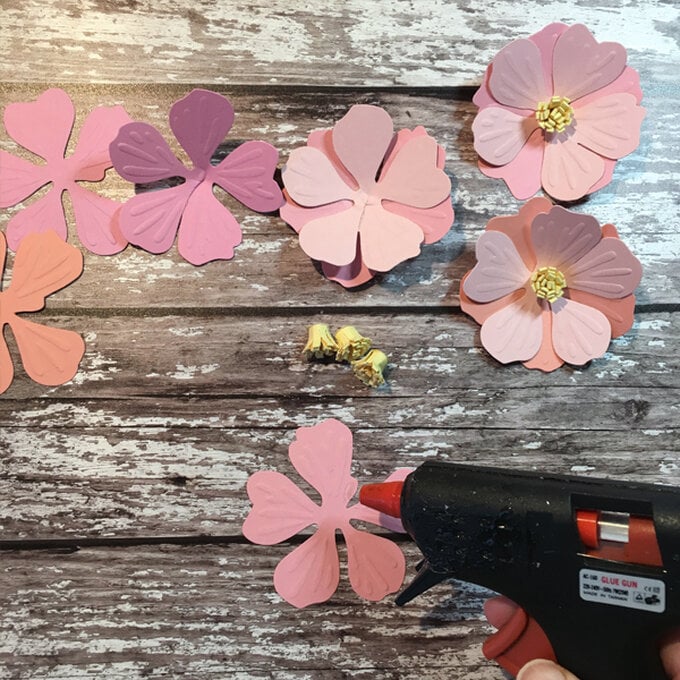
Curl the petals inwards with your fingers to make them look more realistic.
Make four flower buds with the remaining four flat (unglued) die-cut flowers. Do this by gluing a stamen into the centre, fold each petal up in turn and glue it into position before folding up the next adjacent petal. Repeat for each petal and each flower.
Make four flower buds with the remaining four flat (unglued) die-cut flowers. Do this by gluing a stamen into the centre, fold each petal up in turn and glue it into position before folding up the next adjacent petal. Repeat for each petal and each flower.
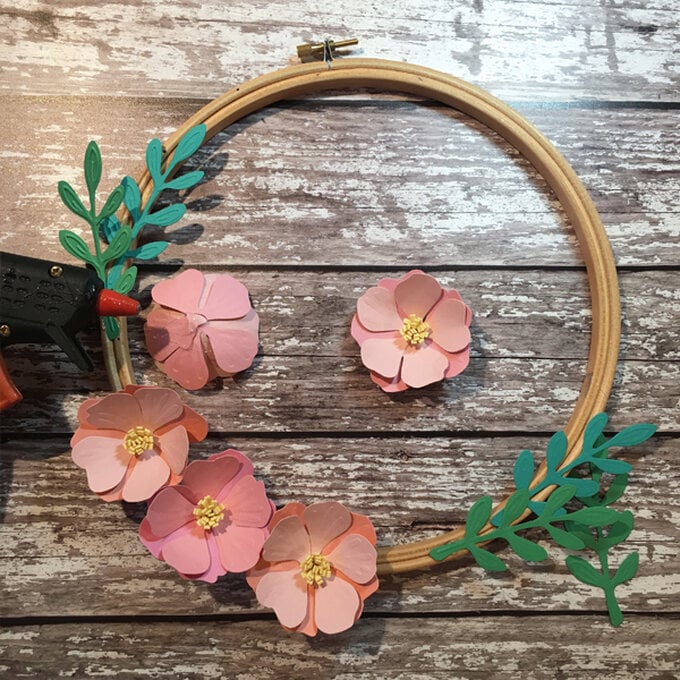
Add the buds (use plenty of hot glue to securely hold them in position) and infill gaps with the additional die cut leaves, use as many or as few as you like.

Related Products