Skip to Content (Press Enter) Skip to Footer (Press Enter)

How to Make a Doorstop

Level
Beginner
Time
1 hour
Budget
10 - 30

What better way to add a pop of colour to any room than a bright, patterned doorstop? Not only is it practical, but it can be made to complement any colour scheme.

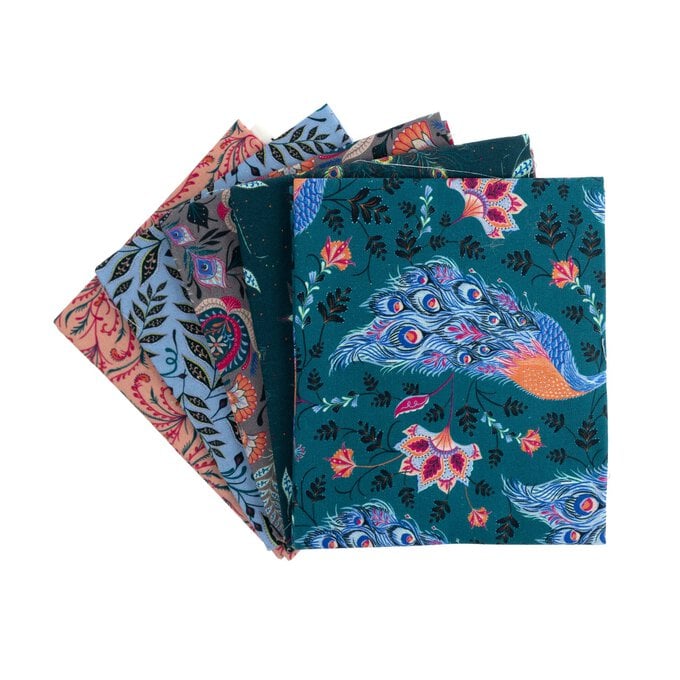
Follow the easy tutorial below to create this home accessory using beautiful Joules fat quarters. Get creative and play around with contrasting fabrics that match your décor!

Project and instructions by Steph Parker

Discover more sewing projects here >

You will need

Is $ 128.00

Quantity: 1

Subtotal

Is $ 128.00

Is $ 4.49

Quantity: 1

Subtotal

Is $ 4.49

Is $ 24.00

Quantity: 1

Subtotal

Is $ 24.00

Is $ 7.49

Quantity: 1

Subtotal

Is $ 7.49

Is $ 16.00

Quantity: 1

Subtotal

Is $ 16.00

Is $ 14.00

3 for £21 on selected fat quarters packs
Quantity: 1

Subtotal

Is $ 14.00

Out of stock

Is $ 14.00

3 for £21 on selected fat quarters packs
Quantity: 1

Subtotal

Is $ 14.00

Out of stock

You’ve viewed 2 of 7 products

You’ve viewed 4 of 7 products

Total:

You will also need:

* Rice

* An iron

Step 1

Cut your main fabric for the doorstop to 16 Inches x 10 Inches (40cm x 25cm).


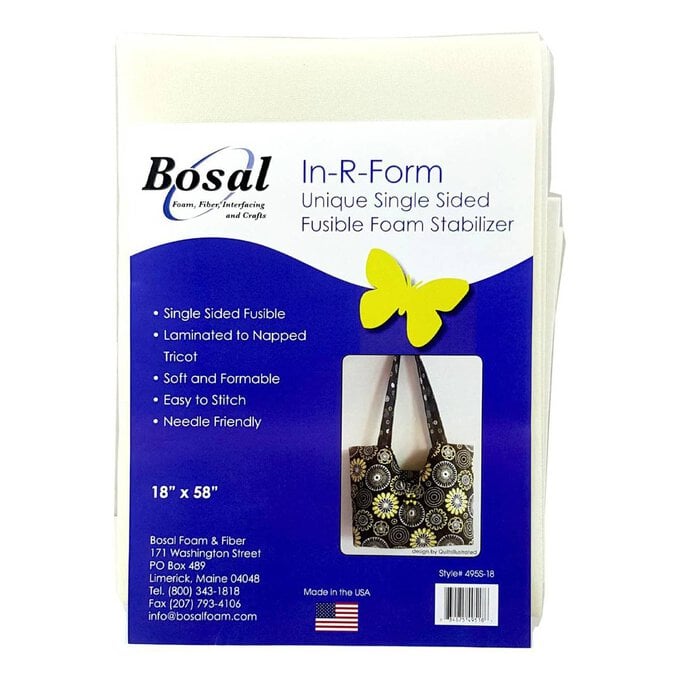
You will also need to cut a piece of stabiliser to the same size. This will add strength and support the shape of your doorstop. We’ve used Bosal In-R-Form Single sided fusible foam Stabiliser.

joules-door-stop-1.jpg?sw=680&q=85
Step 2
The stabiliser is fusible on one side, the meshed side. Place the wrong side of your fabric onto the mesh side of your stabiliser, using an iron fuse the two pieces together.
joules-door-stop-2.jpg?sw=680&q=85
Step 3

Fold your piece in half (short sides) with the right sides of the fabric together and pin.


Tip: Use quilters clips if you find the stabiliser bulky.

joules-door-stop-3.jpg?sw=680&q=85
Step 4
Sew together down the side using a 1cm seam allowance.
Step 5

Manoeuvre your fabric so the seam sits in the middle, there should be roughly 9.5cm either side of the seam.


Press the seam open as shown.

Step 6
Sew along the bottom using a 1cm seam allowance.
joules-door-stop-6.jpg?sw=680&q=85
Step 7
Pinch out the corner of the fabric and sew across the corner 1.5 inches from the tip. It can help to draw a line using a fabric pencil or pen as a guide to sew along.
Step 8
Repeat step 7 on the other corner and cut the excess off. Make sure you don’t cut too close! 1cm from the stitch line is about right.
Step 9

Turn the whole piece right side out.


Fold the top edge inside by half an inch (0.5") and pin or clip to hold in place.

joules-door-stop-9.jpg?sw=680&q=85
Step 10
Fill with rice, leaving enough space at the top so that the top edges fit together.
joules-door-stop-10.jpg?sw=680&q=85
Step 11
To make the handle, cut a piece of contrasting fabric 8 inches x 6 inches.
joules-door-stop-11.jpg?sw=680&q=85
Step 12

Fold in half lengthways to create a crease in the middle and open up again.


Fold both sides to meet the crease line and then fold together again. Pin along the edge and topstitch along both edges.

Step 13

Fold the handle piece in half and place in middle of the top edge of your doorstop. Sandwiching it between the two edges.


Matching both sides together, pin or clip all along the entire way across the top.

joules-door-stop-13.jpg?sw=680&q=85
Step 14

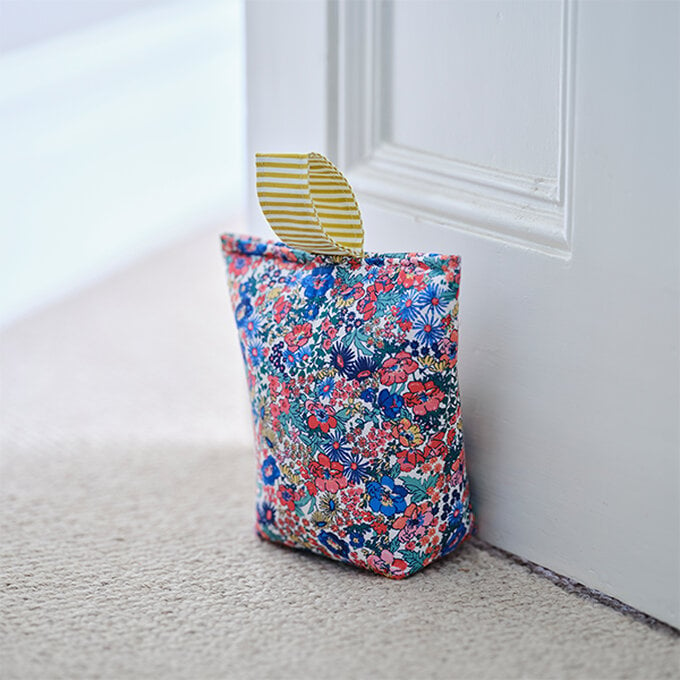
Lastly, sew across the top. Take your time doing this as the bag will be heavy and full!


Tip: Manually stitch by turning your handwheel on your sewing machine towards you, rather than using your foot pedal. This will create one stitch at a time and allow you to slowly manoeuvre your doorstop through your machine as you’ll also be sewing through multiple layers.

joules-door-stop-14.jpg?sw=680&q=85
Step 15
Your doorstop is now complete and ready to use around your home!
joules-door-stop-15.jpg?sw=680&q=85
Rated 5 out of 5 by from Great little sew i had nothing to make, i found this pattern and tutorial and its so easy ! just make sure you have plenty of rice
Date published: 2023-01-29
Rated 5 out of 5 by from Simple design, will be using again A shop bought doorstop of mine wore thin and fell apart. I did consider buying a replacement but found this instead and thought I’d give it a go using the old filling rather than rice. Made the loop long enough to move with our feet 😃 Such a simple project and I’m really pleased with the result, I will definitely make this again.
Date published: 2023-09-17
Rated 5 out of 5 by from Such a fun project! I made these two doorstops. The first one was for my daughter's house and I put mementos of my mum and granny in it along with the rice. For the second one I used an unwanted Arsenal Jersey and placed the crest at the front.
Date published: 2023-07-26
Rated 5 out of 5 by from Really simple to follow Used these easy to follow instructions and a cute Dumbo fat quarter from Hobbycraft to make a doorstop for my new sewing room (the spare room!). A fun & simple project for a beginner sewer
Date published: 2024-01-27
  • y_2024, m_10, d_30, h_8
  • bvseo_bulk, prod_bvrr, vn_bulk_3.0.42
  • cp_1, bvpage1
  • co_hasreviews, tv_0, tr_4
  • loc_en_GB, sid_how-to-make-a-doorstop, prod, sort_[SortEntry(order=RELEVANCE, direction=DESCENDING)]
  • clientName_hobbycraft
  • bvseo_sdk, dw_cartridge, 18.2.0, p_sdk_3.2.0
  • CLOUD, getReviews, 5ms
  • reviews, product

Related Products

Top