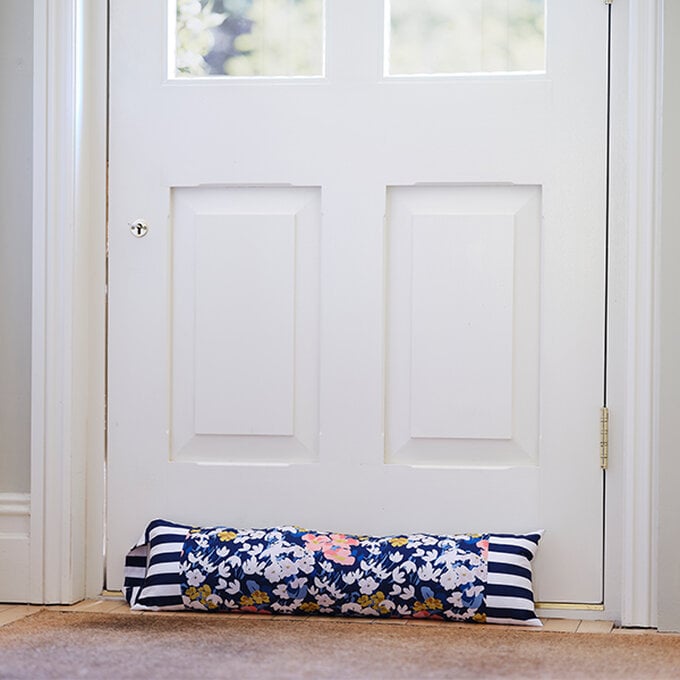
How to Make a Draught Excluder
Customise your home accessories to match your décor with our range of colourful Joules fat quarters! Follow our simple step-by-step guide to create a contrasting draught excluder.
This eye-catching and practical home accessory will look great in any room or hallway and it couldn't be easier to make! Play around with contrasting patterns to make a bold statement.
Project and instructions by Steph Parker
Discover more sewing projects here >
You will need
Subtotal
Is $ 122.00

Subtotal
Is $ 13.00
Subtotal
Is $ 9.49 , was $ 13.00
Subtotal
Is $ 5.49
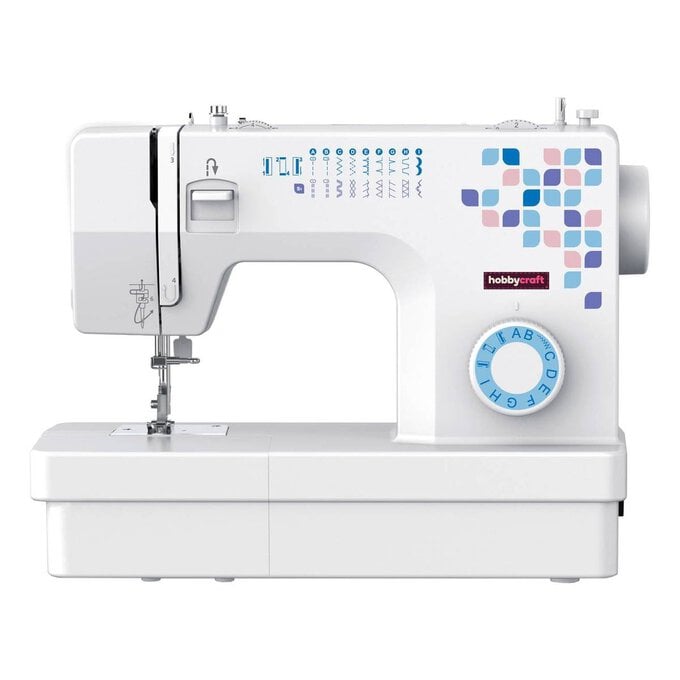
* Sewing Machine
* Fat Quarters
* Pins
* Thread
* Dressmaking Scissors
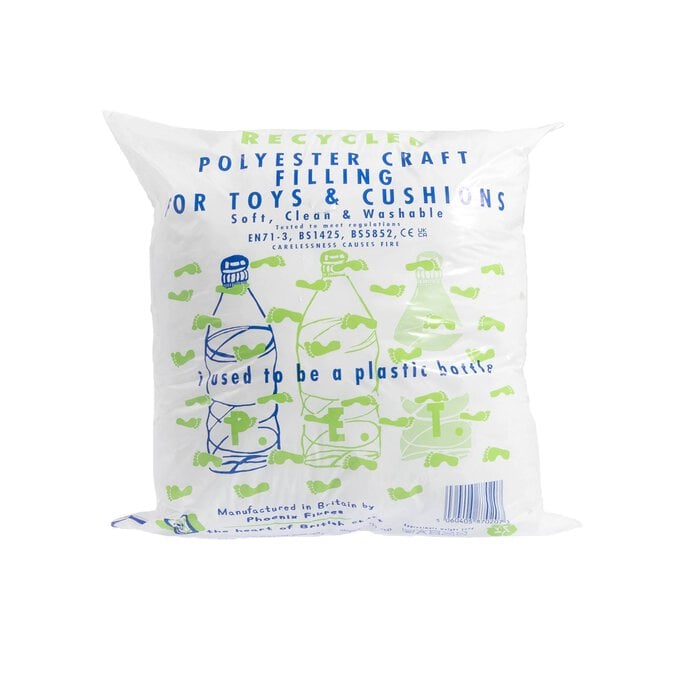
* Toy Filling
* Pinking Shears
* Needles
* Dressmakers Pencil Set
* Iron

Cut your main draught excluder piece to 18 inches x 22 inches (this is the size of one fat quarter but make sure your fat quarter is squared off).
You’ll also need to cut two end pieces in a contrasting fabric each measuring 18 inches x 4.5 inches.


Sew along this edge using a 1/4-inch seam allowance.
Tip: To help prevent fraying use pinking shears to cut along the edge of the seam.

Repeat steps 2 and 3 with the second edge piece on the opposite side.
Press seams open.


Take your main draught excluder piece and fold in half lengthways (right sides together).
At one end place your handle inside so it sits in between the layers and pin in place. Be mindful that the handle is in the correct position, make sure it's not twisted.


Pin along all three edges. Using a sewing pencil or pen mark roughly a 4 inch line, leave this unsewn as this gap will be needed to turn your draught excluder the right way out.
Sew along all three sides using a 1/4 inch seam allowance remembering not to sew along your drawn line.


Carefully pull the fabric through the gap you’ve made so that your draught excluder is the right way out.
Tip: Use something blunt like a knitting needle to push out the corners.

Fill your draught excluder using toy stuffing. Once again using the gap to do this.
Using a wooden spoon can help to push the stuffing down and into the corners. Continue to fill until full.


Related Products