How to Make a Felt Picture Board
Perfect for interactive learning and creative play, this felt picture board allows children (including grown-up children!) to create beautiful pieces of artwork from re-positionable felt pieces. This is a great way to make use of dies you already have and to create a unique and meaningful gift for a creative child!
Unlike other home décor, the completed pieces produced are only finished for as long as the artist wants- when you fancy a new design, just take down the frame and create something new! This project makes use of traditional papercrafting supplies, such as a die-cutting machine and dies and just goes to show how versatile papercrafting dies can be!
You will need

Subtotal
Is N/A
Subtotal
Is N/A
Subtotal
Is $ 1.49

Subtotal
Is $ 1.49
How to make
Adaptations: This is a wonderful project for crafters of any skill-level, using whatever supplies you already have, and will create a gift that any recipient can enjoy and treasure. There are several things you can do to tailor the gift towards your loved one –
Using alphabet dies can create an educational project for children learning to spell
Bigger, simpler shapes (which can be cut by hand) are a perfect sensory play toy for younger children
Simple shapes such as squares, circles and triangles will encourage your child to 'think outside the box frame' when creating their artwork, whereas shapes such as flowers and animals can be used as-is.
Using a bigger frame and a larger piece of backing felt, you could create a large board for children to play with together
Involve children in the creation of this board by helping them to cut their own shapes from felt (create templates from card or try freehand cutting if you're feeling brave!)
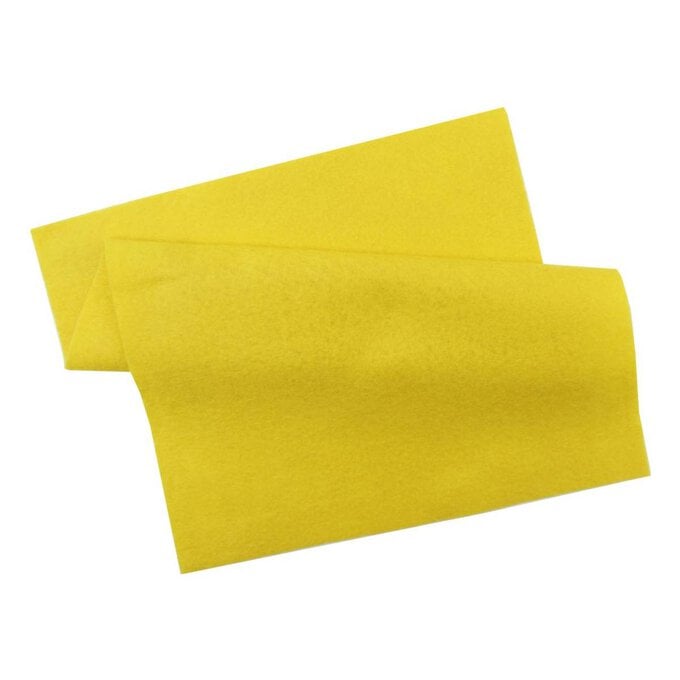
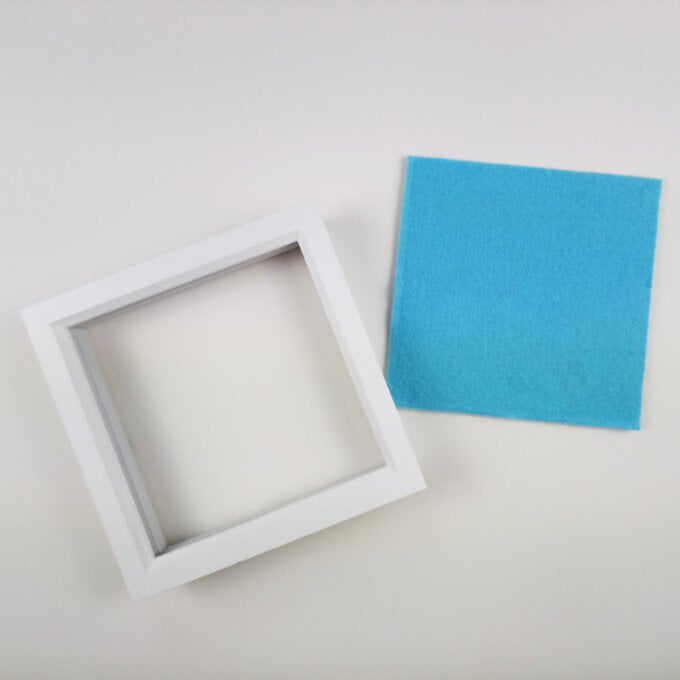
Choose your frame based on the size and style you want. Box frames work well for this project. Safely dispose of the glass that comes with the frame. Cut a piece of felt to fit the board of your box frame and adhere using double-sided tape.
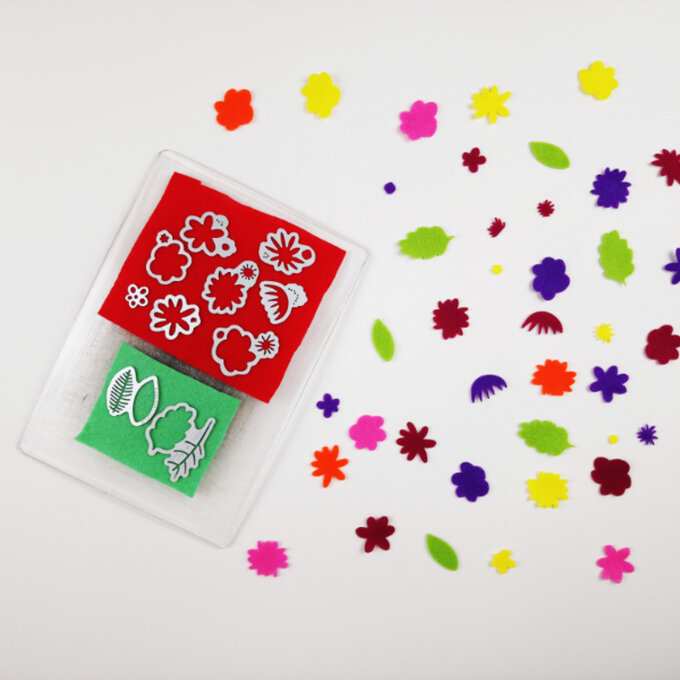
Using your favourite dies or templates you've made, cut lots of pieces from felt.
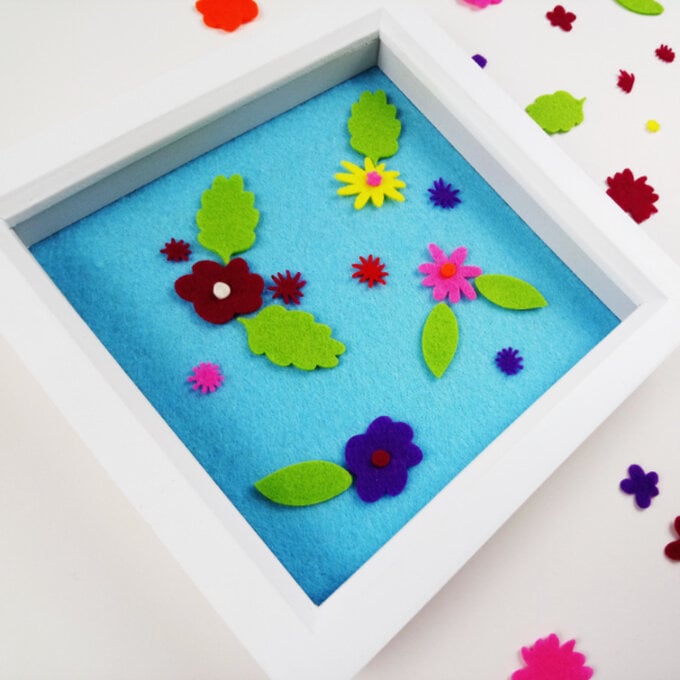
Clip your frame back together and get creating! To display your finished artwork, simply hang on a nail in the wall and enjoy until you're ready to create a new design. Make sure you have somewhere safe, such as a storage box with compartments for each colour, to store your felt pieces.
Related Products
Is $ 8.49
Is $ 8.49
Is FREE

