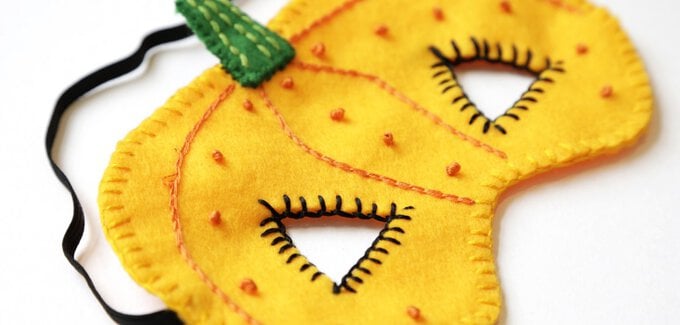
How to Make a Felt Pumpkin Mask
Level
Beginner
Time
1 hour
Budget
10 - 30
Trick or Treat? With Halloween just around the corner, we have a DIY project that’s super easy and so effective you’ll be having candy for breakfast, lunch, and dinner until Christmas!
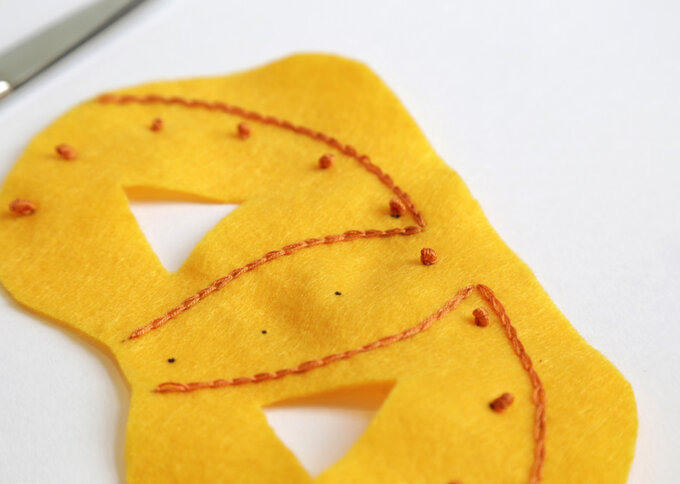
Perfect for beginners, this cute felt pumpkin mask, with embroidered detailing, will only take around an hour to create.
You will need
Quantity:
1
Subtotal
Is $ 5.49
Quantity:
1
Subtotal
Is FREE
Quantity:
1
Subtotal
Is $ 2.49
Quantity:
1
Subtotal
Is $ 2.49
Quantity:
1
Subtotal
Is $ 2.49

Quantity:
1
Subtotal
Is $ 2.49
Quantity:
1
Subtotal
Is $ 2.49
Quantity:
1
Subtotal
Is $ 4.49
Total:
£0.00
How to make
Step-1
Step-2
Step-3
Step-4
Step-5
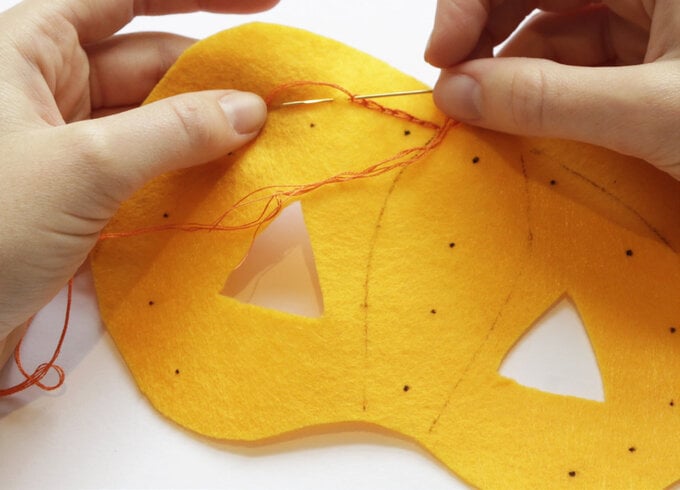
Step-6
Step-7
Step-8
Step-9
Step-10
Related Products
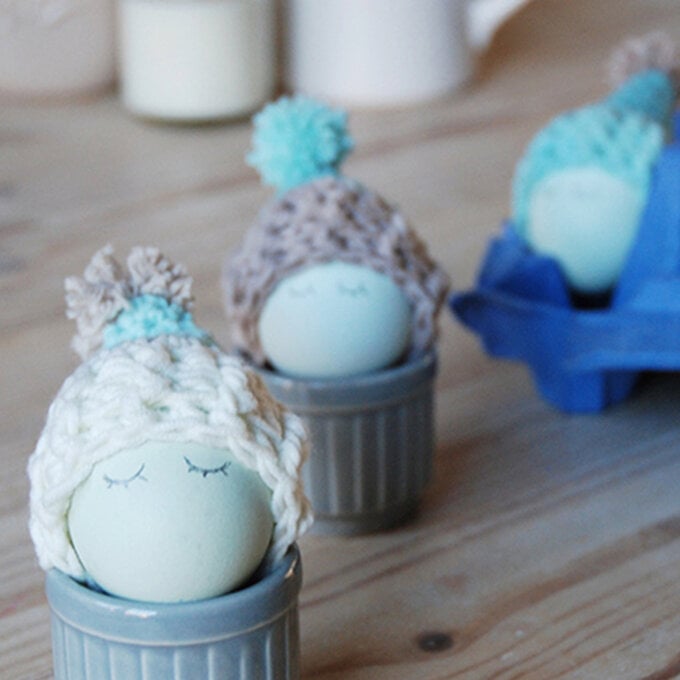
How to Crochet Egg Hat Cosies
Crochet this cute Witches hat headband for your little one this Halloween, complete with a cheeky pumpkin perched on the brim. It’s a wickedly fun way to finish off a Halloween outfit and perfect for a spot of magical Trick ...
How to Make a Halloween Eye Mask
Why not enjoy a spa day in your own home? This eye mask set using Joules fat quarters is sure to help you relax. It's a fantastic project for beginners and creates a lovely accessory that's ideal for gifting. Create ...

