How to Make a Geometric Advent Tree
You will need

Subtotal
Is N/A
Out of stock
Subtotal
Is $ 8.49
Out of stock
Subtotal
Is $ 3.49
Subtotal
Is $ 5.49
Subtotal
Is N/A

Subtotal
Is $ 2.49
Subtotal
Is $ 1.49
How to make
Paint the outside edge and back of the tree with two coats of gold craft acrylic, making sure to allow each coat to dry before applying the next.
Remove the drawers from the advent and place it face down on a sheet of A2 white cardstock, draw around the outside edge with a pencil and use a craft knife to cut it out.
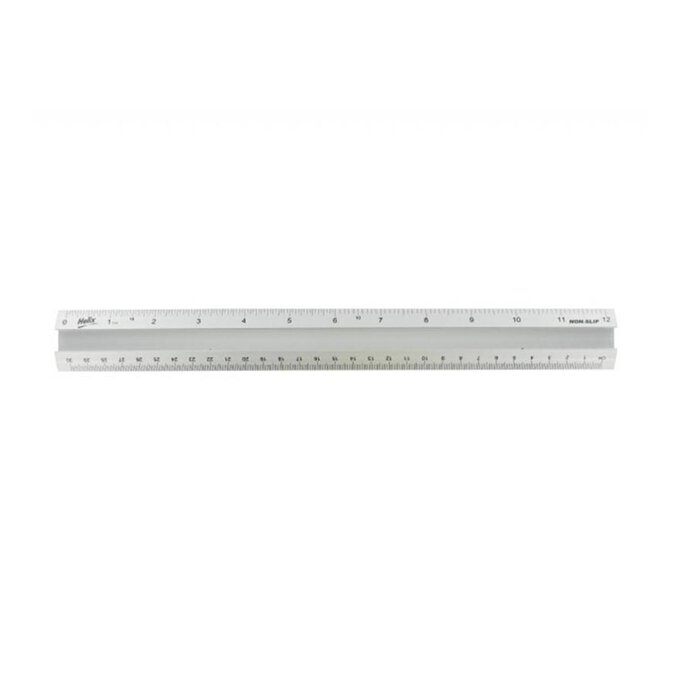
Divide the template into triangular sections – these can be any formation you like! Using a ruler, accurately measure where each of the drawers sit on the advent and replicate their position on the back of the template – accuracy is key here so take your time.
Transfer each of the triangles from the template onto your chosen patterned/plain cardstock and stick into place with a sparing amount of PVA glue. Once the template has been completely covered, leave to dry on a flat surface under a pile of heavy books to make sure everything is nice and secure.
Once dry, flip the template onto the back where you marked out the drawer compartments and cut them out using a metal ruler and craft knife for accuracy. Keep hold of these sections as you'll need them to cover the front of each drawer later on
Attach the cut template to the advent using a thin layer of tacky glue. Once happy with the position, place the tree face down on a flat surface and pop some heavy books on top – this will help to ensure that each part is secure and also prevent the paper from warping.
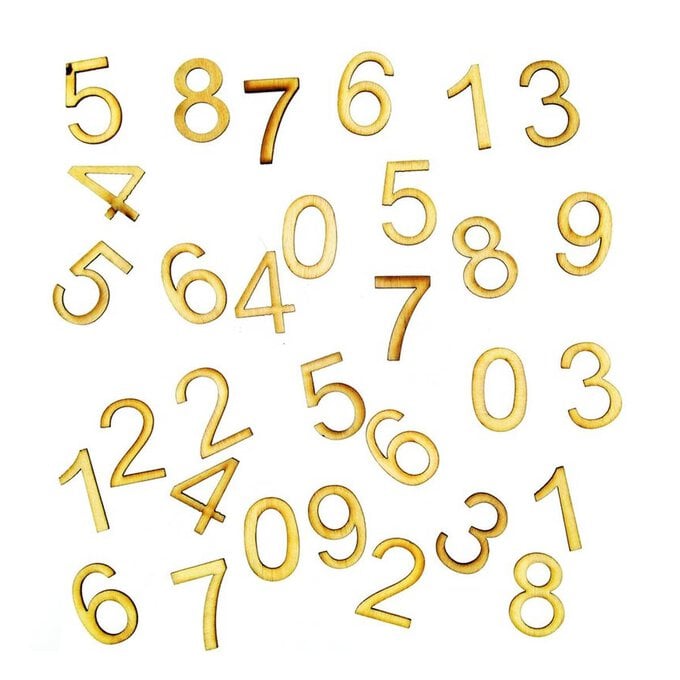
Whilst the main body of the tree is drying, paint 18 of the 24 advent numbers with acrylic paint and cover the remaining six with gold glitter (these drawers could hold an extra special surprise!).
Once the main body of the tree has dried, pop each of the drawers back into place and match each of the squares cut out in step five to the corresponding drawer.
To allow each square to sit flat against the drawer a hole will need to be created to allow it to go over the handle. Use a ruler to measure the centre point of the knob and mark with an 'x' on one of the square pieces of card. Create the hole using a standard hole punch, and a craft knife to make four 3mm slits at 3, 6, 9 and 12 o'clock position. Use this piece as a template to punch out the holes for the remaining 23 squares. 10. Cover each of the drawer fronts with double-sided tape and stick each of the squares in place – gently tease them over the drawer knob (don't worry too much if it rips). Use a pokey tool to shape the cardstock around the handle. 11. Stick the advent numbers onto each of the drawers with tacky glue and leave the advent to dry flat.
Related Products