How to Make a Kids Memory Box
Memory boxes are delightful keepsakes that hold a world of memories within them.
Allow your little ones to cherish their favourite mementos by creating their own personalised memory box.
Your little one can get creative decorating their box however they desire, whether its letters, paints or any other craft materials!
Project and instructions by Georgia Coote
You will need
Subtotal
Is $ 7.49
Subtotal
Is $ 4.49
Subtotal
Is $ 9.49
Subtotal
Is $ 7.49
You Will Need
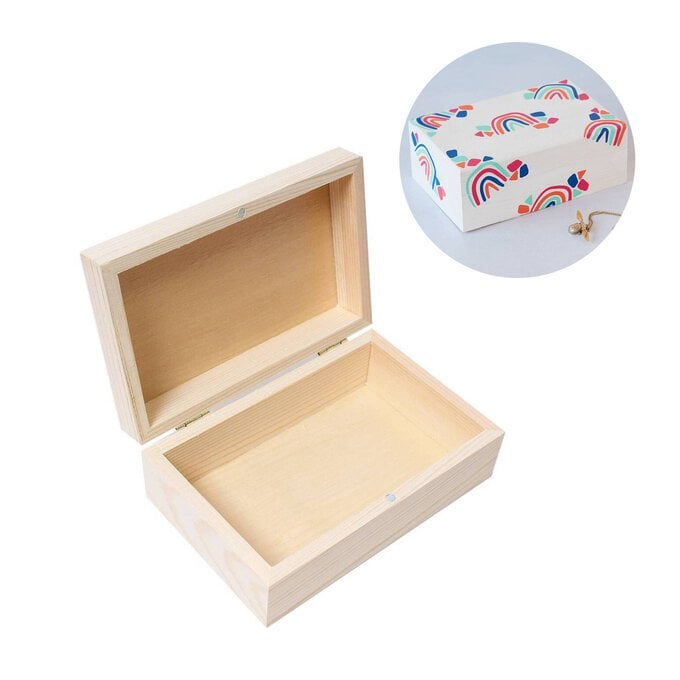
* Wooden Jewellery Chest Box
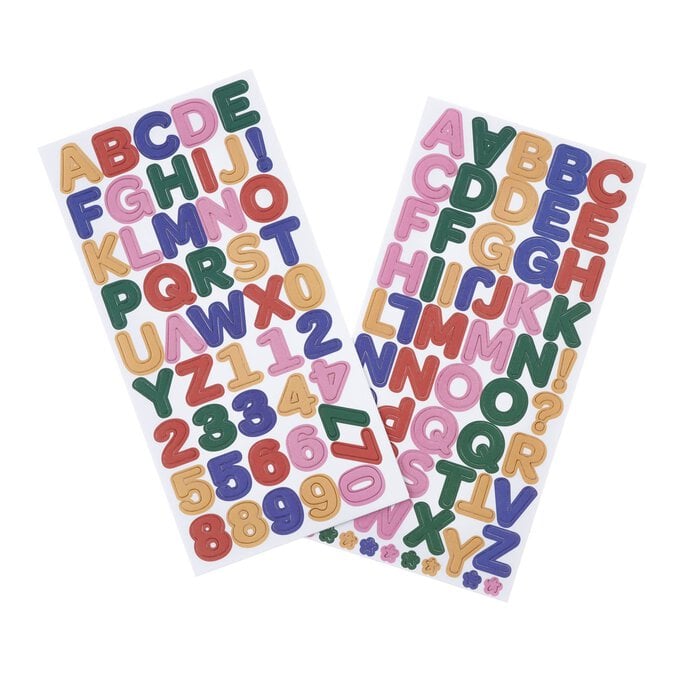
* Bright Alphabet Chipboard Stickers
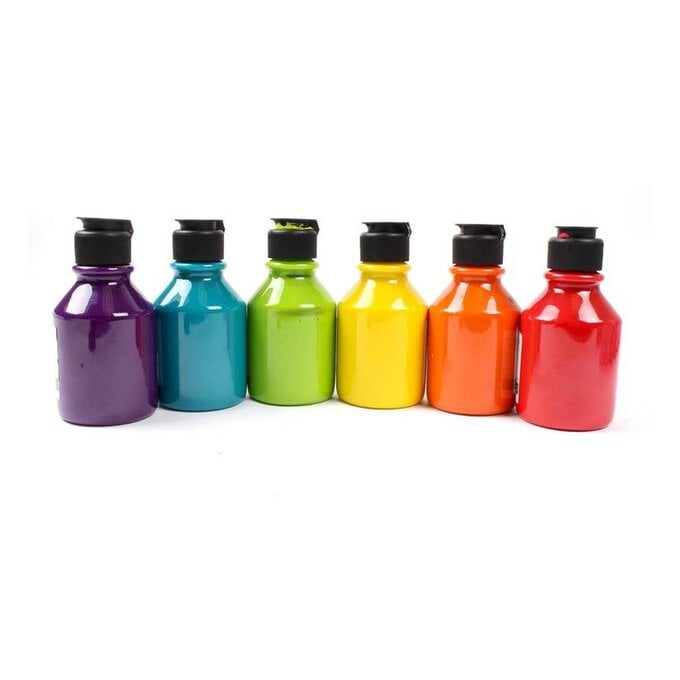
* Acrylic Paint
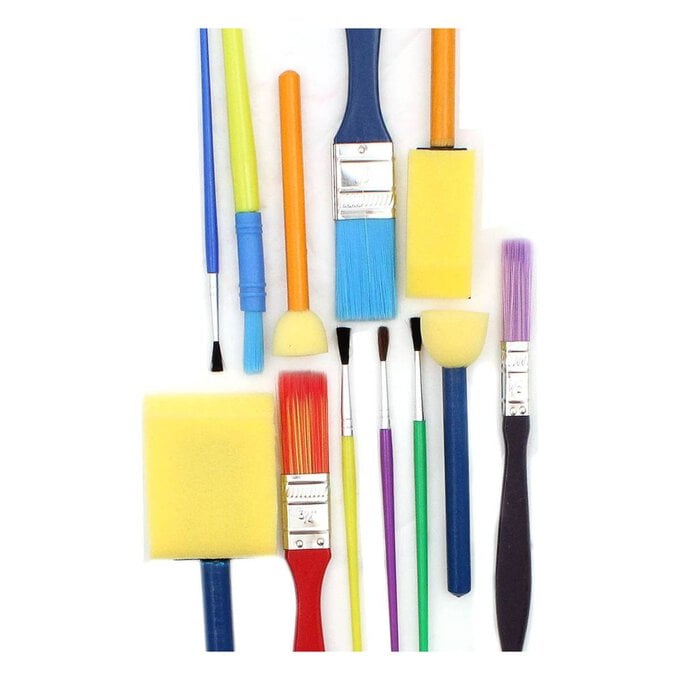
* Paintbrushes
* Paint Sponges
* Craft Glue
How to make
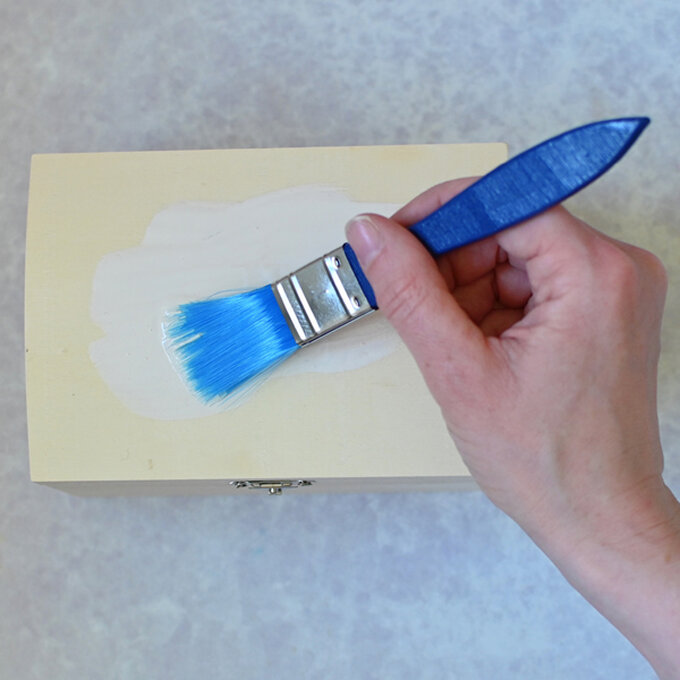
Paint the box white and then leave it to dry. You may want to apply several coats to cover the box fully.
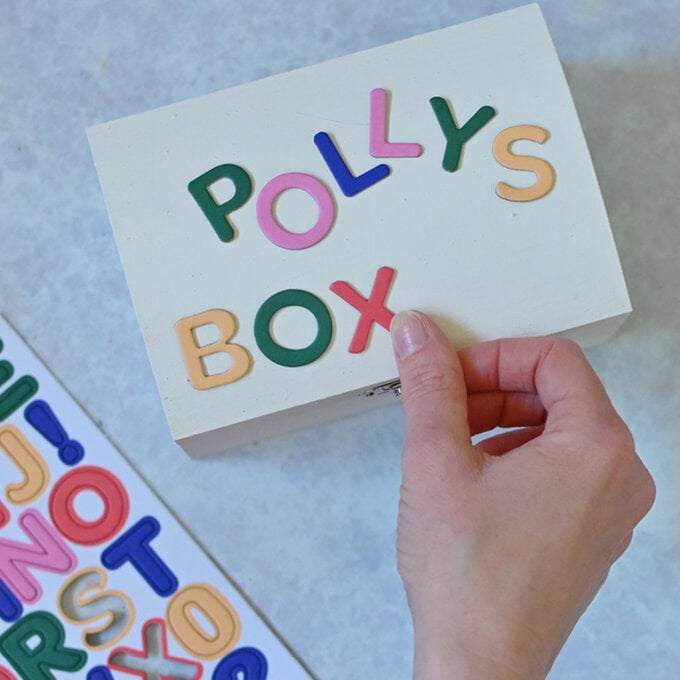
Stick your alphabet stickers onto the top of your box as desired.
Top Tip: For a longer lasting finish, use some strong glue to fix in place.
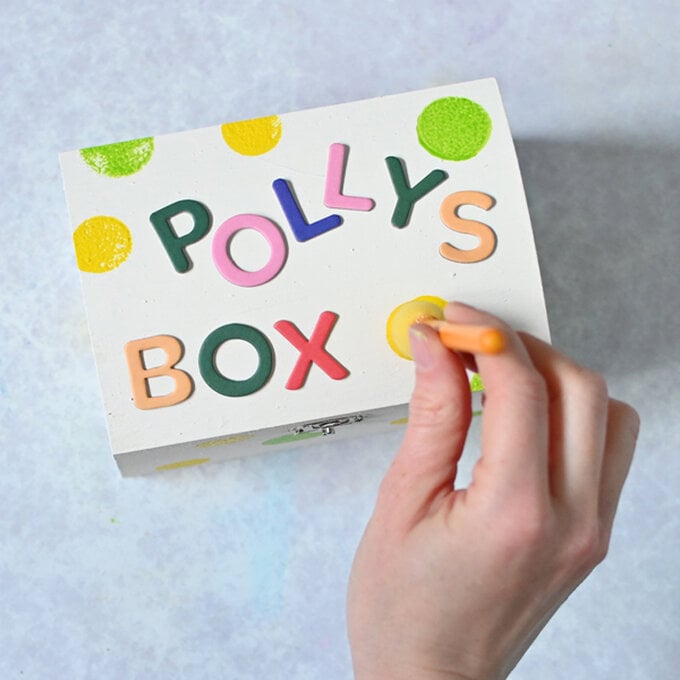
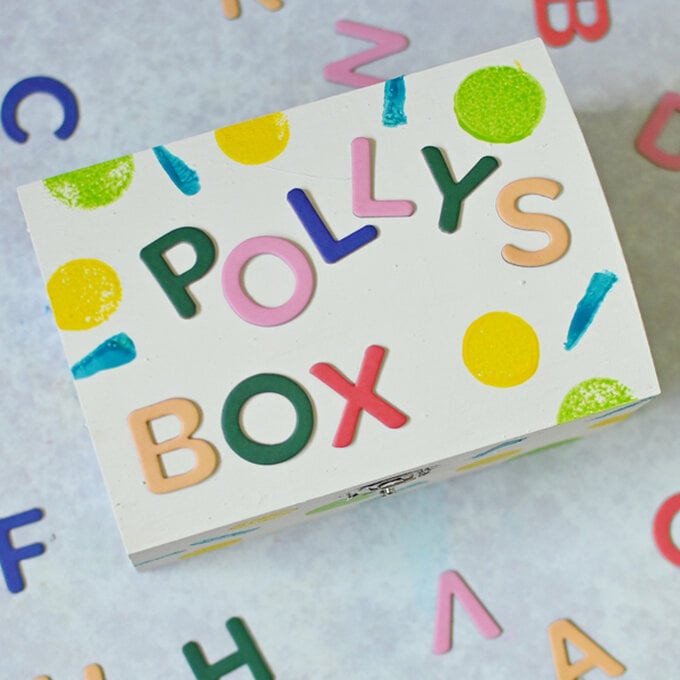
Using some sponges, paint some bright shapes to bring your box to life.
Related Products