Cricut: How to Make a Personalised Christmas Hamper
Whether for a friend, family member or neighbour, everyone is sure to fall in love with this personalised hamper this Christmas! Perfect for making using your Cricut machine, craft unique custom details that will truly make your handmade hamper unique.
This guide includes details of how to personalise your crate, how to make a card, how to create unique gift tags and even how to transform gift bags with fun, festive details. Use these ideas together or try your hand at your favourite one.
Projects and instructions by Jen Harper
You will need
Subtotal
Is $ 424.00

Subtotal
Is $ 13.00

Subtotal
Is $ 40.00

Subtotal
Is $ 20.00
Subtotal
Is $ 180.00
Subtotal
Is $ 37.00
Subtotal
Is $ 17.00
Subtotal
Is $ 15.00 , was $ 16.00

Subtotal
Is $ 6.49
Subtotal
Is $ 13.00 , was $ 17.00

Subtotal
Is $ 3.49
Subtotal
Is $ 4.49
Subtotal
Is $ 3.49
Subtotal
Is $ 11.00
Subtotal
Is $ 17.00
Subtotal
Is $ 17.00
Subtotal
Is $ 17.00
Subtotal
Is $ 11.00
Subtotal
Is $ 1.49
How to make
Additional products you will need for these projects:
*A paintbrush
*Computer/tablet with Cricut Design Space and Access Subscription
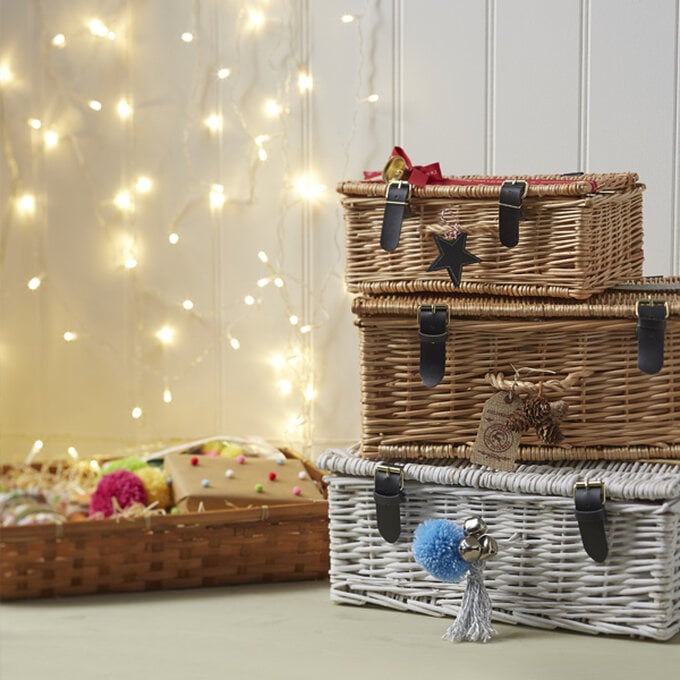
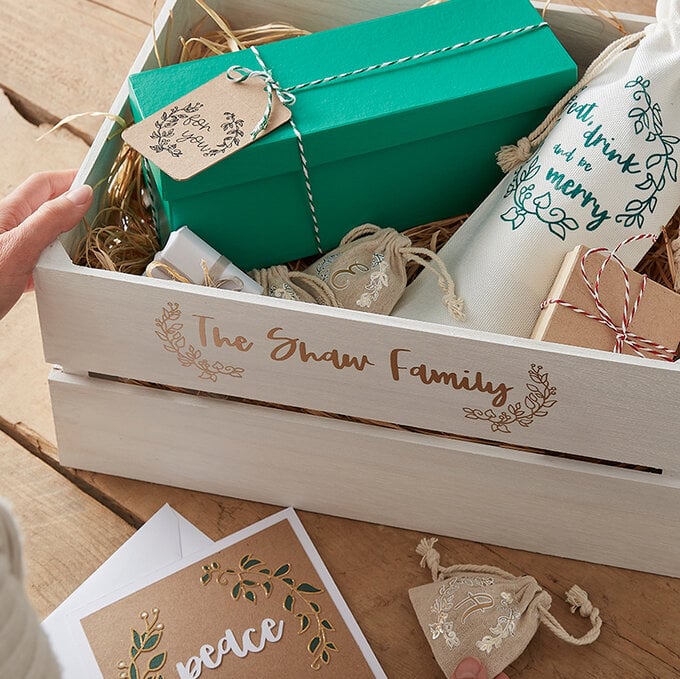
A personalised crate makes both beautiful packaging and a gift in itself which can be used and reused, even after Christmas has passed. Whether it is destined to be repurposed into a toy box or essential storage, there are endless ways to decorate it so that it is just festive enough to not be relegated to the back of the loft with the rest of the Christmas decorations! This project uses white and gold and delicate foliage elements to transform a basic crate into a chic way to deliver your Christmas gifts.
Products you will need for this project:
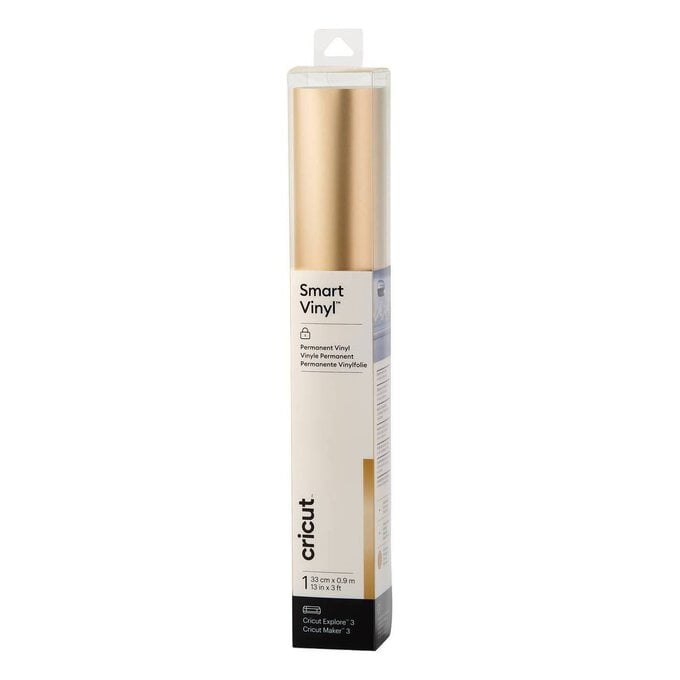
Cricut Vinyl/Smart Vinyl
Crate
White Paint
Paint Brush/Sponge
Design your project in Cricut Design Space:
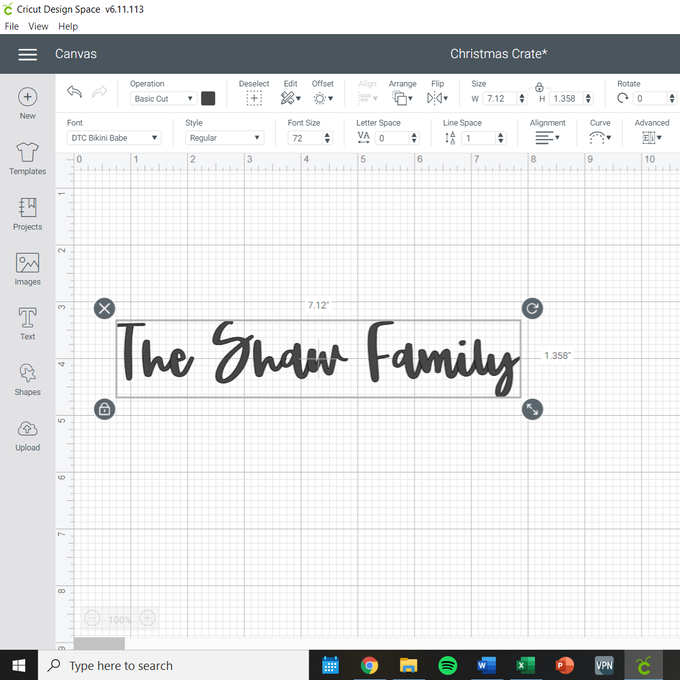
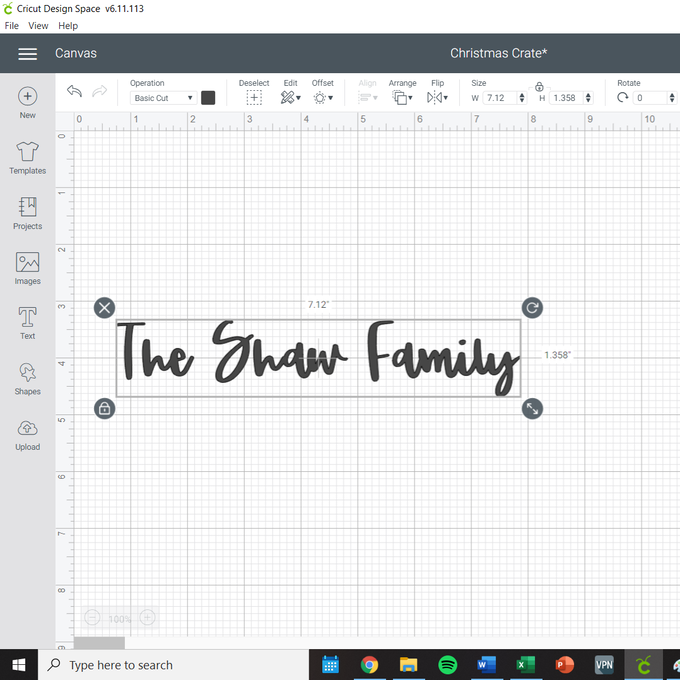
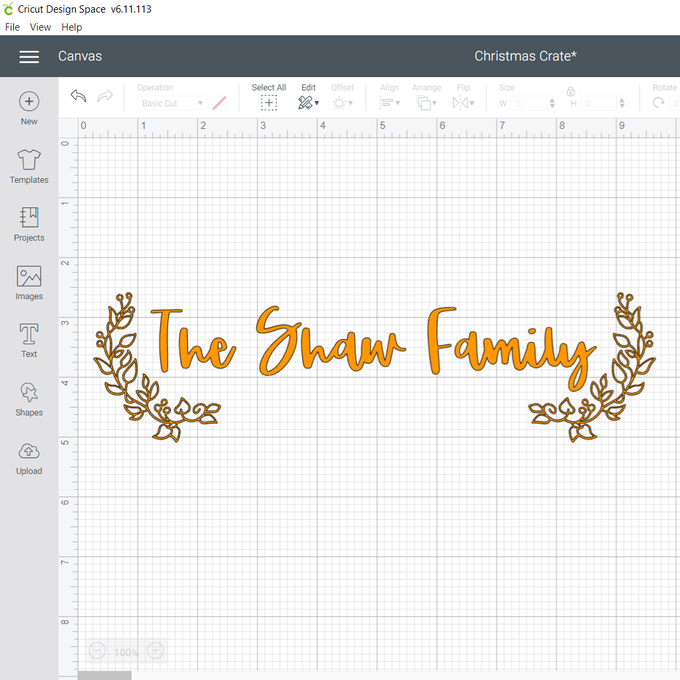
1. Open up design space and insert a text box. Type your chosen text into the box.
2. Use the drop down menu to change the font style. The font used in this project is DTC Bikini Babe.
3. Your text will be inserted onto your mat in one solid piece. You need to first click 'ungroup' (top right panel) to separate the text into individual letters. Then, select your text and click 'weld'. This will cut the words as solid pieces without cuts where the letters join.
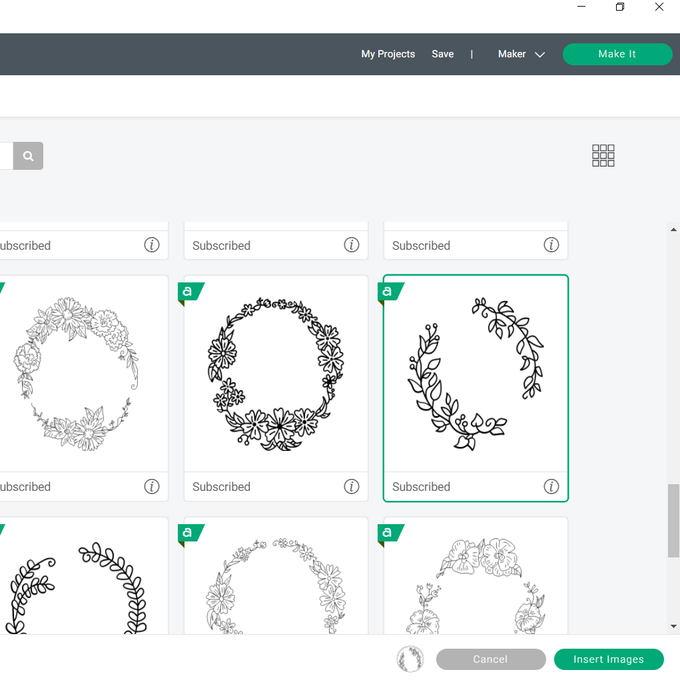
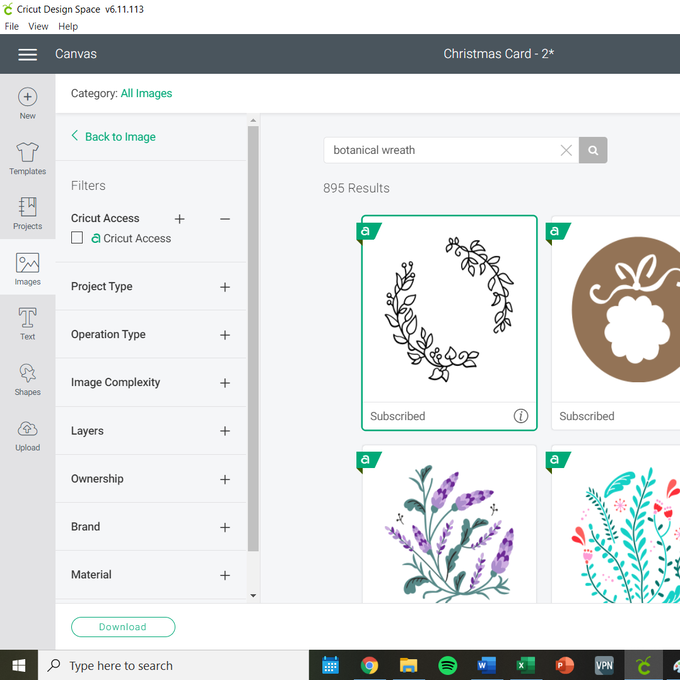
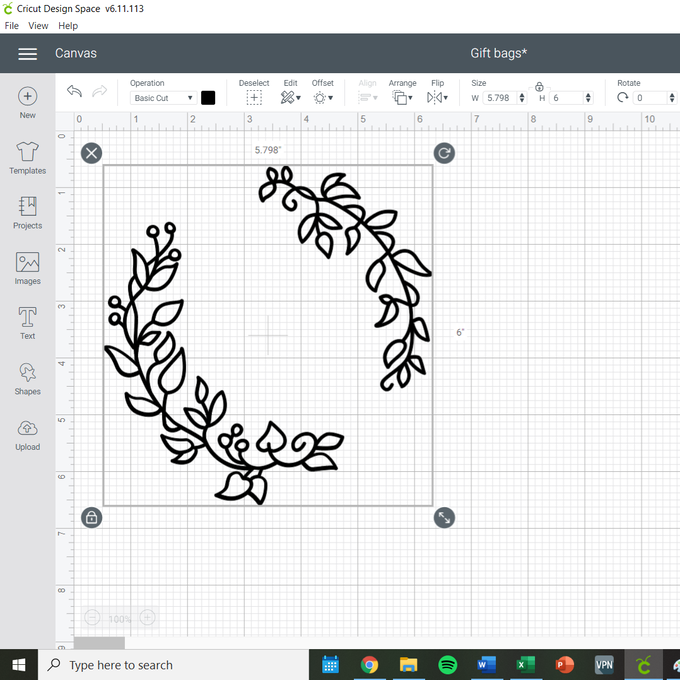
4. Insert a wreath onto your canvas. The wreath in this project is #M1803E9B6.
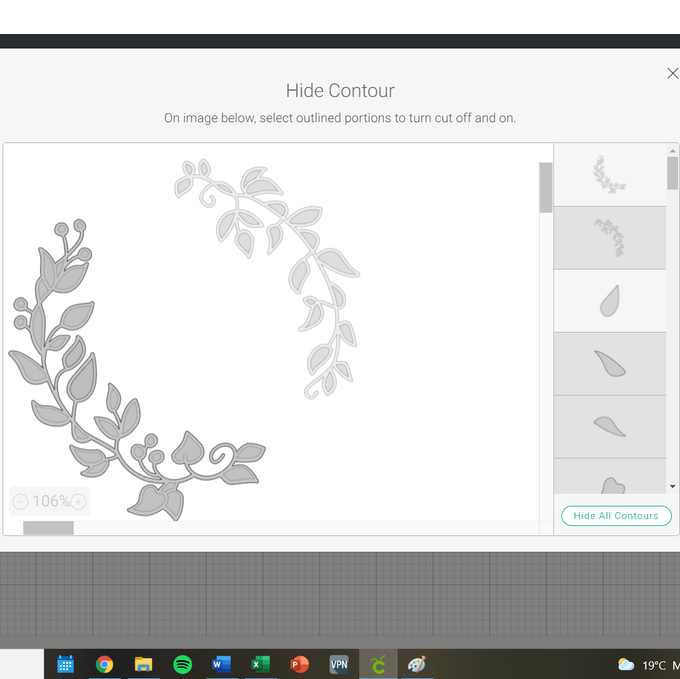
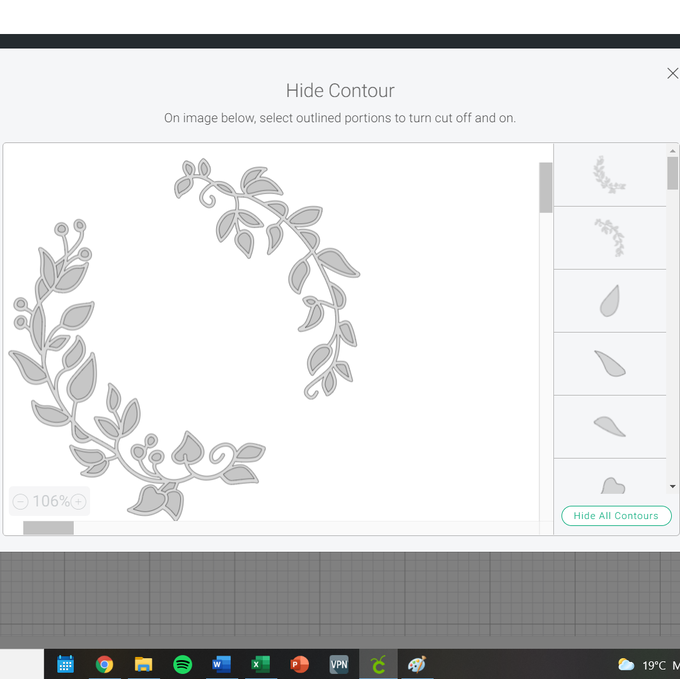
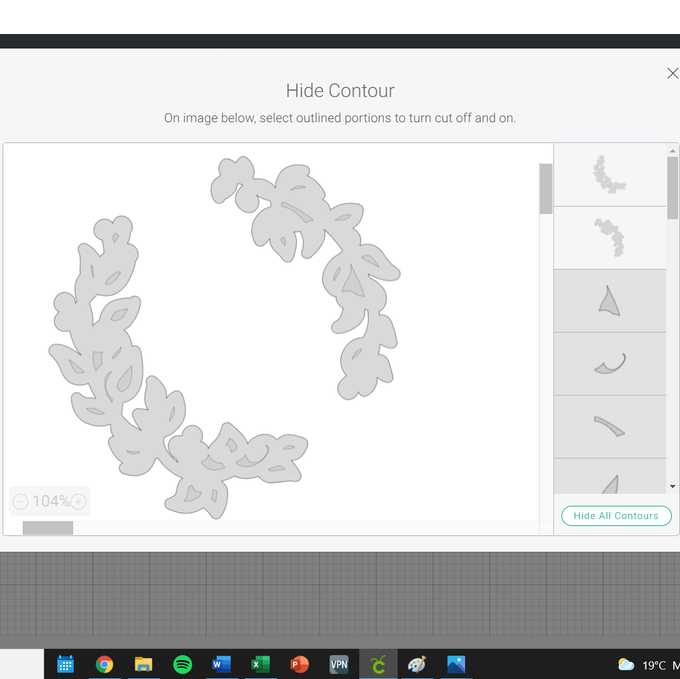
5. Select the wreath and click 'contour'. This will allow you to select which bits of the image are used in your project. In this project, the contour function is used to remove one half of the wreath.
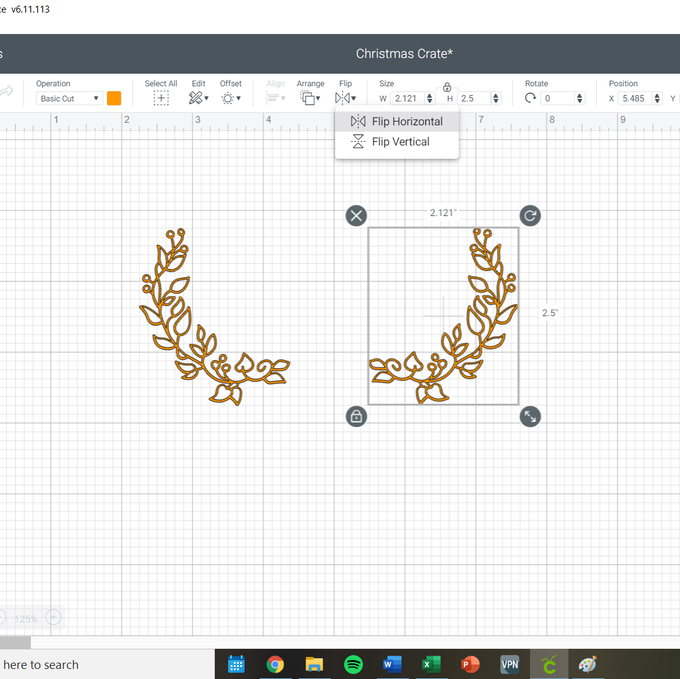
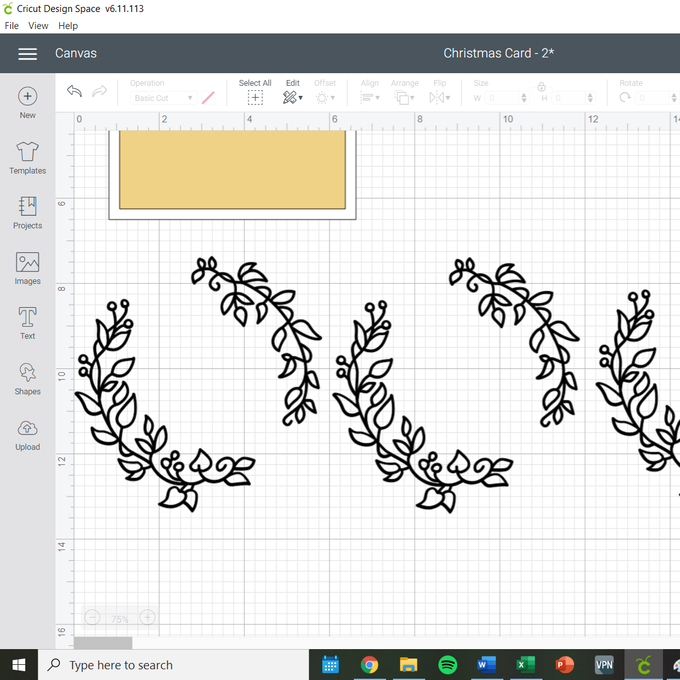
6. Select your half-wreath and duplicate it. Then, select the 'flip' function from the top panel and hit 'flip horizontal'.
7. Arrange your project so that it looks as you would like it to look on your crate, changing the sizes of the text and wreath so that everything will fit. Finally, select all of the pieces on your canvas and select 'attach'. This will allow them to cut as one piece which can be transferred onto your crate in one go.
Prepare your crate:
1. Using white paint and either a brush or sponge, paint your crate. I found using two thin coats of paint worked well to brighten up the crate whilst allowing the grain of the wood to show through.
2. Leave to dry for at least 24 hours. This is important to ensure your vinyl, when transferred, stays stuck.
Cut and assemble your project:
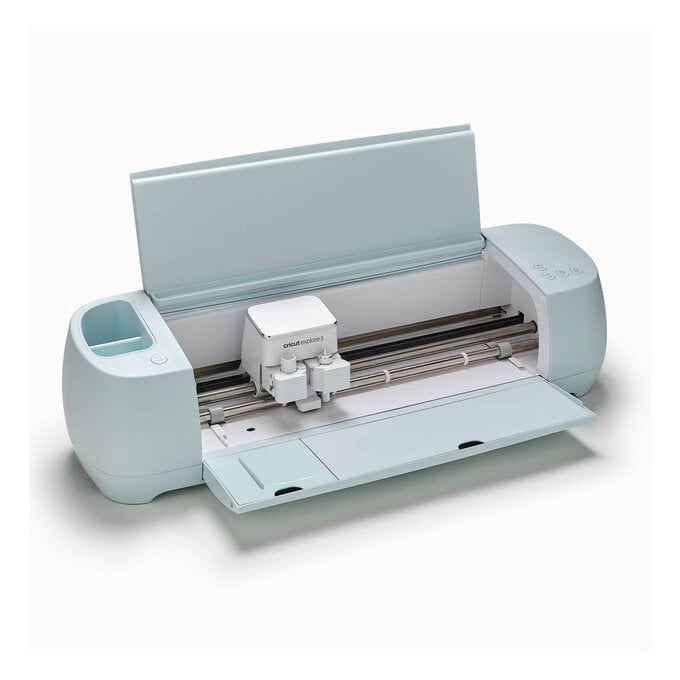
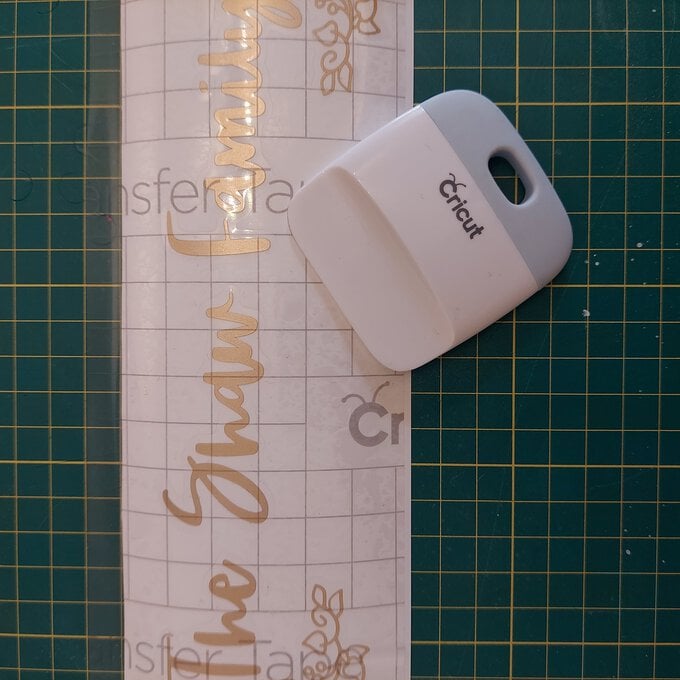
1. Follow the instructions on Design Space to cut your project. If using Smart Vinyl with either a Cricut Maker 3 or Cricut Explore 3, you will not need to use a mat. If using any other vinyl, or any other machine, you will need to place your vinyl cutting side up on your mat.
2. Once cut, weed your design, removing the vinyl you do not want to feature on your finished project. Pay special attention to the negative spaces in the wreath, as these can be fiddly to remove.
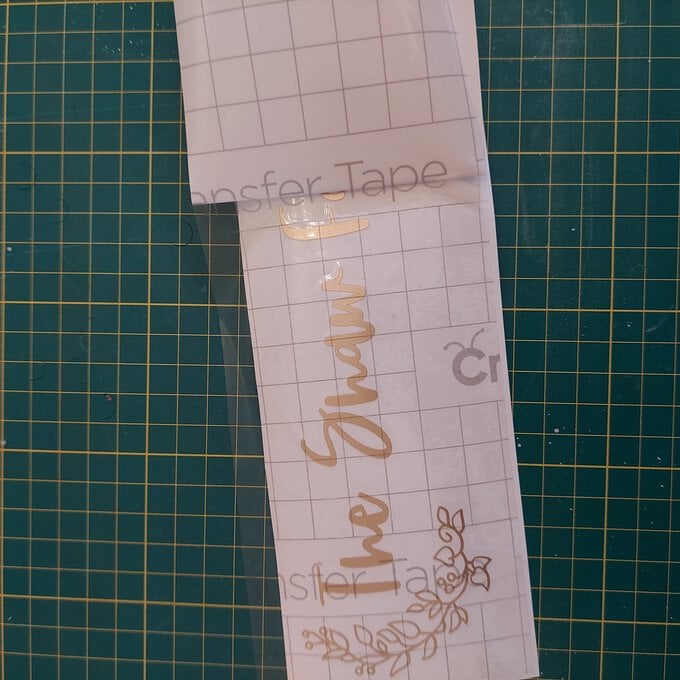
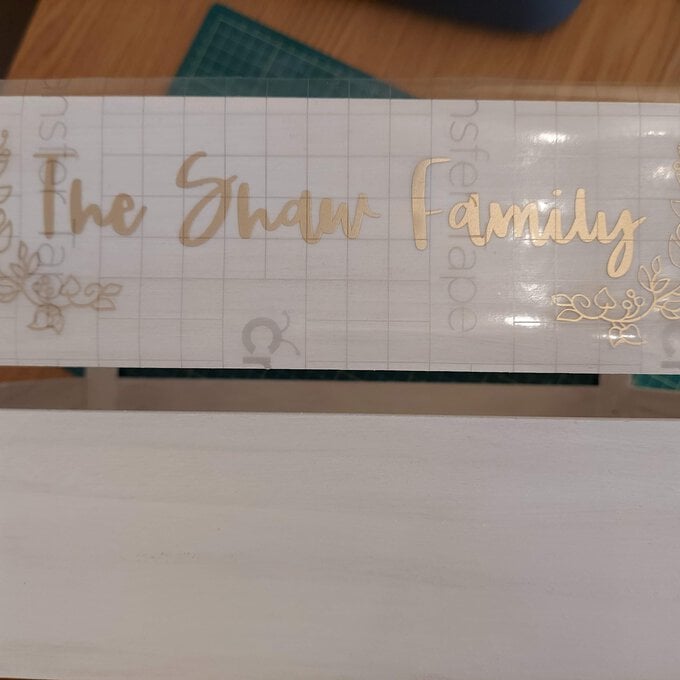
3. Use transfer tape to pick up the vinyl from the backing paper and transfer it onto your dry crate. Carefully peel back the transfer tape. You're finished!

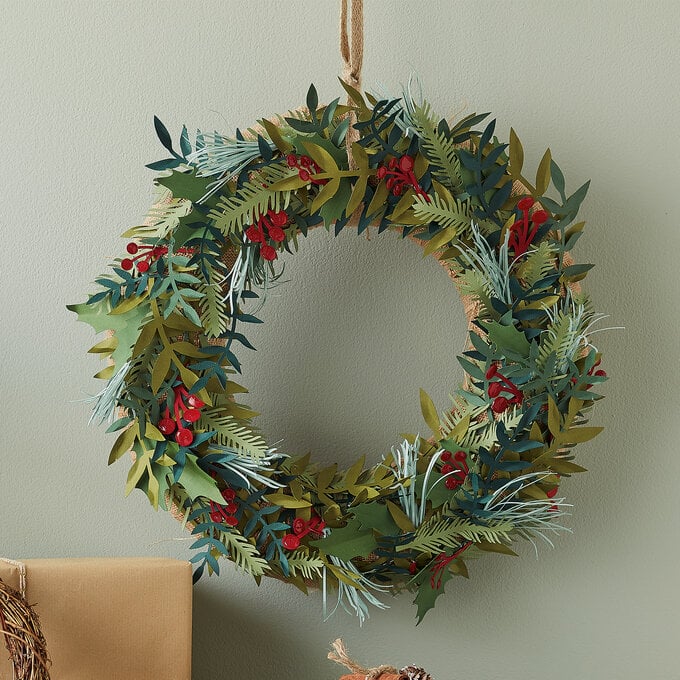
This card is a deceptively simple way to take your Cricutting beyond the basic functions on Design Space. Making good use of the contour tool to control what you cut, this card uses an inlay technique to assemble a delicate wreath. Whilst puzzle-piecing your wreath together may take a little time, the results are definitely worth it.
Products will need for this project:
Cardstock (White, Kraft, Green, Gold)
Glue Pen
White Gel Pen
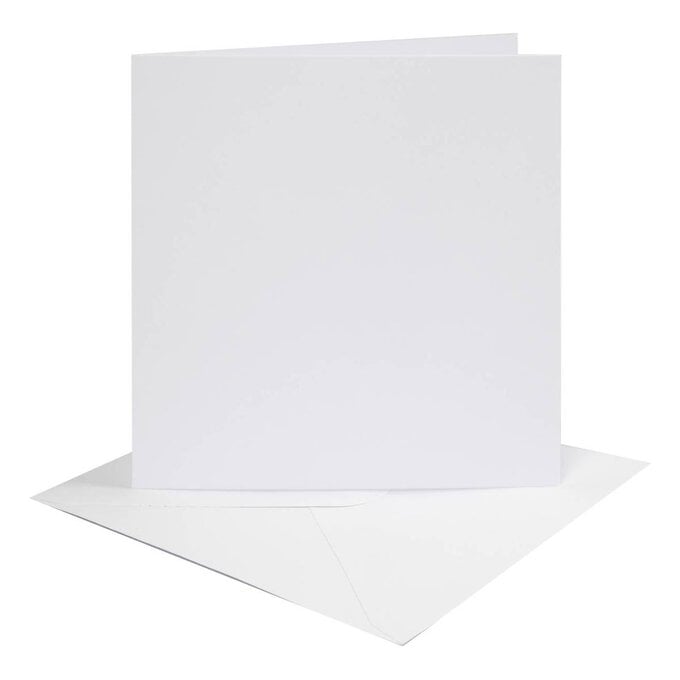
Card Blanks with envelopes (6x6)
How to make it:
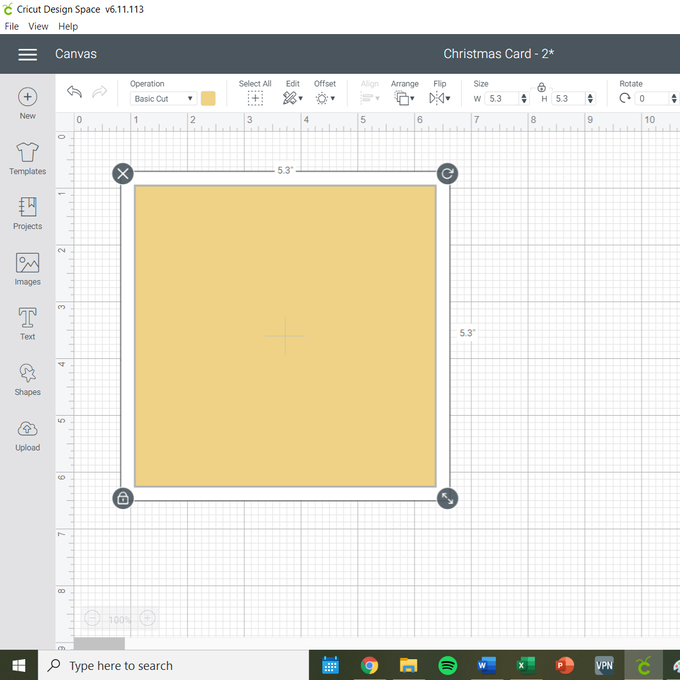
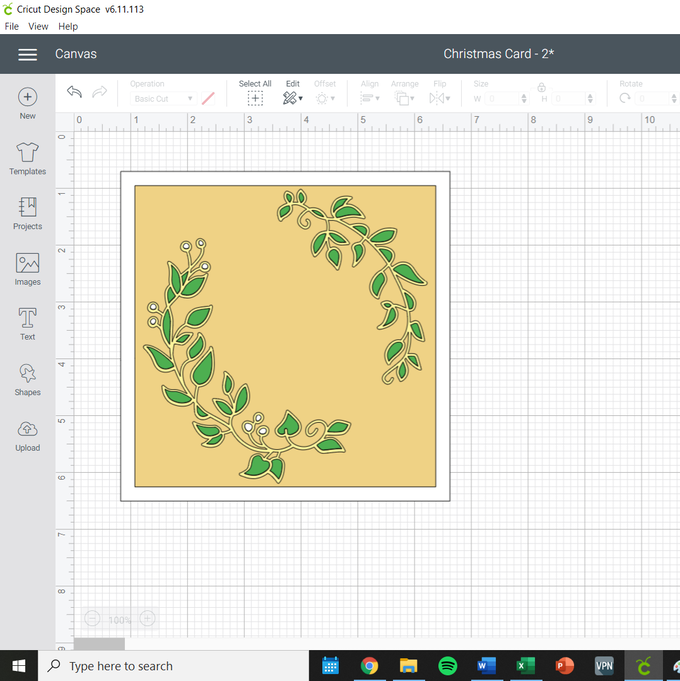
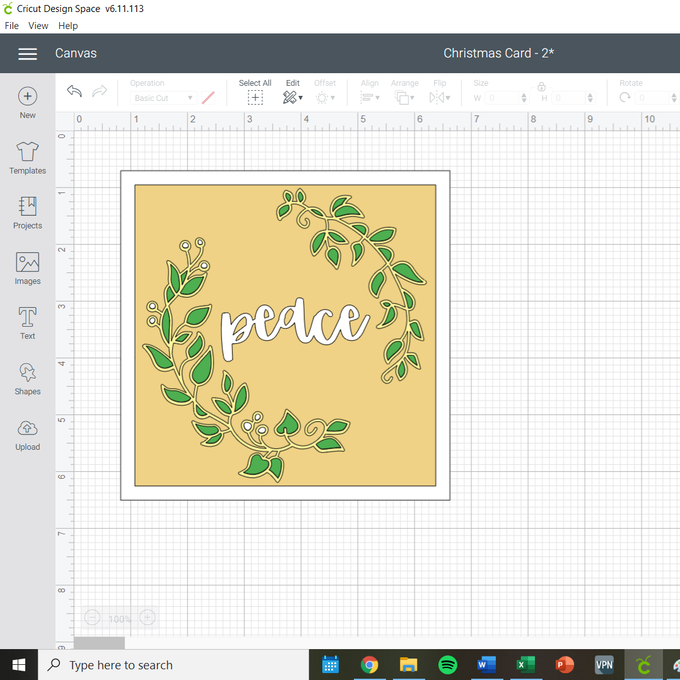
1. Insert two squares onto your canvas in Cricut Design Space, one measuring 5.3 inches and one measuring 5.8 inches. The smaller square will be cut from Kraft cardstock and the larger from white cardstock. Change the colours of the squares to reflect this.
2. Insert wreath, #M1803E9B6 onto your canvas and duplicate it twice, so you have three in total. Be careful to keep all three wreaths the same size.
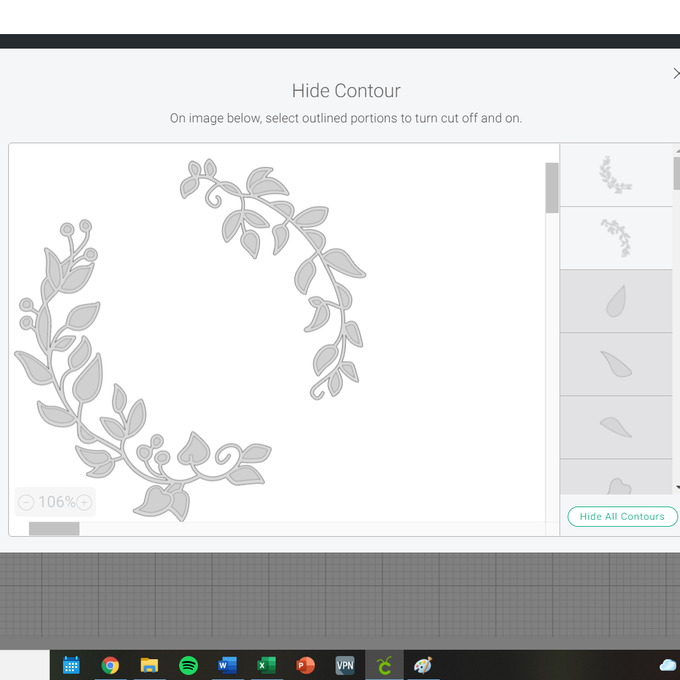
3. Change one wreath to the colour gold—this will be the wreath that features on your card. Select a second wreath and click 'contour'. Select which parts of the design your would like to switch on and off so that only the insides of the leaves of the wreath are showing. Turn the colour of these leaves to green. Repeat these steps with the final wreath, selecting only the berries. These will be cut in white. Select all three parts of your wreath and group them so that when you go to change its size to fit your card, the sizes change in proportion to each other.
TOP TIP: An easier way of doing this is to cut three wreaths in different colours and discard the pieces you won't need. This avoids the need to contour your design, but produces more waste.
4. Insert a text box and type in the word 'peace'. The font in this project is called DTC Bikini Babe. So that the word cuts as a solid piece, without cuts where the letters join, select your word and click 'weld'. Change the colour to white.
5. Check your pieces fit on the face of your card, changing their sizes where necessary.
6. You are now ready to cut your project. Follow the instructions on your device to cut your project, checking that you're choosing the correct weight of cardstock on each cut.
7. Make sure you keep all of the tiny cut pieces safe!
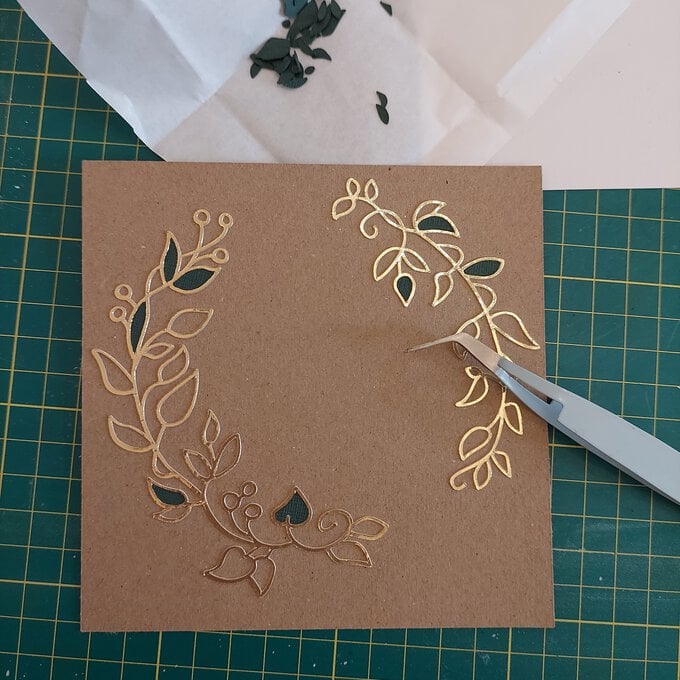
8. Assemble your card by mounting the kraft cardstock onto the white square. Use your glue pen to attach your gold wreath to the front of your card. You might find it helpful to use tweezers to help you assemble your card.
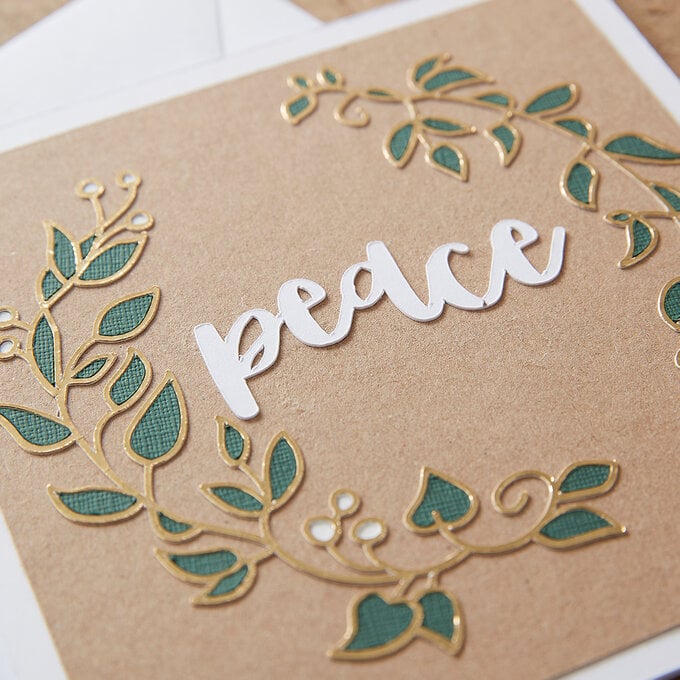
9. Once your gold wreath is in place, use your glue pen to stick the leaves into the correct spaces.
10. Repeat with the white berries. If you find these berries too fiddly, you can add them with a white gel pen.
11. Add your sentiment on your card using your glue pen.
12. Mount your card front onto your card blank.
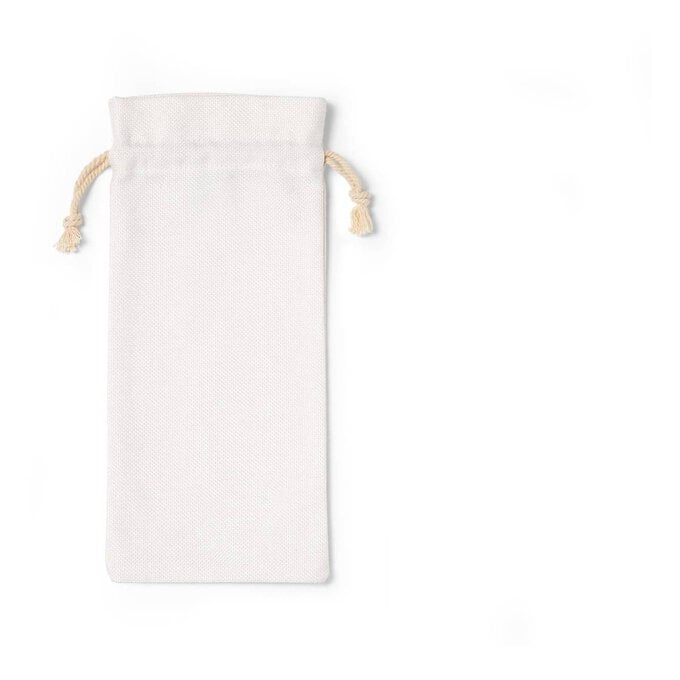
Sometimes you're at a bit of a loss as to what to gift someone for Christmas. A bottle of bubbly makes a lovely treat and with this infusible ink bottle bag, you can give your gift in style.
Products you will need for this project:
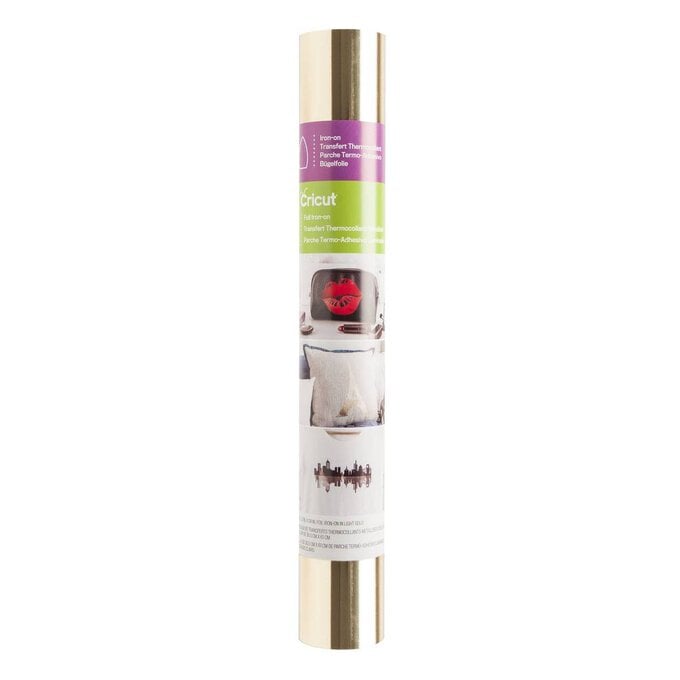
Infusible Ink Sheets
Cricut Bottle Bag
How to make it:
1. Insert wreath #M1803E9B6 onto your canvas and select 'contour'. Select the areas you would like to feature on your project, in this case, you want to keep the outlines of the wreath and cut them as a solid image, without their centres cut out.
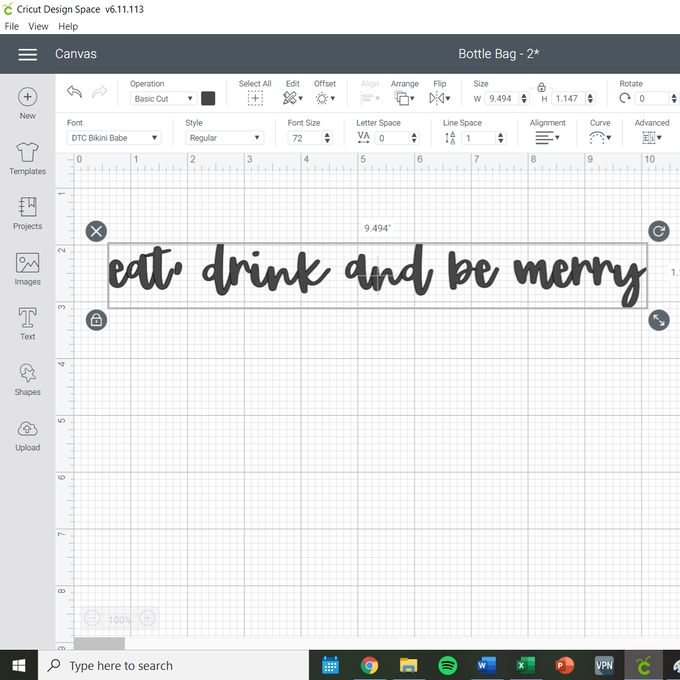
2. Insert a text box and add the sentiment 'eat, drink and be merry'. Change the font to DTC Bikini Babe.
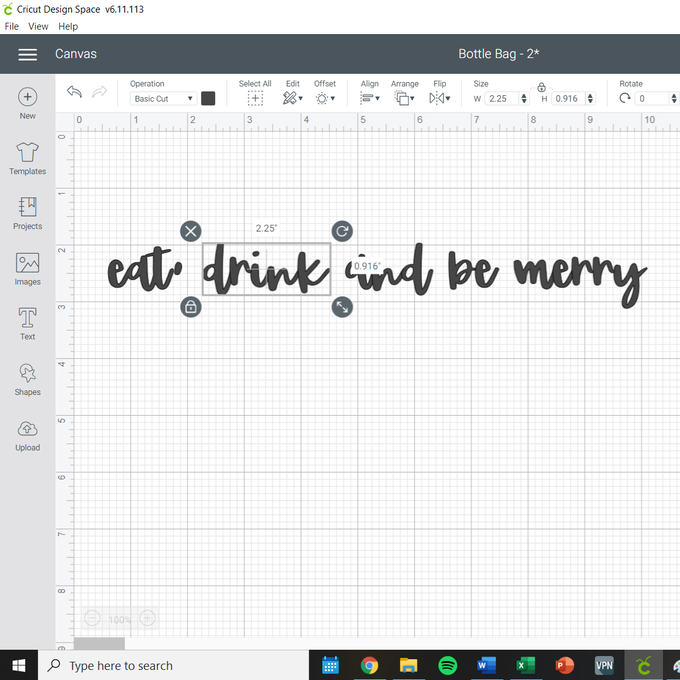
3. Your text will currently be one solid piece, and to change it you first need to click 'ungroup' to convert your text to individual letters.
4. Select each word and click 'weld'.
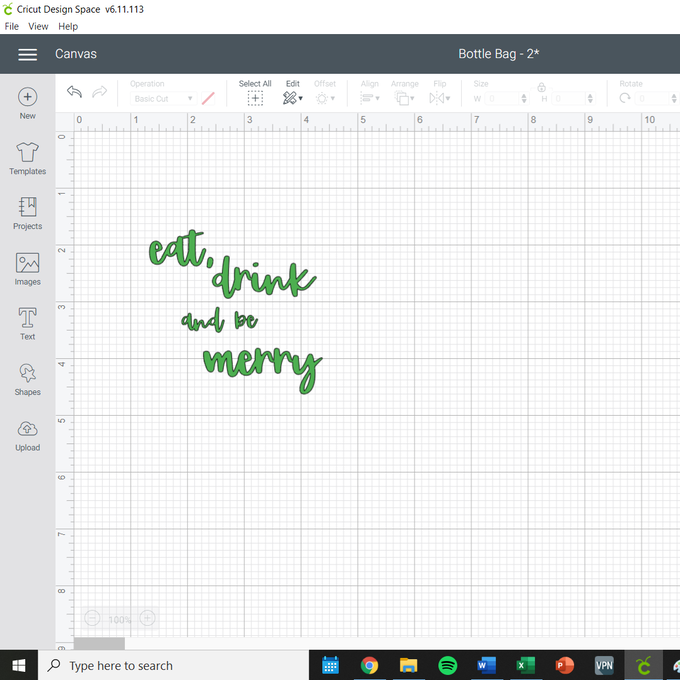
5. Rearrange your words, and alter their sizes, until you find an arrangement that you like and which fits inside your wreath.
6. Once happy with the arrangement of your text, select it and click 'attach'.
7. Check your text and wreath are set to the colour(s) you would like to use.
8. Follow the instructions on your device to cut your project.
9. Your infusible ink sheet should be placed on your mat ink side up, and your design should be mirrored in design space.
10. Once your design is cut, weed away the negative space. It can be easier to do this by hand by gently bending the infusible ink sheet and pulling away the pieces you do not need.
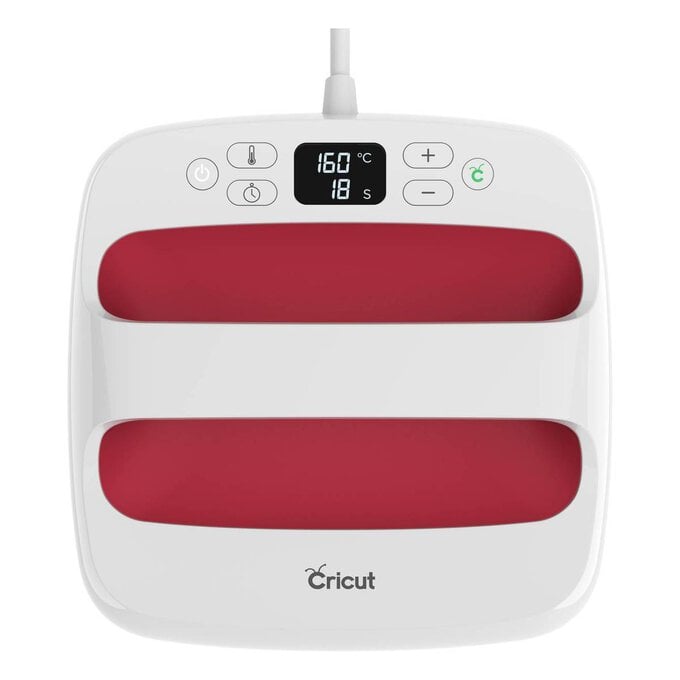
11. Prepare your surface by removing any lint and preheating with your Easy Press.
12. Place your infusible ink sheet ink side down on your project and tape into place with heat proof tape.
TOP TIP: It is better to transfer all of your pieces in one go, so where possible, cut down your sentiment to remove excess backing plastic and line it up in your wreath. You need to make sure that none of the infusible ink is covered by backing plastic. Use small pieces of heatproof tape to stop your pieces from moving away from each other.
13. Place a sheet of butcher's paper (which is included with your infusible ink sheets) between your infusible ink and your heat press. Use even, light pressure, with your heat press set to heat your project according to the Cricut Heat Guide recommendations https://cricut.com/en_us/heatguide
14. Once cool, carefully peel away the backing of your infusible ink sheet with tweezers.
15. Your bottle bag is now finished!


Here's a quick beginners' project to help you finish off your gift giving in style. Why not use your machine to add a personalised message inside your gift tag?
Products you will need for this project:
Cardstock in Kraft
Cricut Gel Pen
Glue
How to make it:
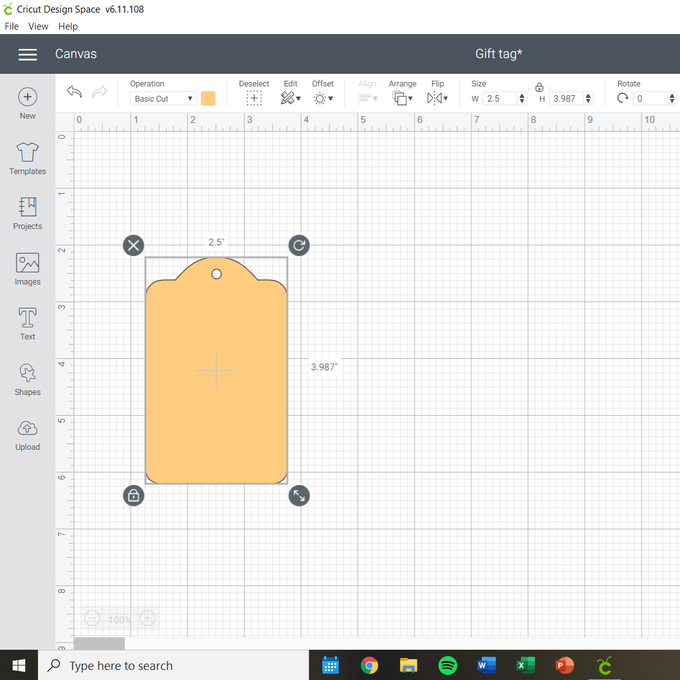
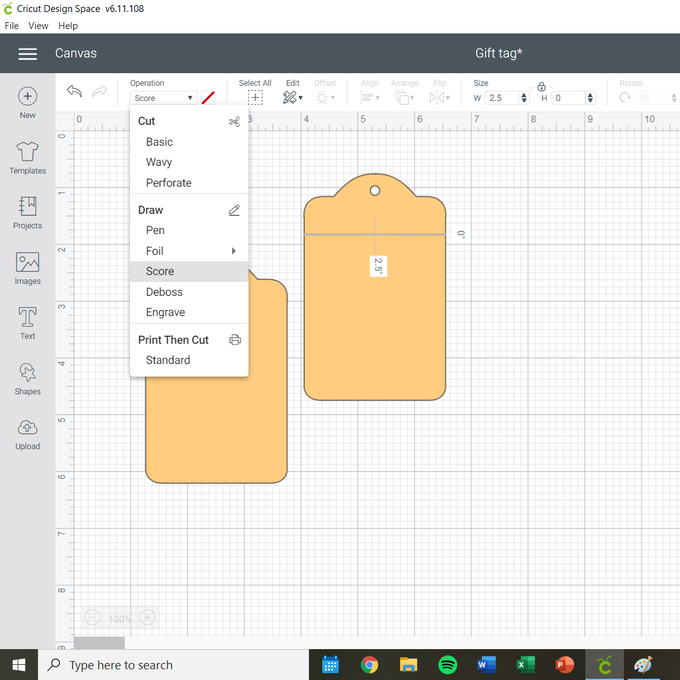
1. Insert tag #M3271F onto your canvas and duplicate it.
2. Insert a score line and attach it across the top of one of your tags.
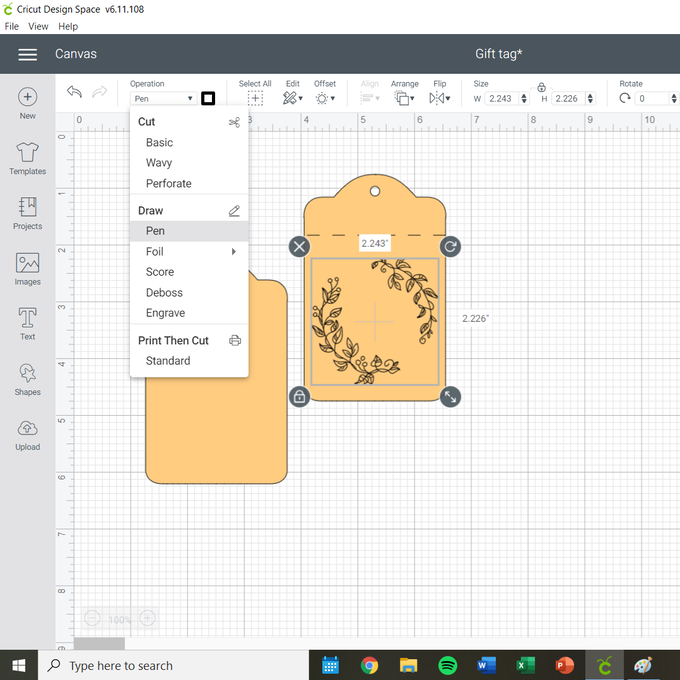
3. Insert wreath #M1803E9B6 onto your canvas and set it to 'draw'
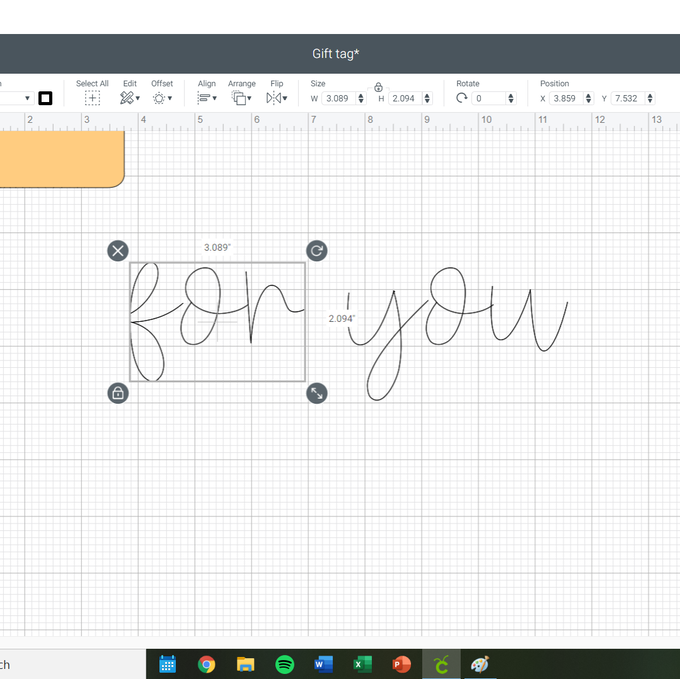
4. Insert a text box and type the text 'for you' using the font DTC Bikini Babe, and set to 'writing'.
5. Select your text and click 'ungroup' to separate the letters. Select each word and click 'weld'.
6. Rearrange and resize your text to fit inside your wreath.
7. Select both the wreath and your text and attach it to the front of the tag with the score line.
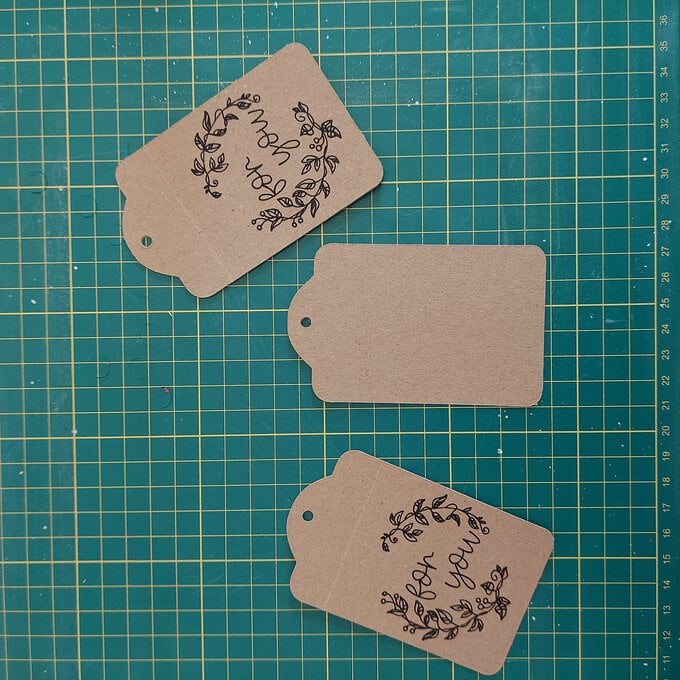
8. You are ready to cut your project; follow the instructions on your device to do so, placing your Kraft cardstock on a standard grip mat, and loading your black gel pen in the right slot as advised.
9. Once cut, use a small amount of glue to attach the fronts and backs of your gift tags. Done

Sometimes the smallest gifts are the most precious! These adorable miniature gift bags make use of coordinating shades of Cricut Iron On and the new offset feature on Design Space to create a personalised and reusable alternative to gift wrap.
Products you will for this project:
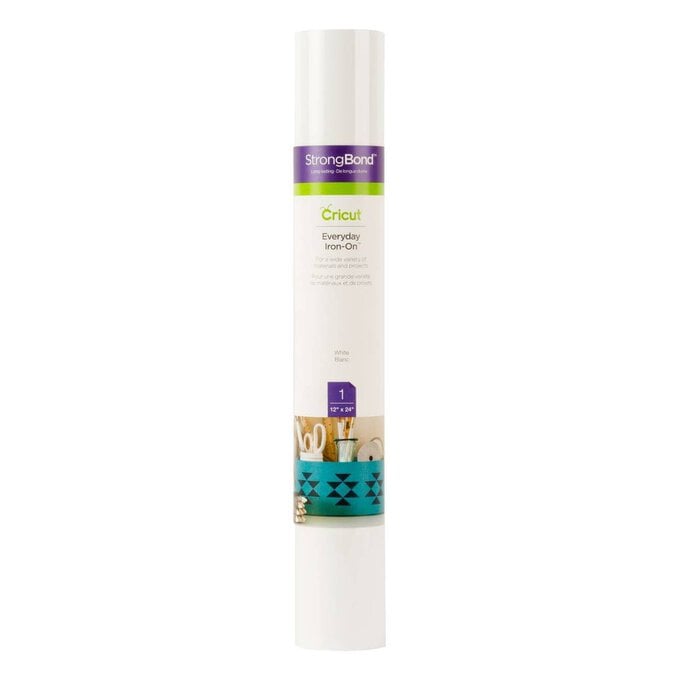
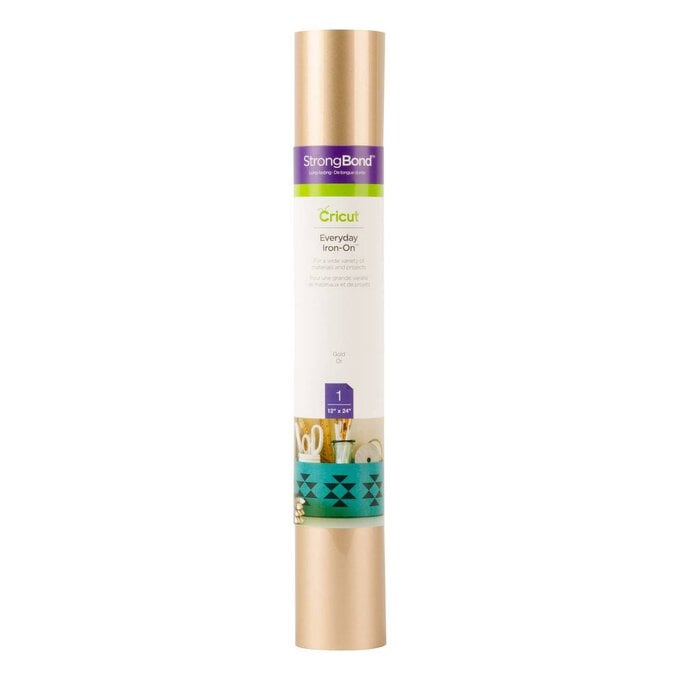
Cricut Iron on (White, Gold, Gold Foil)
Miniature Gift Bags
How to make it:
1. Insert wreath #M1803E9B6 onto your canvas
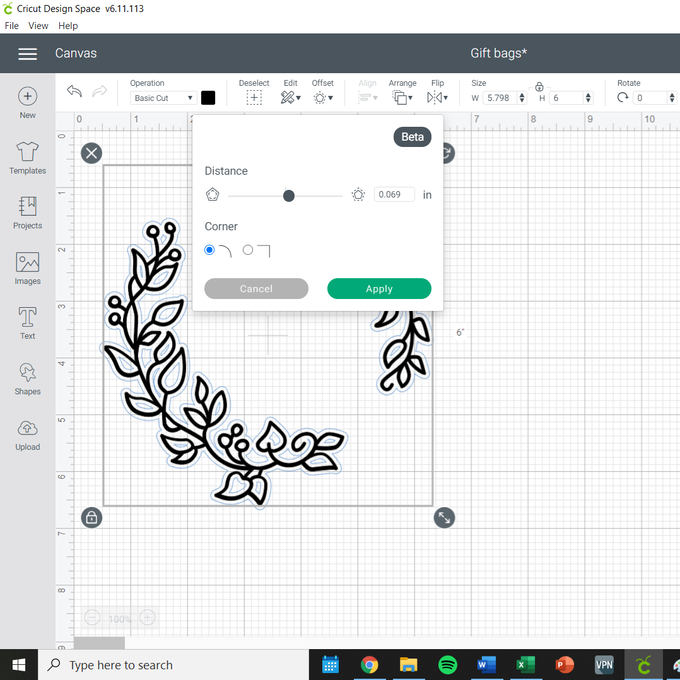
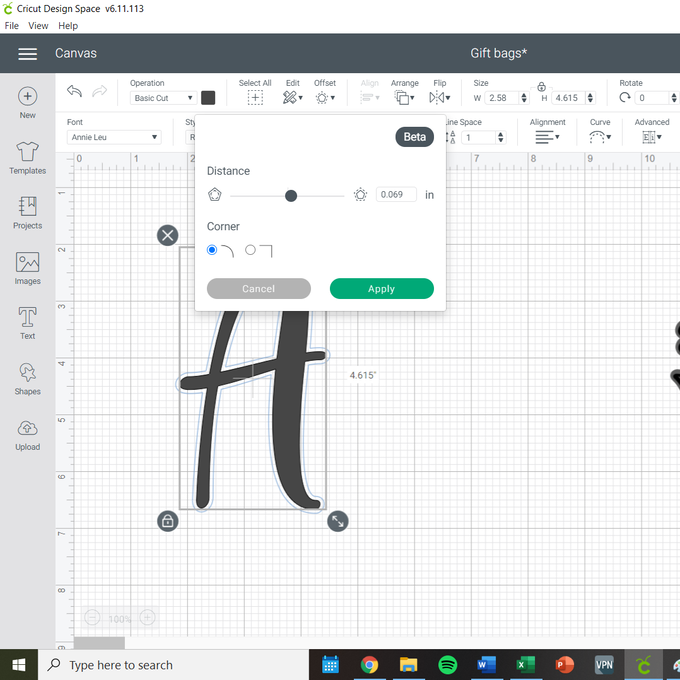
2. Select your wreath and click 'offset'. This will add a second piece to your canvas which acts as a border or outline to your wreath. Because this project is so small, choose an offset amount around 0.06 so that the edge is thin and subtle.
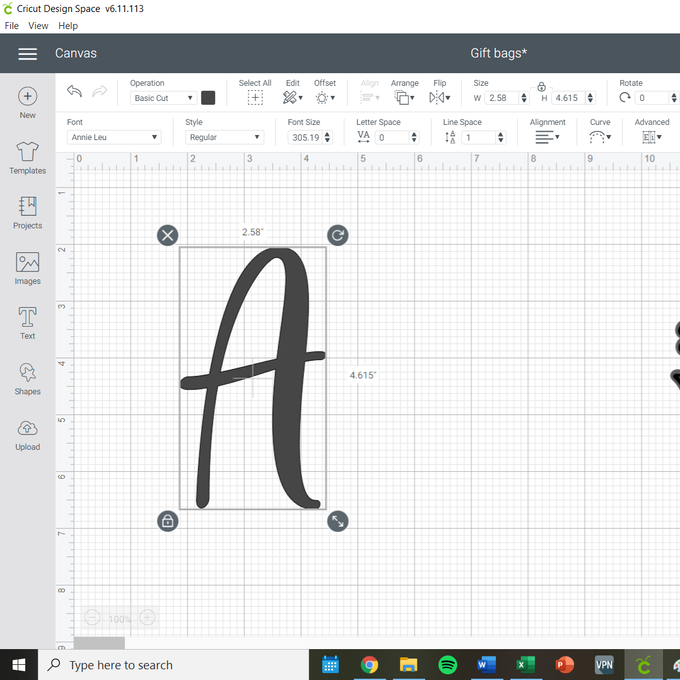
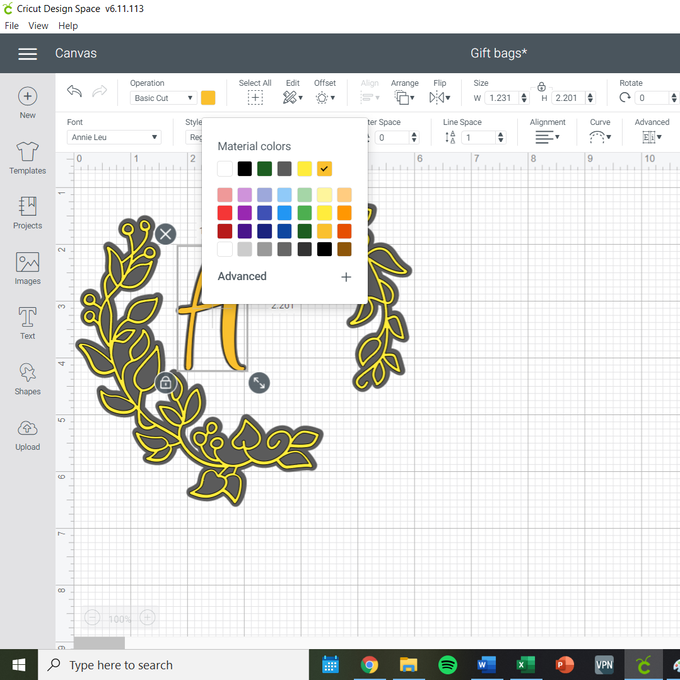
3. Insert a text box and add your initial at a size which fits comfortably within your wreath. The font used in this project is called Annie Leu.
4. Repeat step 2 to add an offset edge to your initial.
5. Ensure each of your four pieces are set to the colour you in which you intend to cut them and that your design is sized appropriately so that it fits on your blank.
6. Follow the instructions on your machine to cut your projects. You will need to place your iron on onto your mat colourful side down, and ensure your design is mirrored.
7. Once cut, weed away the negative space of your design.
8. Apply the iron on to your project, offset edges first, following the guidance here: https://cricut.com/en_us/heatguide
9. Once your project has cooled and you have removed the transfer plastic, layer your wreath and initial on top of the offset edge, repeating step 8.

Related Products