How to Make a Personalised Resin Coaster
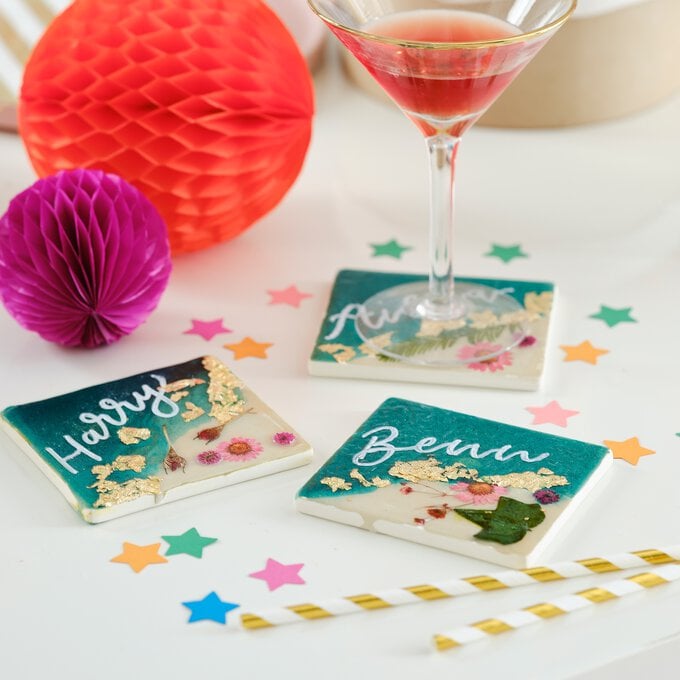
If you're looking for a one-of-a-kind party favour or just a cute gift to make for loved ones, this personalised resin coaster project is a must!
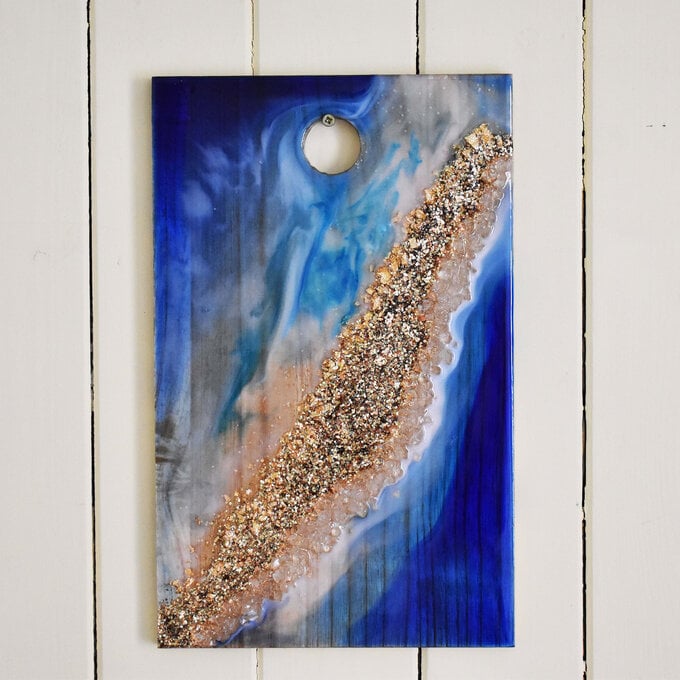
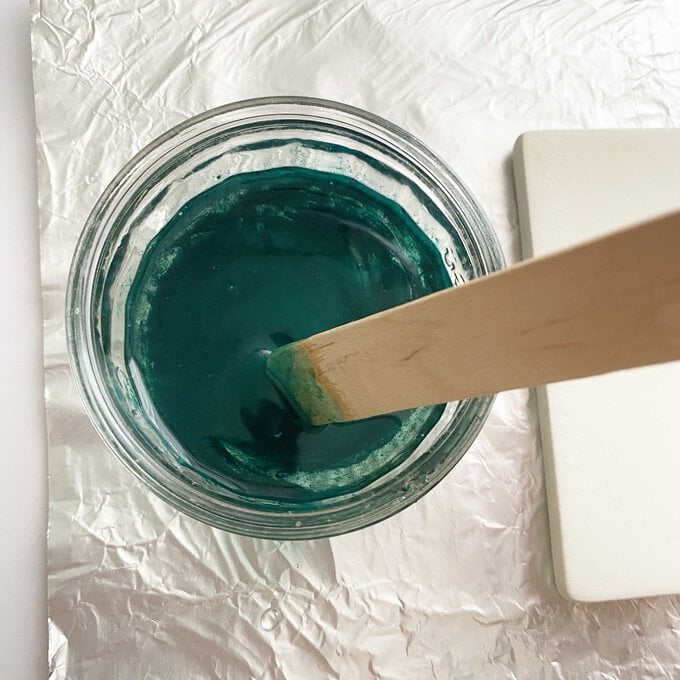
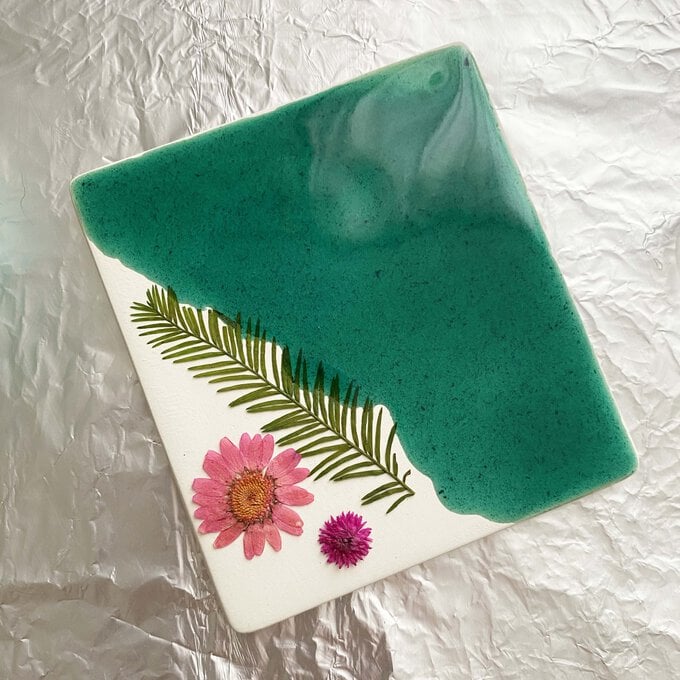
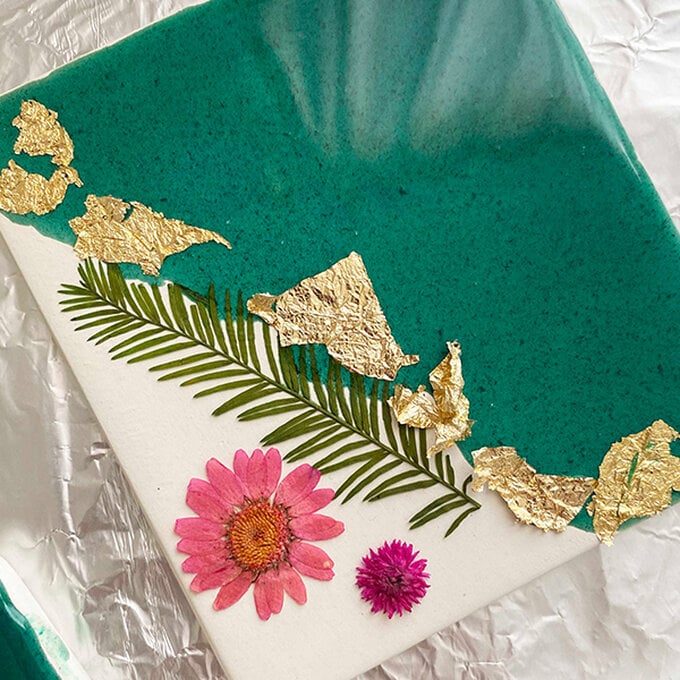
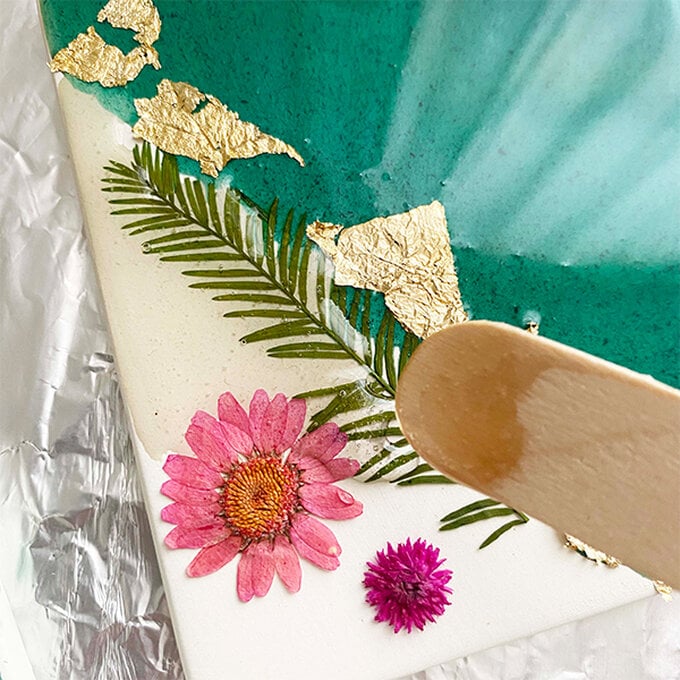
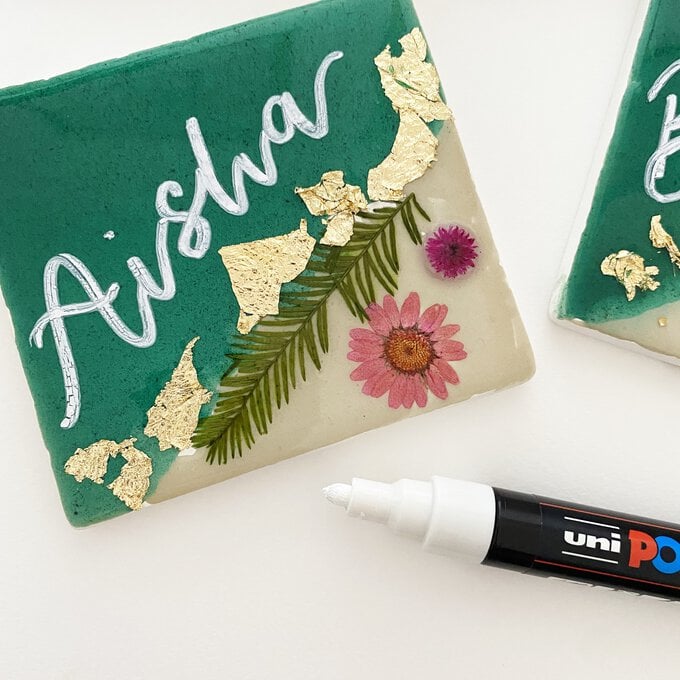
Personalise the resin colour to suit the lucky recipient by adding your choice of inks and then simply layer onto the ceramic coaster blank. Leave to set then add your hand-lettered name or phrase – what could be simpler?
Project and instructions by Becki Clark
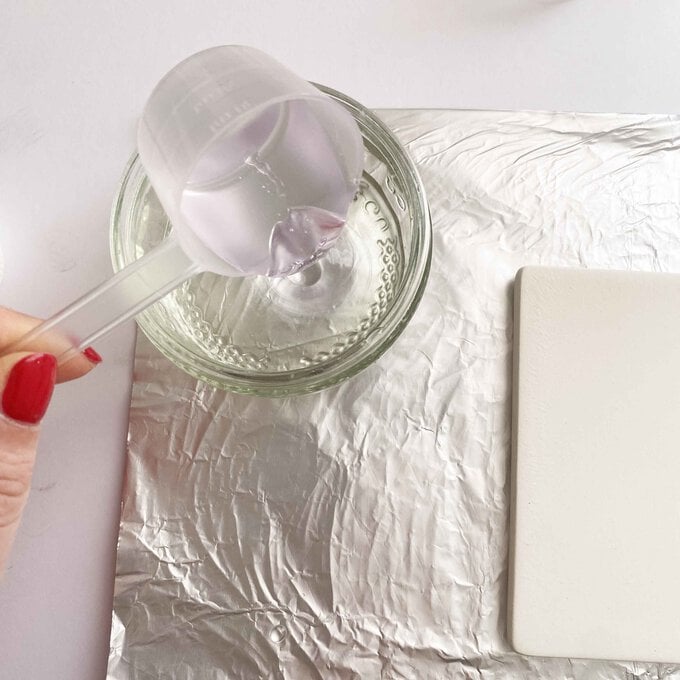
Warning: You will need to work in a well-ventilated area while working with resin. You will also need to wear a respirator mask and wear disposable gloves.
You will need
Subtotal
Is $ 34.00
Subtotal
Is $ 10.00
Subtotal
Is $ 20.00
Subtotal
Is $ 13.00
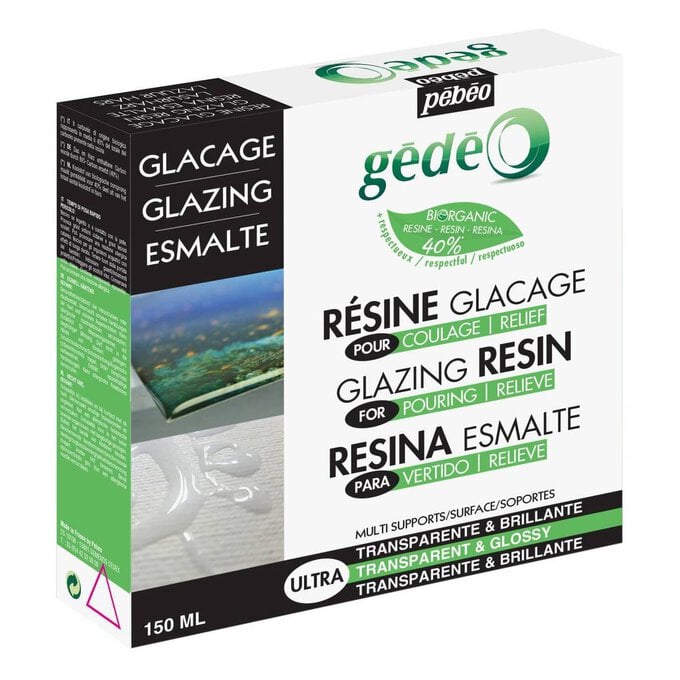
* Pebeo Glazing Resin Kit
* Fluid Pigments
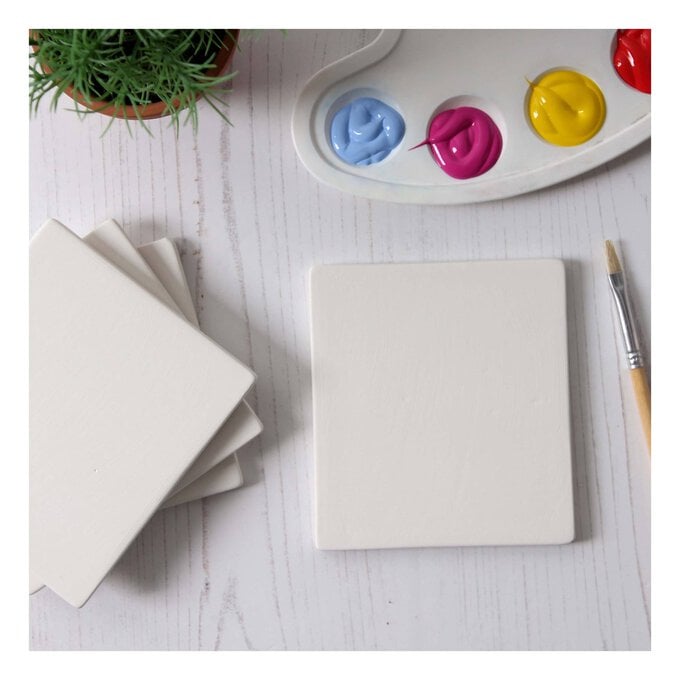
* Ceramic Coasters
* Flowers
* Heavy Books
* Blotting Paper
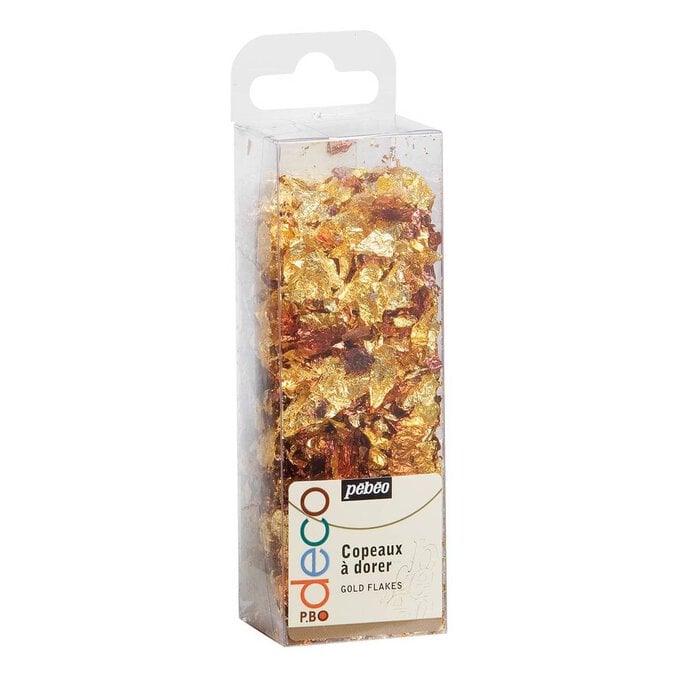
* Gilding Flakes
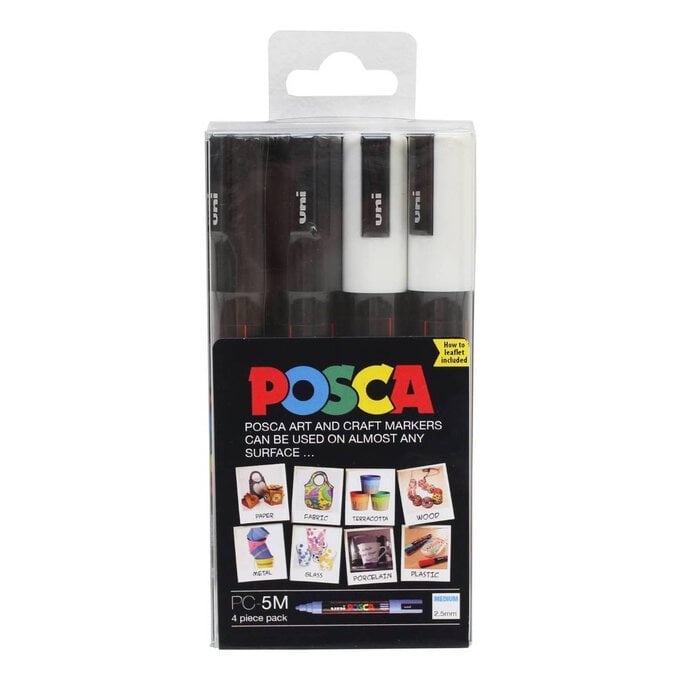
* Paint Markers
* Nitrile Gloves
* Pouring Cups

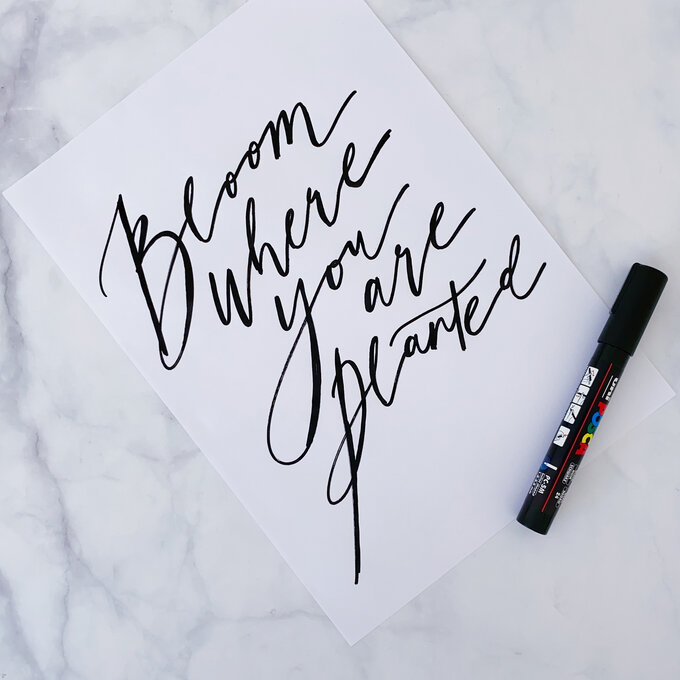
Practice mono line calligraphy before working on the coasters.

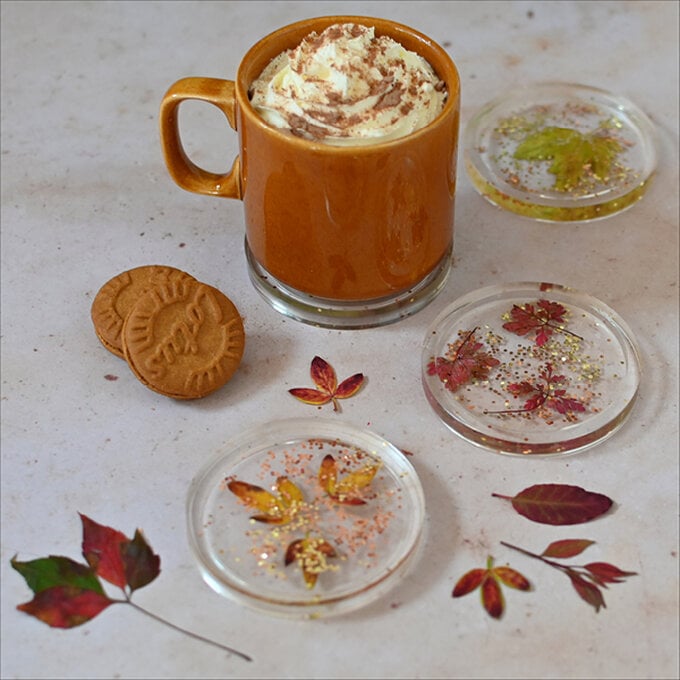
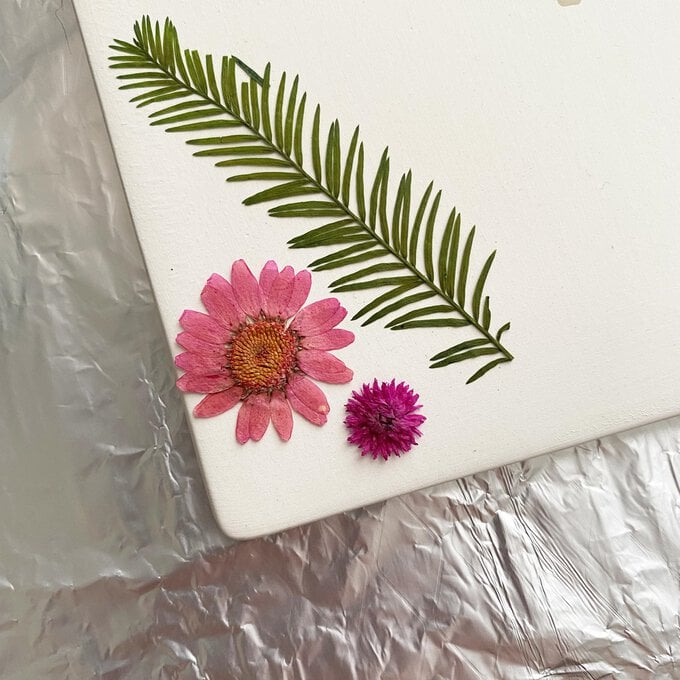
If you are pressing your own flowers, you will need to place the florals on blotting paper in the middle of the book. Make sure you give each flower enough room to be pressed flat without touching another. Small, light flowers such as pansies and daisies or foliage such as ferns work best. Leave inside the book and under a stack of a couple of heavier books for a fortnight to press well.
Place your flowers on the corners of the ceramic coasters.
Personalise your dried coasters with names using the Posca Pen.
Related Products