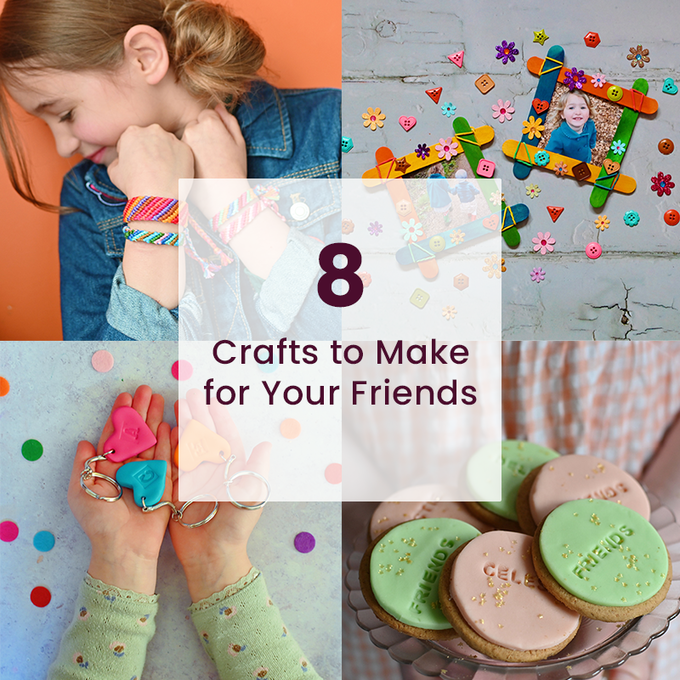
How to Make a Photo Frame with Craft Sticks
Young children love having photos of their friends around, so making these fun frames is a lovely activity to encourage talking about their friends and making at the same time. You can easily change up the photos whenever you feel the need and you can tailor the colours and decorative elements to whatever is in the photo.
A project with little mess, these frames use elastic bands and glue to hold things in place. These also make great gifts for friends and family.
Project and instructions by Georgia Coote
You will need
Subtotal
Is $ 1.49
Subtotal
Is $ 2.49
Subtotal
Is $ 3.49
You Will Need
* Photos
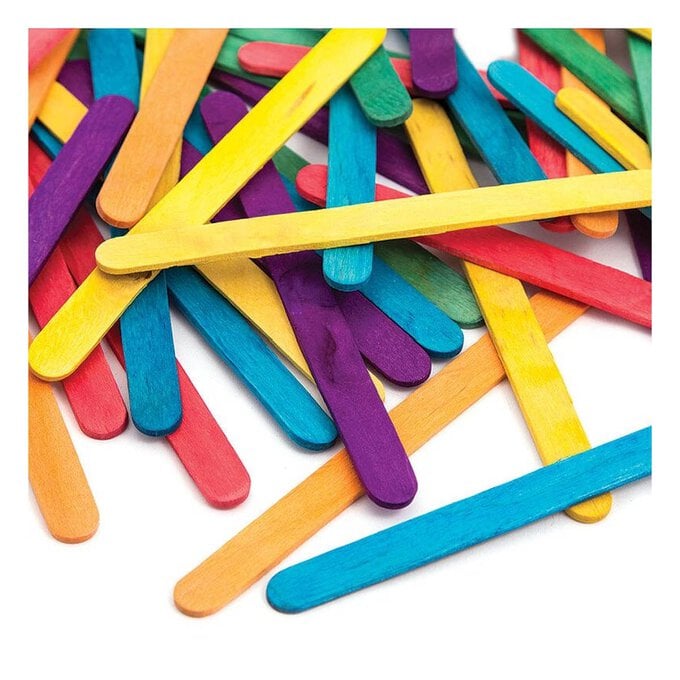
* Wooden Craft Sticks
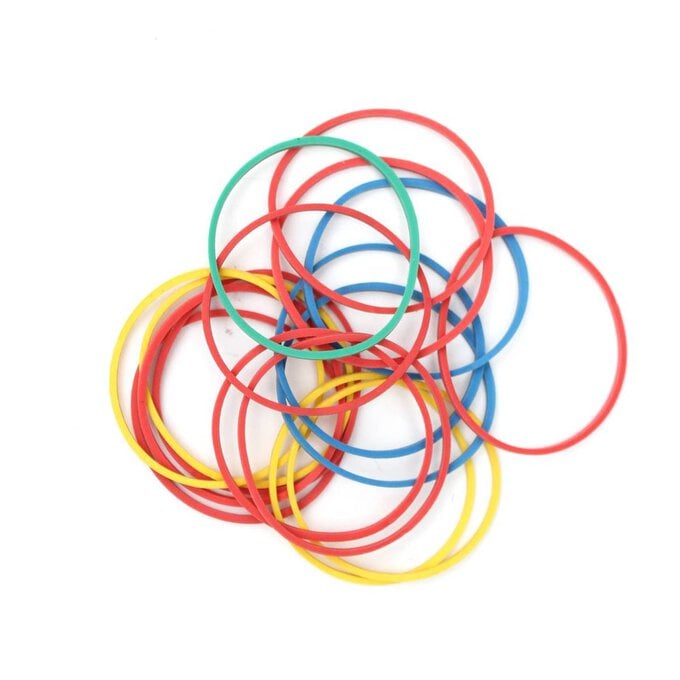
* Elastic Bands
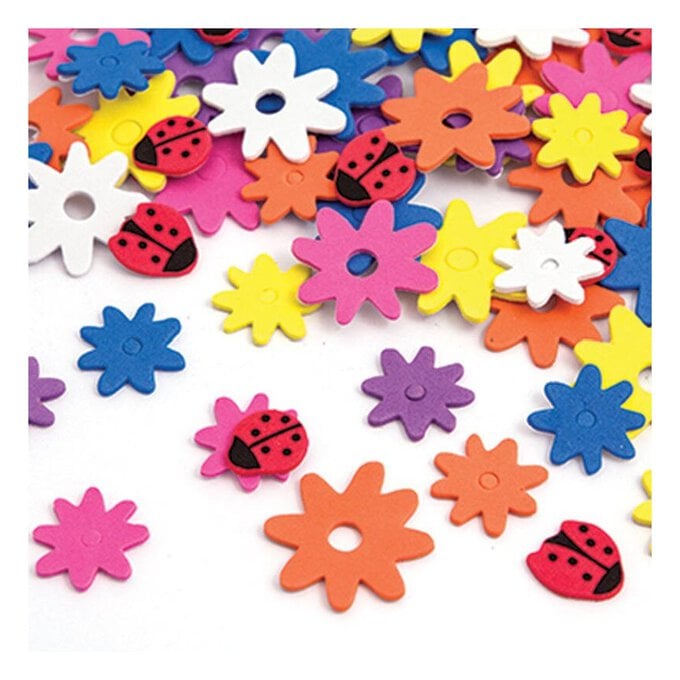
* Stickers / Embellishments
* Scissors
* Glue
How to Make
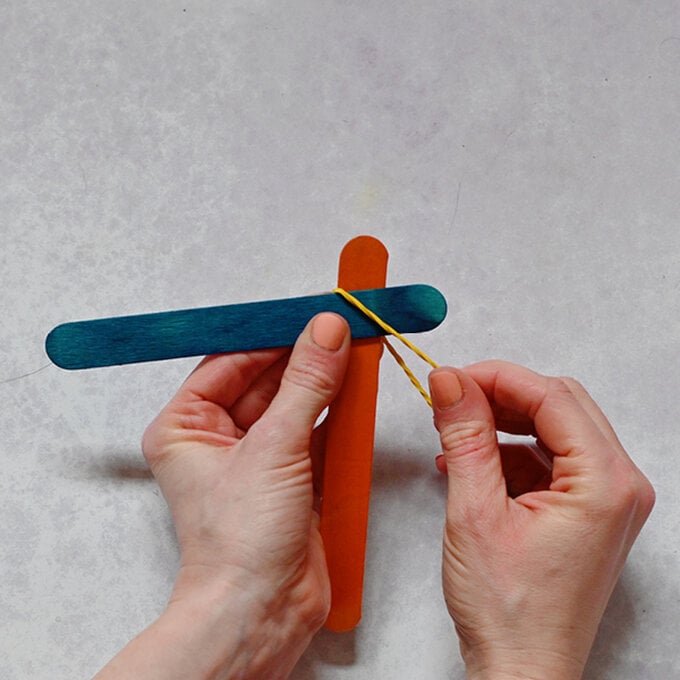
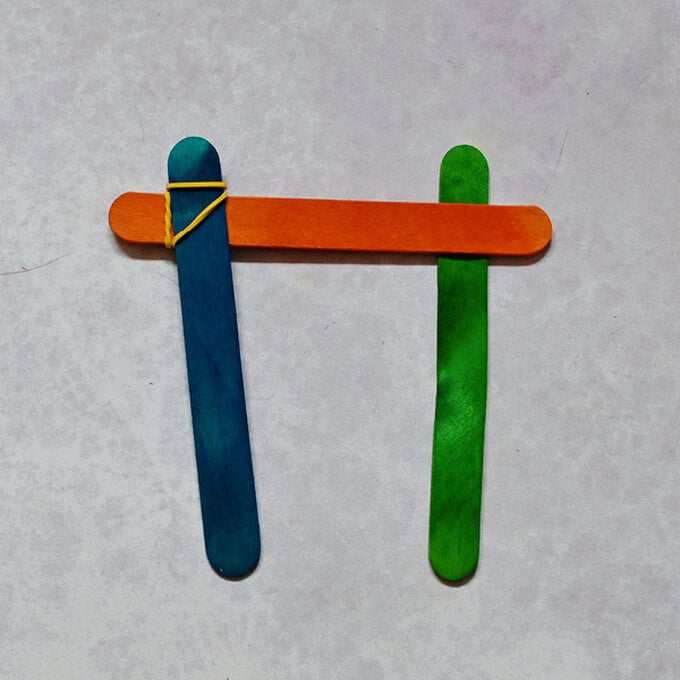
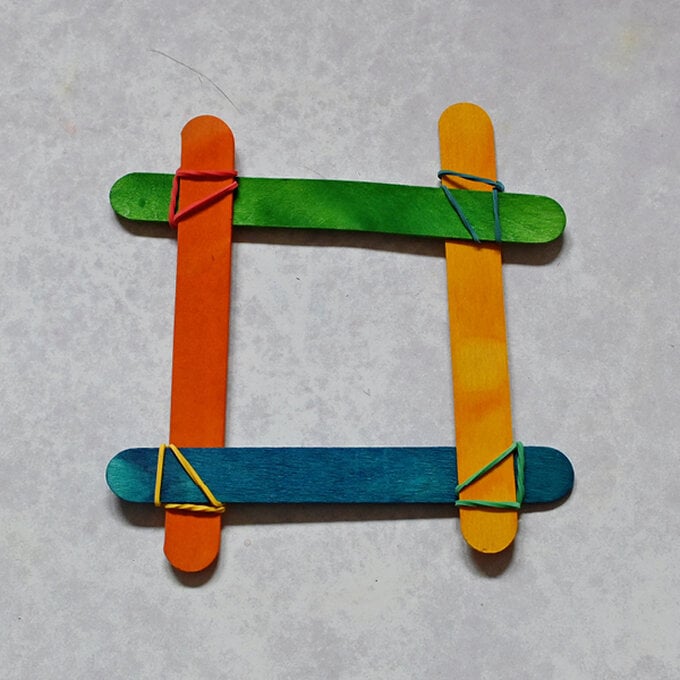
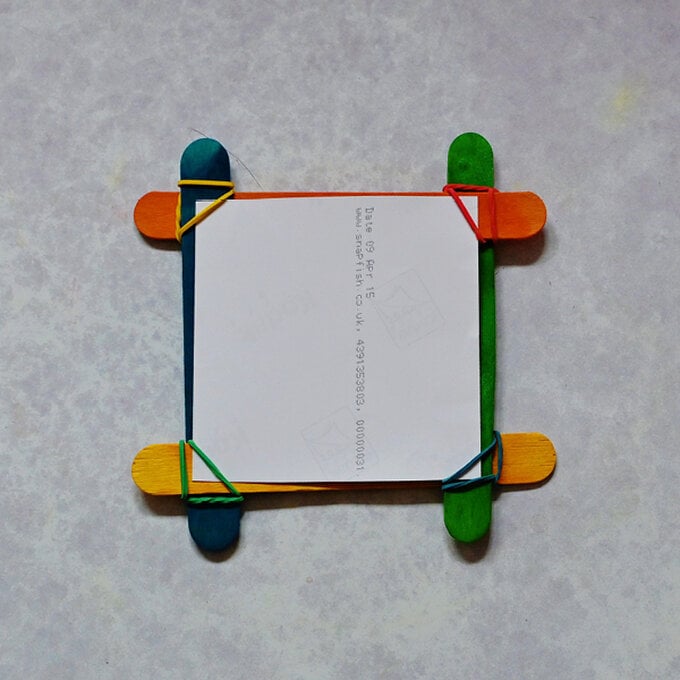
Take two of the lolly sticks and hold them so that they overlap at the end and creating a 90 degree angle. Stretch and twist an elastic band across the sticks to hold it in place. Repeat with each lolly stick to create a rectangular frame.
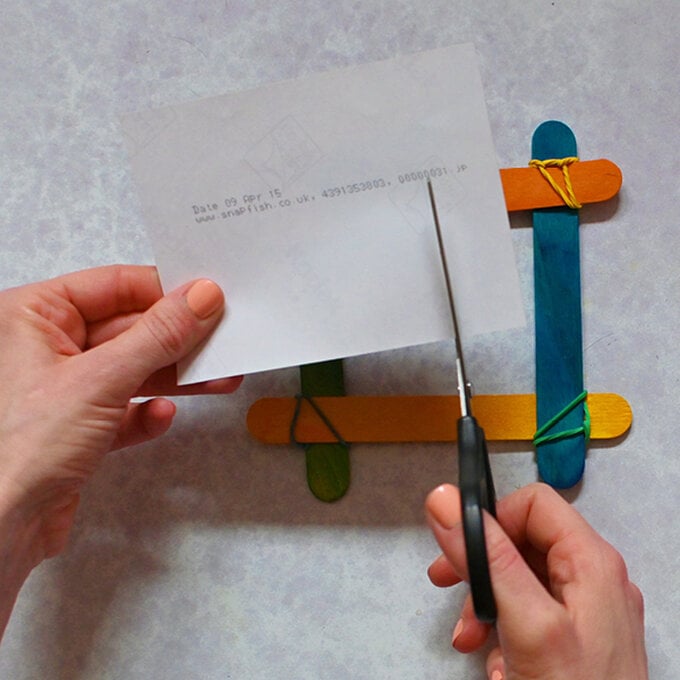
Cut down your chosen photo to fit the frame.
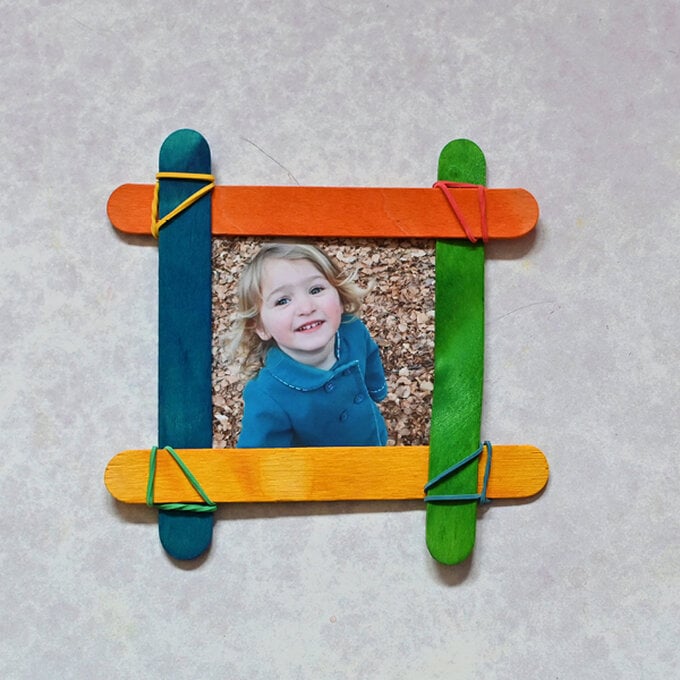
Slide the photo into the back of the frame, using the elastic bands to secure it in place at the corners.
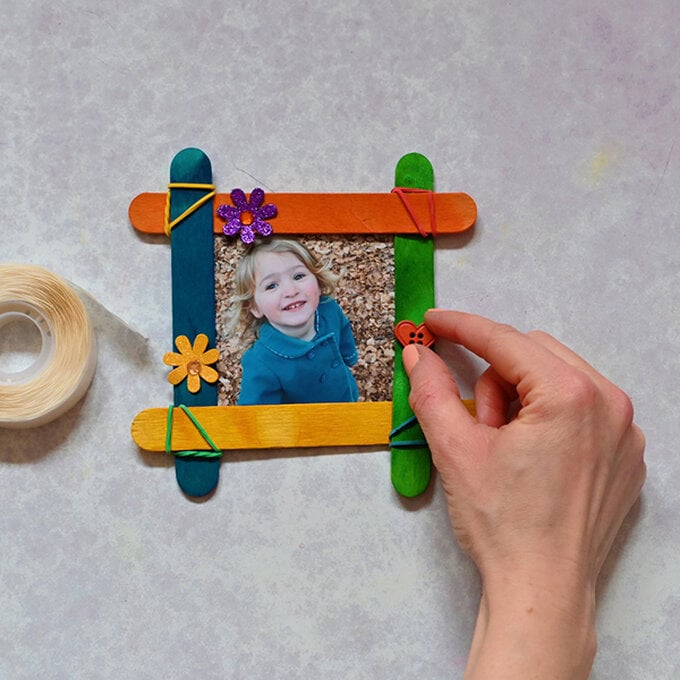
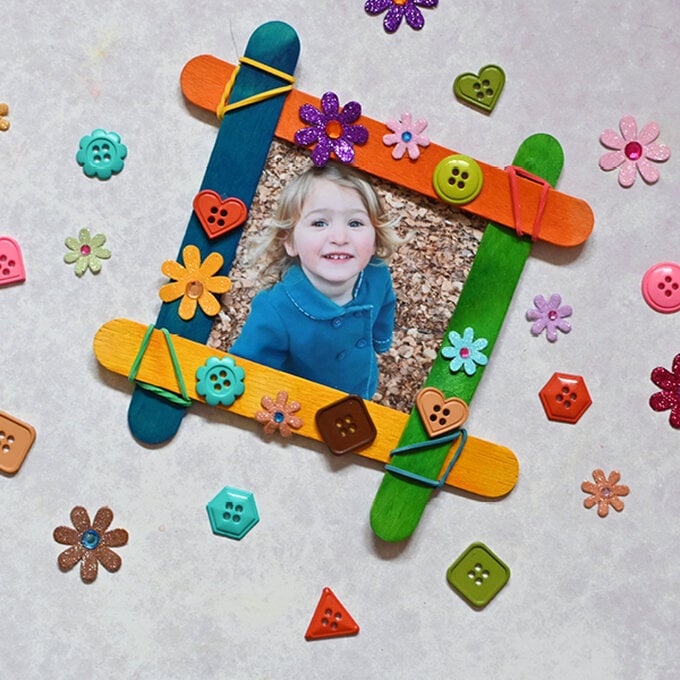
Apply glue to the frame and stick the embellishments on top.
Related Products