How to Make a Pumpkin with Clay Beads
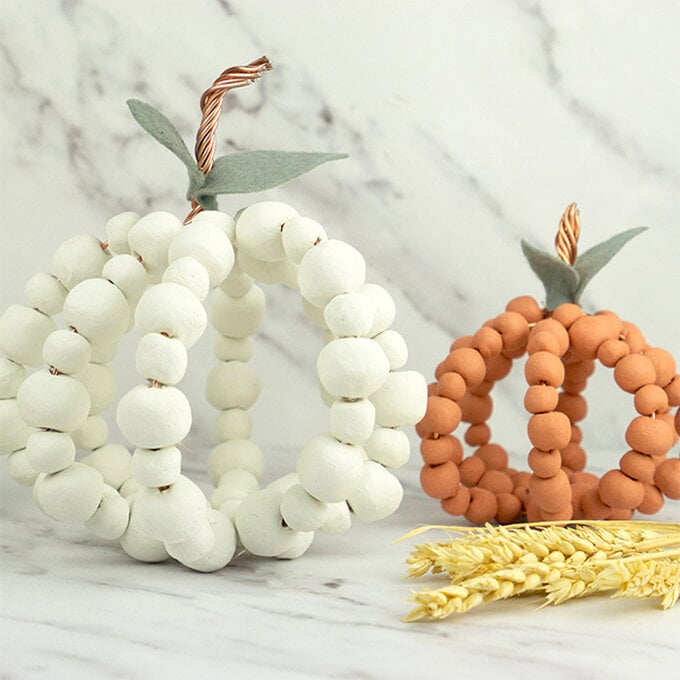
Air drying clay is a must-have on your autumnal craft supplies shopping list and the possibilities with this material are endless. These clay bead pumpkins are so simple to make and stylish to boot.
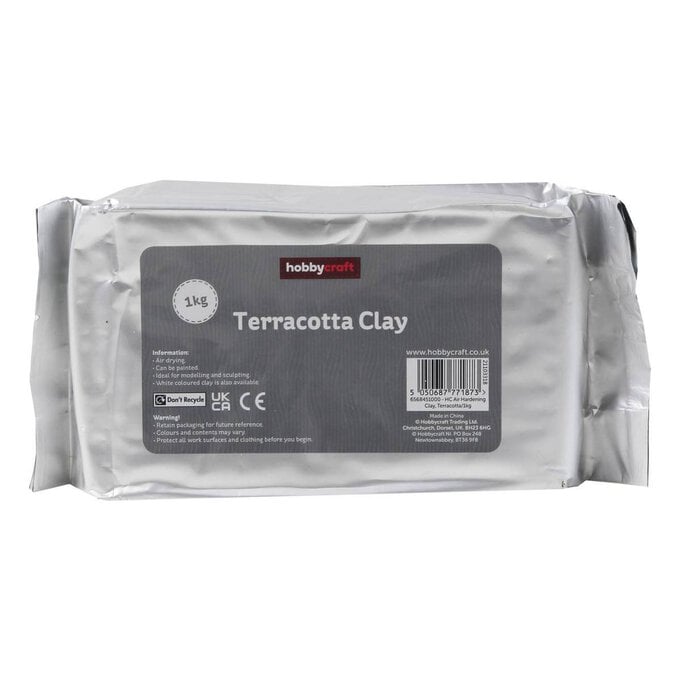
Choose white or terracotta clay to make your beads, or do what we've done and mix the two for a dreamy colour palette that gives cosy, rustic vibes. These pumpkins lend themselves to simple dining table decor and when your guests ask you where you bought them you can boast, “I made them myself!"
Project and instructions by Amy Buchanan
You will need
Subtotal
Is $ 3.49 , was $ 6.49
Subtotal
Is $ 3.49 , was $ 6.49
Subtotal
Is $12.98
Subtotal
Is $ 1.49
You will also need:
*Kitchen scales
*Cocktail sticks
*A knife
*Wire cutters
*Sandpaper
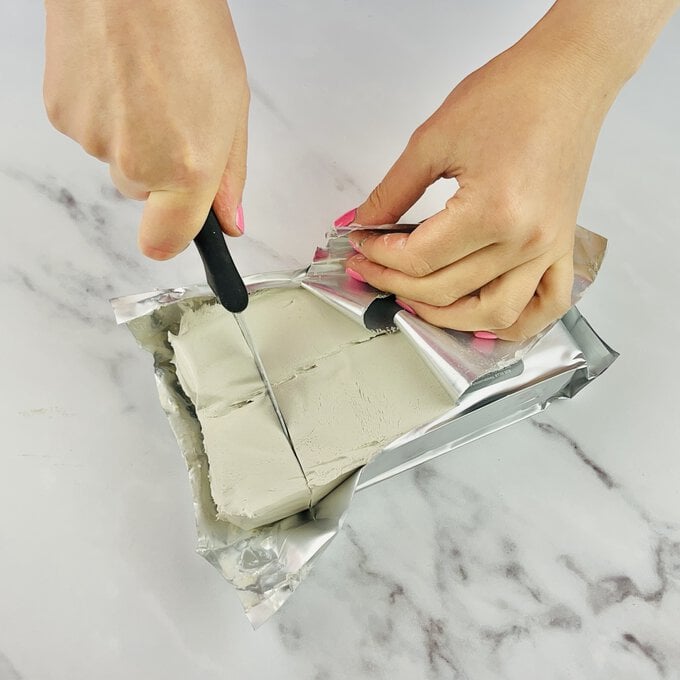
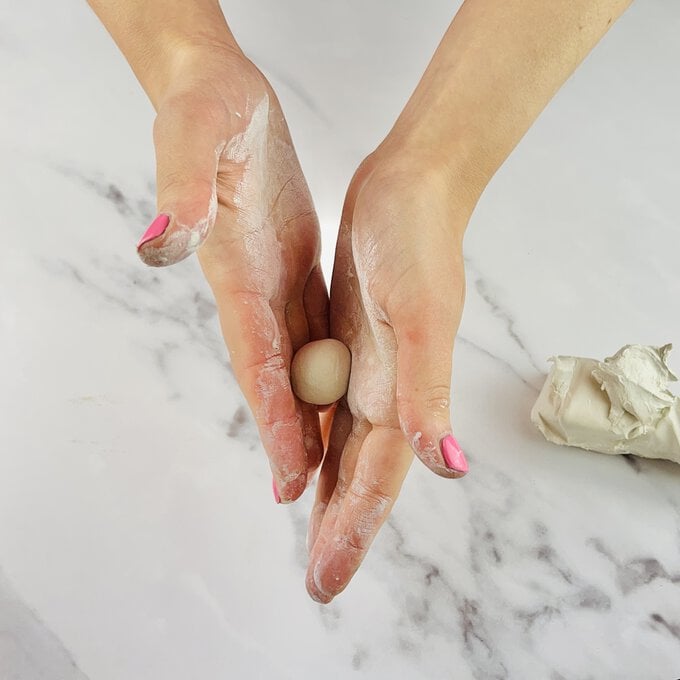
To make your beads more unified, you can weigh out each piece of clay.
For the large pumpkin you will need to make 40 x 15g beads and 40 x 5g beads. For the smaller pumpkin you will need to make 40 x 5g beads and 40 x 2g beads.
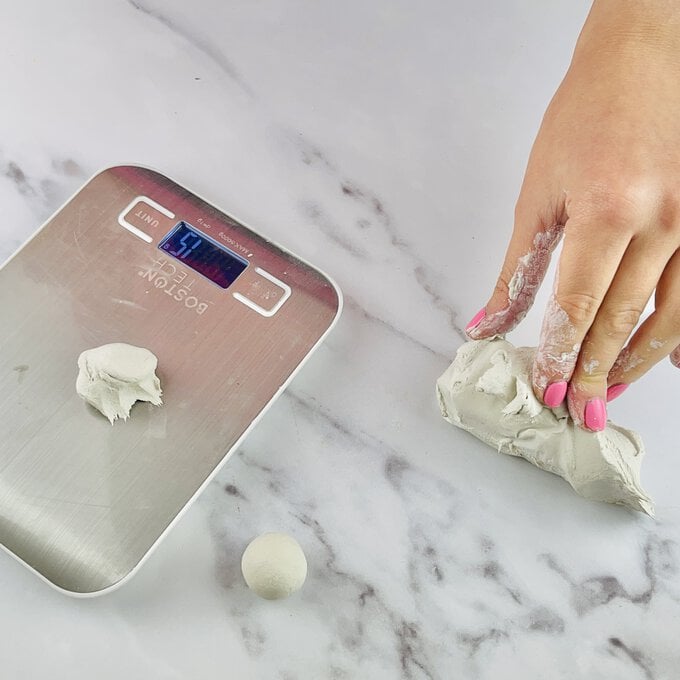
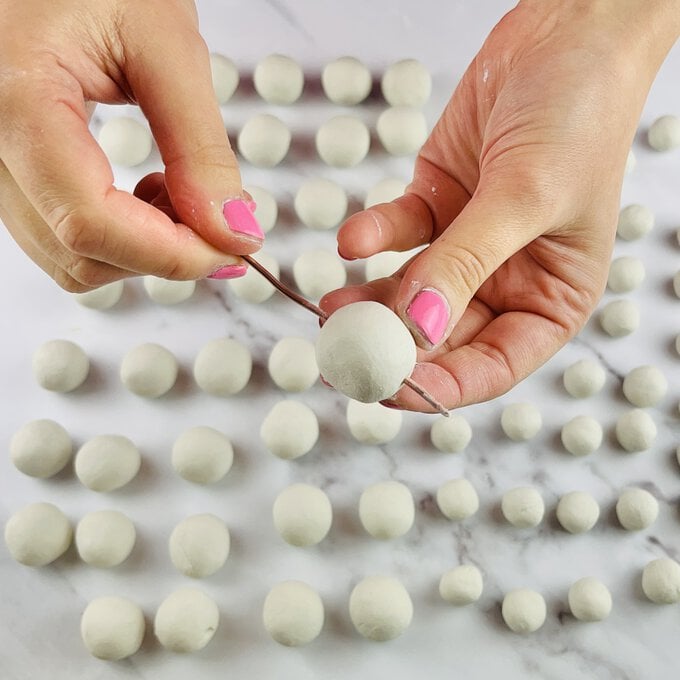
Once you have made the beads add a hole through the centre of each using a cocktail stick.
Remember to make the hole big enough for your wire to thread through.
Leave the beads to dry for 48 hours.
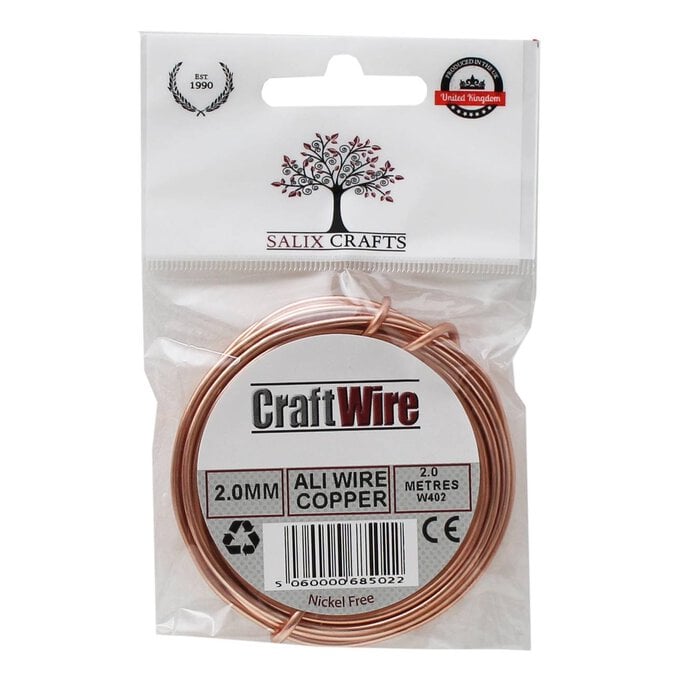
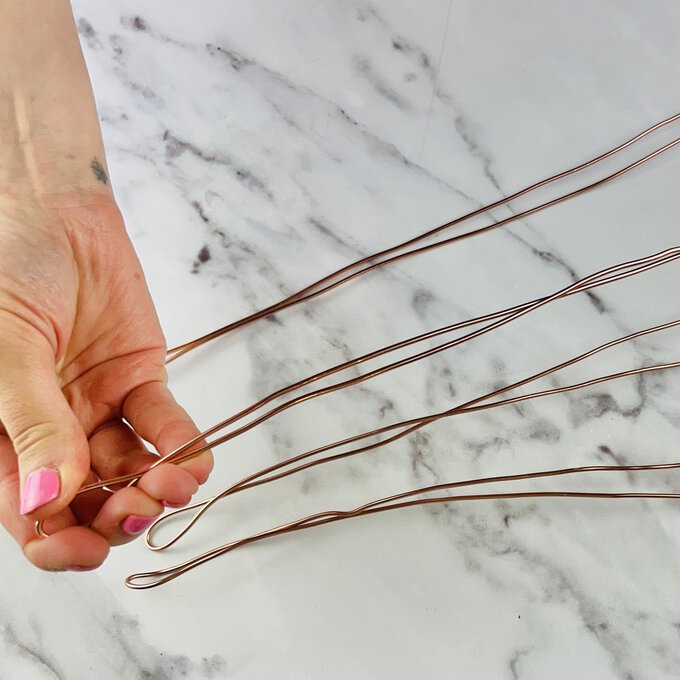
Measure out 4 x 75cm pieces of 2mm copper wire and fold each piece in half. Be careful, the ends of the wire will be sharp!
Using sandpaper, smooth out the ends of the wire.
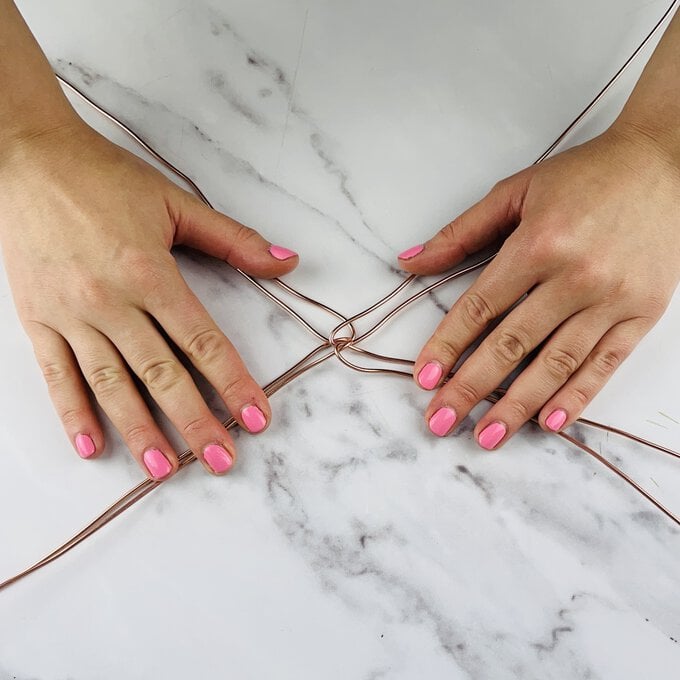
Begin threading on the clay beads, alternating between big and small.
Each wire will have 10 beads in total.
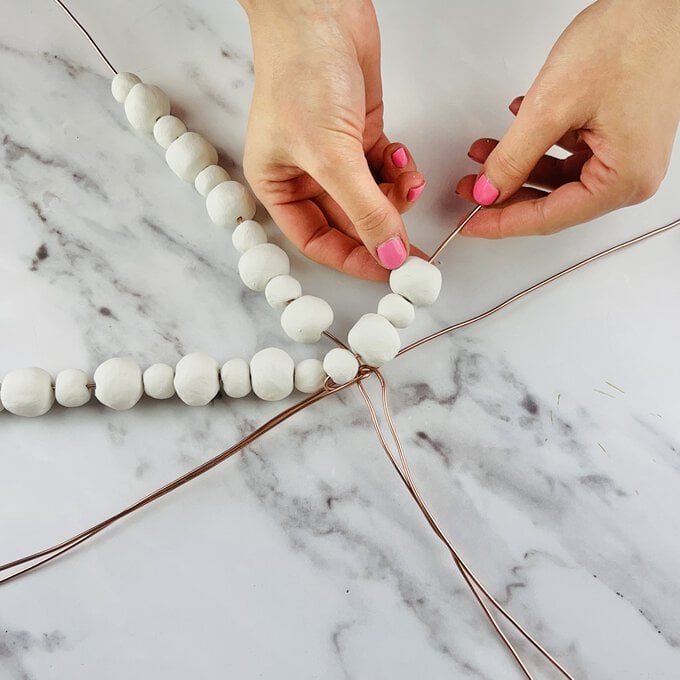
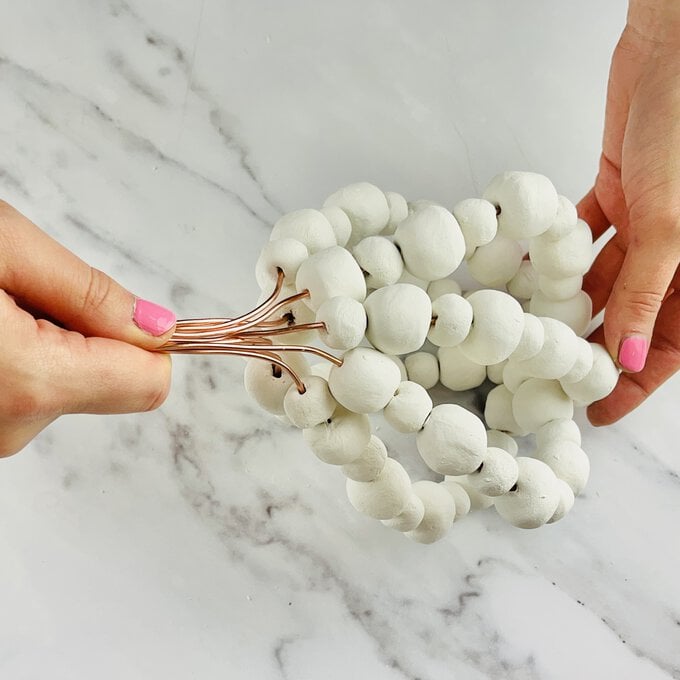
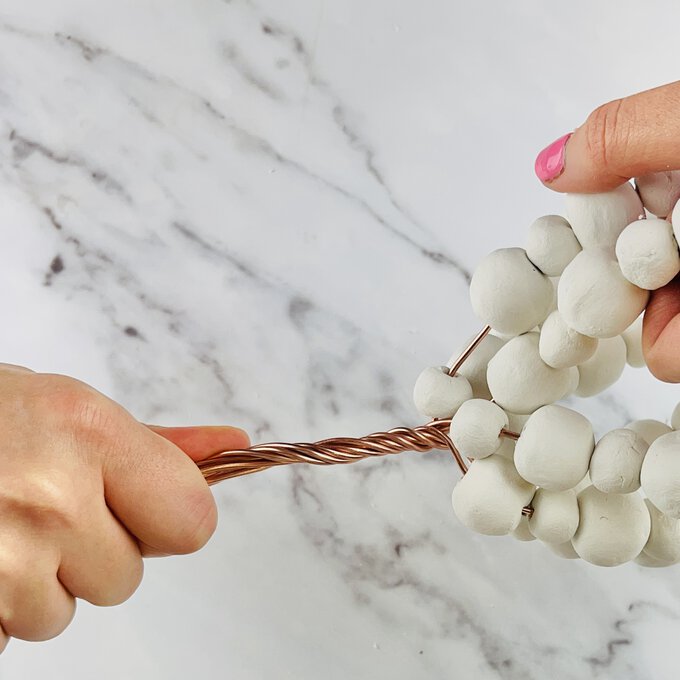
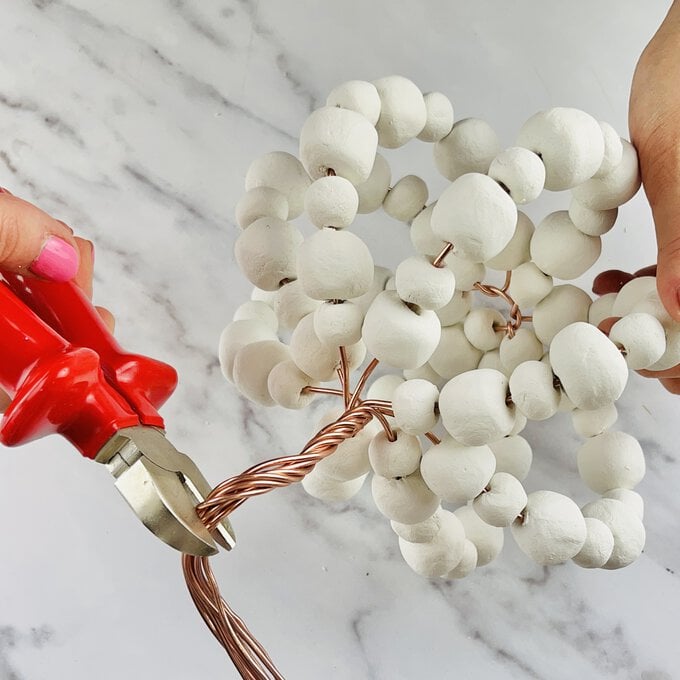
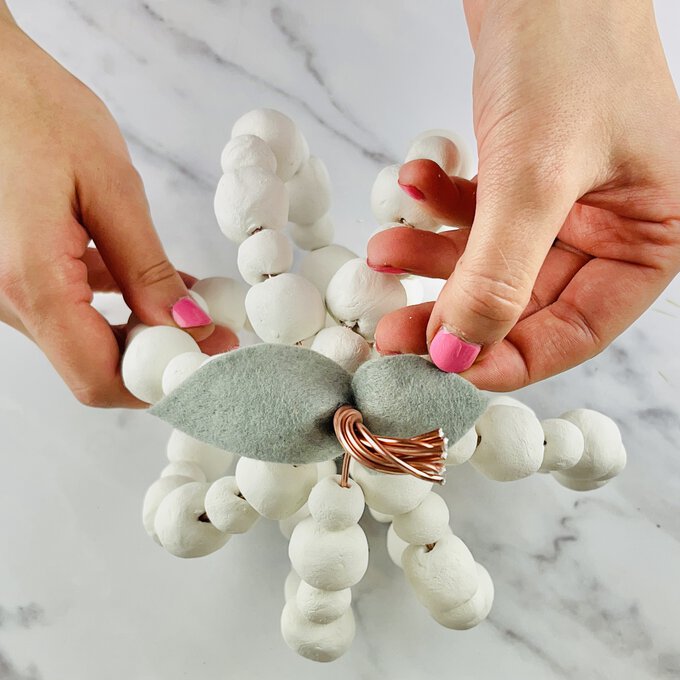
Trim off any excess if need be (the stalk should be no more than 8cm). Re-sand the ends of the wire so they aren't sharp.
