How to Make a Tie-Dye Gym Bag
Embrace the trend of the summer with a unique, homemade tie dye bag! Perfect for a trip to the gym, this tie dye accessory is certain to stand out – and you can even personalise it with your choice of dye colours. Simply follow the guide from Sew Jessalli's sewing expert Sophia and you'll be all set to dye and sew your tie-dye gym bag.
The tie-dye revival is in full swing now, so if you're looking for more tips and inspiration then check out our guide to dying here.
Project and instructions by sewing expert Sophia Palmer from Sew Jessalli.
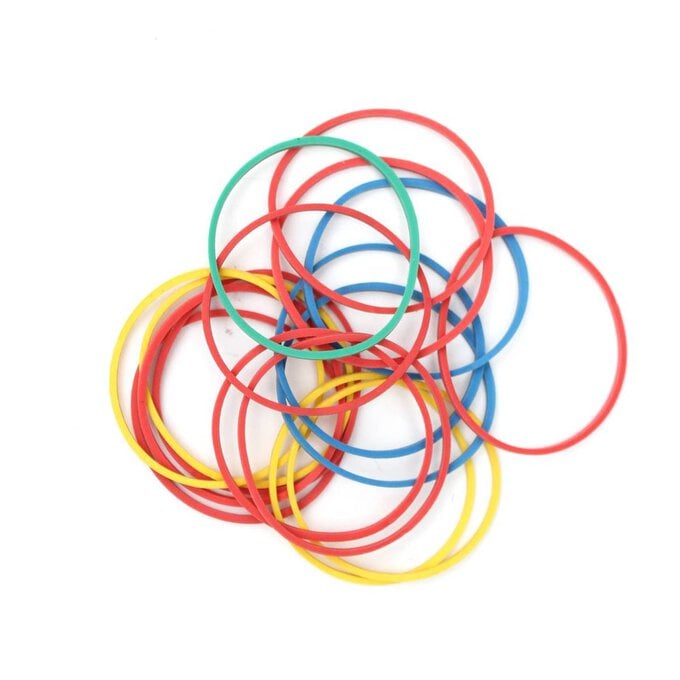
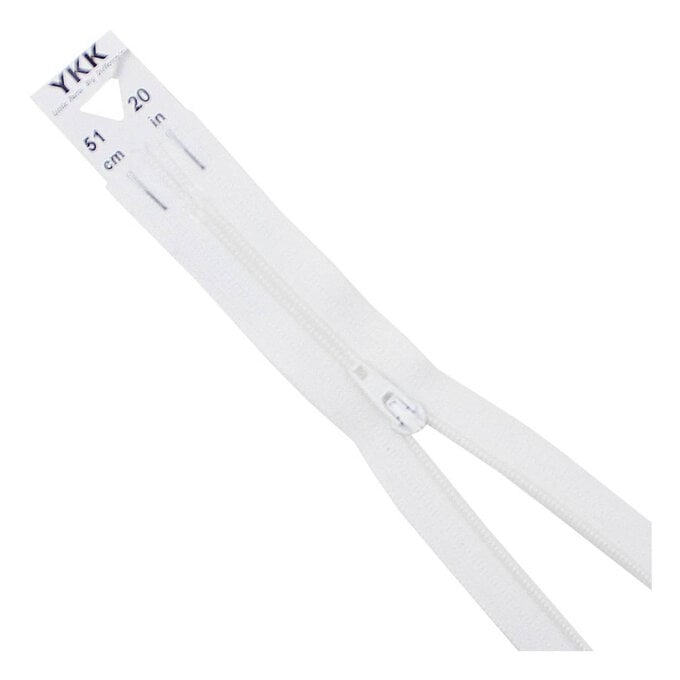
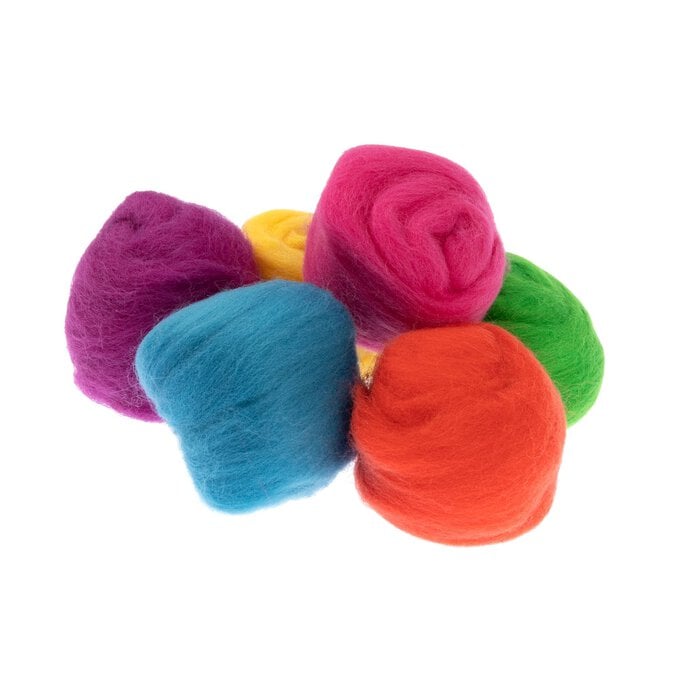
You will need

Subtotal
Is $ 217.00

Subtotal
Is $ 8.49
Subtotal
Is $ 1.49 , was $ 3.49
Subtotal
Is $ 4.49
Subtotal
Is $ 2.49

Subtotal
Is $ 13.00
Subtotal
Is $ 3.49
Subtotal
Is $ 5.49
How to make
All sewn edges use a 10mm seam allowance.
Get your calico fabric and cut a 50cm piece off (using the 120cm width). Put this to one side, this will become the strap and tabs later on.
On the main piece of fabric, decide what tie-dye pattern you want to go for. We went for large 'dots' by pinching large sections of the fabric and tying them off with elastic bands.
Place the 'dots' as close or as far apart as you like. The natural texture and creases of the calico will also give it a great variation of pattern.
Once you're happy soak the whole piece in lukewarm water.
Ring out gently and put to one side.
Following the dye instructions, prepare your dye mixture in a bucket or stainless steel sink, then add the fabric.
You will need to stir this regularly for the required time.
Once done, rinse the fabric a couple of times in cold, then warm water.
Remove elastic bands and leave to dry.
Once dry, give it a good press.
Cut out four pieces of fabric measuring 50x35cm. These will become the outer and lining pieces.
You may want to choose the best placement on your fabric for maximum effect.
Get your zip and lay it right sides down on top of your first chosen outer piece.
Lining up the edge of the zip with the raw edge of the fabric.
Then lay a lining piece on top to sandwich the zip in between, pin these three layers together and sew.
Be careful not to sew too close to the zip teeth.
Repeat with the other two pieces, keeping the previously sewn pieces out of the way.
Once sewn, with the zip in the middle, gently push the fabric away from either side of the zip. The outer pieces will now be on top of the lining pieces on each side.
Press away from the zip and topstitch down each edge.
You may also want to zigzag both ends of your zip so they stay together.
Undo the zip slightly.
Now fold your bag the other way so lining pieces are right side together, and outer pieces are right sides together.
Pin and sew both bottom edges.
Turn the right way and place lining inside the bag.
From your plain, undyed calico, cut two rectangles measuring 10x8cm.
Fold and press the slightly shorter edges into the middle, then press the whole thing in half to create a neat tab measuring approx 8x2.5cm.
Stitch down both sides, then press in half.
Place folded tabs on top of the zip ends, with raw edges together.
Pin and zigzag all the way around both circular ends, securing tabs and sewing lining and outer raw edges together.
On your plain, undyed calico, cut two strips measuring 100x20cm and sew them together to create a strip slightly smaller than 2 metres long.
Like the tabs, fold the long edges into the middle and press, then press in half again to create a neat strip.
Join the strip into a loop by placing one end inside the other, press one edge inside to create a neat edge.
You need the piece to be flat so you can check it's not twisted.
Pin together.
Sew down both long sides of this long loop.
Sew across the join too.
Using the joined end as a start point, fold the loop in half and mark 4 quarter with pins. With the bag the right way around, place the joined edge and the other half way point at the bottom seam line of the bag, pin in place 10cm away from the bag edge.
Make sure to only pin through 2 layers of fabric.
Continue pinning the strap loop to the bag, 10cm from the edge, until it's 10cm away from the zip.
Check the strap isn't twisted in any way.
Make sure the zip is open to help sew the next bit.
Starting at the base of one handle, sew along one pinned edge, up to the pin stop and then pivot to sew across this point, then down the other edge and repeat the seam pivoting at the other side.
You're sewing a rectangle shape. Then repeat this process on the other pinned handle.
At the shorter sewn ends, near the zip, reinforce the handle by sewing a rectangle with a cross through it.
You might find it easier to sew this through the zip opening.
The circumference of each end of the bag should be around 70cm.
Draw a circle with a diameter of 23cm and use this to cut two circles from the tie-dye fabric.
With the bag the wrong way around, pin one circle to the ends of the bag. Make sure you don't over-stretch the edge as you go.
Sew around this edge, joining the circle end to the bag. It's easier to sew this with the circle on the bottom under your machine, then you can see the bag to follow the curved edge, this will reduce puckers.
Once sewn, use a zigzag stitch to sew the raw edges.
On the handles, make a halfway point with a pin, fold the handle in half lengthways and pin at the centre point. Measure 5cm either side of the pin, and mark again.
Sew along the open edge, between the pins, to create comfortable handles.
You're ready to go!
Related Products


Is $ 5.49

Is $ 11.00