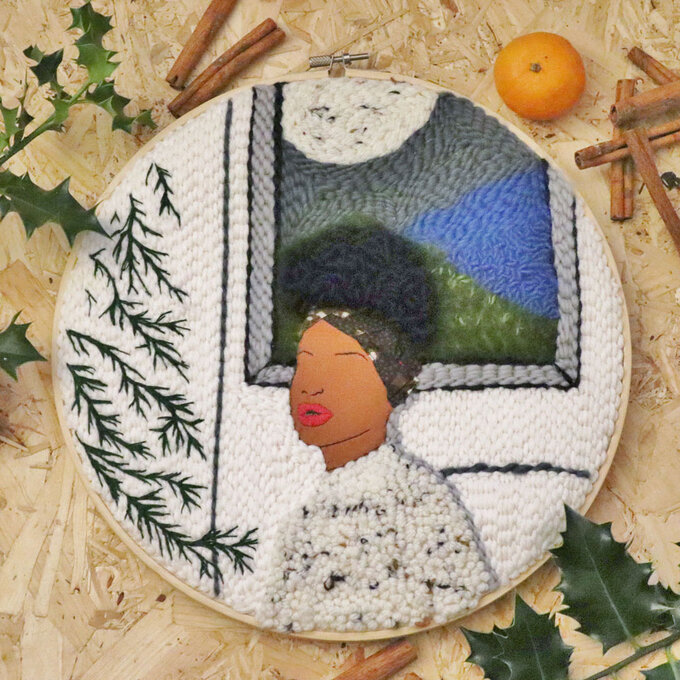
How to Make a Winter Punch Needle Portrait
Time to settle down, get cosy and warm up inside with this wintry punch needle project. This beautiful project has been created by Shikira who is an expert at combining punch needle with mixed media.
With simple steps that you can follow along and templates, applique your way to creating a scene that you can proudly hang in your home.
Project and instructions by Shikira.
You will need
Subtotal
Is $ 11.00

Subtotal
Is $ 7.49
Out of stock
Subtotal
Is $ 11.00
Subtotal
Is $ 7.49
Out of stock
Subtotal
Is $ 11.00
Subtotal
Is $ 7.49
Out of stock
Subtotal
Is $ 9.49
Out of stock
Subtotal
Is $ 25.00
Subtotal
Is $ 2.49
Subtotal
Is $ 2.49
Subtotal
Is $ 2.49
Subtotal
Is $ 8.49
Subtotal
Is $ 8.49

Subtotal
Is $ 10.00
Subtotal
Is $ 5.49
How to make
Additional items you'll need:
- Heat Transfer Paper
- Carbon Paper
- Iron
- Cellotape
- Grease proof paper
- Brown fabric for the skin tone
- African printed fabric
Methods used:
- Punch needle flat stitches and loop stitches
- Applique
- Split Stitch
- Satin Stitch
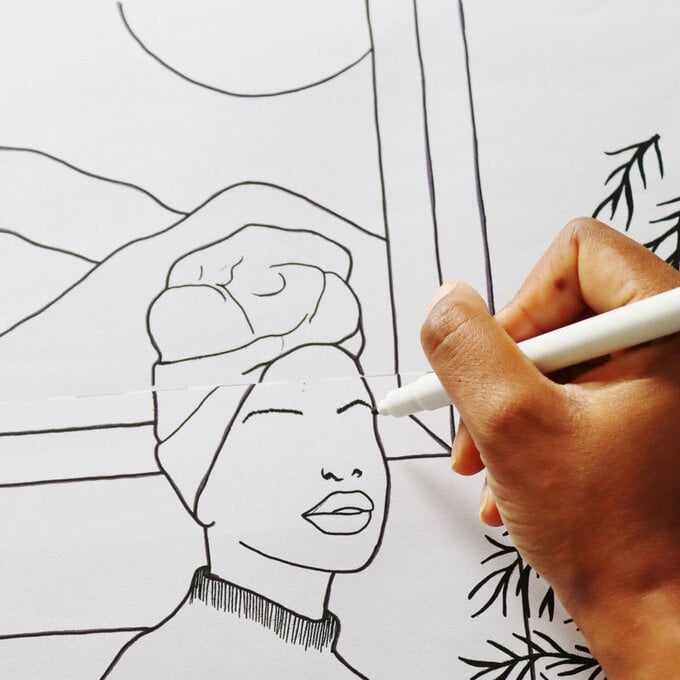
Print out the 2 page template plus additional face template. The main template is in 2 parts, cello tape the two halves together matching the lines of the drawing. Use a heat transfer pen to trace over the lines of the whole image. Do Not trace the spruce plant at the side of the design. That part will be added later.
IMPORTANT NOTE: Be careful of where you stick your tape because you will need to remove it easily so you can iron the paper. You don't want melted cello tape on your iron.
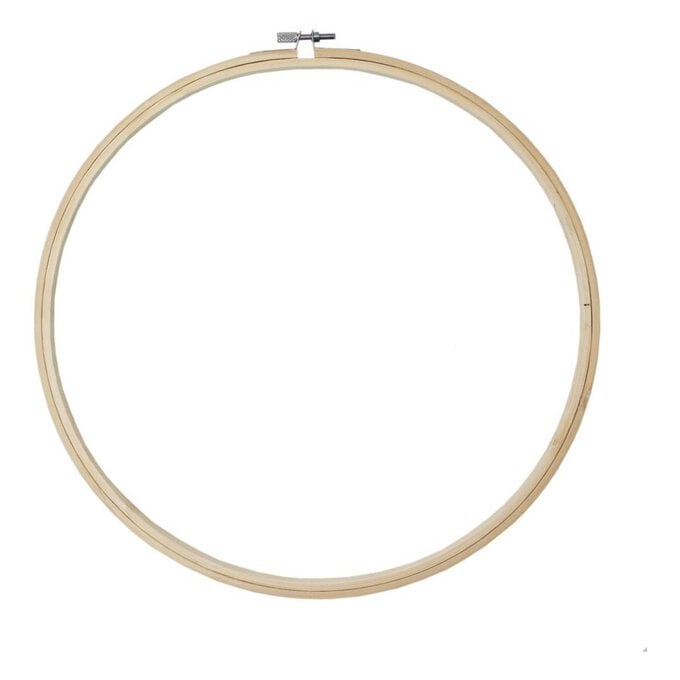
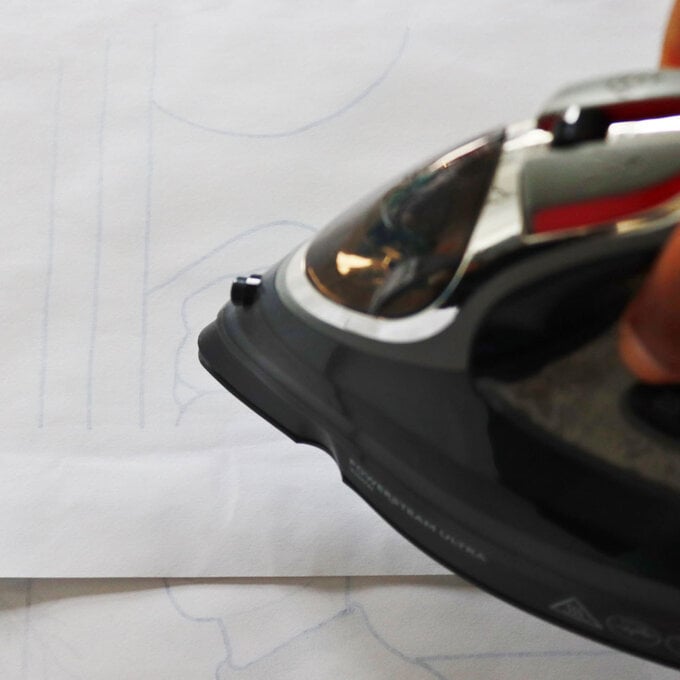
Cut a piece of Binca cloth using your 12 inch embroidery hoop as a guide. You want the size to be an inch or two bigger than your hoop. Place the whole image face down onto the centre of the Binca cloth, then iron the paper to transfer the image onto the fabric.
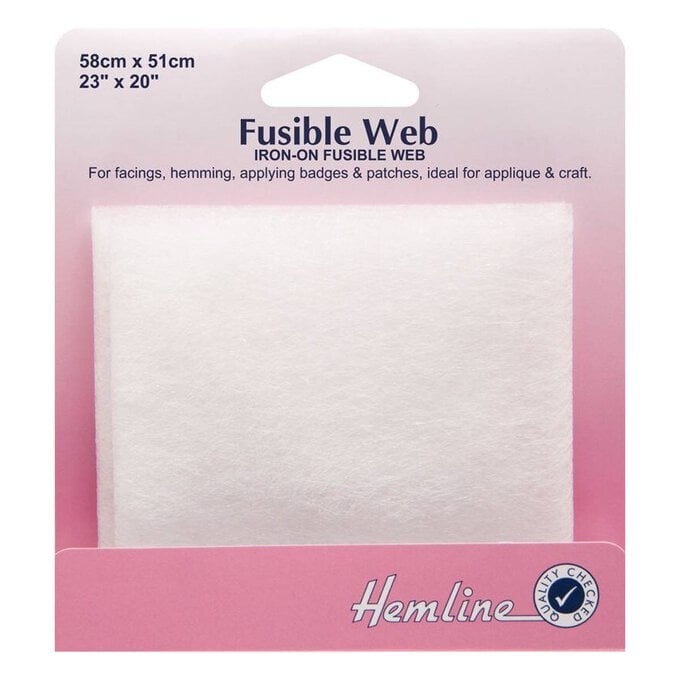
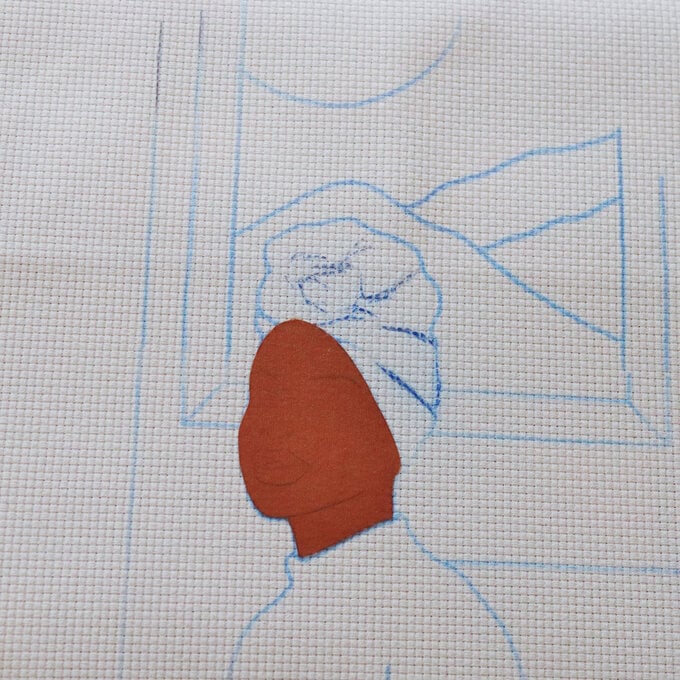
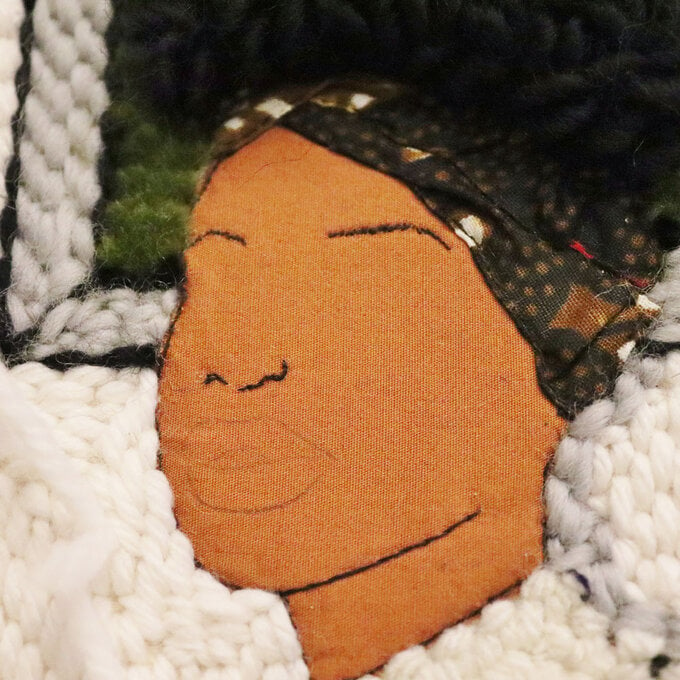
With the additional applique face template. Use carbon paper to transfer the outlines and face details onto the brown fabric. To this brown fabric you need to attach some Fusible web to the back before ironing to secure to the monks cloth.
Now set your Binca cloth into the embroidery hoop. It's time to begin the head wrap. Cut 2 pieces of African printed fabric slightly longer than the first section of the head wrap drawing and slightly wider too. You'll need to be able to finger press a seam around each edge.
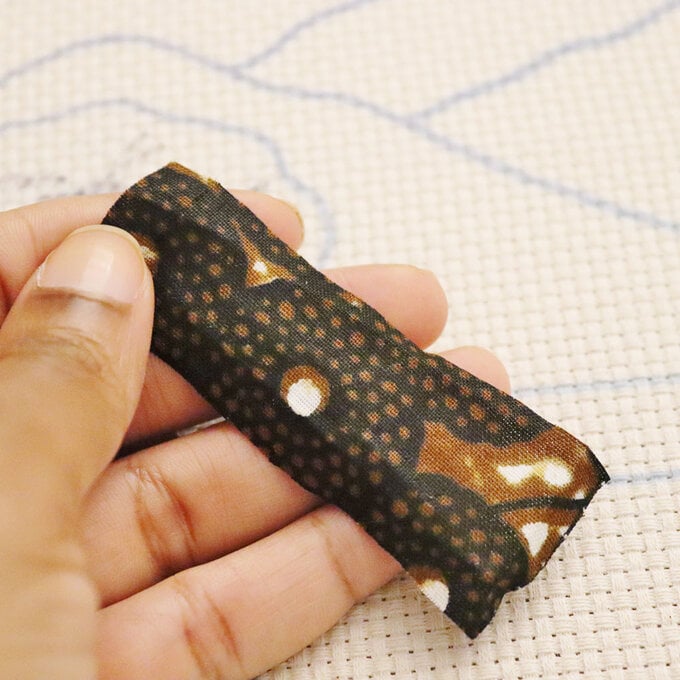
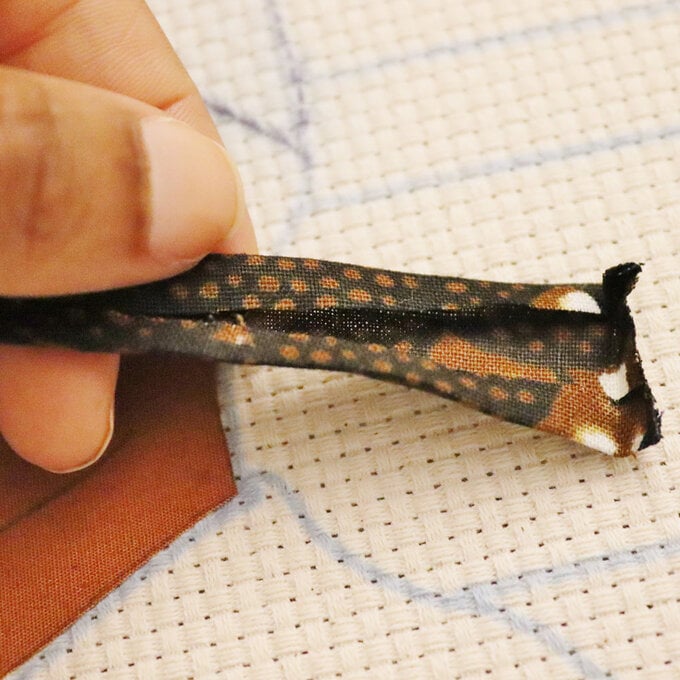
Begin stitching the fabric piece in place using a split stitch. At times you can also add in some folds to for a realistic feel. Once that piece is in place begin stitching the second piece in the same way.
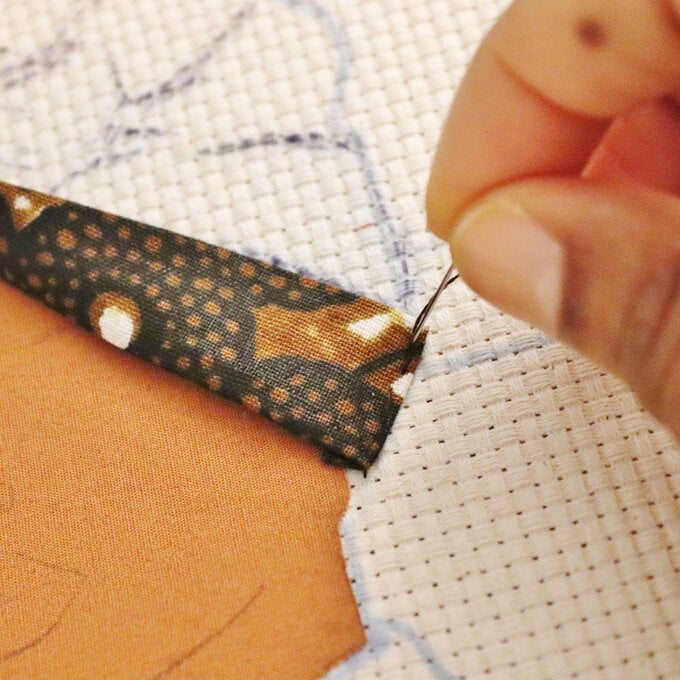
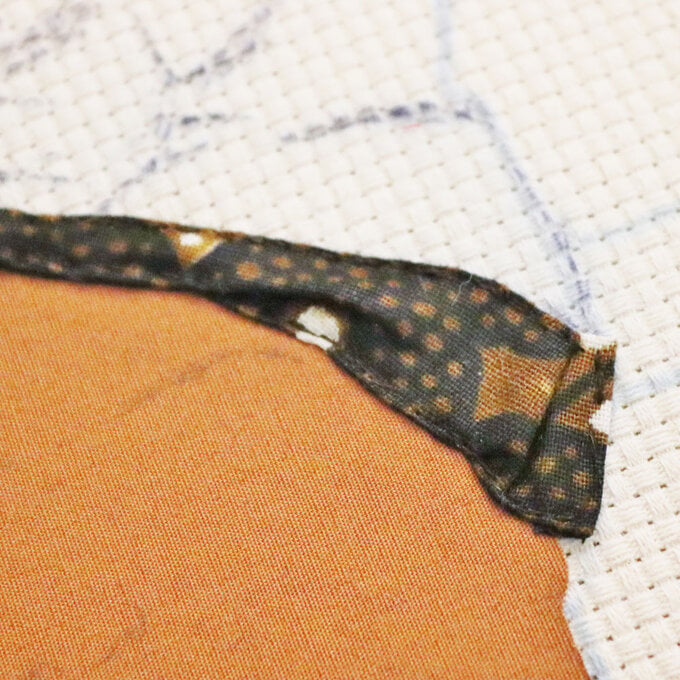

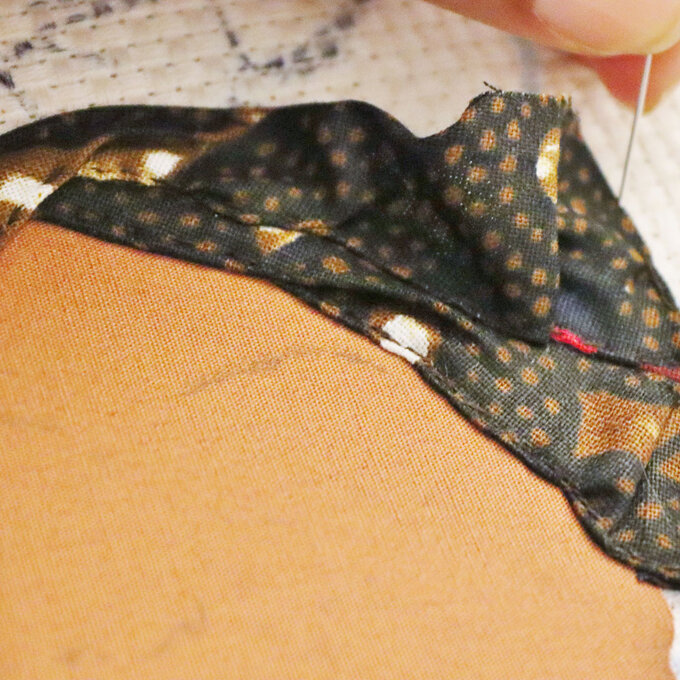
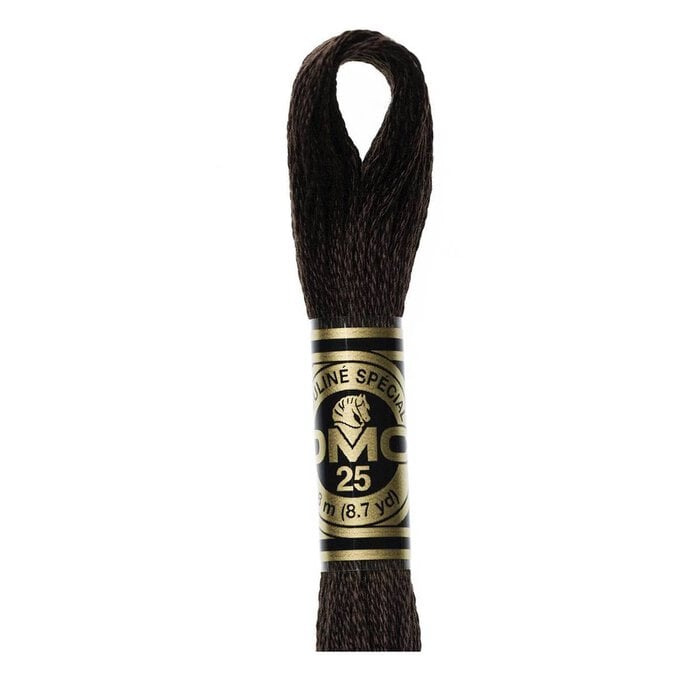
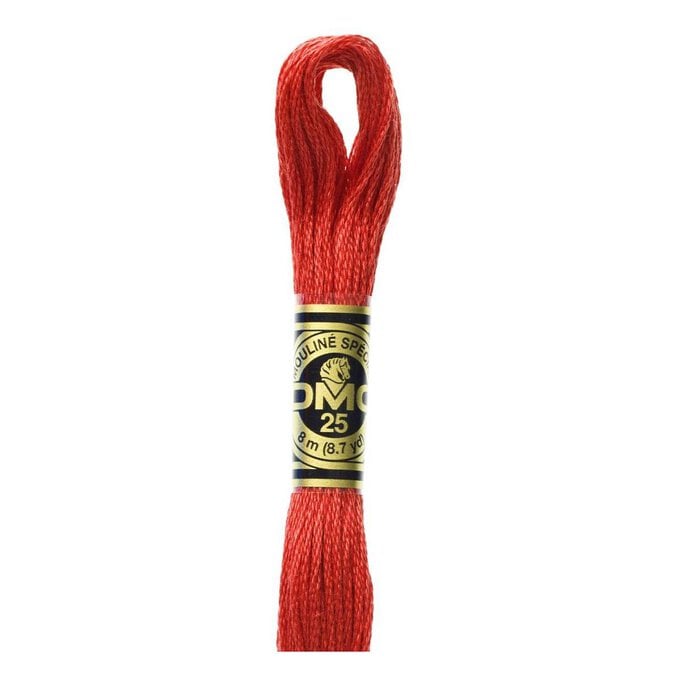
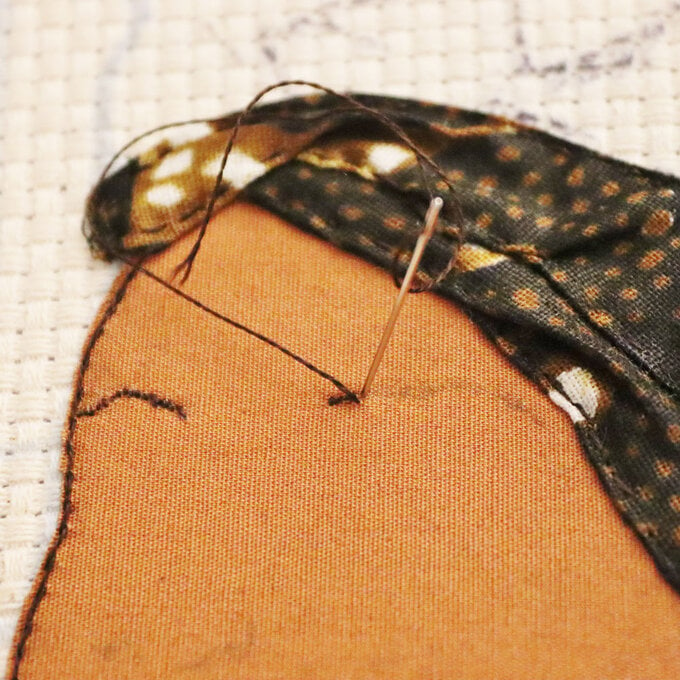
Use 1 strand of DMC thread colour 3371 and a split stitch to stitch the outline of the appliqué fabric. Take this all the way around the face before stitching the eye brows with small hair like stitches.

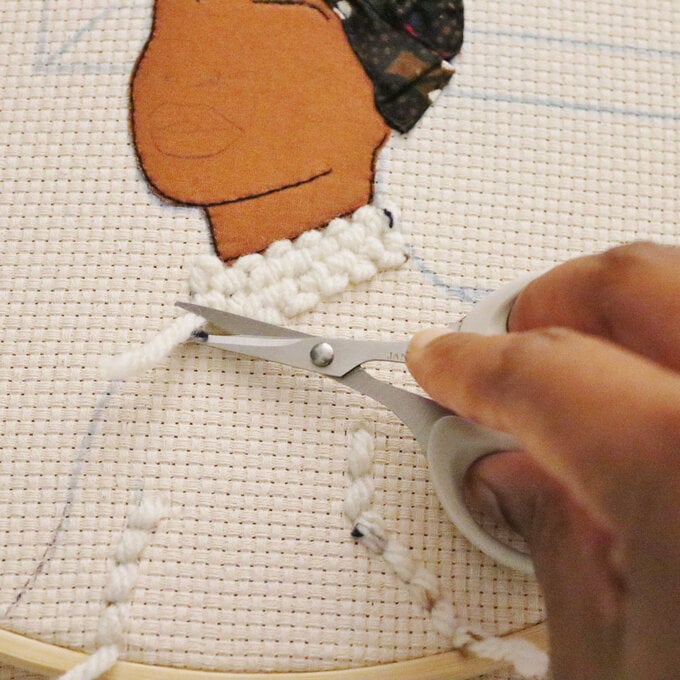
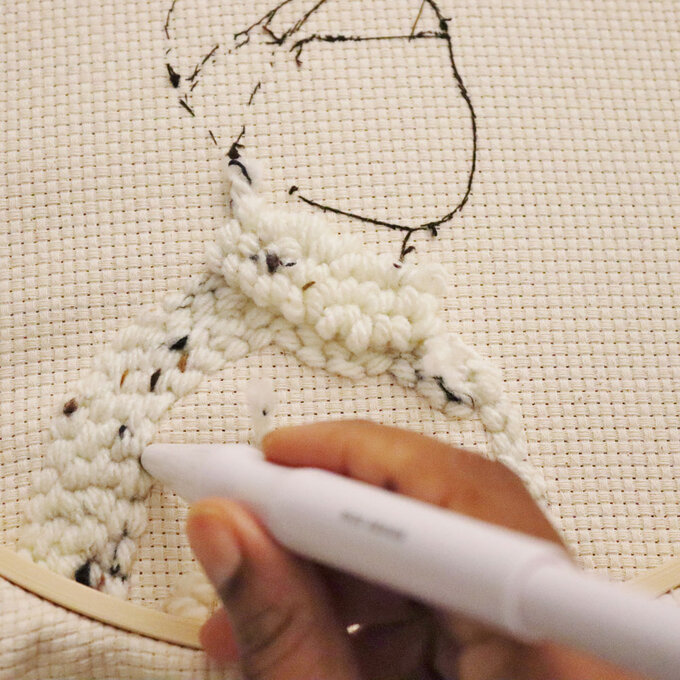
Thread your punch needle with Hayfield Bonus Chunky yarn in Colour Starling. Ensure your punch needle tool is on stitch type C. You're going to stitch flat stitches in a concertina way for the neck of the jumper. Snipe off excess yarn to tidy.
TIP: Try to keep stitches at a equal distance apart
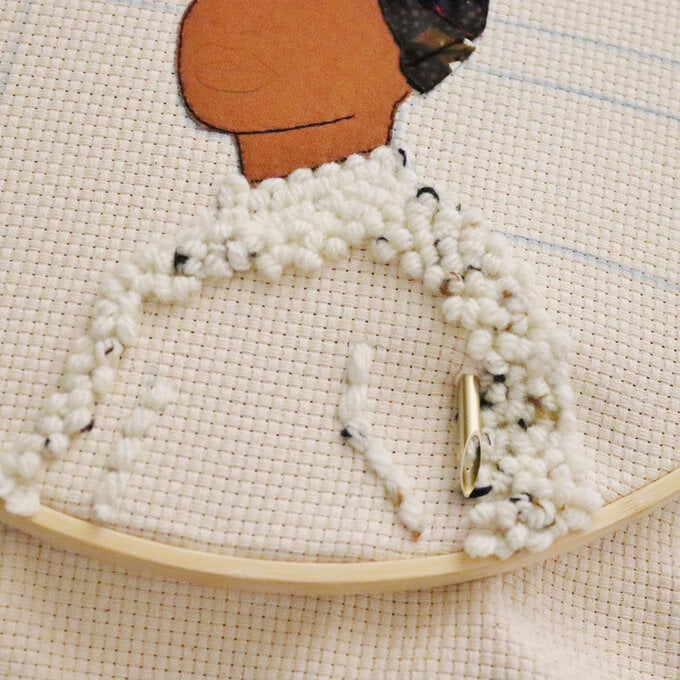
Adjust the punch needle to stitch length D which is the shortest loop. You now need to stitch the outline of the rest of the jumper from the back of the hoop. Once you've done the outline you can then turn the hoop over to the wrong side to stitch while keeping an eye on the front from time to time.
TIP: Stitching from the back of the hoop gives you the loop stitches on the right side of the design.
With the same colour yarn move the stitch back to C and stitch flat stitches for the moon.
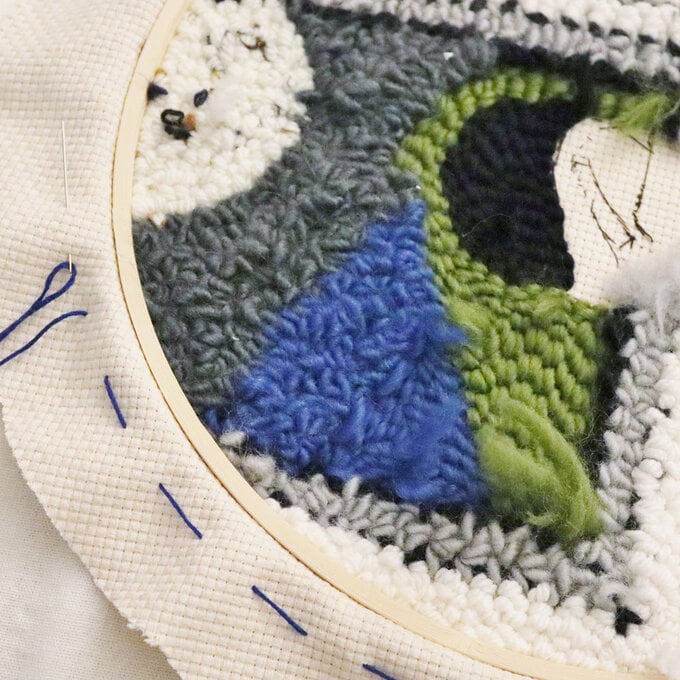
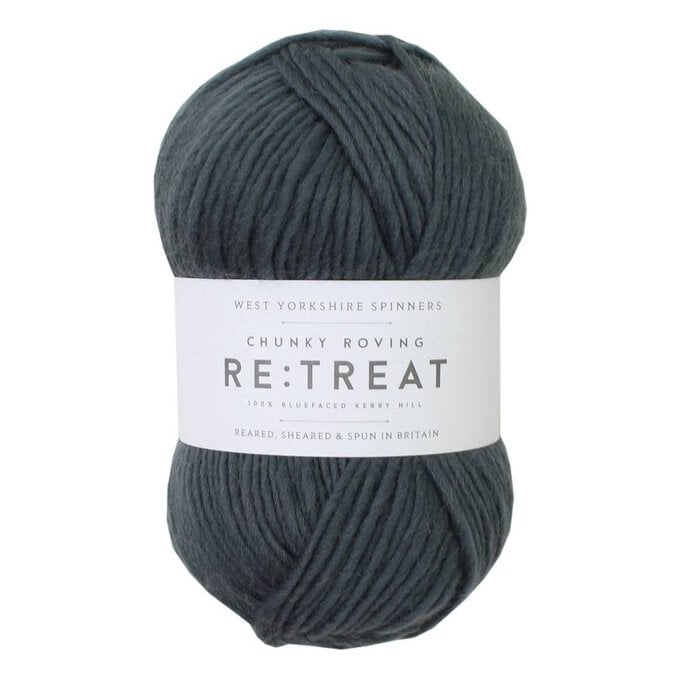
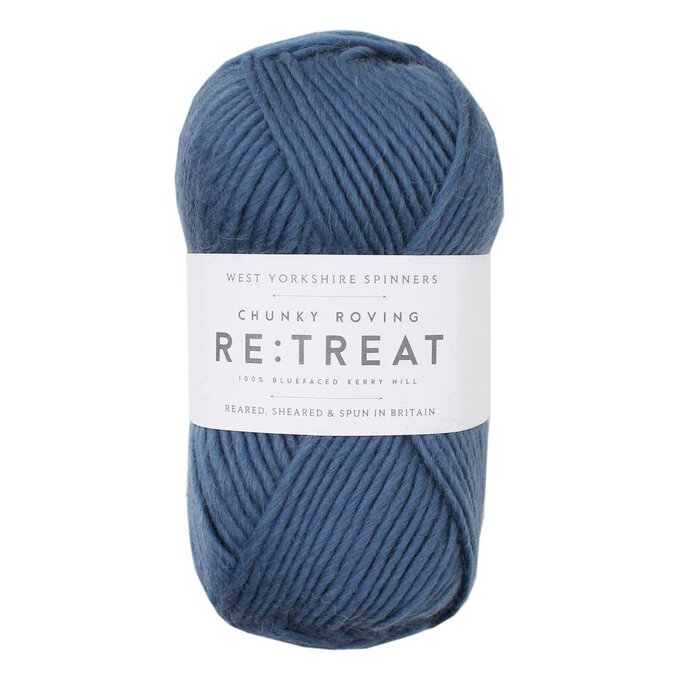
Change your punch needle yarn to RE:TREAT in colour Soul which is a dark grey. Again use flat stitches to fill the sky area in the pattern with stitch size C.
Change the punch needle yarn to RE:TREAT in colour Mind which is a dark blue. Fill the back hill with the same flat stitches. Once complete adjust the punch needle to D. Work from the back of the hoop stitching the outline of the middle hill area keeping an eye on the loops forming in the front. Once the outline is formed you can then turn the hoop over to the wrong side and work from that side but still keep checking that the loops are forming well on the right side.
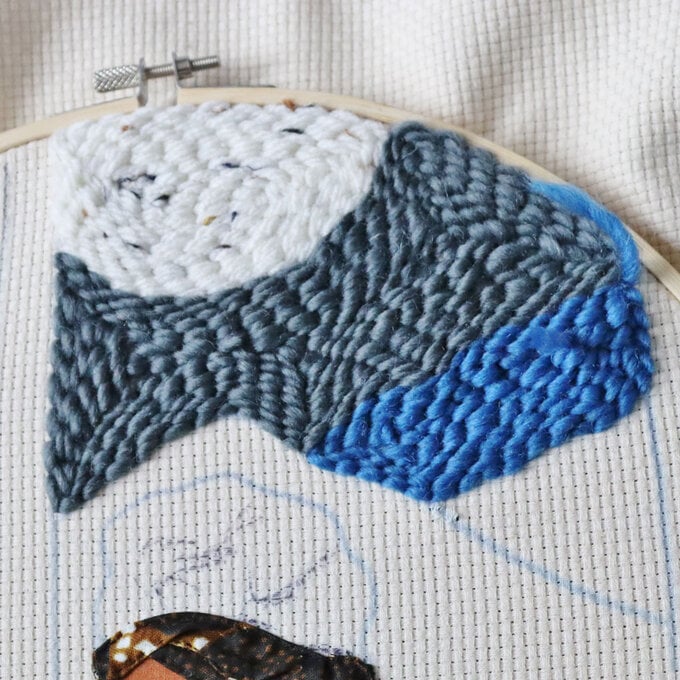

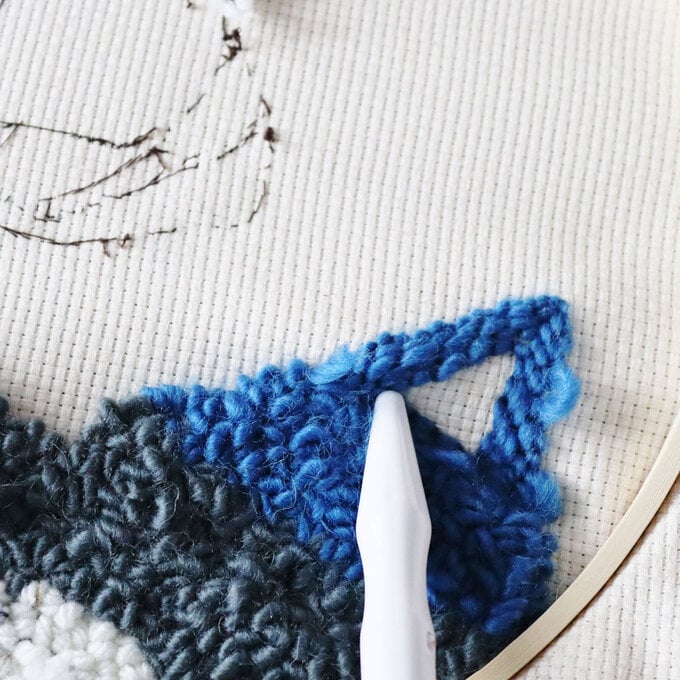
Adjust the punch needle to stitch C and change the yarn to RE:TREAT in colour Serene. You will now stitch loops from the back of the hoop to cover the outline of the front hill area. Once the outline is complete, flip the hoop and work from the wrong side but always checking the loops on the right side.
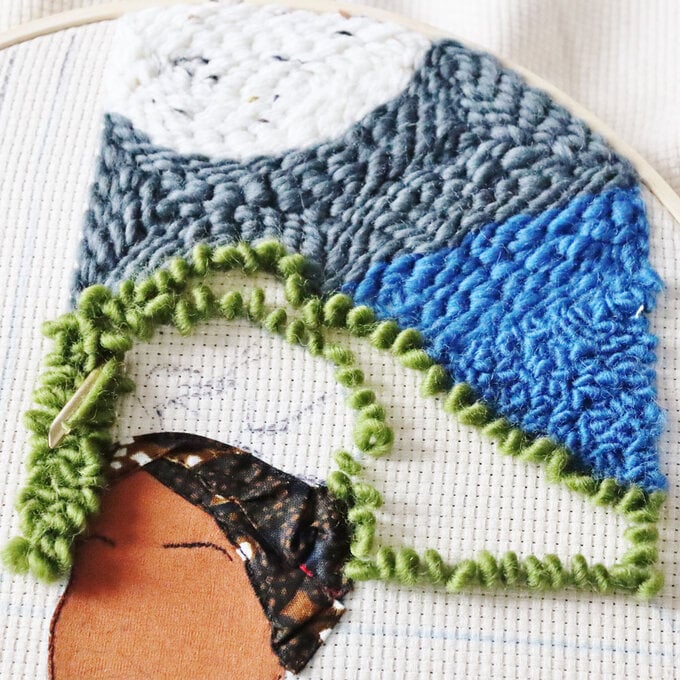
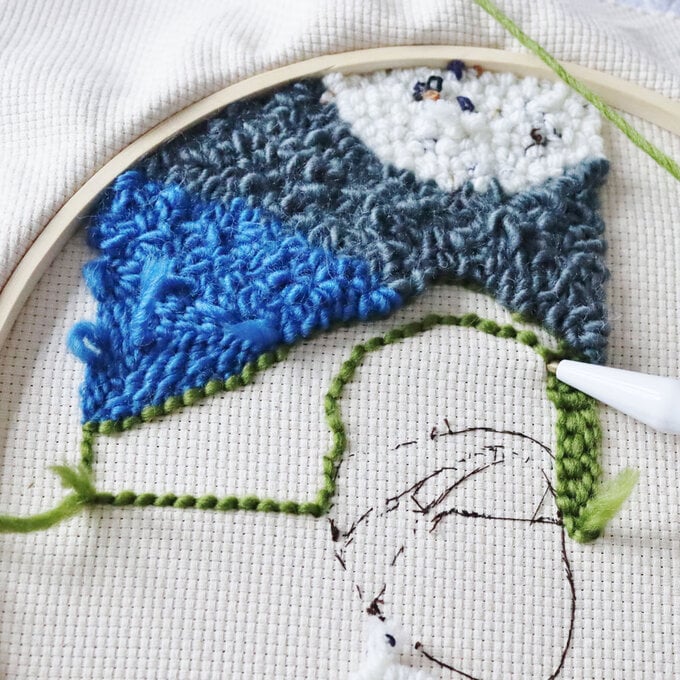
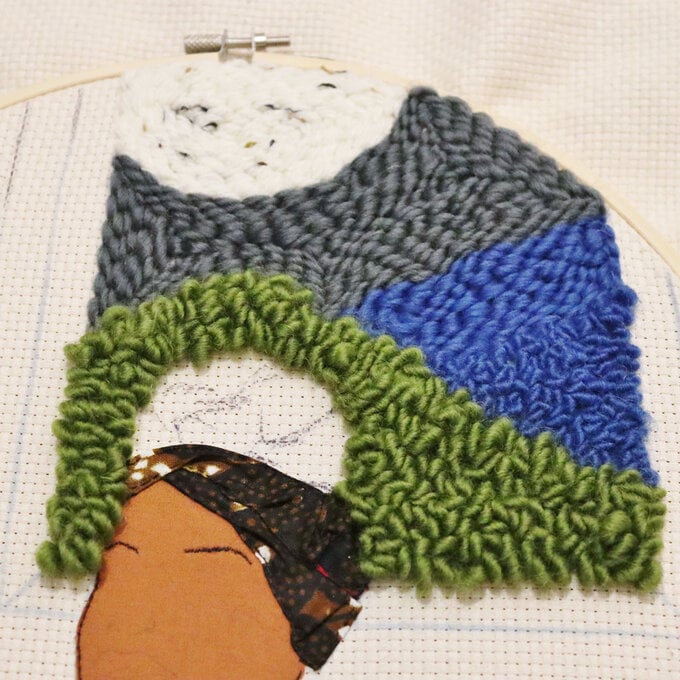
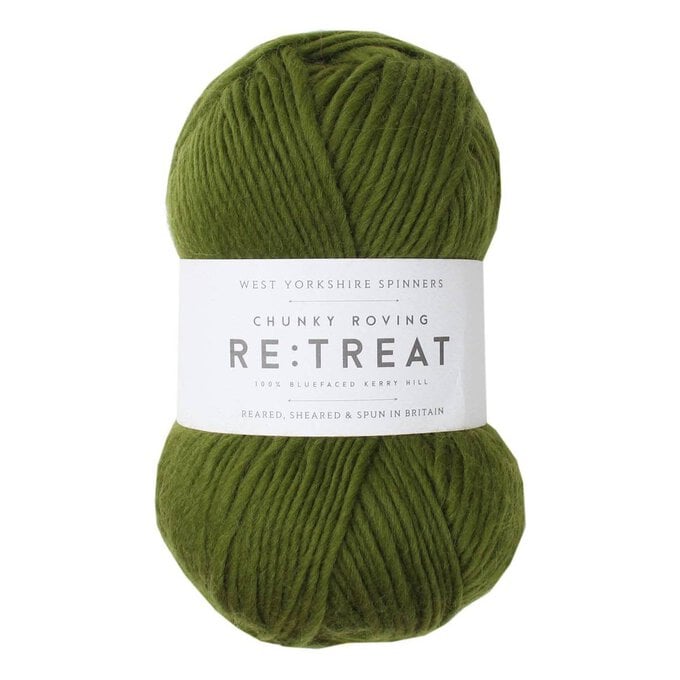
Change the colour yarn to RE:TREAT in colour Reflect which is a black. Stitch flat stitches into the right side of the hoop filling the outlines of the window. Fill the inner parts of the window with flat stitches in RE:TREAT colour Harmony.
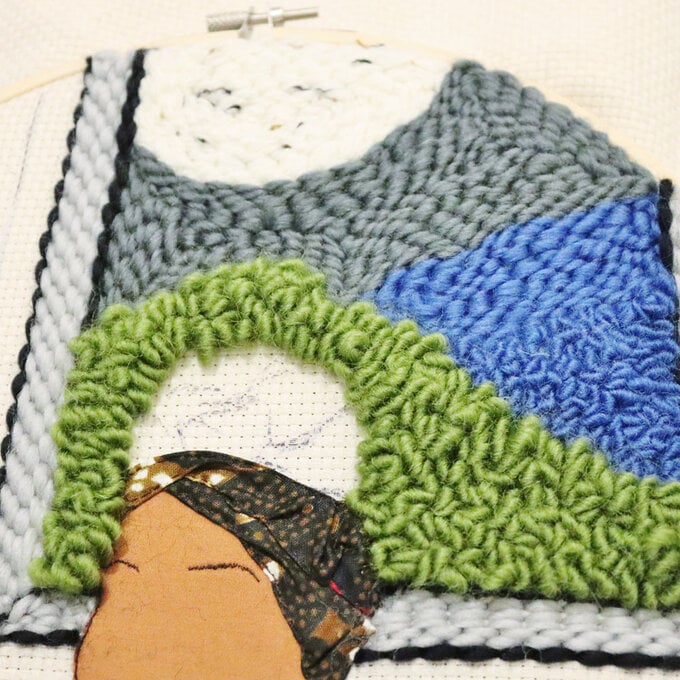
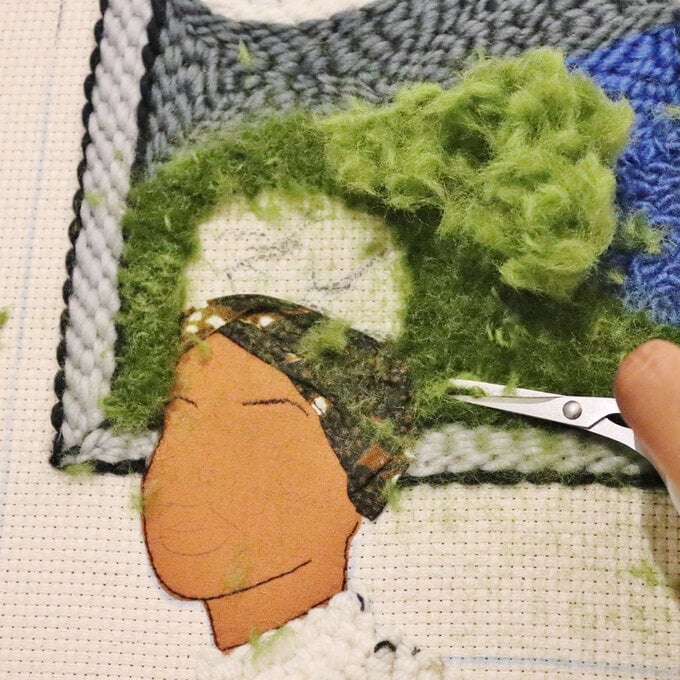
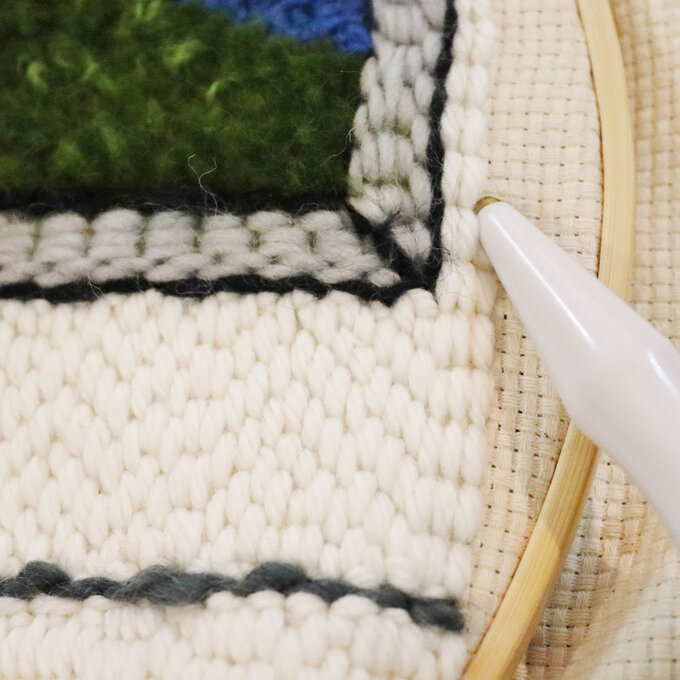
Now that the whole window is complete use a sharp scissors to trim the loops of the green hills. Just enough to remove the tops of the loops.
TIP: Use a lint roller or some of your cellotape to remove fine strands of yarn which have fallen onto the pattern, making it difficult to remove with your hands.
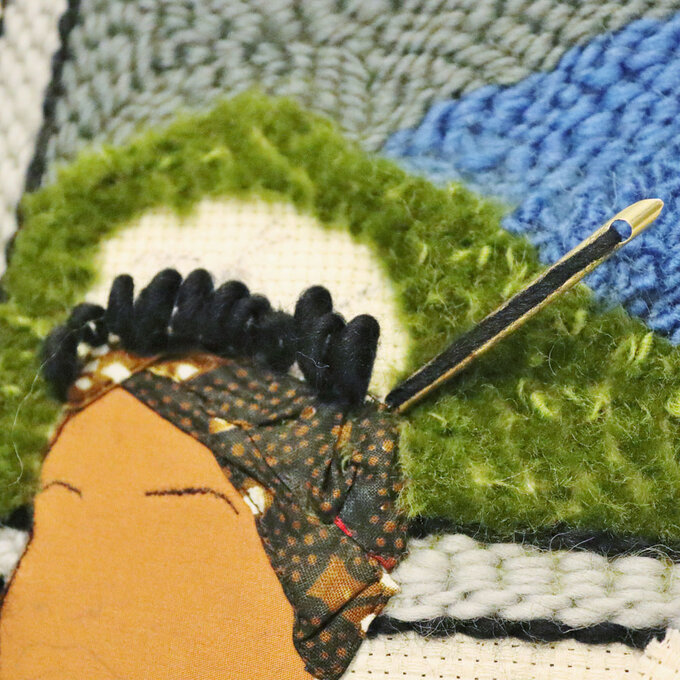
1. Change your punch needle yarn to black again (Reflect), and adjust your needle to loop stitches A. This will give us larger loops to cover the hair area. Work from your wrong side of the hoop to fill the outline of the hair. Once the outline is done you can turn the hoop to the wrong side, while keeping an eye on the loops on the right side. You don't want it to be too full with loops.
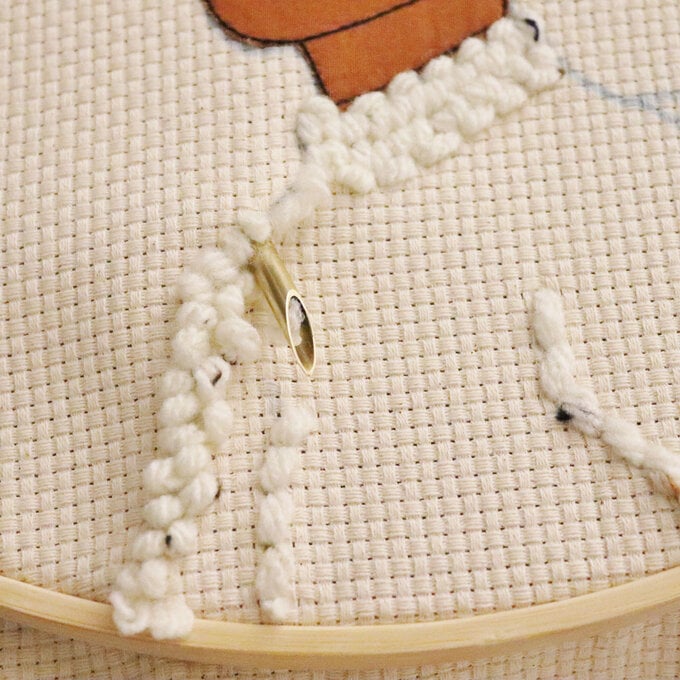
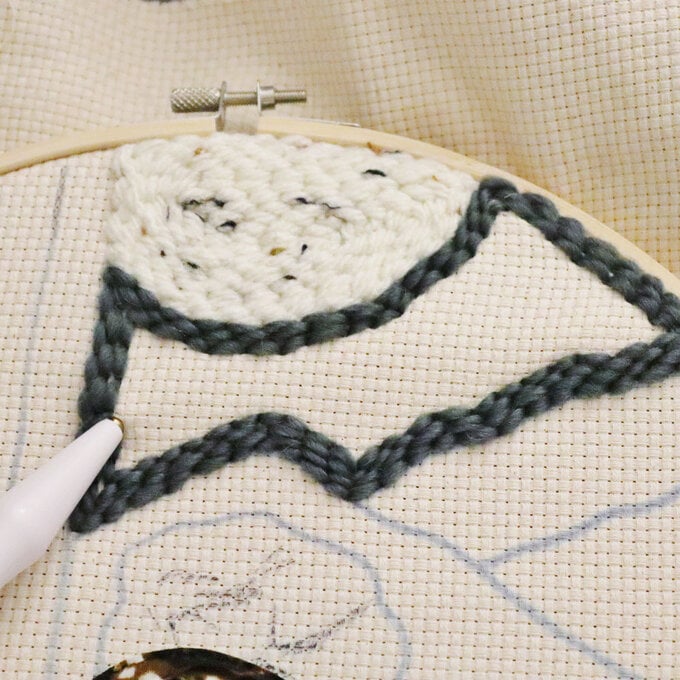
Change your punch needle yarn to the light grey (harmony) and adjust the stitch back to C. Now stitch two rows of flat stitches along the ladies back as pictured. Change your needle yarn again to dark grey (Soul) and stitch one row of flat stitches down the line which is slightly off centre to the whole embroidery hoop. Also stitch two rows of grey flat stitches for the line behind her back as pictured.
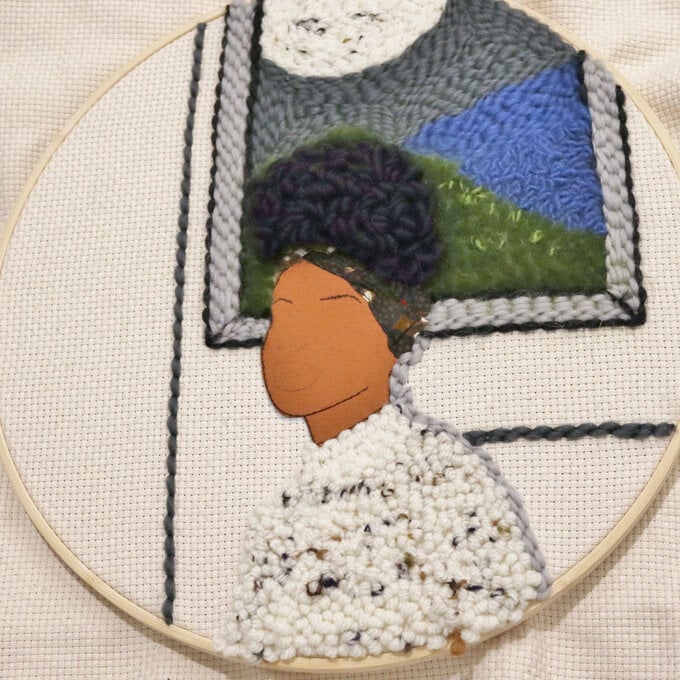
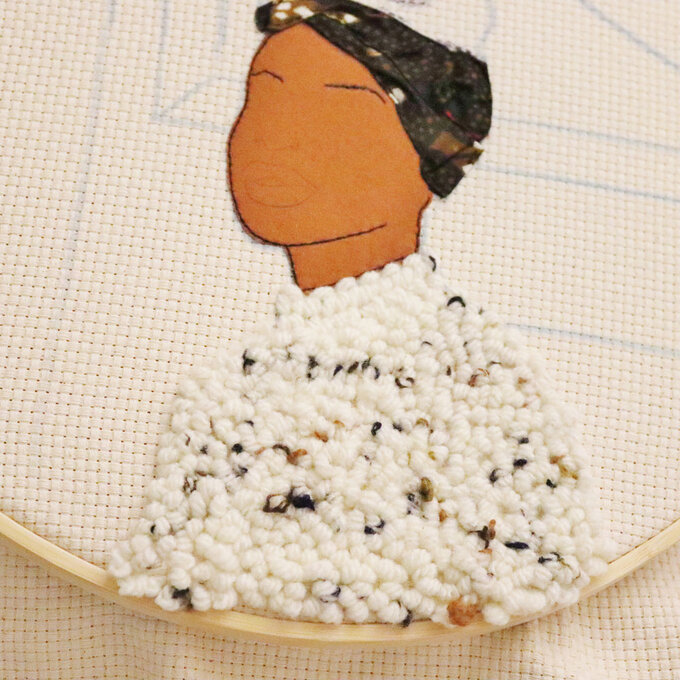
Change the punch needle yarn to Rico Design Mega in Cream and a stitch C. Now fill in all the remaining areas with flat stitches. Work in a concertina pattern just to create a different texture as opposed to working in a circular way. It means all your stitches will be running in the same direction.
Finish off the ladies face using 1 strand of DMC 3371 for the nose and a split stitch.
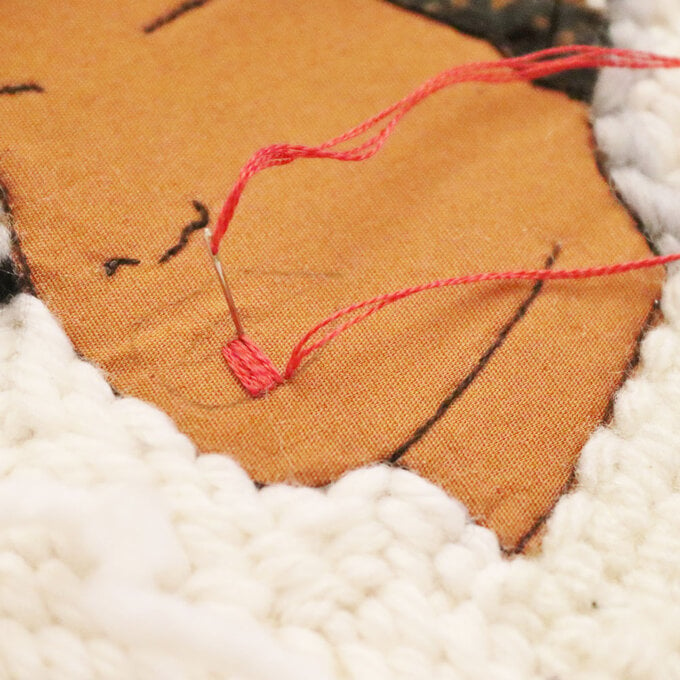
For the lips use a satin stitch and 2 strands of DMC 347 to fill the lips in. Once complete use 2 strands of DMC 3371 and satin stitch to fill the inside of the mouth too.

Onto a bit of grease proof paper, trace out the spruce plant which features in the pattern template and carefully pin the paper to the embroidery design.
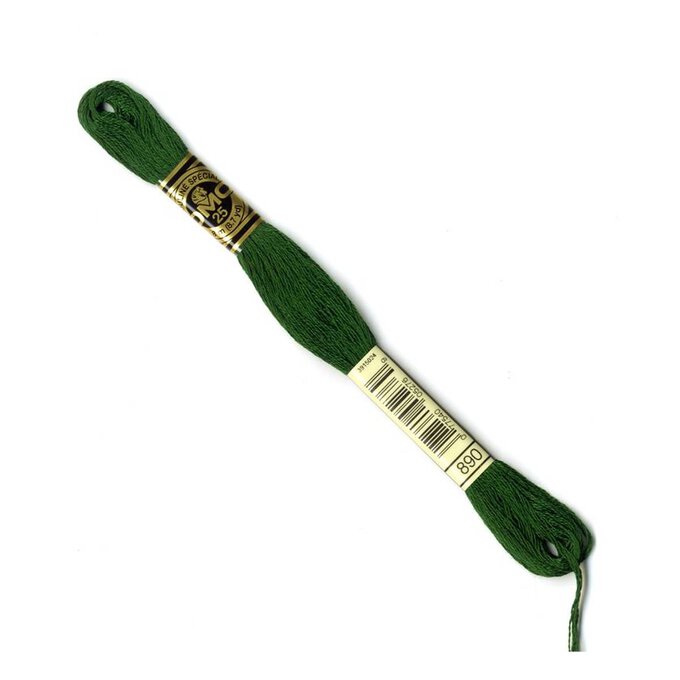
Use 3 strands of DMC 890 and stitch the spruce needles using a mix between satin stitch and back stitch.
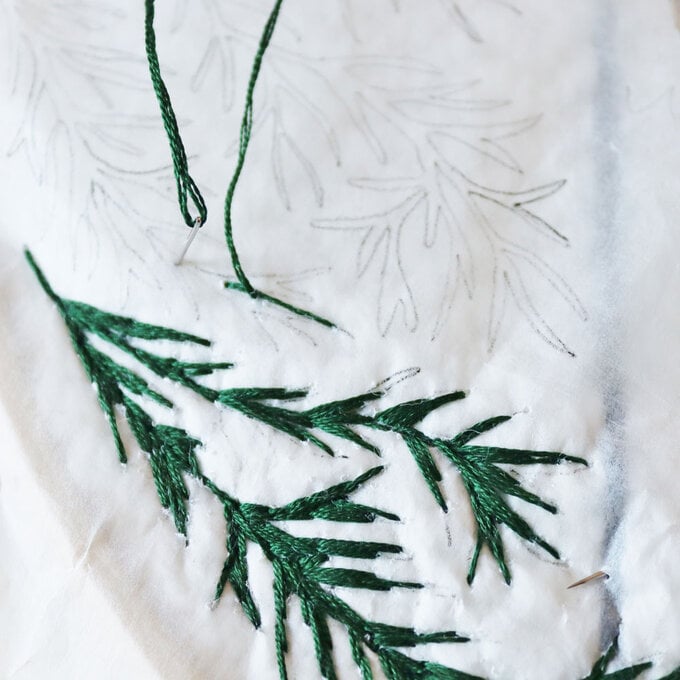
Once the Spruce is completed you now need to use a scissors to cut into the grease proof paper and carefully tear away the paper. Use your finger to cover and protect the stitches from being lifted.
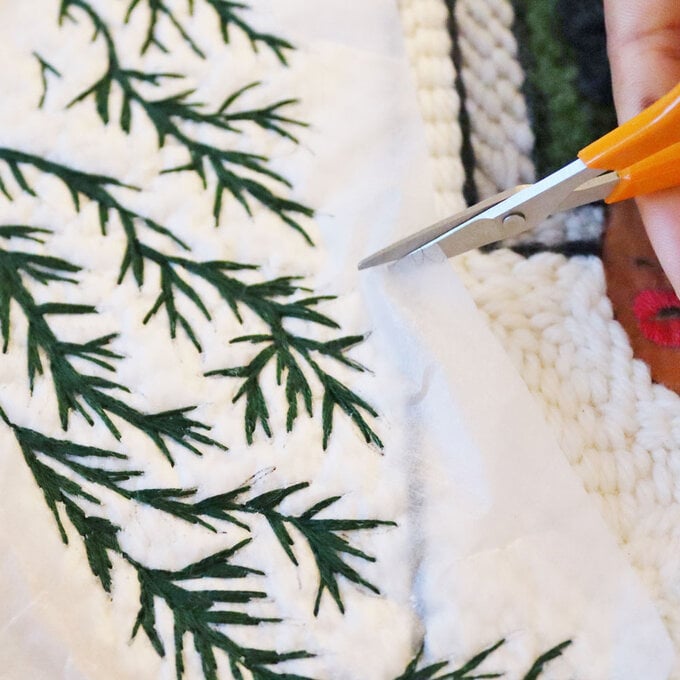
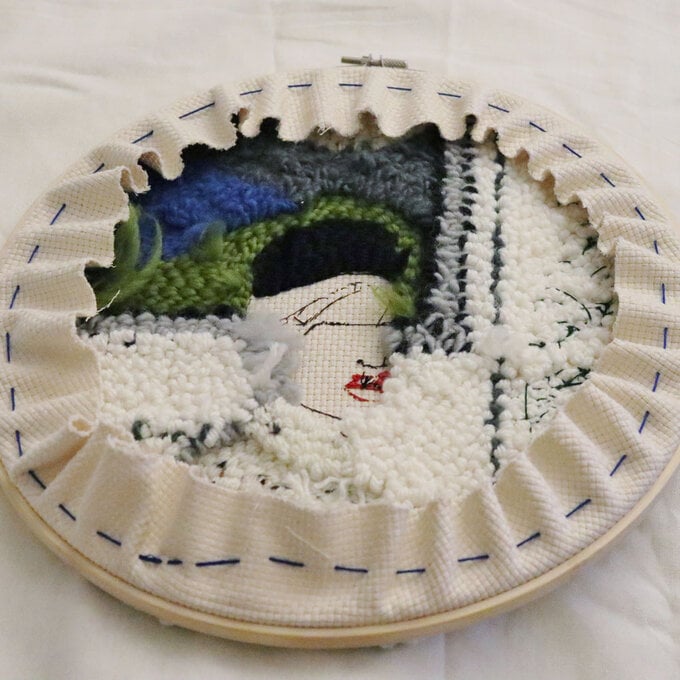
Cut away excess fabric around the hoop leaving about an inch of fabric. Flip the hoop over to the wrong side. Get any embroidery thread and stitch a running stitch all the way around the hoop. Pull the thread to gather the fabric into the back of the hoop so it's neatly tucked away. Knot the thread to secure and the embroidery is now complete, ready to display!