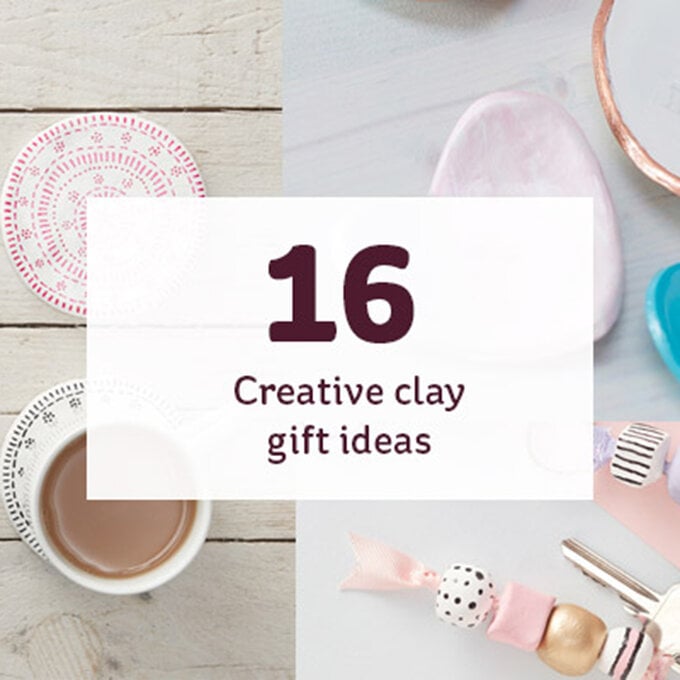
How to Make a Yarn Bowl with Air Drying Clay
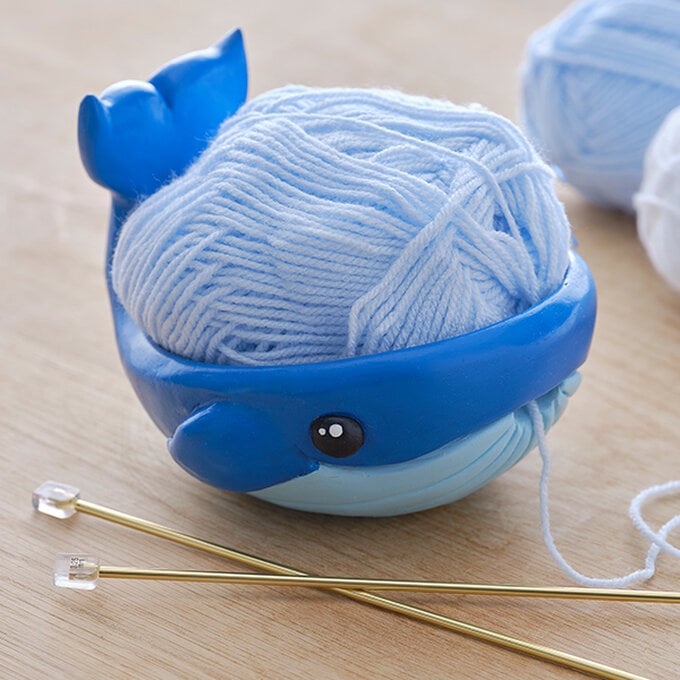
Discover how to create a whaley adorable yarn bowl using air drying clay with this step-by-step guide. Designed and made by one of our expert Hobbycraft Artisans, this lovely clay yarn bowl will make for the perfect addition to your yarncraft collection, or to create as a gift for someone special!
Made using a few simple crafting supplies, you’ll be able to make a yarn bowl that looks highly professional, but also unbelievably cute!
You will need
Subtotal
Is $ 6.49
Subtotal
Is $ 3.49
Subtotal
Is $ 3.49
Subtotal
Is $ 3.49
How to make
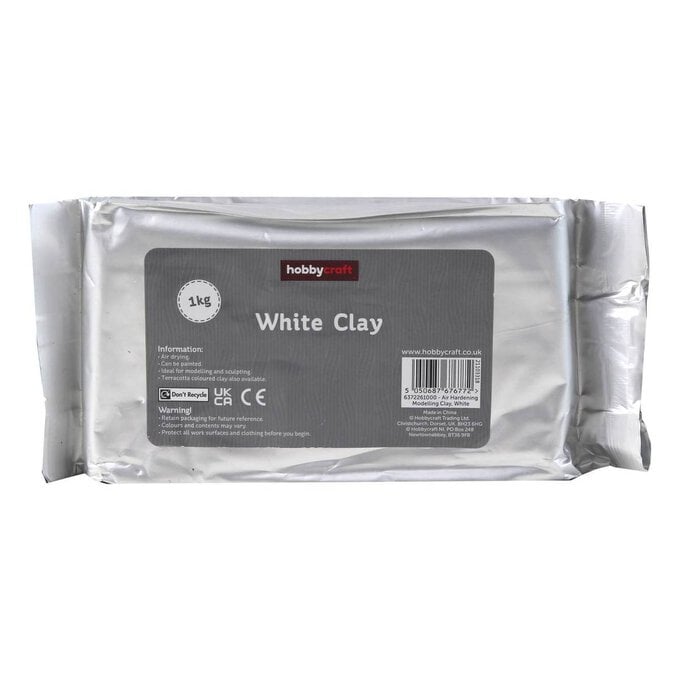
* Air Drying Clay
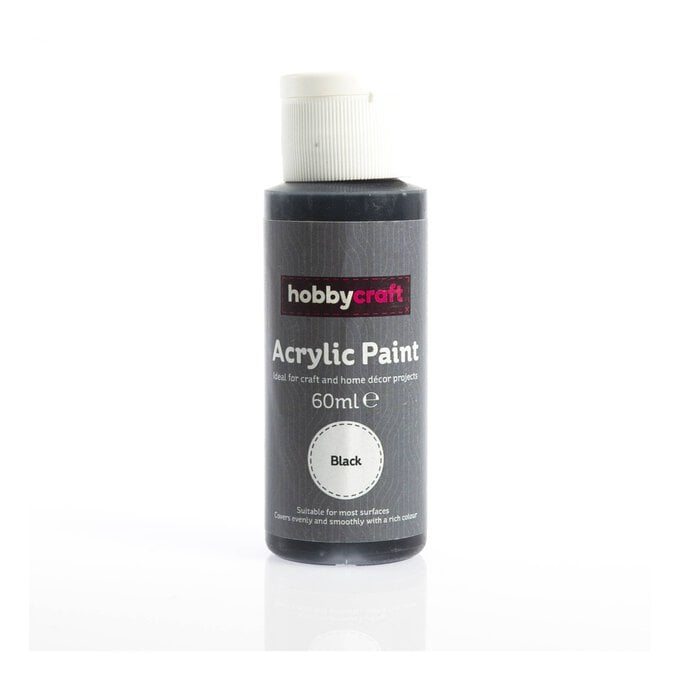
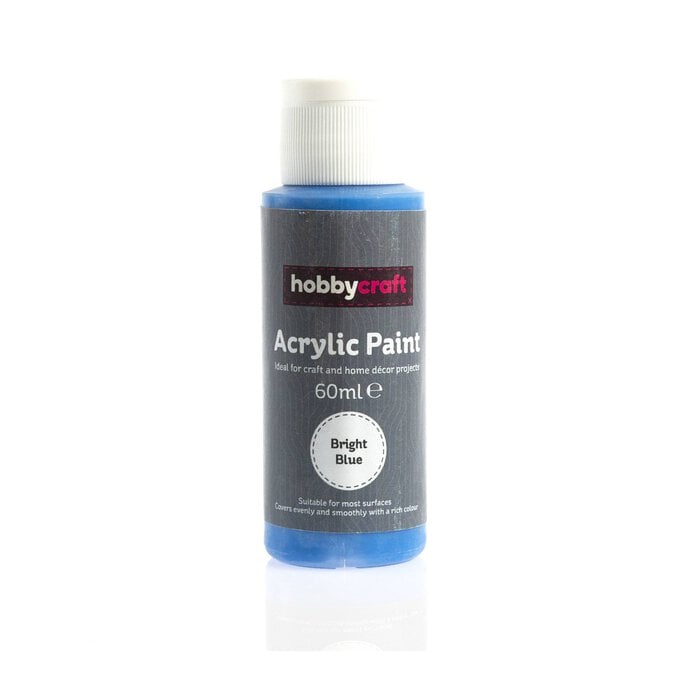
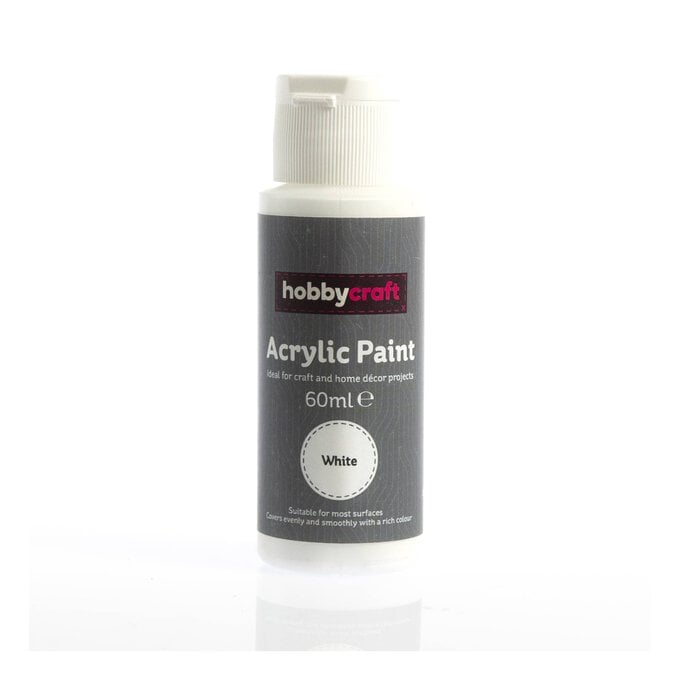
* Acrylic Paint in White, Blue and Black
* Paint Brushes
* A Bowl (Measuring approximately 15cm diameter)
* A Second Bowl for Water (any size)
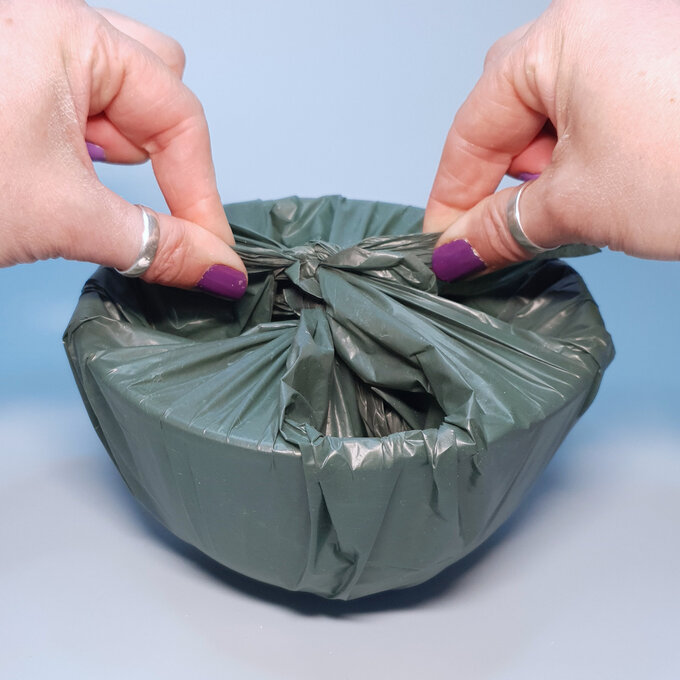
* A Plastic Bag or a Cloth (Large enough to cover the 15cm bowl and tie underneath)
* A Butter Knife
* Sandpaper (80 grit, 240 grit or a Nail File)
* Decoupage Medium

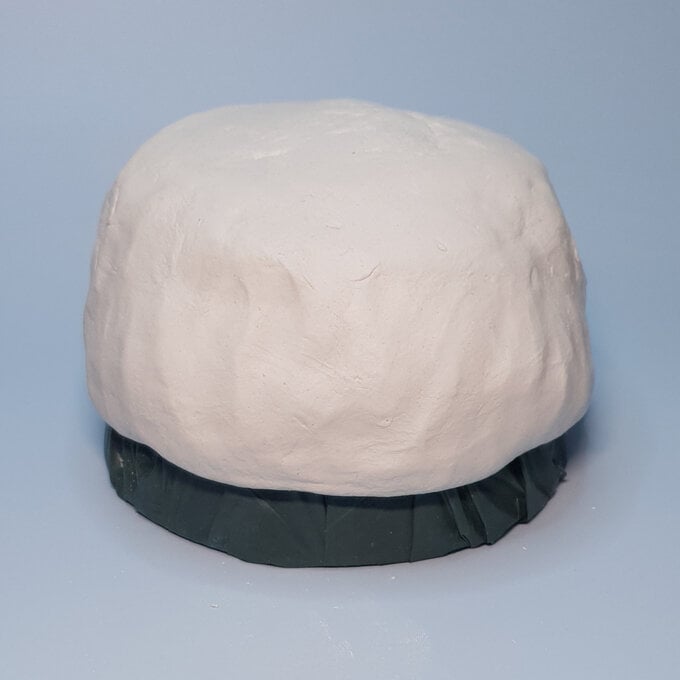
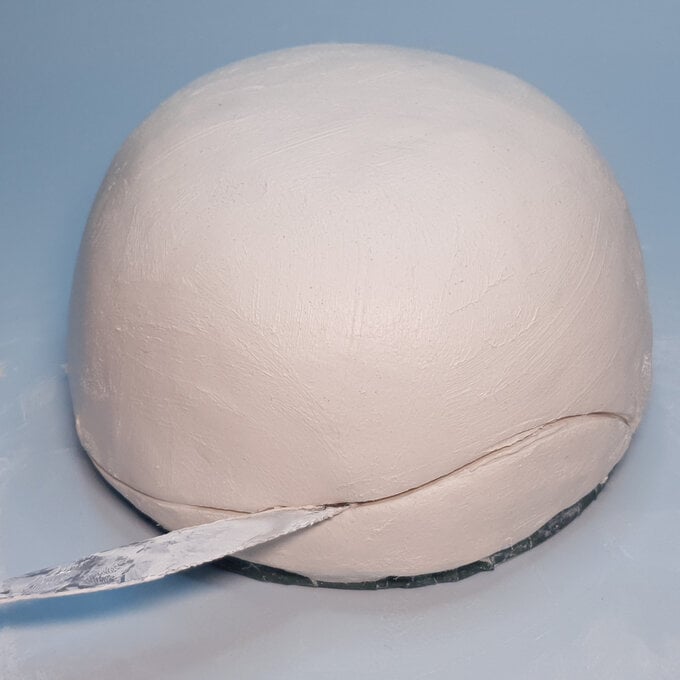
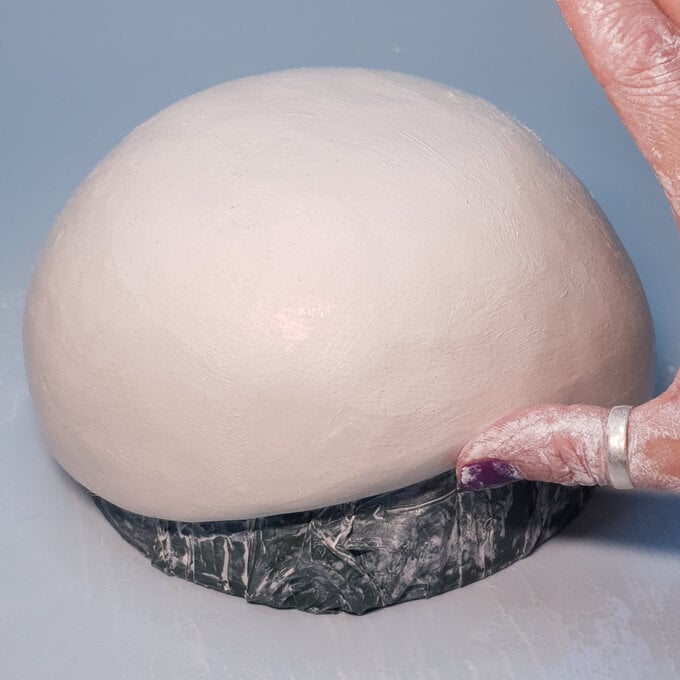
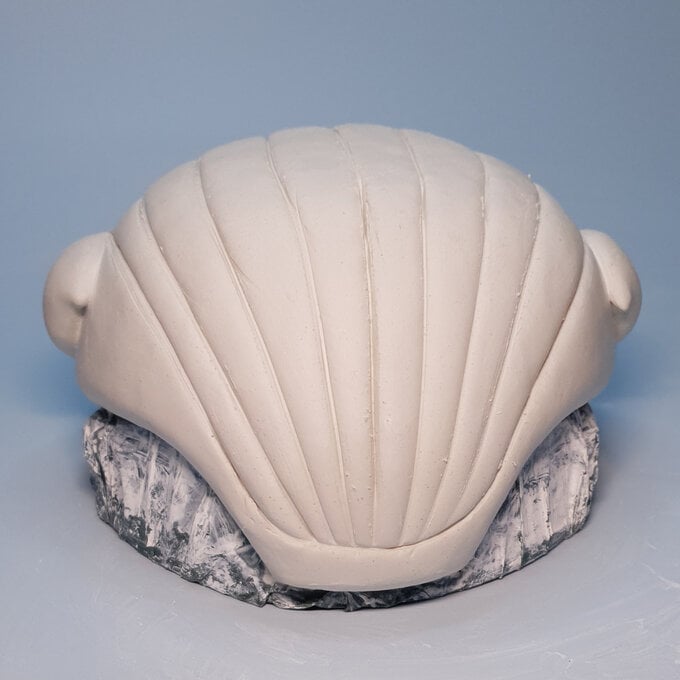
Air drying clay does not support itself in large or heavy sections, the 15cm diameter bowl will provide the shape and support required so that the clay does not sag. This means that we'll have to make the yarn bowl upside down.
You need to cover the bowl to prevent the clay from sticking to it. Use a large square cut from a plastic bag, it has to be large enough to cover the bowl and to be able to tie the edges together at the top. If you don’t want to use plastic you can use a thin piece of fabric, just dampen the fabric after tying it around the bowl. Tip: Do not use a compostable bag or cling film to cover the bowl, these will not be strong enough.
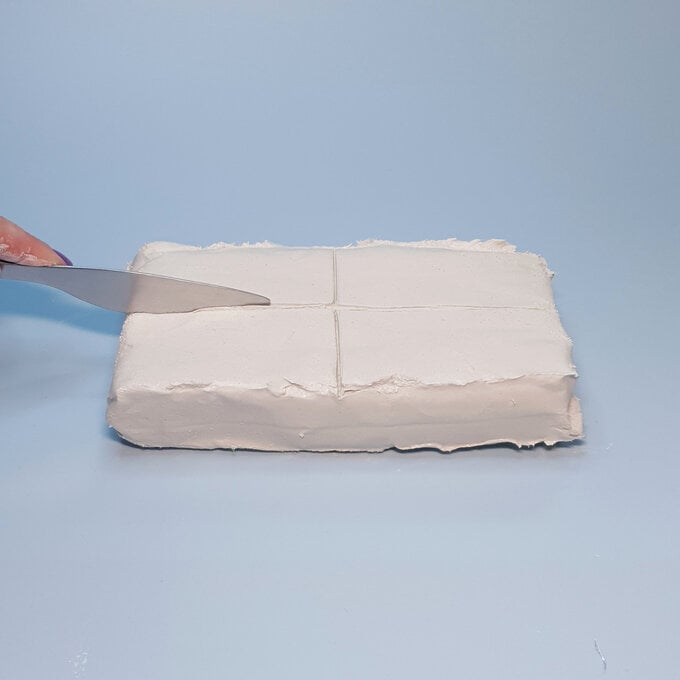
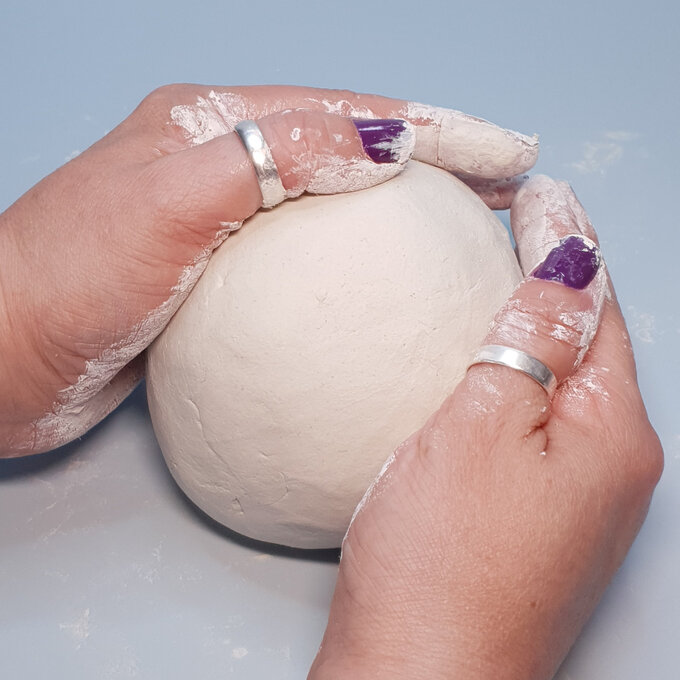
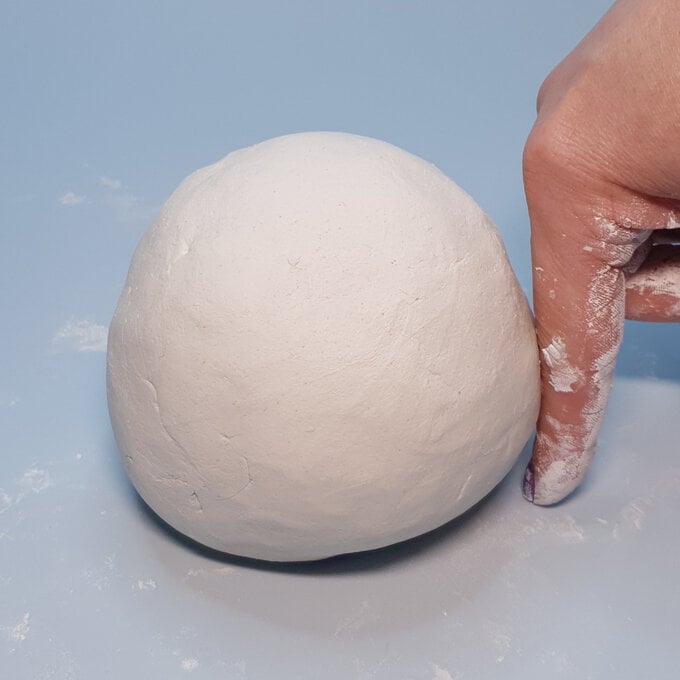
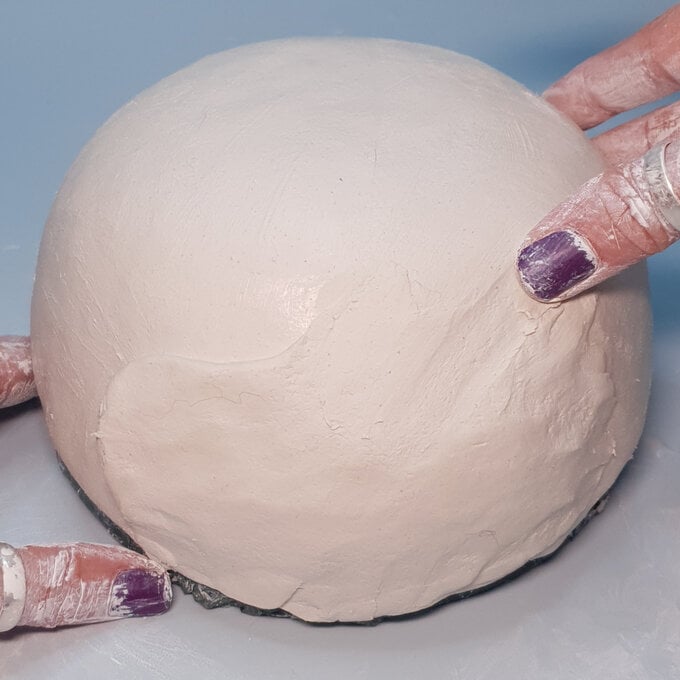
Unwrap the clay then cut away a quarter of the block. Keep the small piece to one side wrapped in the packaging or in a plastic bag to prevent it from drying out. Shape the large piece into a ball.
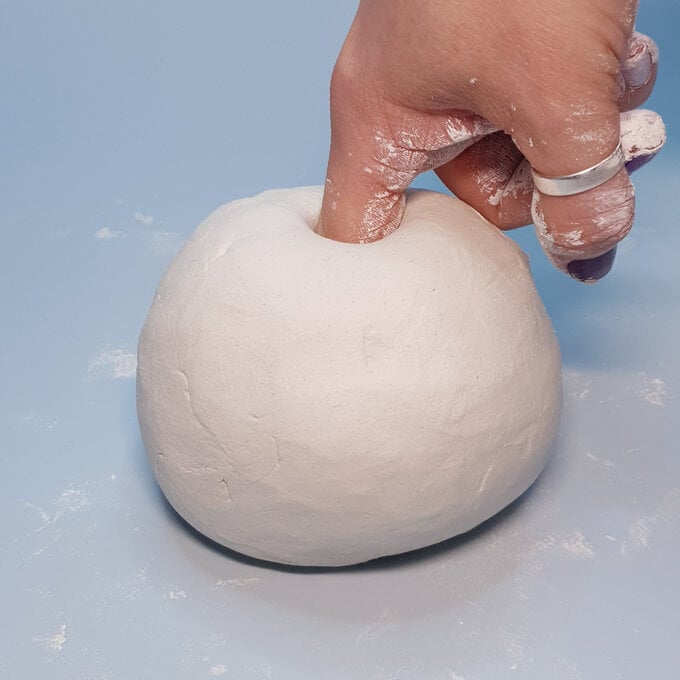
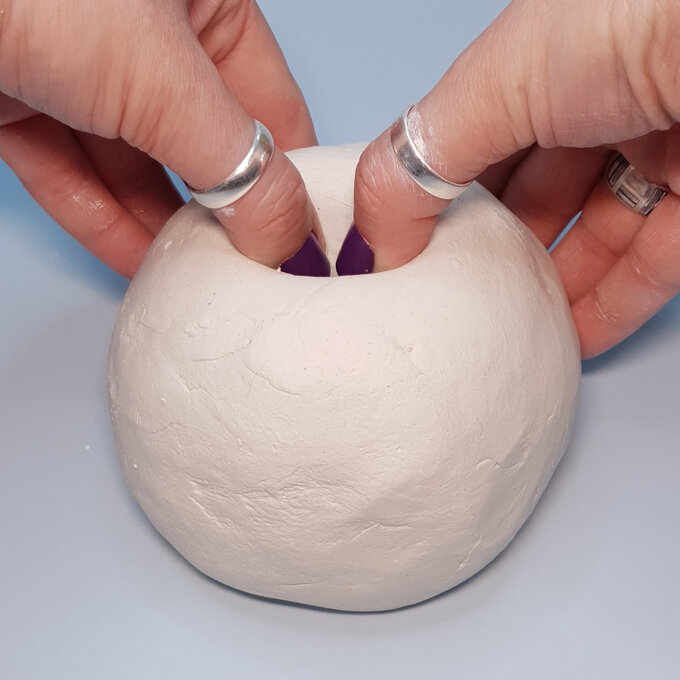
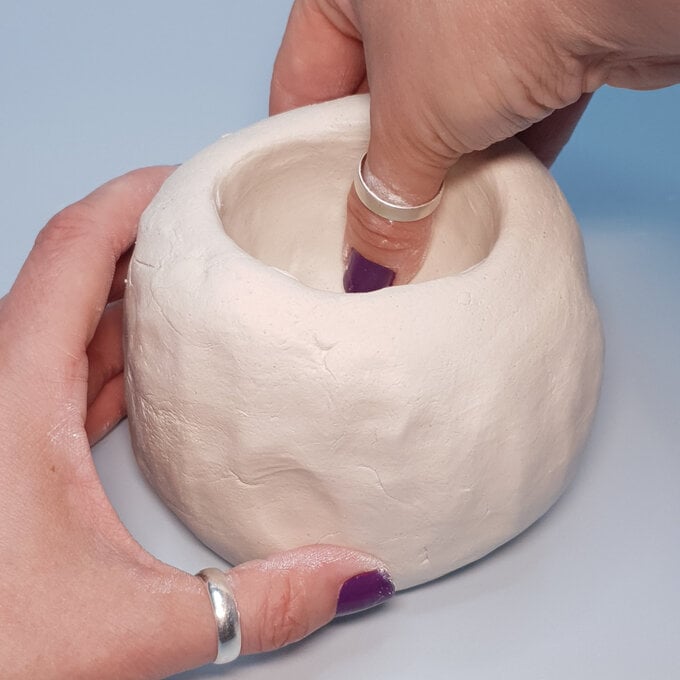
Push your finger into the centre of the ball, but not all the way to the bottom, leave around 1-2 cm of clay. It can be useful to measure the ball against your fingers to help you judge how far to push down. Begin to form the bowl shape by gently squeezing around the edges of the hole you just made. Do this a little at a time, try to maintain an even thickness around the wall.
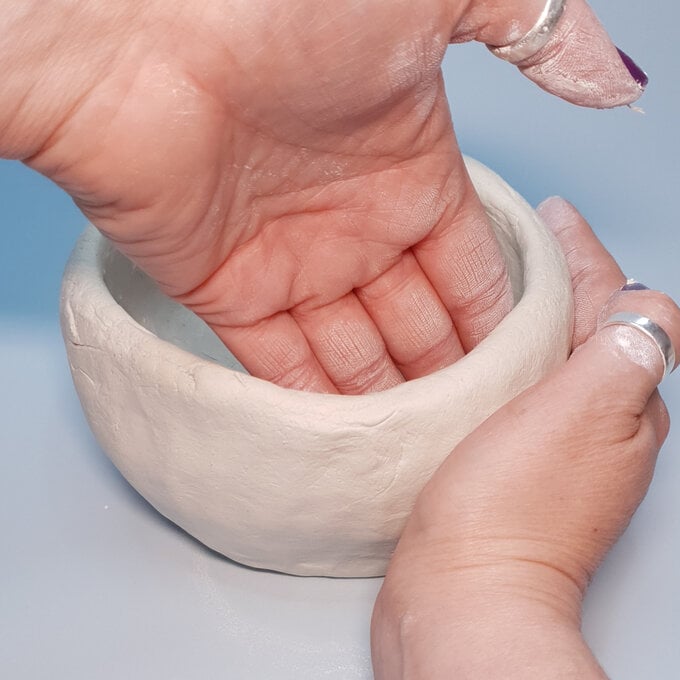
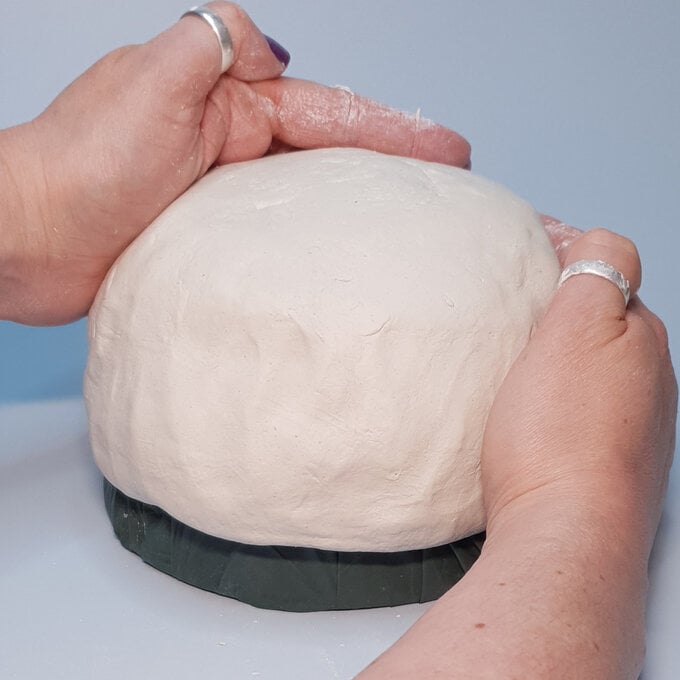
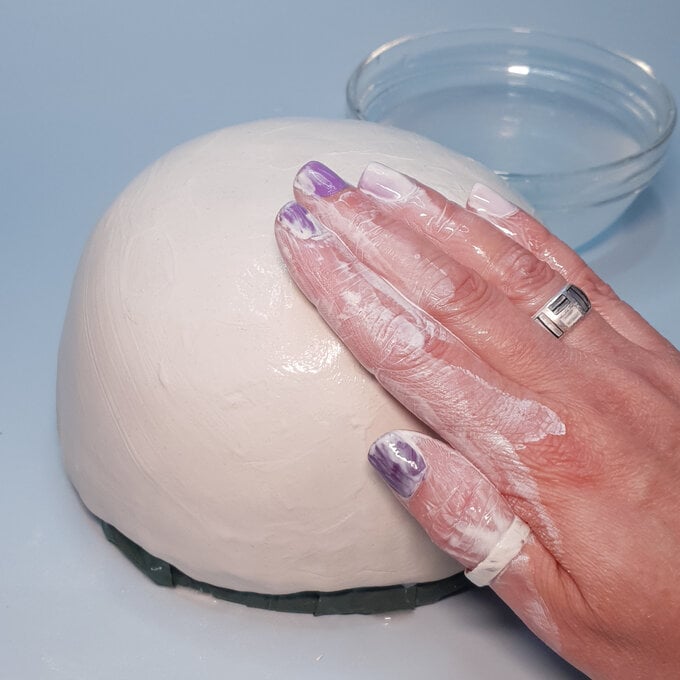
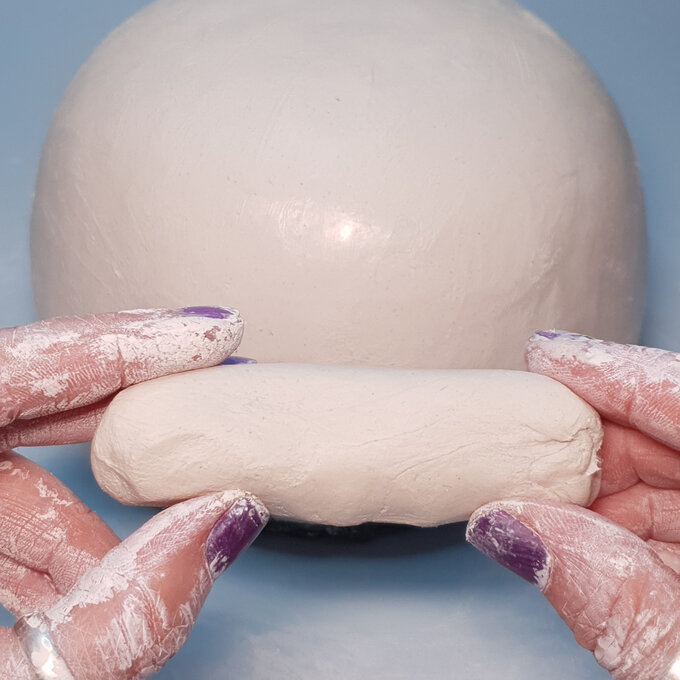
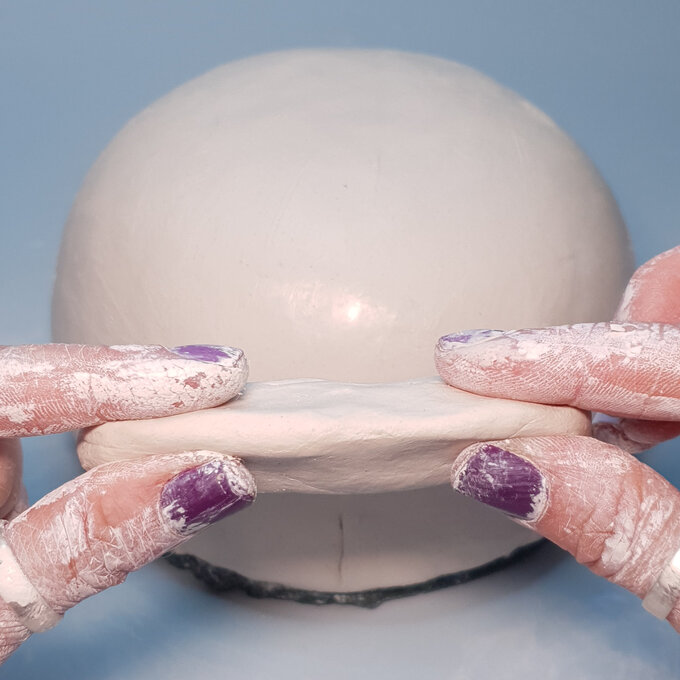
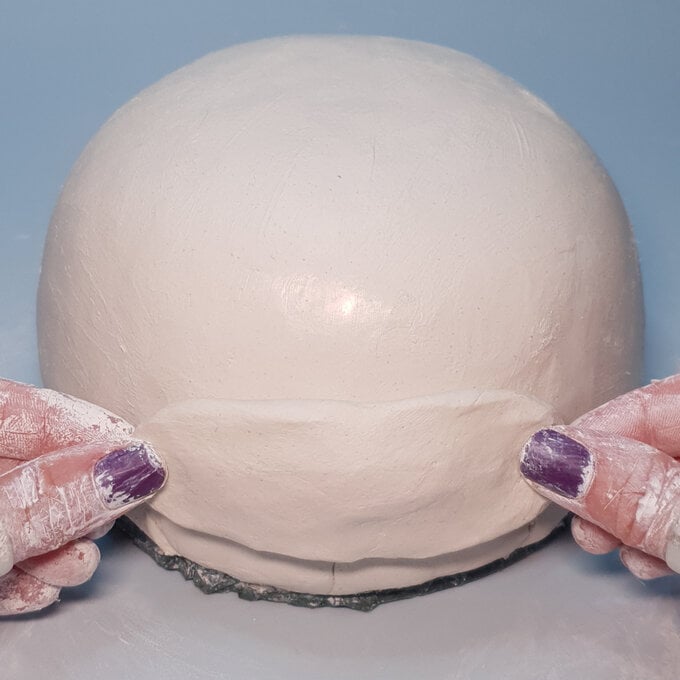
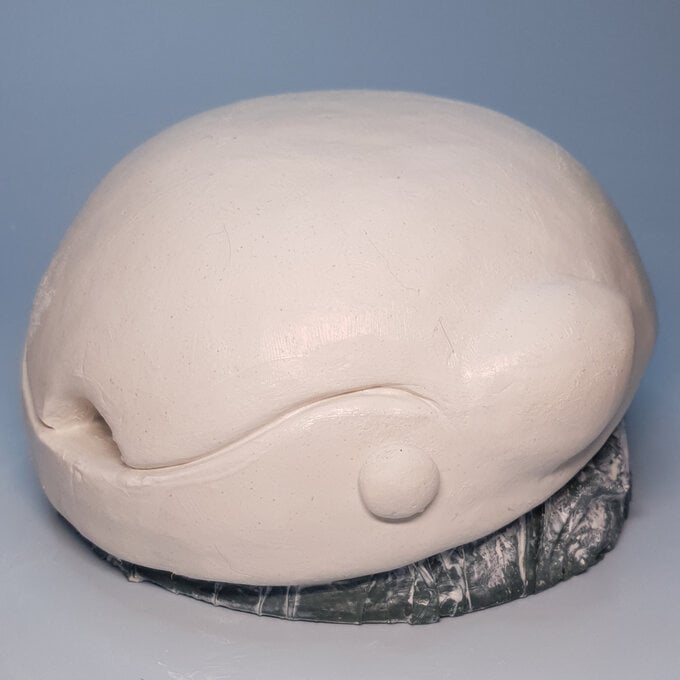
As you are forming the shape, compare the size of your piece against the bowl you will be placing it on, it should be as wide as the bowl but a little bit shorter. When your clay is large enough, turn the bowl upside down and place the clay on top. Use your palms to gently push the clay against the surface of the bowl. Continue shaping until the clay is pressed tightly against the sides of the bowl and the thickness feels even all the way around. Wet the surface of the clay then rub to smooth.
Tip: It’s useful to have a damp cloth to wipe your hands, clay can get quite messy, when it dries on your hands hard pieces can flake off and stick to your sculpture, ruining a smooth surface or piece of detail.
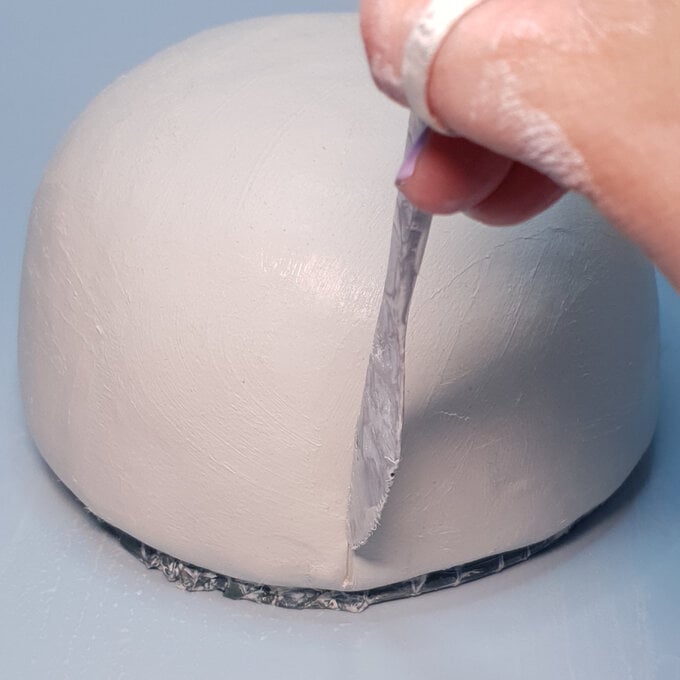
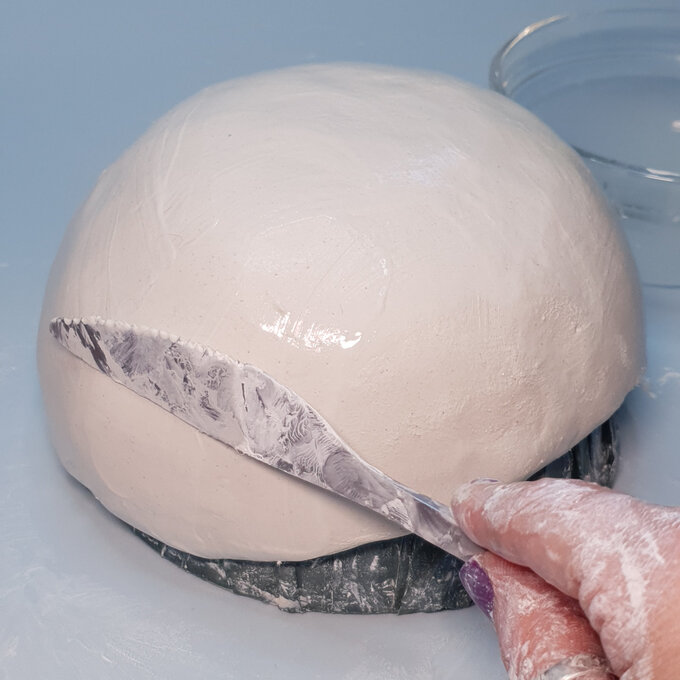
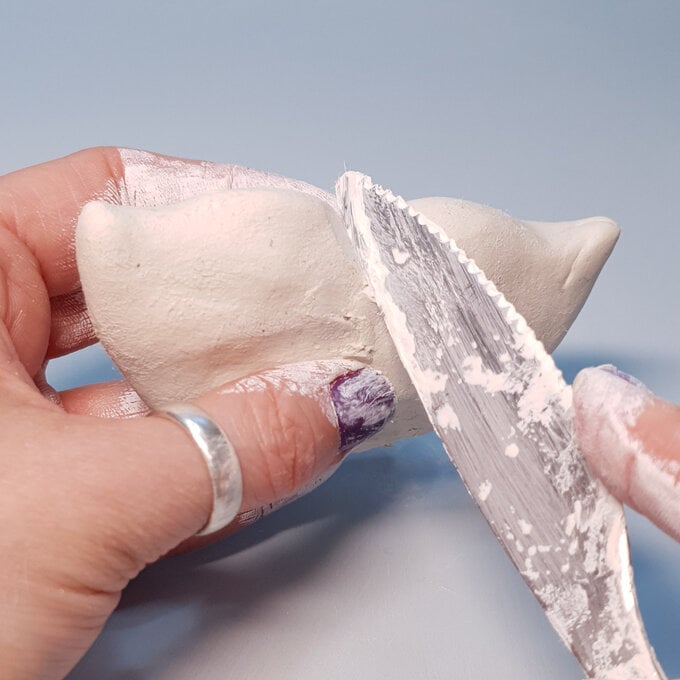
Carve a small line with your knife at the edge of your bowl to mark the mid-point. Make another line at the opposite side, this will help you with symmetry.
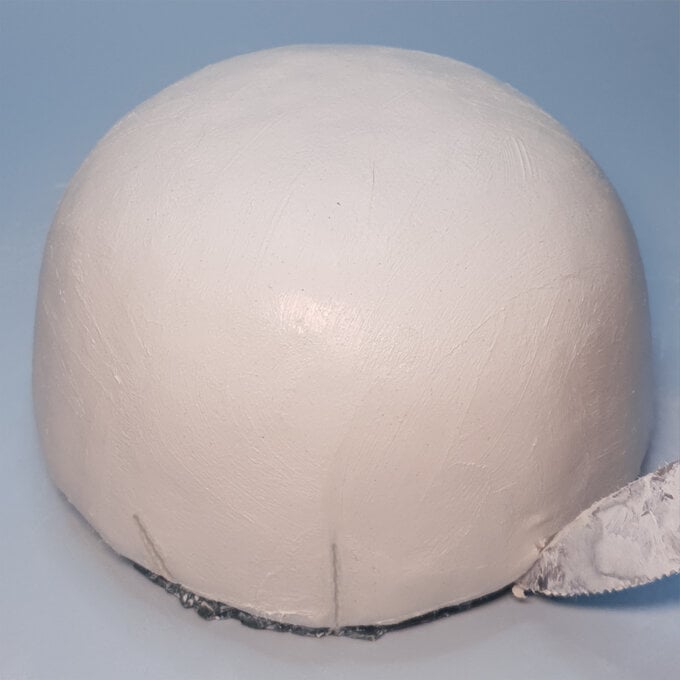
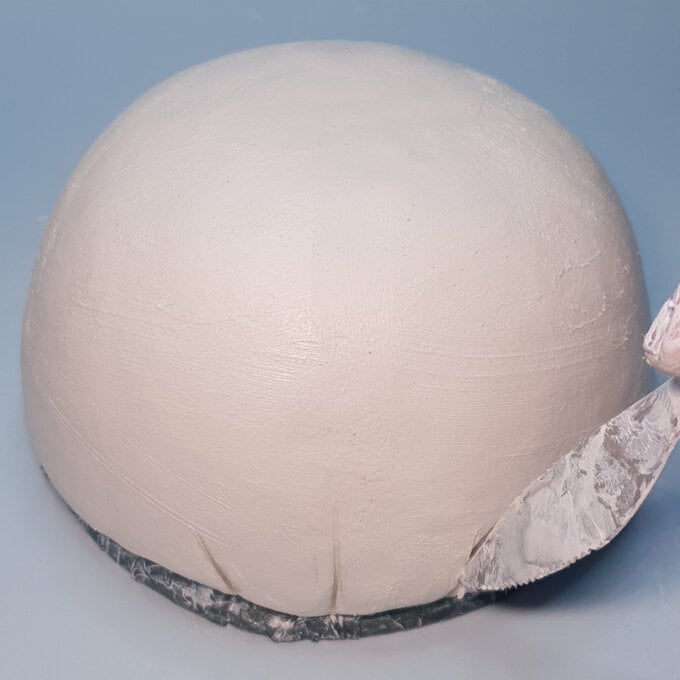
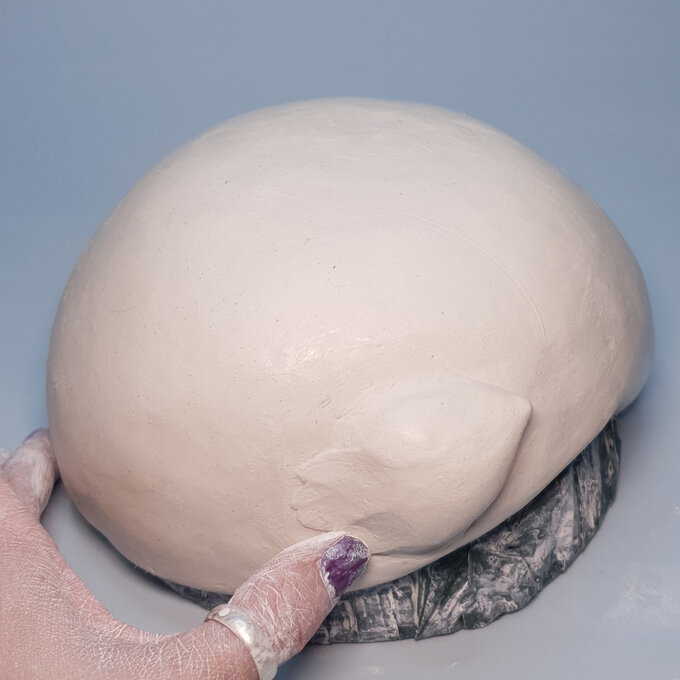
We will now cut some of the clay away from the sides to form a wide head and a thin tail, the head should be around 10cm wide, the tail 5cm. You can make more small lines as a guide.
Cut a semi-circular shape starting at the tail end then swooping down towards the head. Peel away the excess clay.
Tip: If you are having trouble with symmetry try making a rough paper template as a guide.
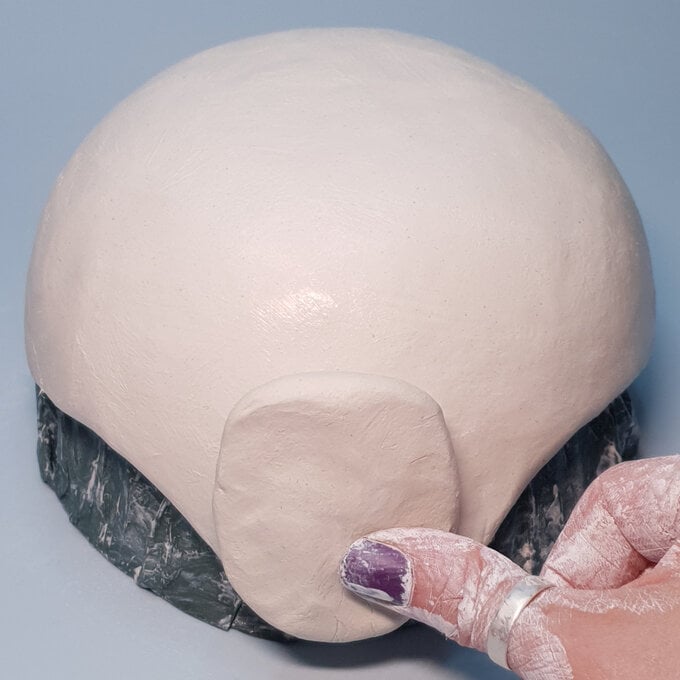
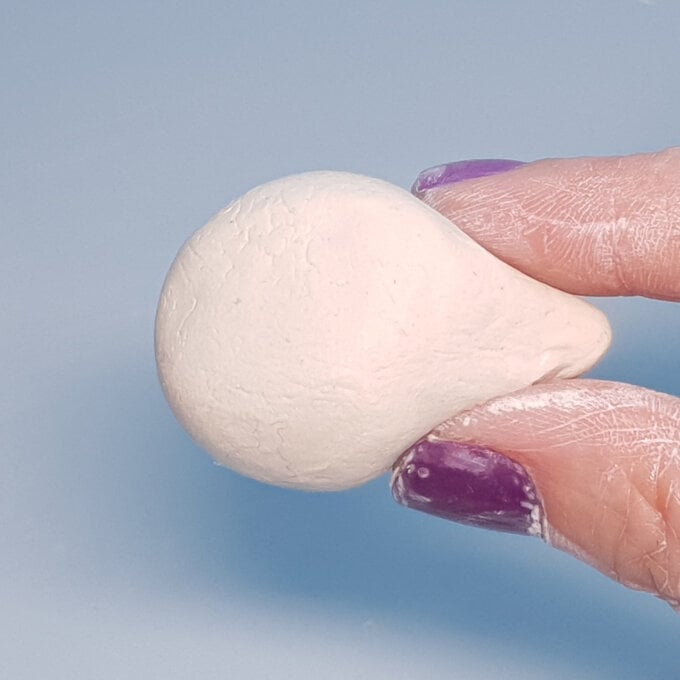
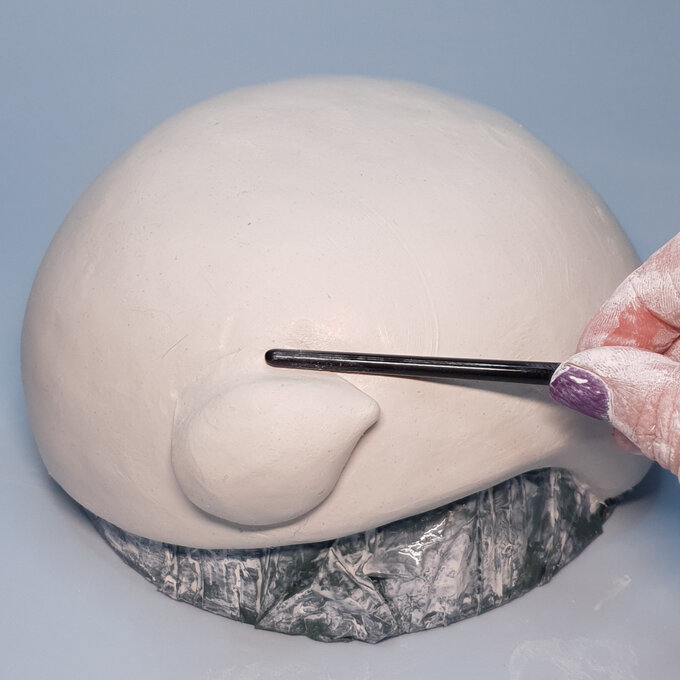
Take the two pieces you have just cut away, roll them both into a tube shapes, one wide enough to reach around the head, the other the same width as the tail. We will be using these to bulk out the head and tail, giving them a rounder shape.
Flatten slightly then squeeze the edges to thin them a little.
For pieces of air-dry clay to stick together properly the clay can't be too wet or too dry, it should have a sticky consistency. If the clay feels a little dry add some water and rub the surface until it feels nice and sticky.
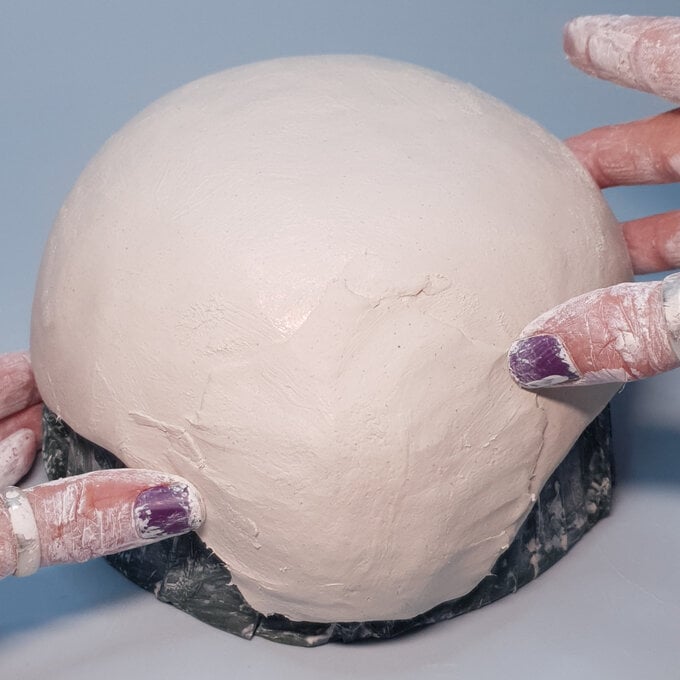
Press these pieces into the head and tail areas, use your fingers and thumbs to press and smooth the edges into the surface of your bowl. Try to create a nice round, even shape. You can use the back of your knife to help spread and smooth the clay.
Wet the clay and rub to smooth the surface and edges of the bowl.
Tip: Keep the surface of the clay moist at all times by wetting every now and again. A spray bottle can be really useful for this.
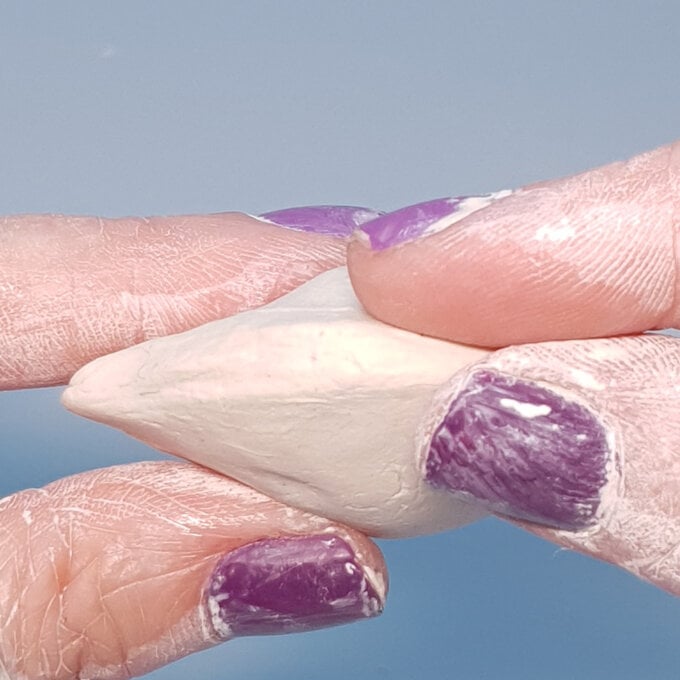
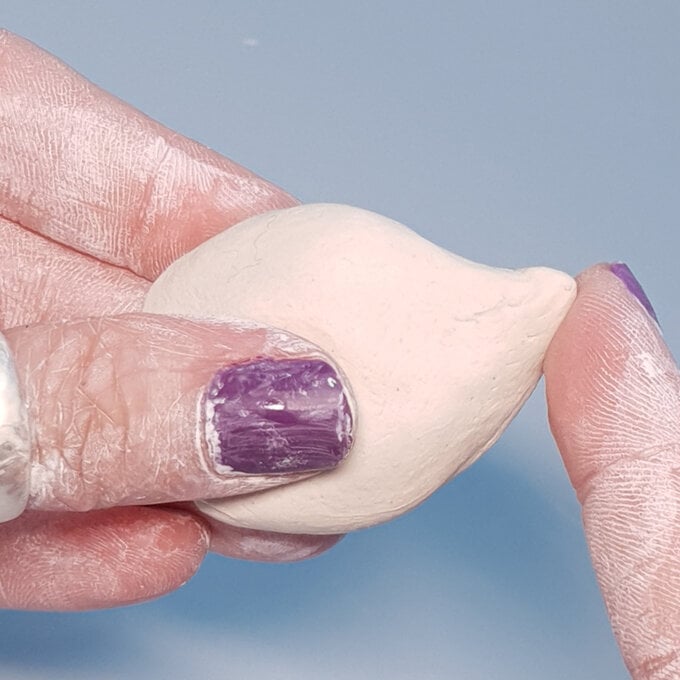
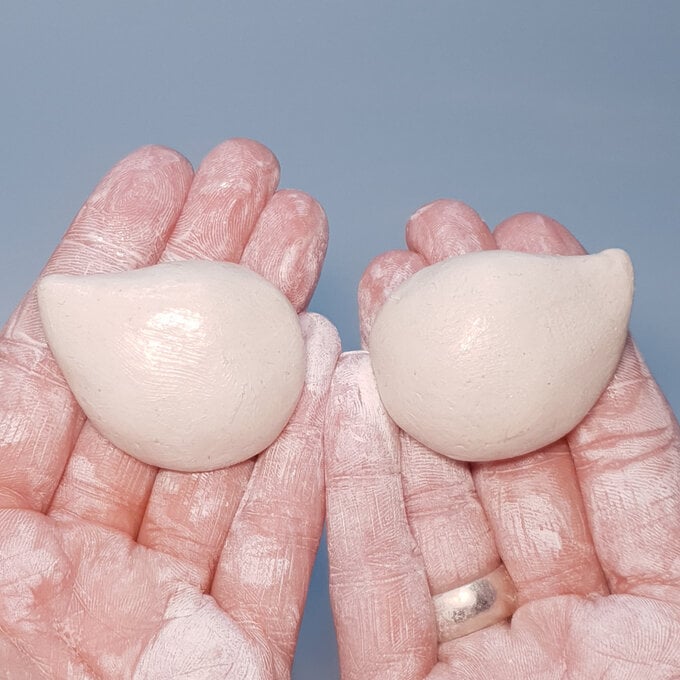
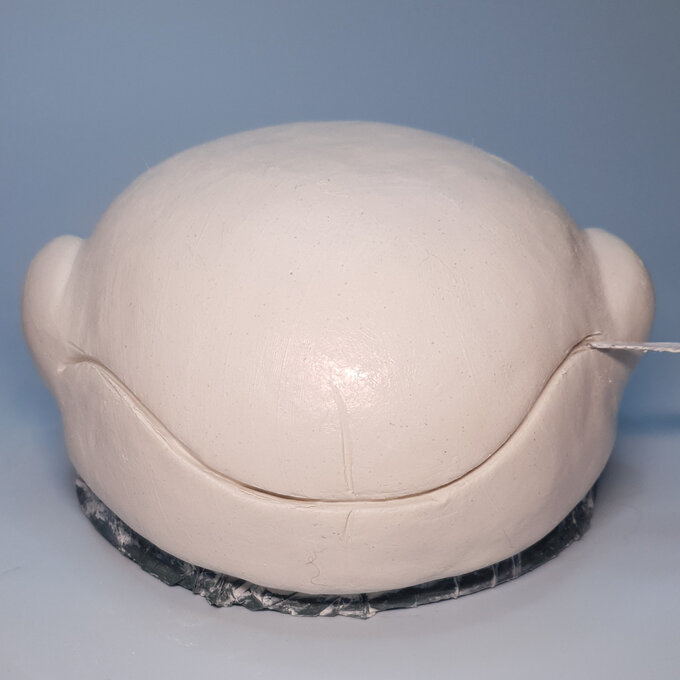
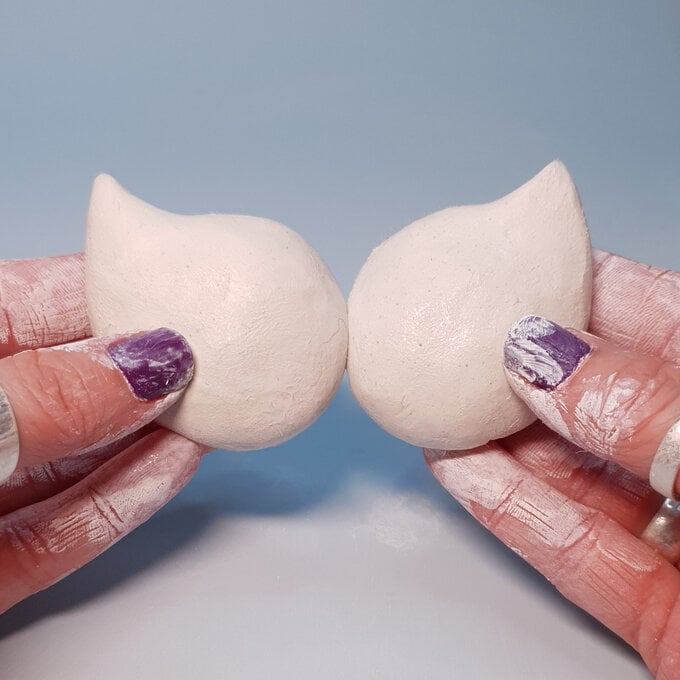
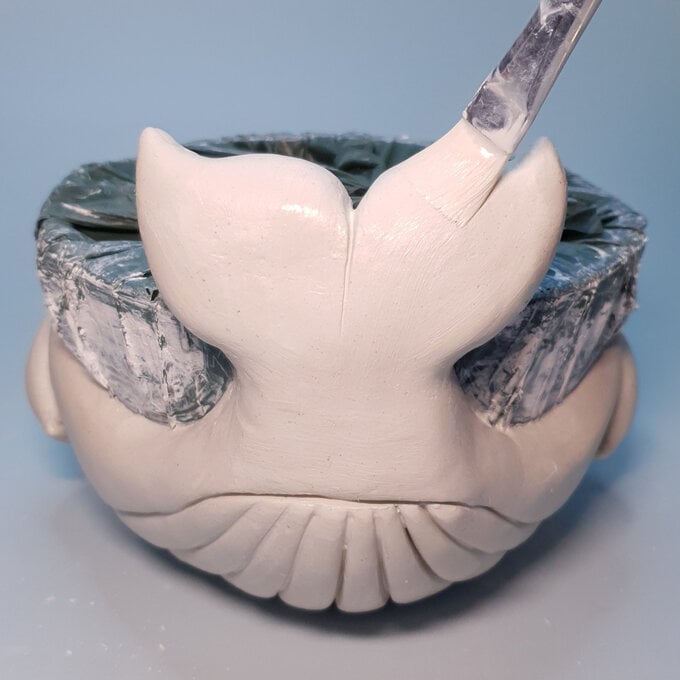
Next, we are going to make the fins. Make two balls of clay approximately 2cm in diameter, flatten slightly, then squeeze the tips to make a tear shape. Pinch along the edges to thin them a little, then push the tip to curve it upwards. Wet the surface and rub to smooth.
Make sure the surface of the bowl and the fins feel sticky, then press the fins into the sides so that the tips are facing the tail and are about halfway between the head and tail. Join the clay around all of the edges apart from the tips, then smooth the surface once they are attached.
Tip: The handle of a paint brush can be a really useful tool to help you join the clay, especially in tight crevices.
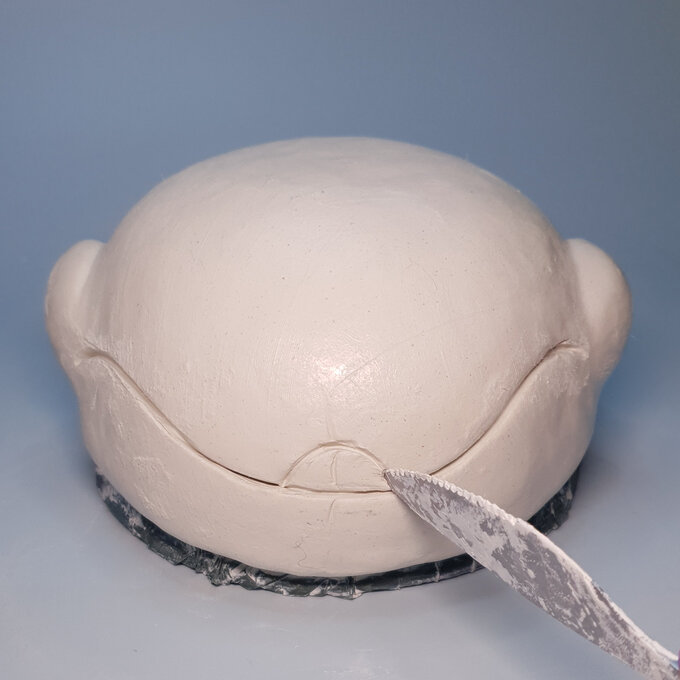
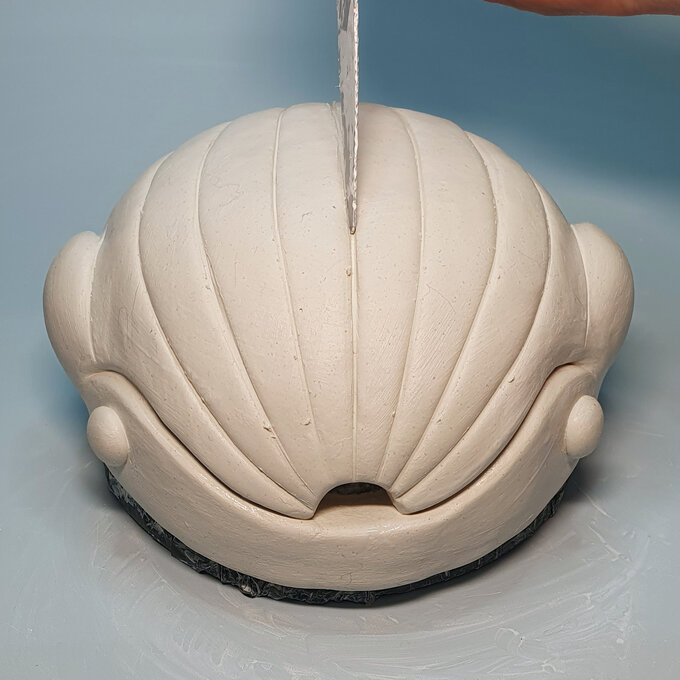
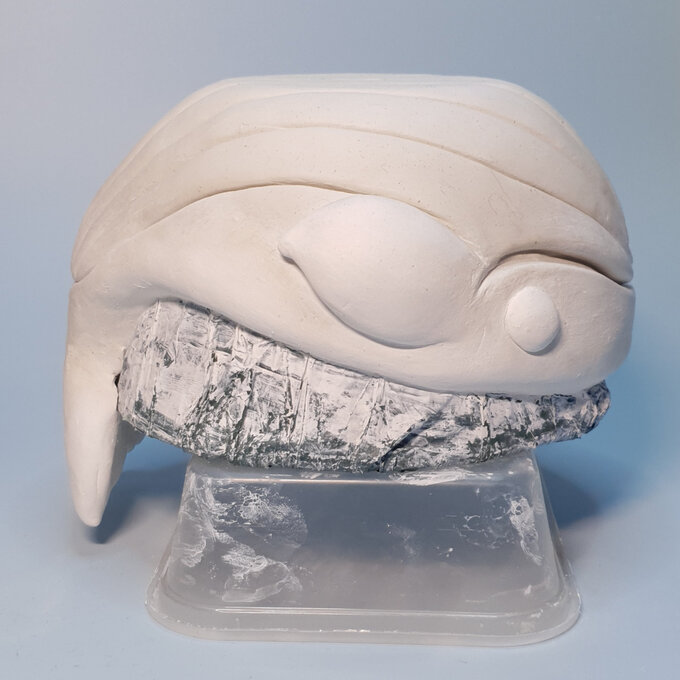
Using the tip of your knife carve the mouth shape, it should look like a wide U shape with downward curving ends and should reach almost to the fins.
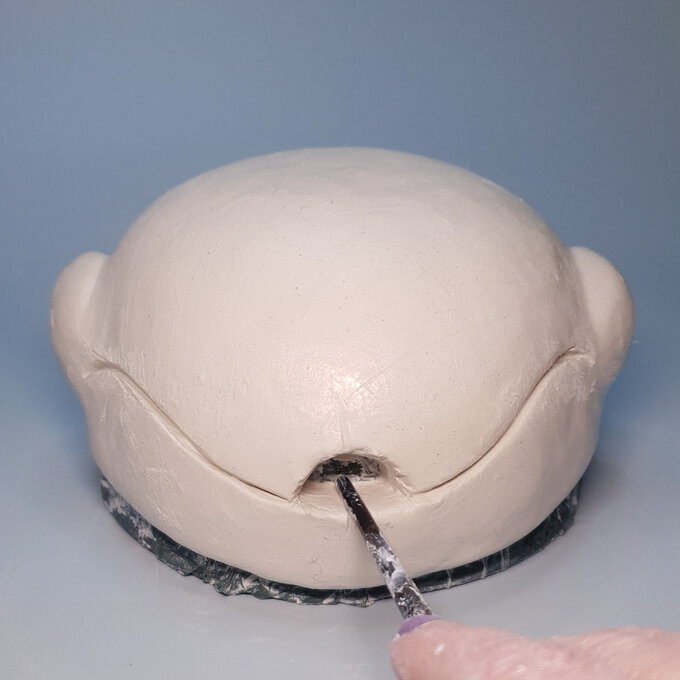
Next cut out a semi-circle in the middle to form the open part of the mouth. The clay will be quite thick here, press your knife in and dig out the clay a little at a time.
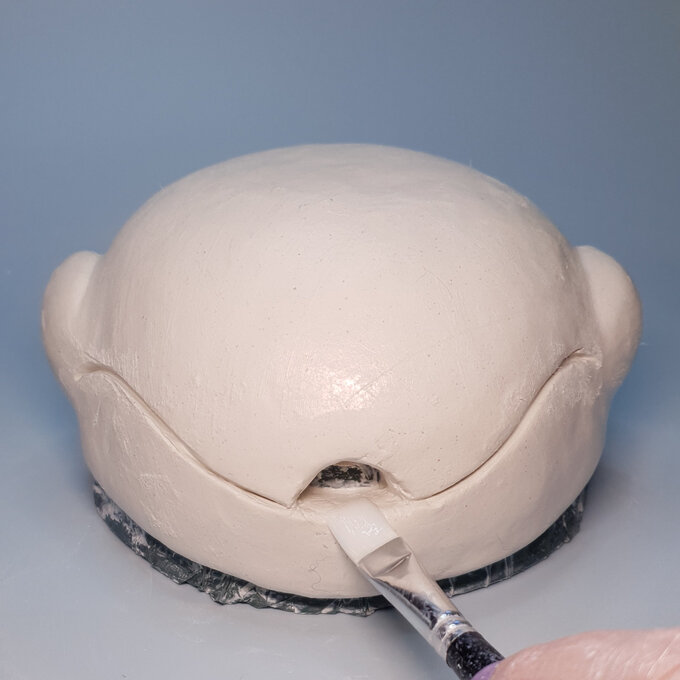
Add some water then use the handle of your smallest paint brush to help smooth the inside of the mouth. When the shape looks good use, a wide flat brush dipped in water to smooth the inside some more. A small paint brush is great for smoothing inside of the carved grooves.
Tip: It's useful to mark the midpoint again, then carve out shapes very lightly at first. When you are confident that they are correct carve the details more deeply.
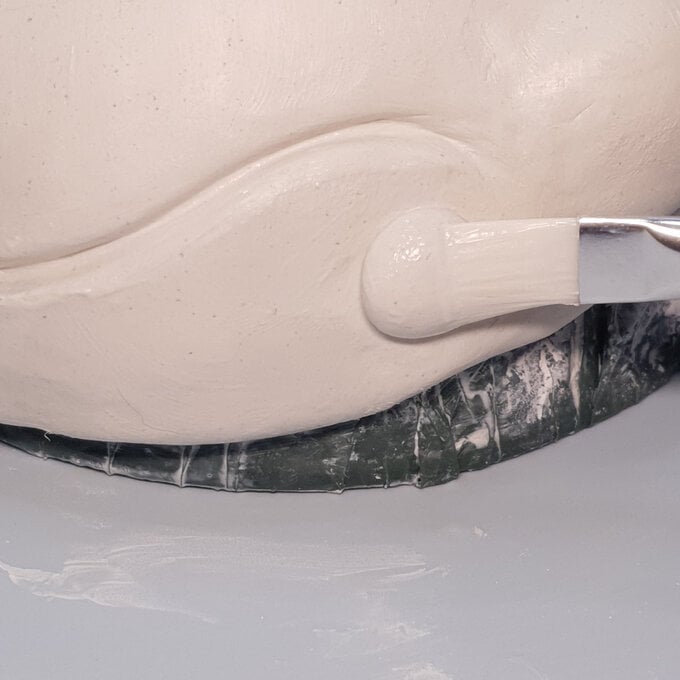
Make two balls of clay about 1cm in diameter, these will form the eyes.
Stick them on to the head just below the end of the mouth. This time don't blend in the sides, we want to keep a bit of definition in the edges of the eye, twist the eye on to the surface and press gently to flatten slightly. Once they feel properly attached you can use water and your fingers, or a brush, to smooth the surface.
If the eyes feel like they aren't sticking properly you can make a kind of clay glue by mixing water with some clay until it makes a very sticky paste. Add a little to the back of the eye before attaching.
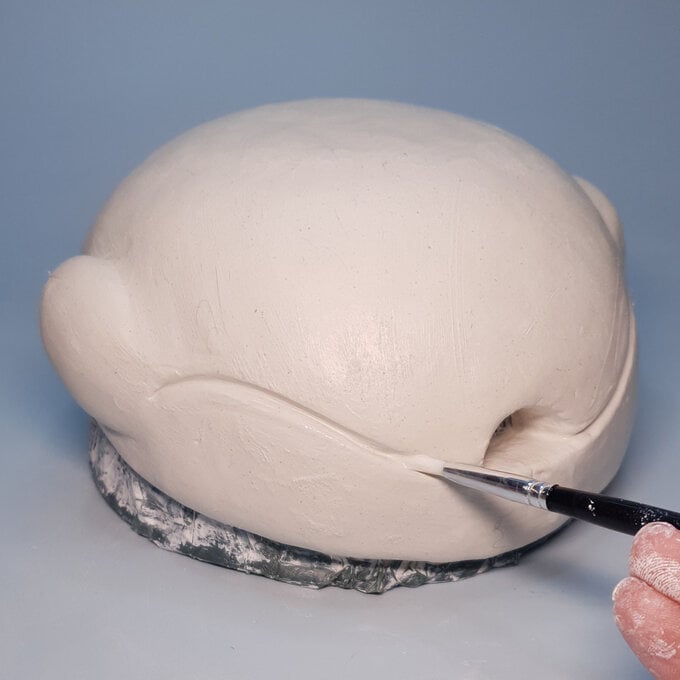
Whales have a ridged belly, to make this use the tip of your knife to carve lines from the underside of the mouth to almost the tip of the tail. Start with the lines that form the outer edges, they should run from just under the fins to base of the tail, next make the inner grooves. Use a brush to smooth the edges.
Tip: For the inner grooves I find it best to start with the centre line, then make one line each side at a time, this helps keep them symmetrical.
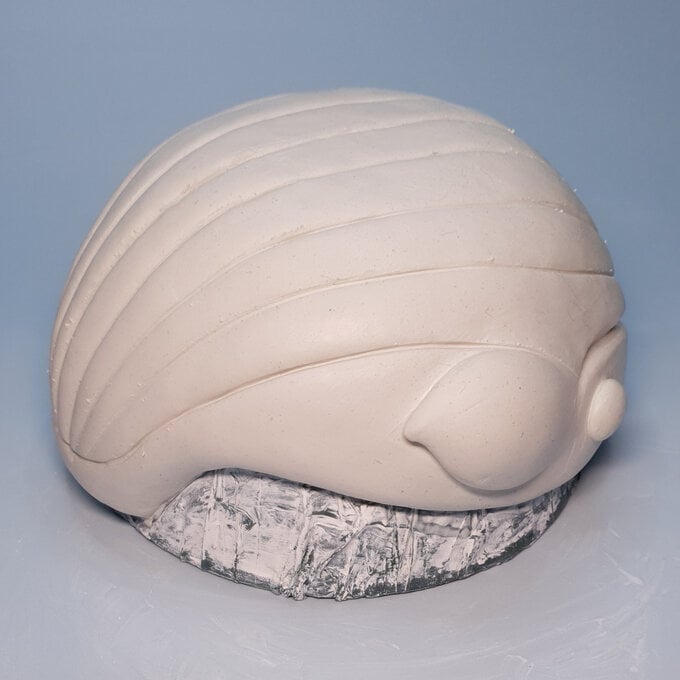
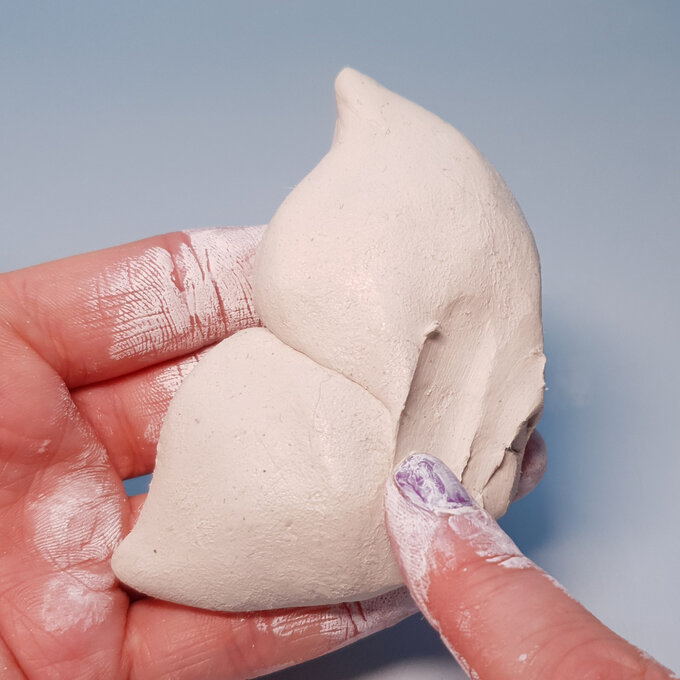
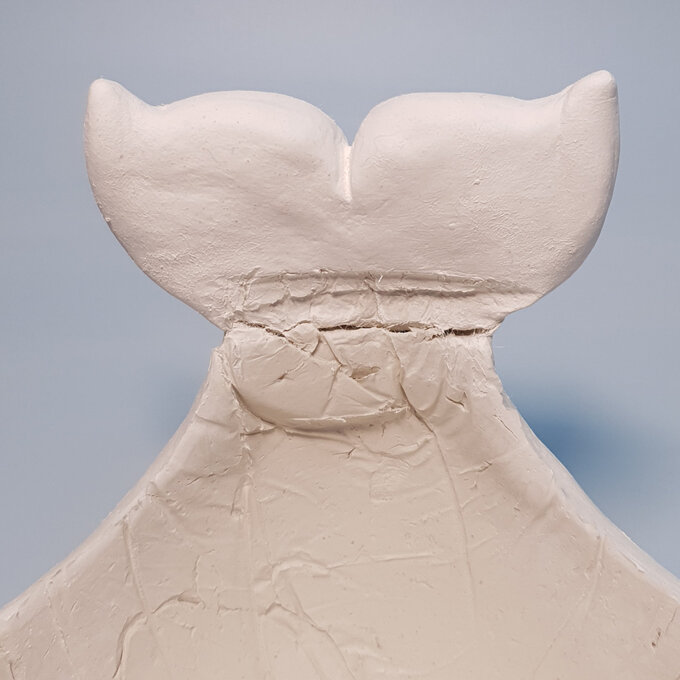
The tail is made in the exact same way as the fins, make two tear shapes that curve upwards at the tip.
The two tips should be facing outwards and upwards. Press and twist the two pieces to join, spread the clay from one side to the other along the join line until smooth, then flatten at the bottom.
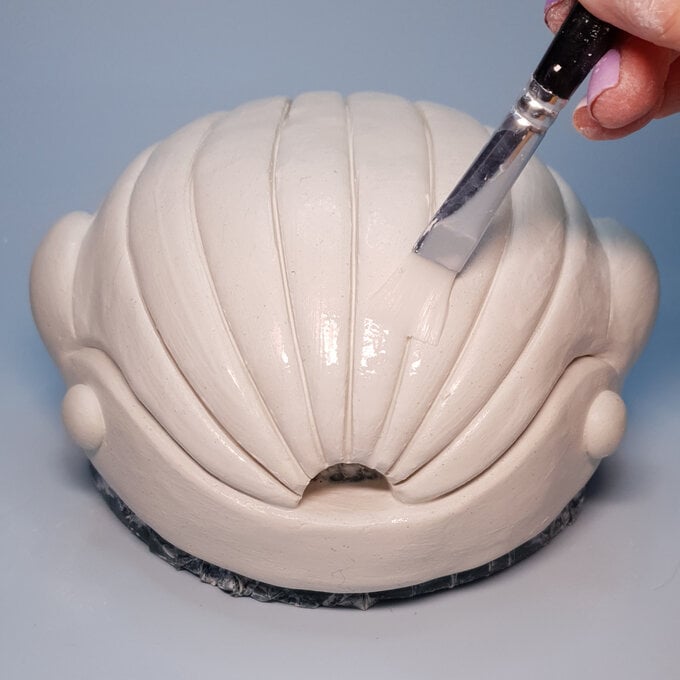
Now it's time to turn your bowl the right way up. You will need to add some extra clay to the tail area, this part needs to be quite thick for strength. Join the tail to the bowl, make sure it feels secure, then smooth the surface. Use your knife to help join the clay in any tight crevices.
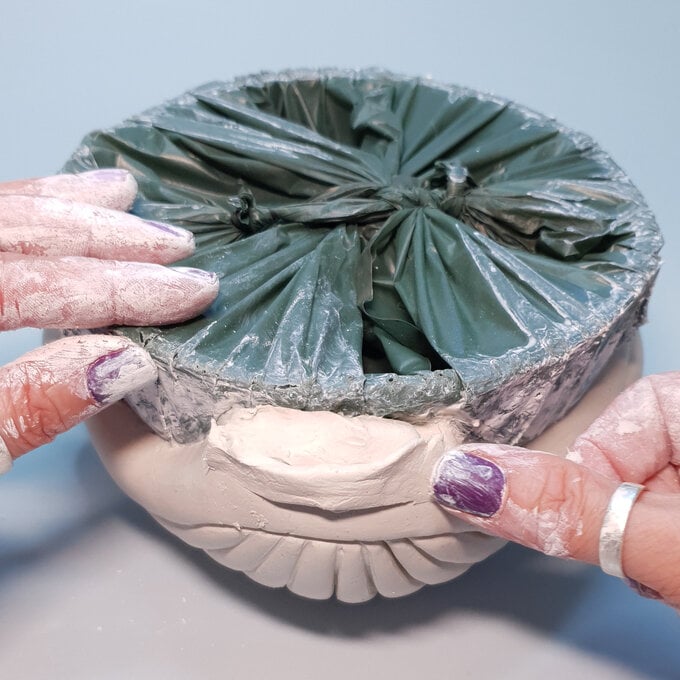
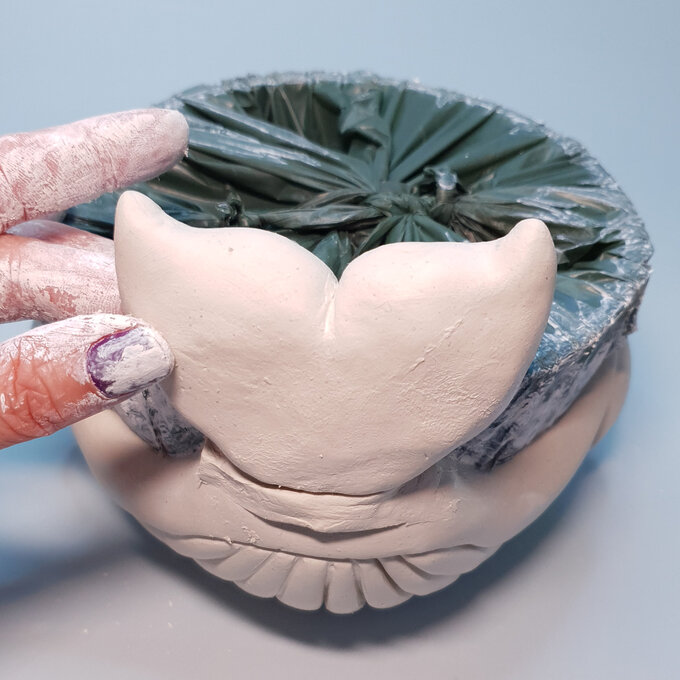
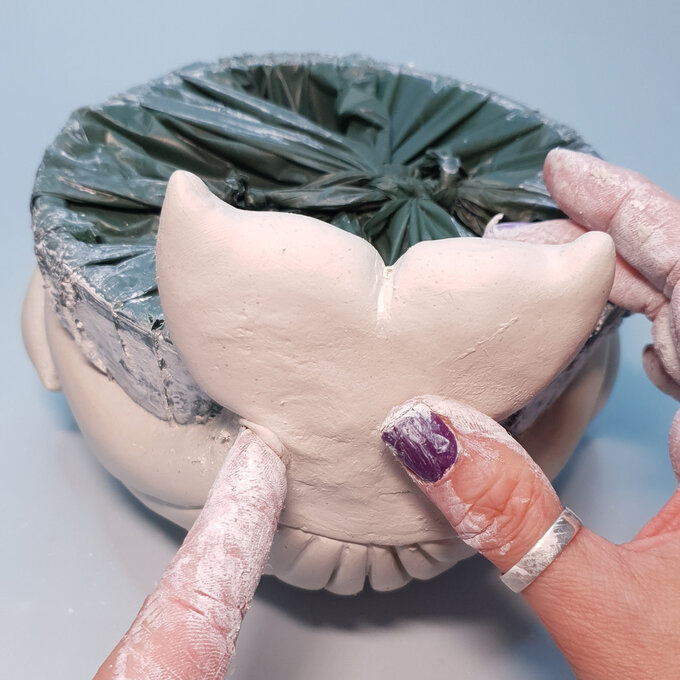
Your sculpture is now complete! Now you just need to leave it to dry. For large pieces this can take 4-5 days. Leave your bowl in a warm dry place. You may need to gently prop something against the tail to stop it bending over. After 5-6 hours your clay should have dried enough to support itself, you should be able to tell as the clay will begin to turn bright white as it dries and will feel firm to the touch. If possible, turn the bowl upside down again to dry the bottom, you will need to rest it on something to stop the tail from touching your work surface.
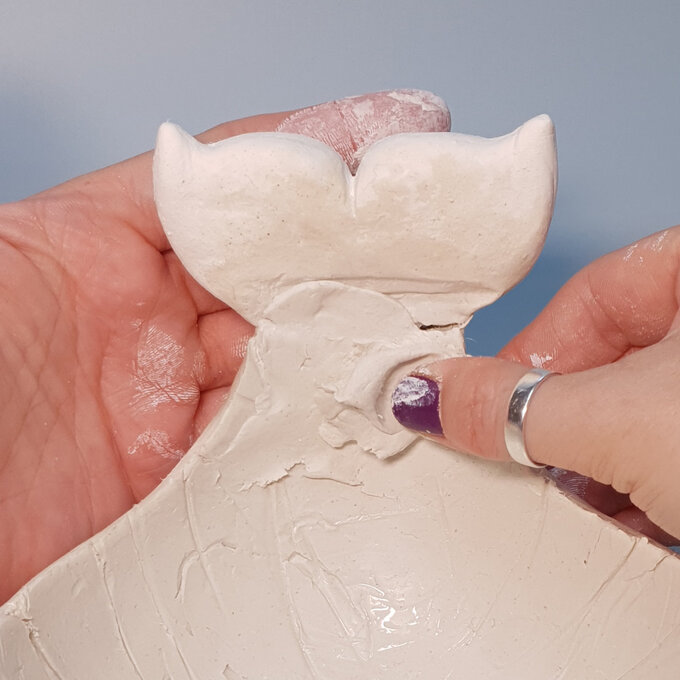
After 24 hours you can free the inner bowl. Turn your bowl right way up and untie the plastic bag, the inner bowl should come free, and you can peel off the bag. The clay inside should still be wet, if it feels like it's drying out brush on some water to make it sticky again. You can now add some extra clay to smooth out the creases created by the plastic bag and the inner join of the tail. Be careful when pushing clay into the inside, support the back with your hand.
Leave for a few more days to dry.
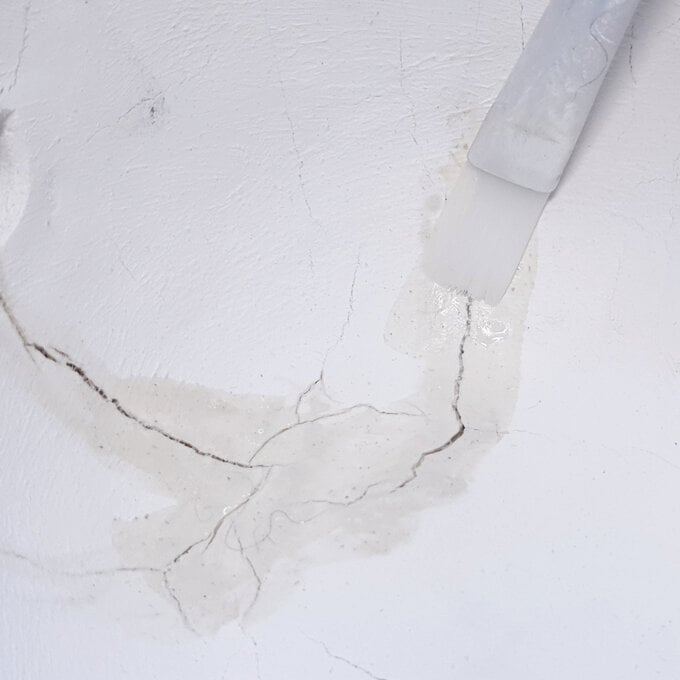
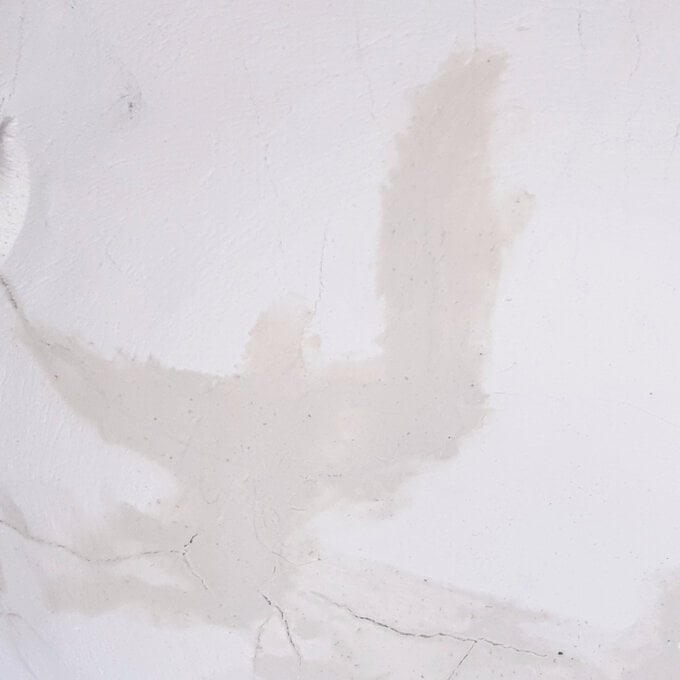
You will probably see some cracks appear, this is because air dry clay shrinks as it dries, but don’t worry you can fill these in. Wet the crack and leave for a minute, then take some fresh clay and push it into the gap, add some water then smooth the surface with your fingers or a brush.
Tip: Dry clay can be sanded for an extra smooth finish or to remove any sharp edges. Start with an 80 grit, then use a 240 grit to finish. You can even use a nail file.
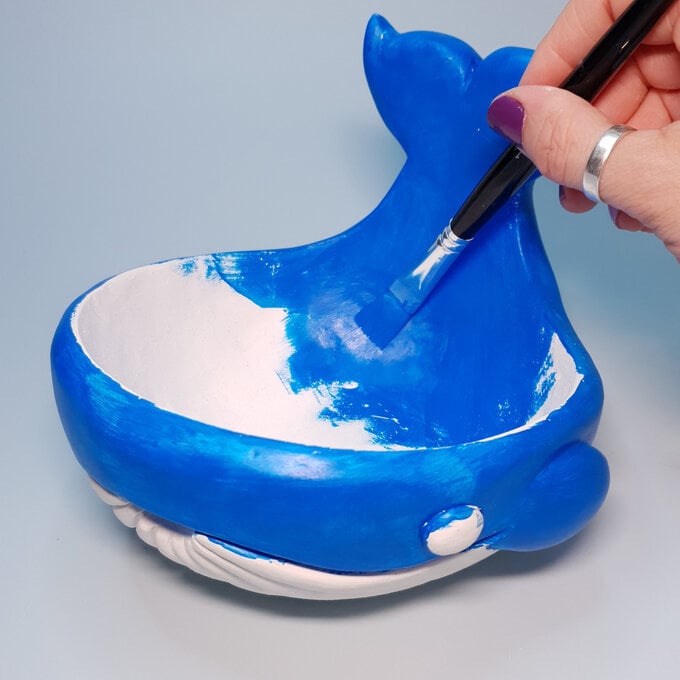
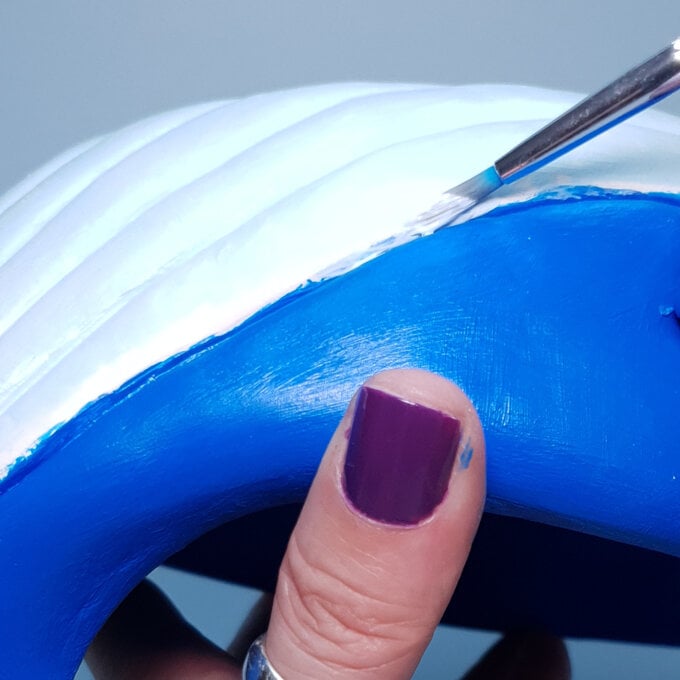
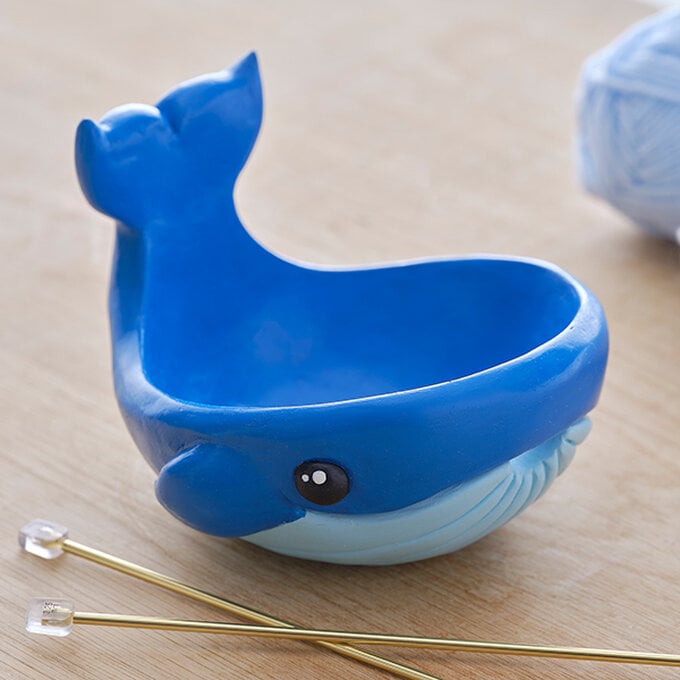
Once your bowl is completely dry paint both the inside and the outside (up to the ridges of the belly) with a bright blue acrylic. You will need two coats to achieve an even colour.
For the belly mix a good quantity of white with just a little blue.
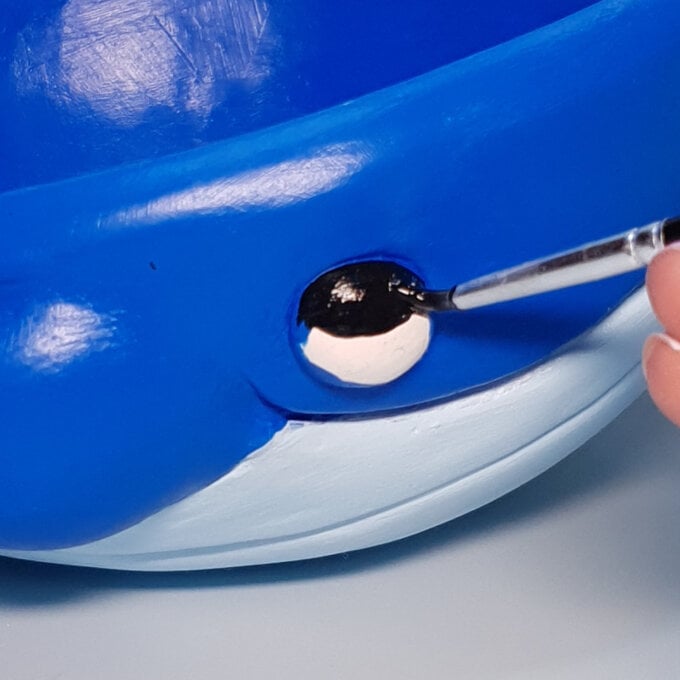
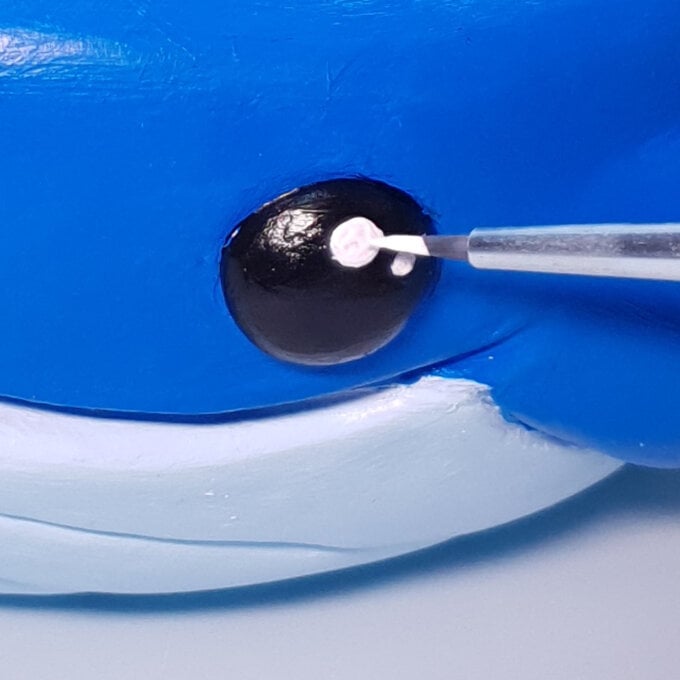
To finish paint the eyes black, then when the paint is dry add a couple of dots of white to create a sparkling effect.
To protect the paint and for an ultra-glossy or a matt finish, coat in a clear craft varnish.

Related Products