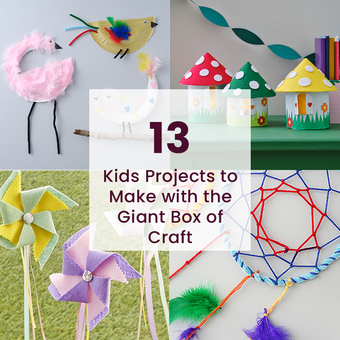
How to Make Kids Pirate Accessories
Let your kids be the captain of their own ship with these super fun pirate accessories! This easy-to-follow guide will help you make pirate accessories for your child, including an eye patch and treasure chest.
Your kids will be thrilled to let their imaginations run wild with these simple craft projects.
You will need
Subtotal
Is $ 4.49
Subtotal
Is $ 4.49
Subtotal
Is $ 3.49
Subtotal
Is $ 11.00
Out of stock
How to make
* Cardboard Tubes
* Acrylic Paint in Red, White, Gold and Black
* Circle Kids' Stick on Gems
* Black A3 Card
* A Variety of Feathers
* Gold Metallic Card
* Black Elastic
* A Black Paper Cup
* Red, Yellow and Green A4 Card
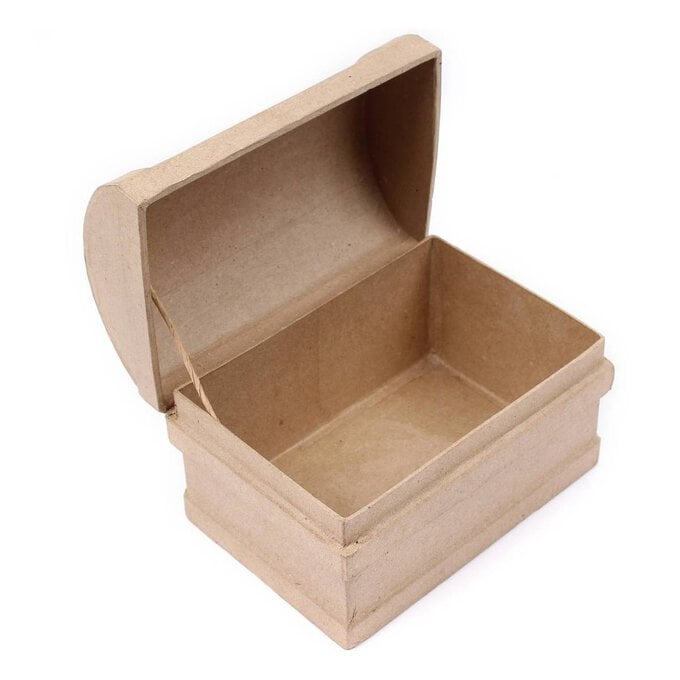
* A Large Mache Treasure Chest
* PVA Glue
* Gold Metallic Ribbon
* Black and White Felt
* Scissors
* A Black Pen
* Free Templates - Downloaded + Printed
Download the templates below to help in creating your pirate hat!
Download the PDF template here


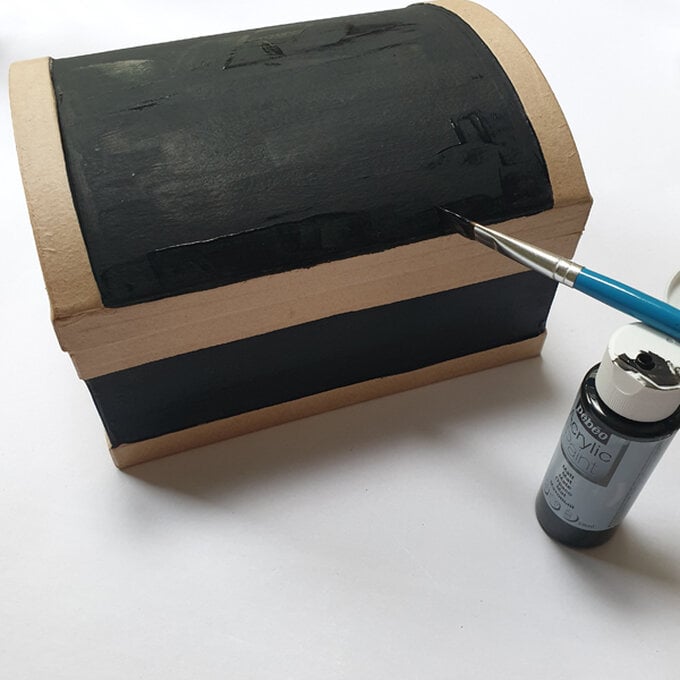
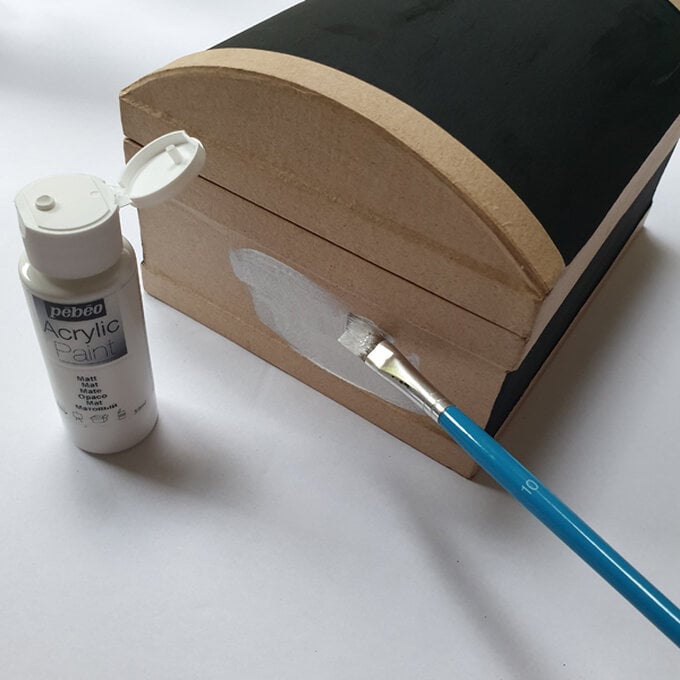

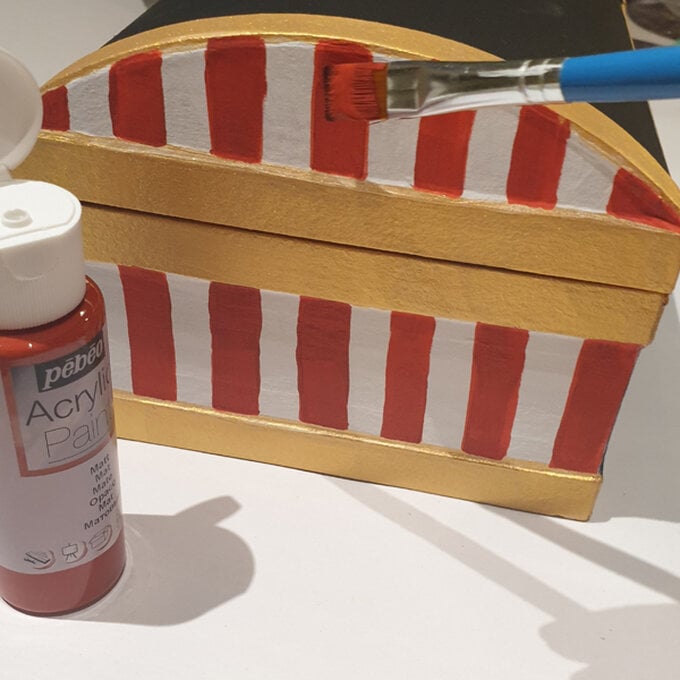
Once the white has completely dried, carefully paint the red stripes, you can draw in pencil first if needed.
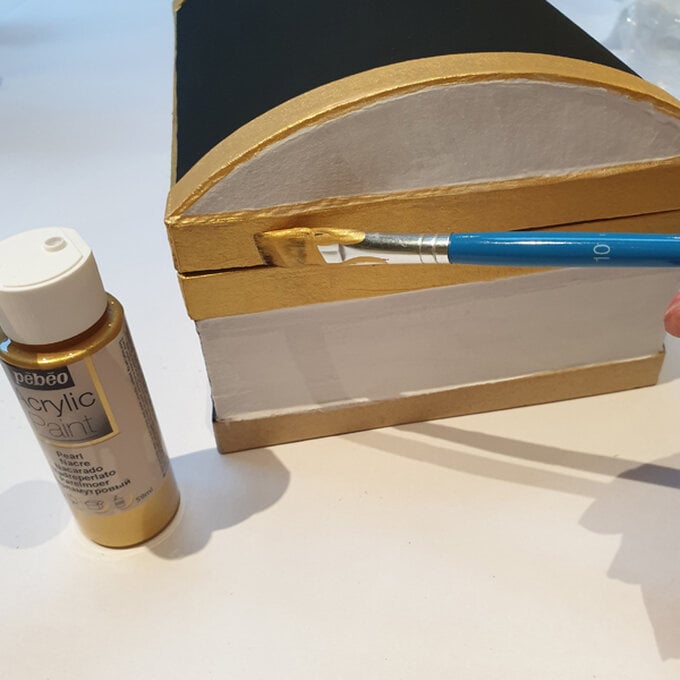
Then, paint the inside of the box red.

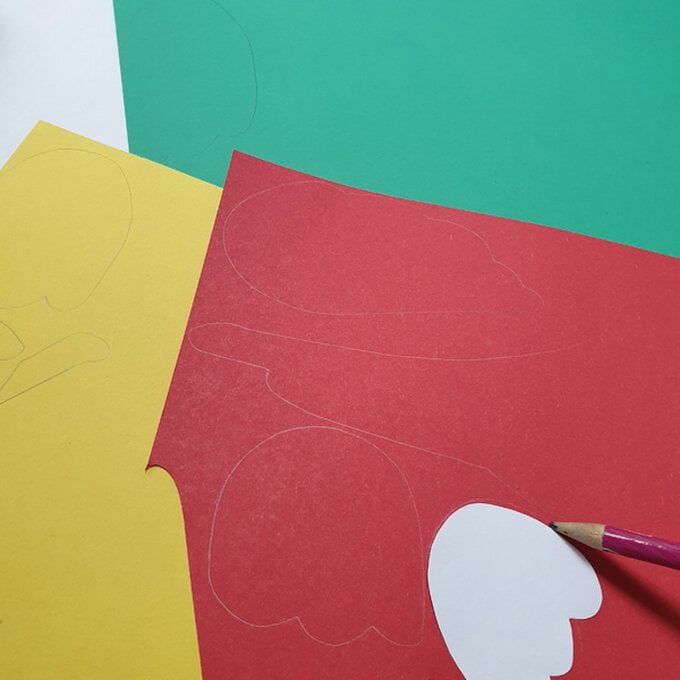
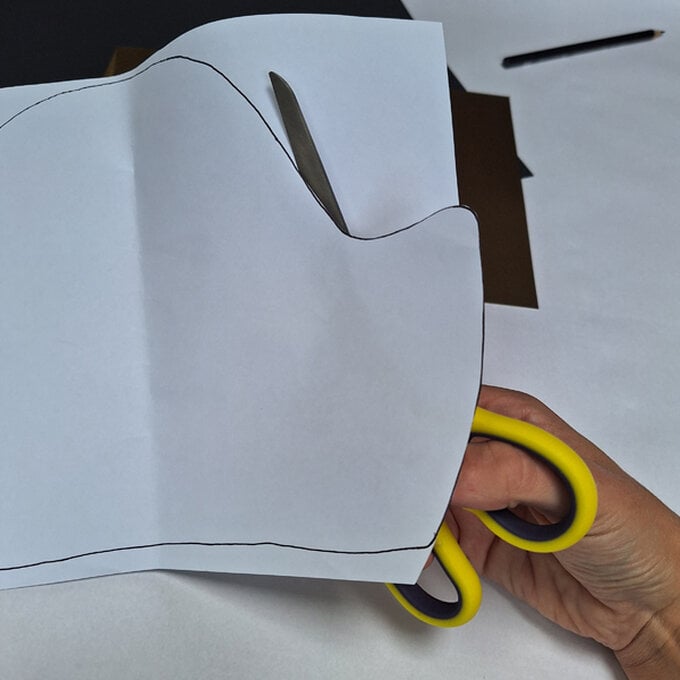
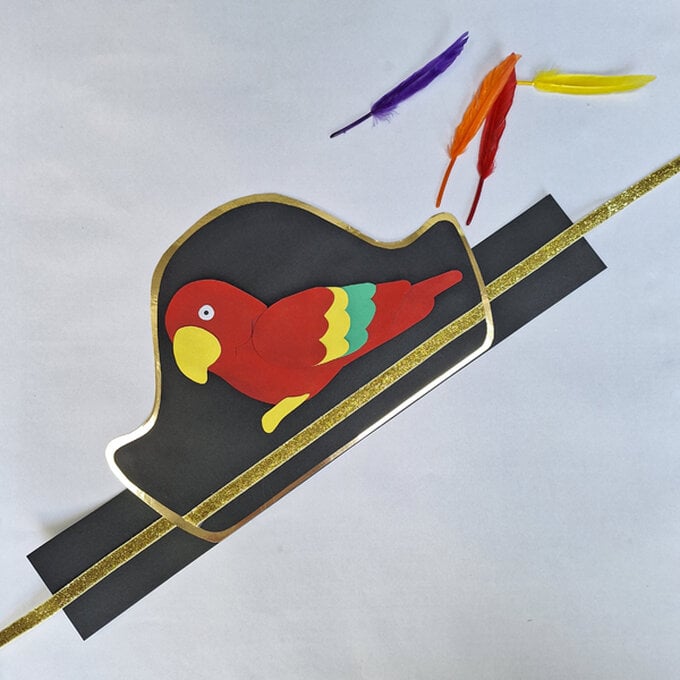
Download the templates provided above, and cut out the shapes required to create your hat and the parrot you will attach.
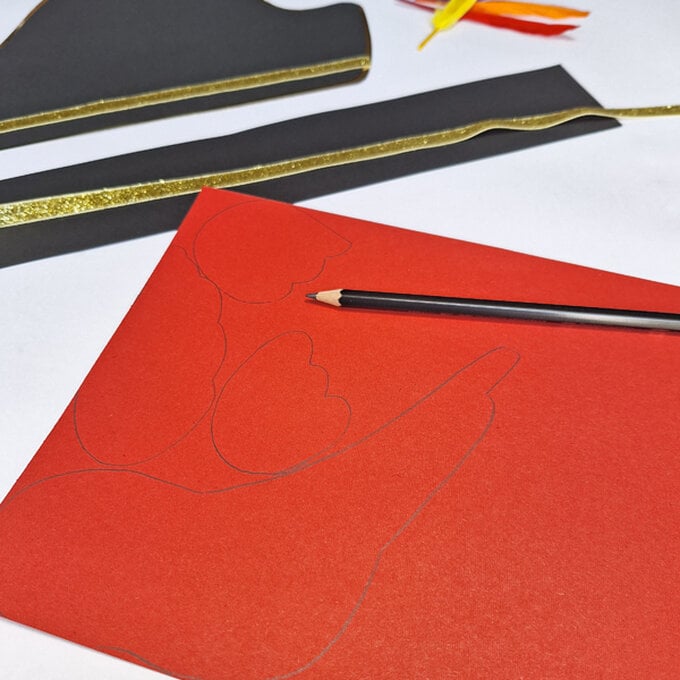
Starting with your parrot, gather your red, yellow and green card and draw around your shapes - see the final image for the colours we used for each feature. Then, cut each of your shapes out.
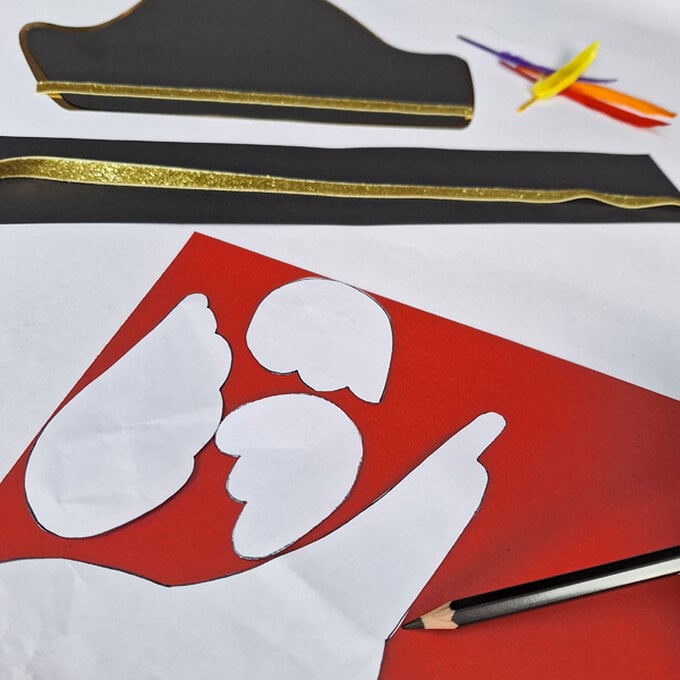
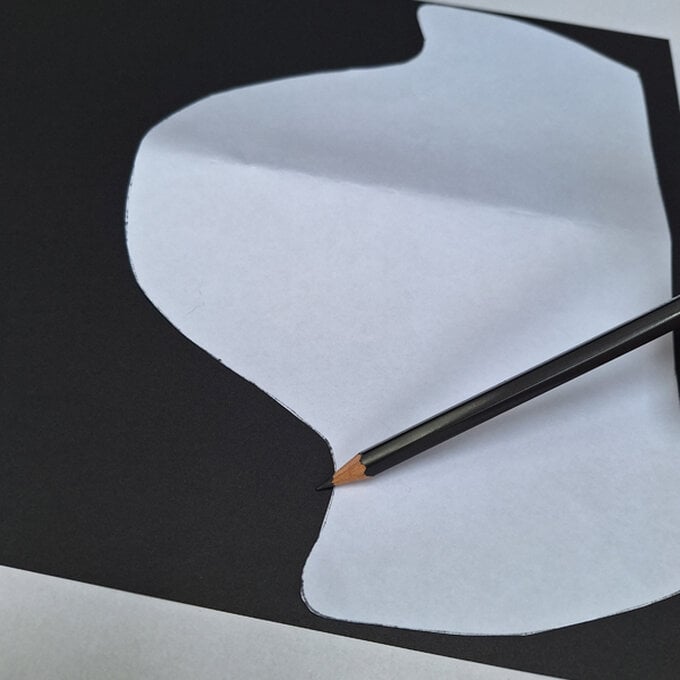
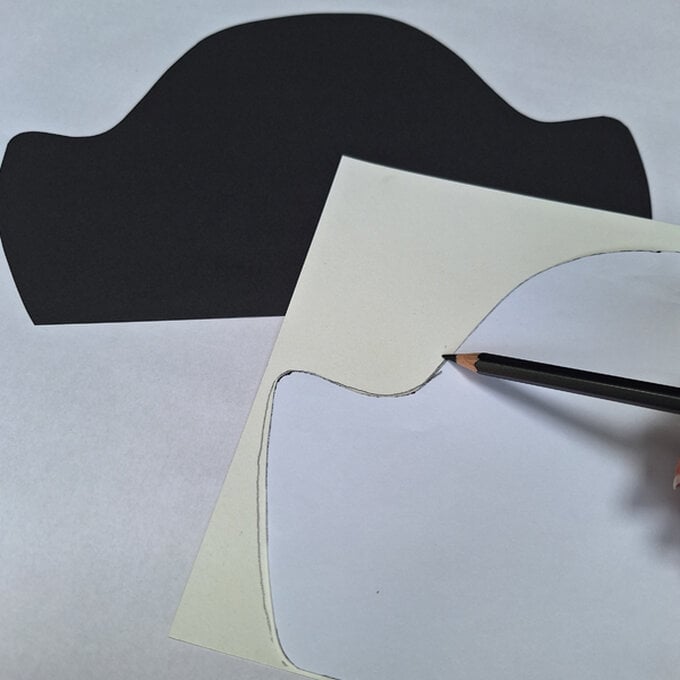
In a similar way, position your hat shape onto your black card and draw around it.
Then, cut your hat out.
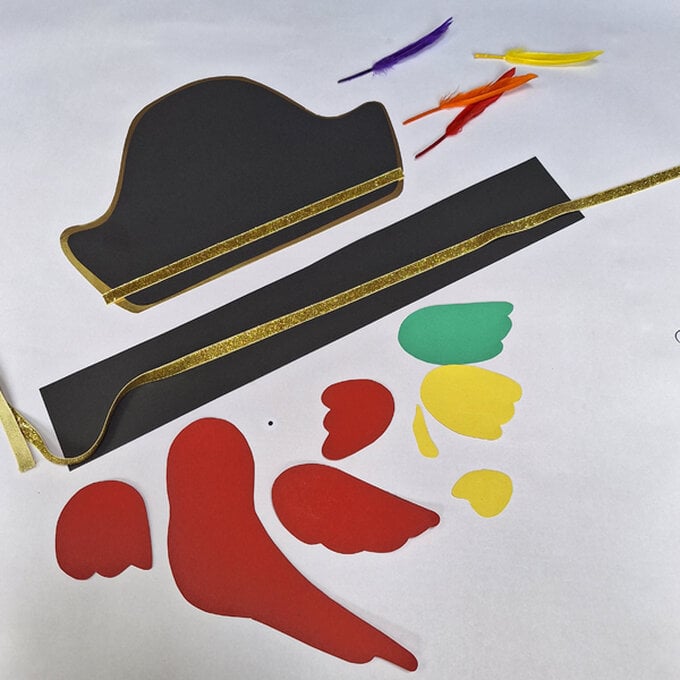
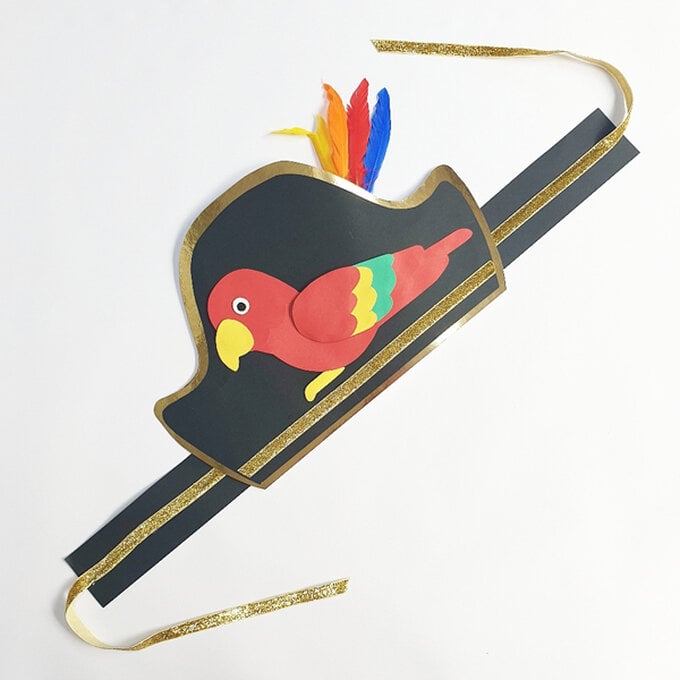
To create a headband for your hat, cut a 10cm wide strip of black card (the length of the A3 card), and cut it in half.
Position the gold and black parts of the hat on top of each other and glue in place with the black part on top.
Then, position the parts for the parrot and glue them together. Then, glue the whole piece to the middle of the black part of the hat. With a black pen, mark a dot for the eye.
Next, glue your headband piece to the back of the gold part of the card approximately 20cm in from the outside on both sides.
Then, cut 2 pieces of gold ribbon each 50cm in length and glue to the middle of the headband strips. The long overhang will enable you to adjust the headband to fit the child’s head when tying it.
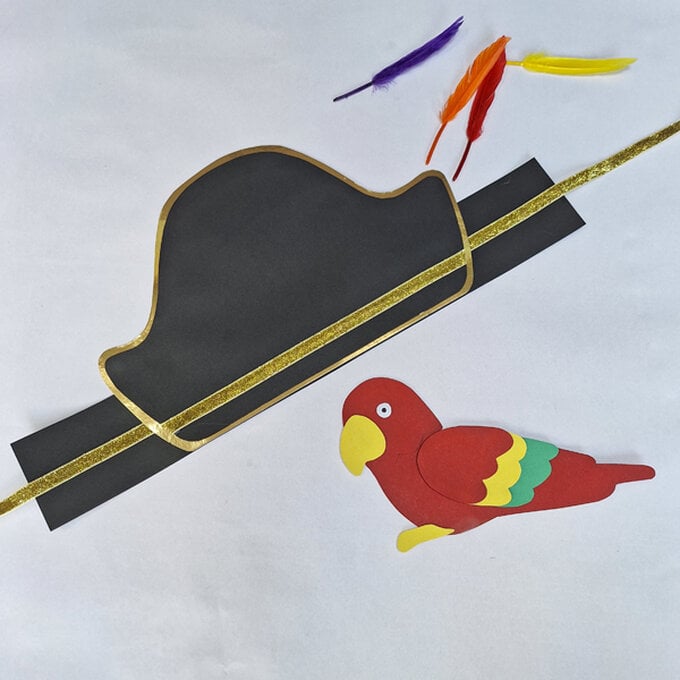
Cut a 3rd piece of gold ribbon and stick it to the front of the hat.
To finish, stick your desired amount of feathers to one side of the hat.
Allow the glue to dry before using.
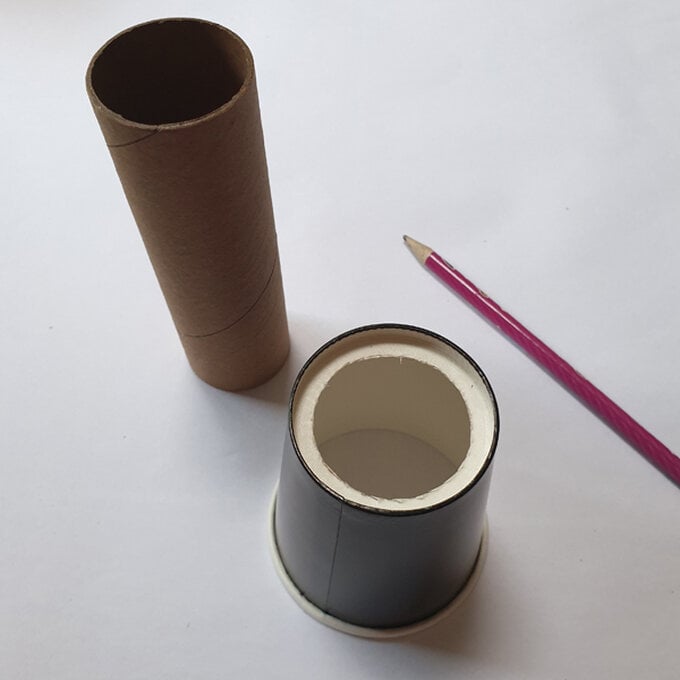
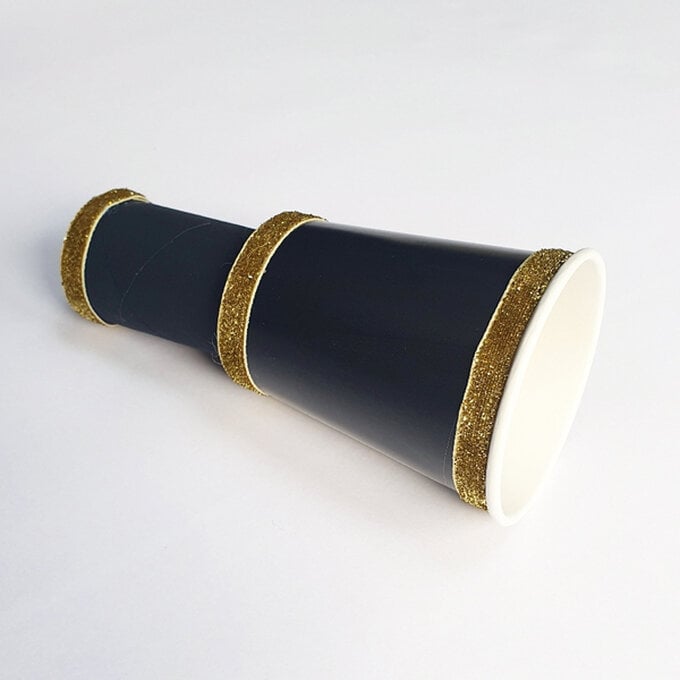
Using the cardboard tube, draw around it onto the bottom of the cup and cut out a whole in the cup ensuring it isn't too big.
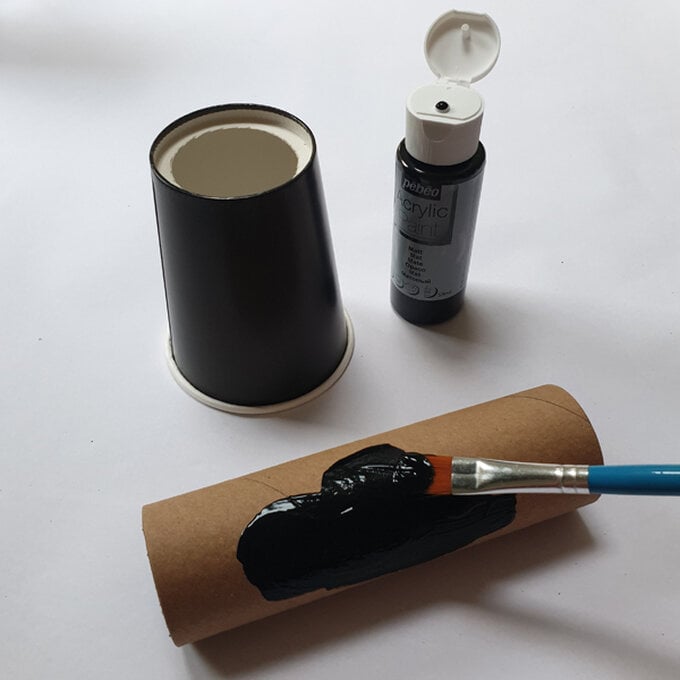
Paint the cardboard tube black and wait until completely dry.
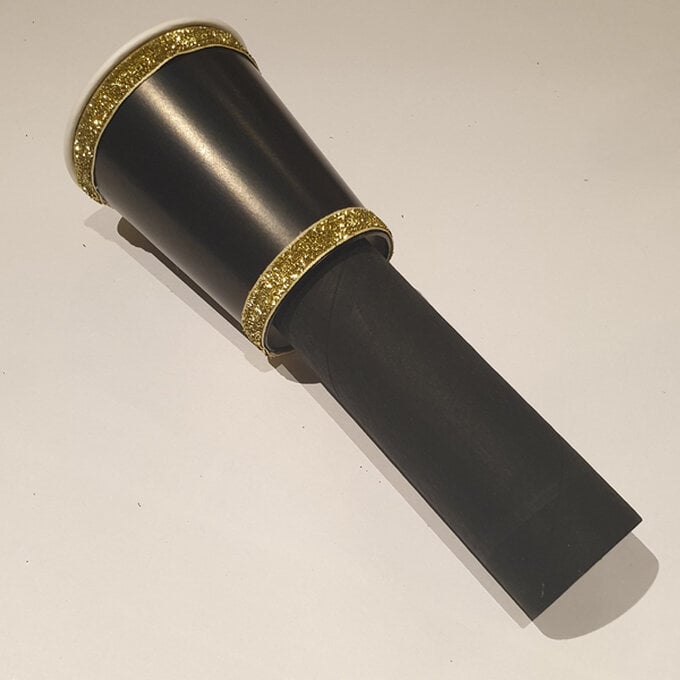
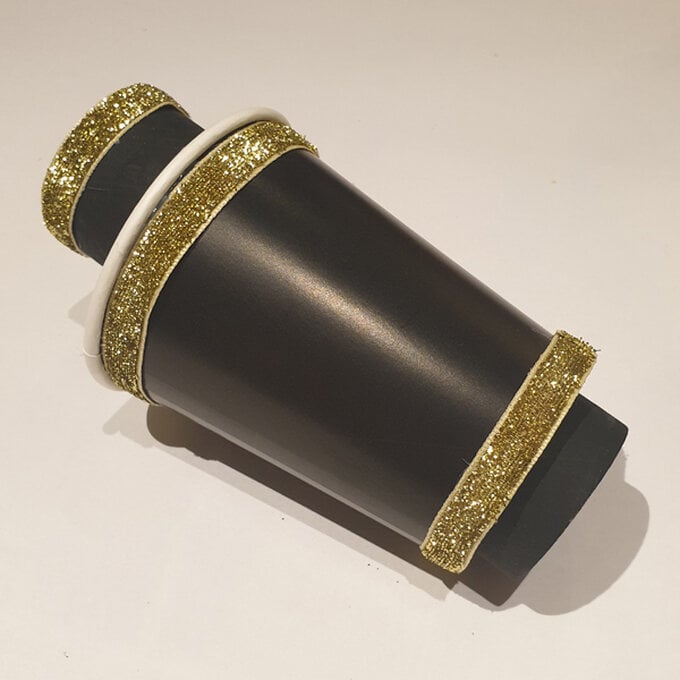
Glue 2x more pieces of ribbon to the cup and 2x more to the cardboard tube.
There you have it, your telescope is complete!
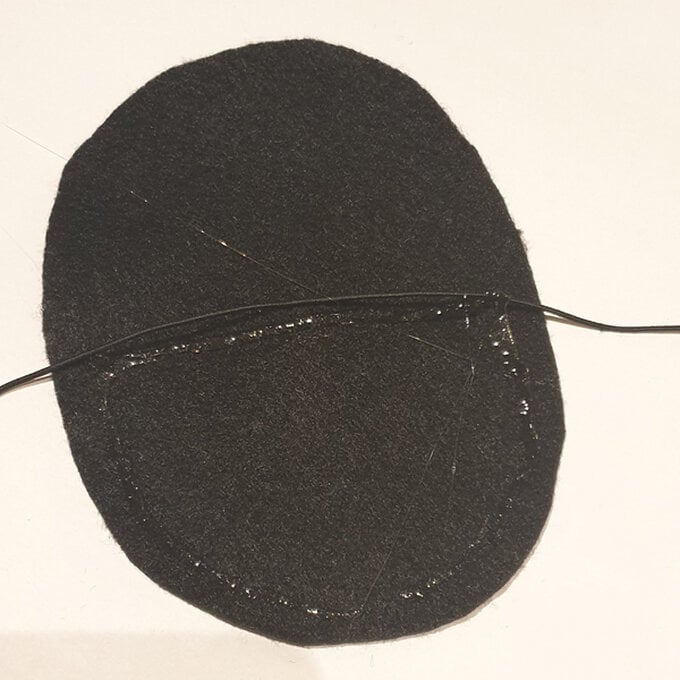
Using the templates for the eye patch, cut them out and then draw around them onto the felt sheets before cutting it out.
Then, measure around the child’s head and cut a length of elastic big enough.
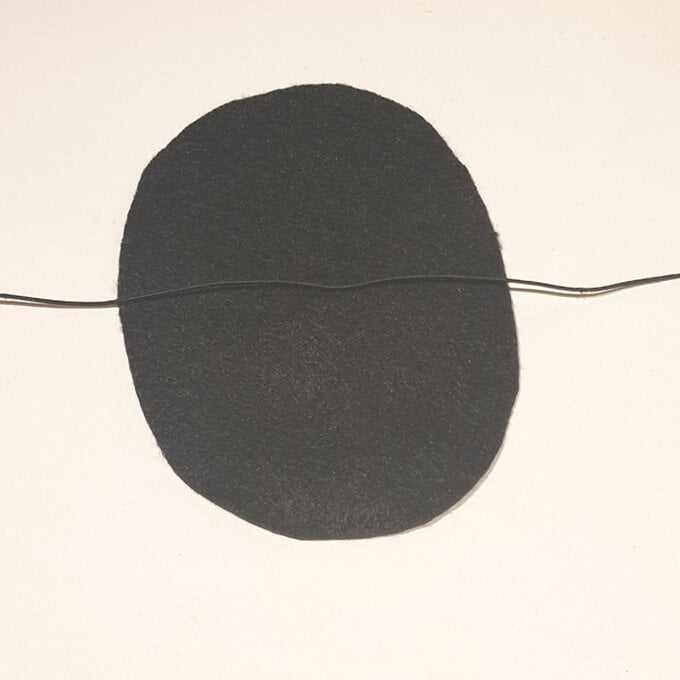
Fold and glue the oval black piece of felt in half, sandwiching the elastic inside.
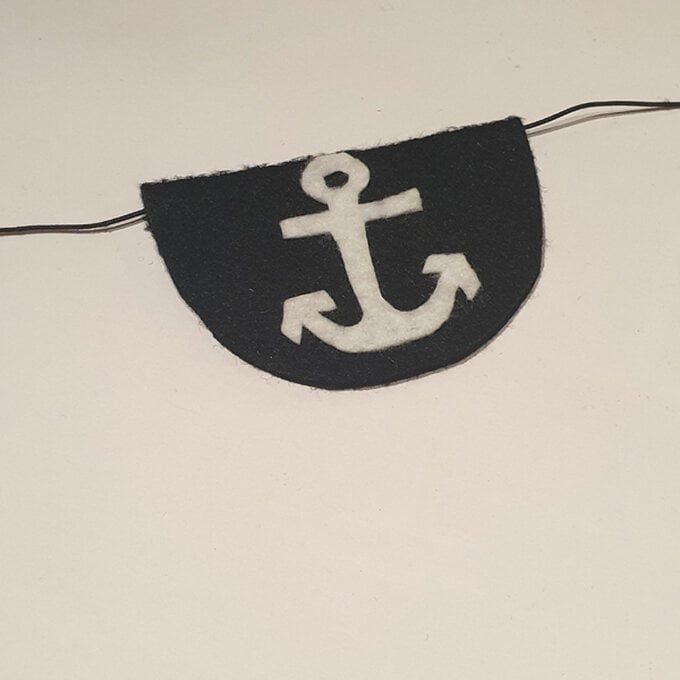
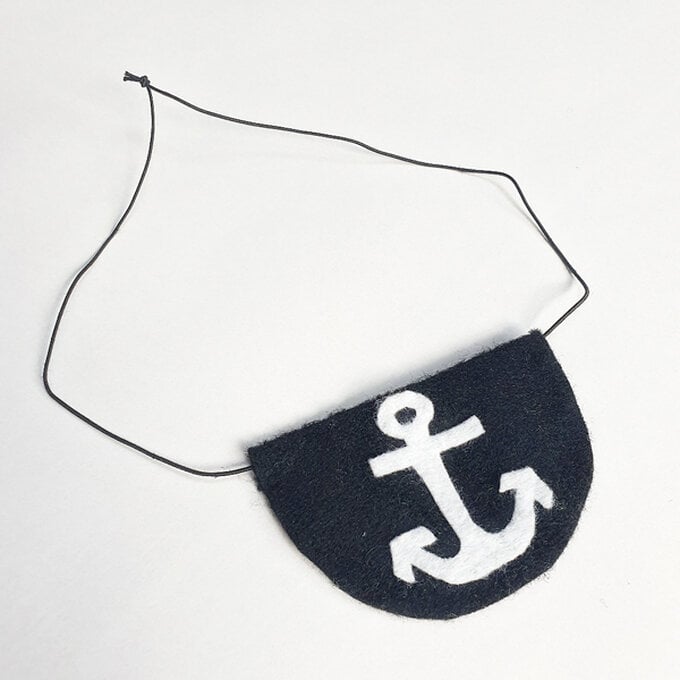
Then, glue the anchor on the front of the patch.
Craft with us at our workshops


Related Products