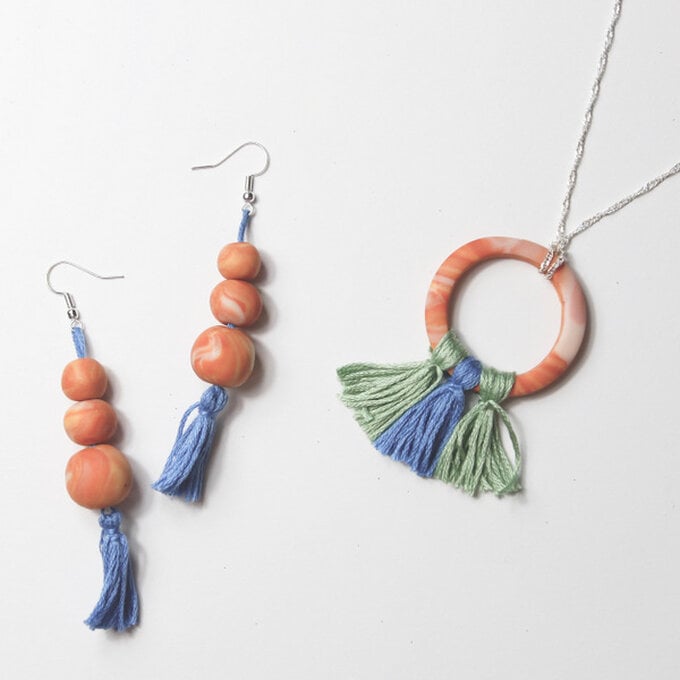
How to Make Marbled Fimo Jewellery
Polymer clay, like Fimo, is a fantastic material to craft with as it's easy to mould, comes in a huge range of colours, and the finished product is tough and durable- making it perfect for jewellery! Marbling and tassels are two of our obsessions at the moment, so we thought we'd combine these and make a lovely pair of earrings and a matching necklace. Make sure you pick colours that mix well – think about the hue they will produce when combined.
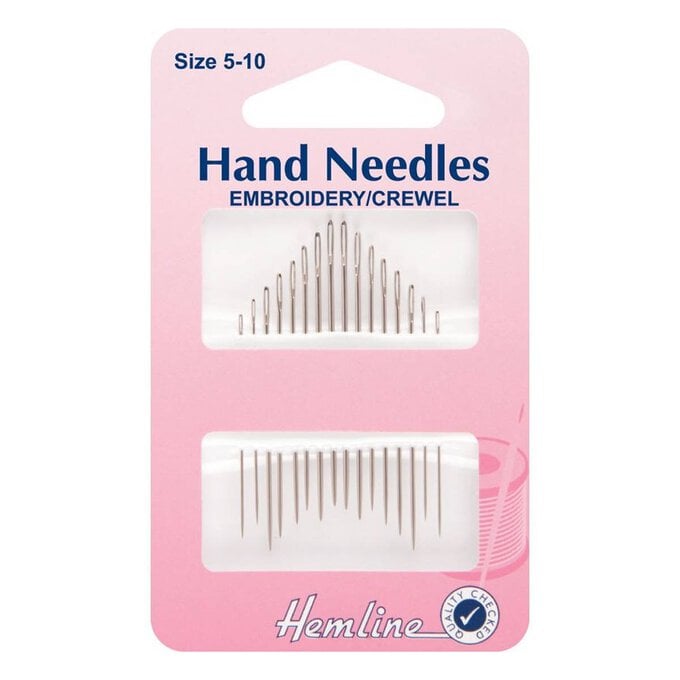
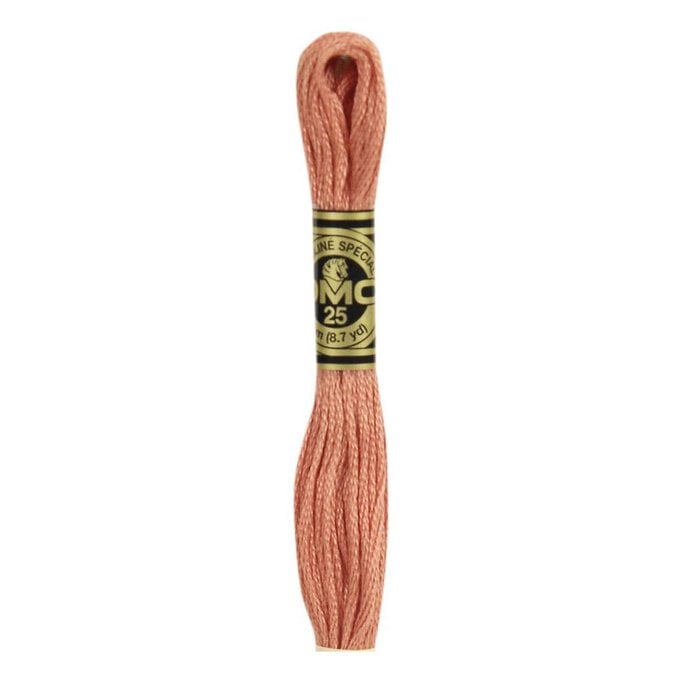
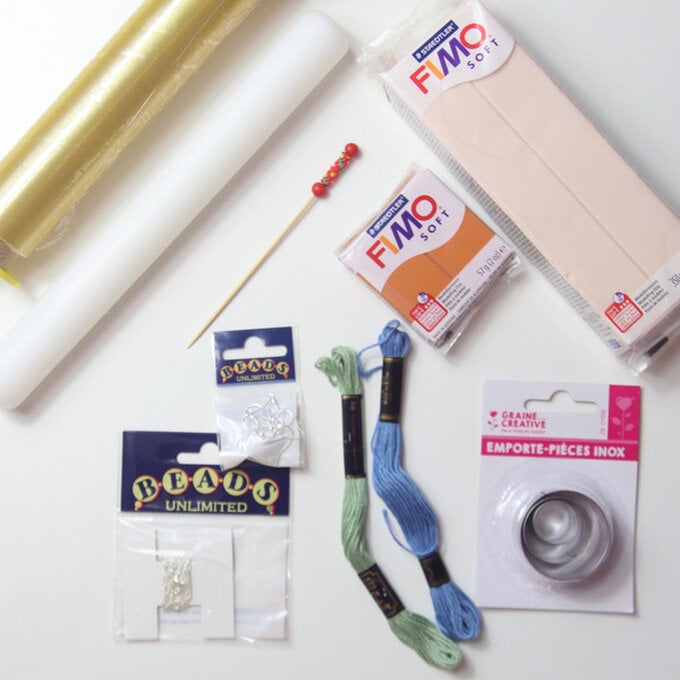
You will need
Subtotal
Is $ 4.49

Subtotal
Is $ 5.49
Subtotal
Is $ 2.49
Subtotal
Is $ 4.49

Subtotal
Is N/A
How to make
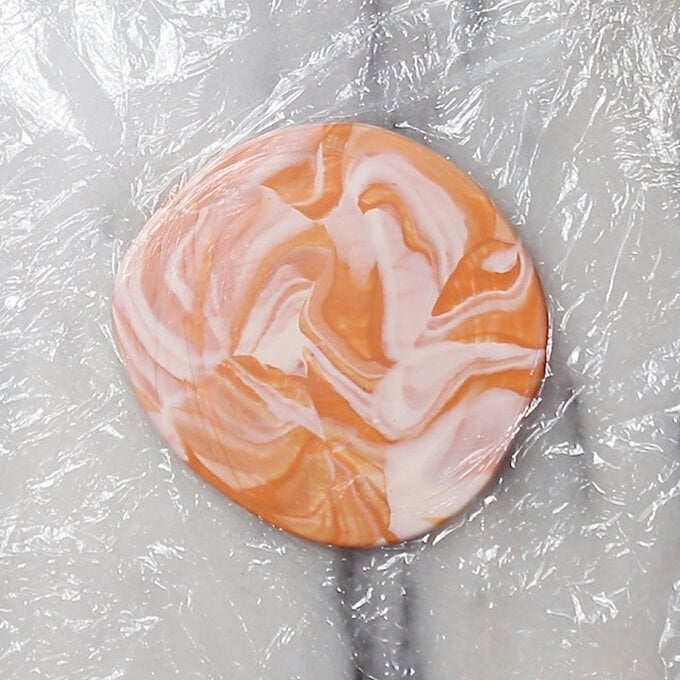
Preheat the oven to 110c. Take 2 pieces of Fimo and roll them out into long sausages that are roughly the same length. Roll and twist together to create a candy cane effect and roll to double its length. Fold together, twist and roll again. Repeat 3 or 4 times until you have a marbled effect and the colours are starting to bleed into one another and combine.
When you are happy with the colours, roll the Fimo into a ball. Place between two sheets of cling film and roll out to about 3mm thick.
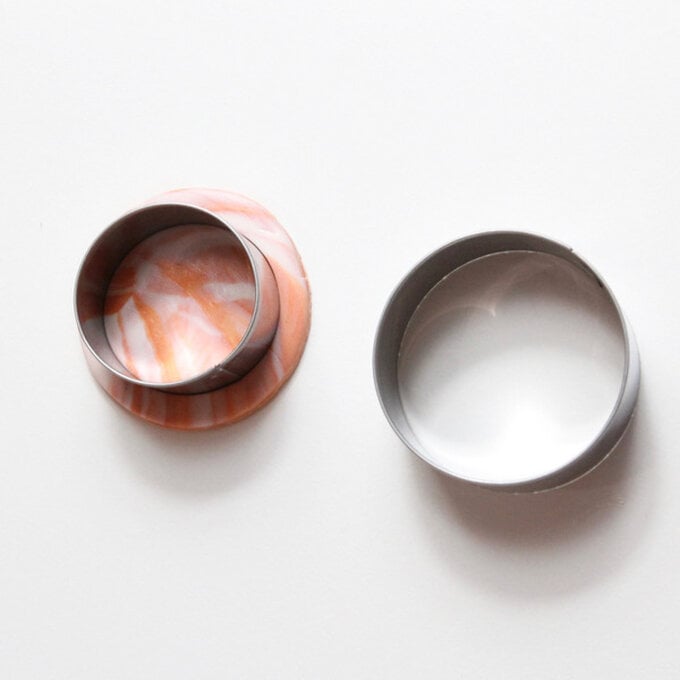
Remove the top layer of cling film. Use the circular cutters to cut out a large circle, then a smaller circle from the centre – creating a ring.
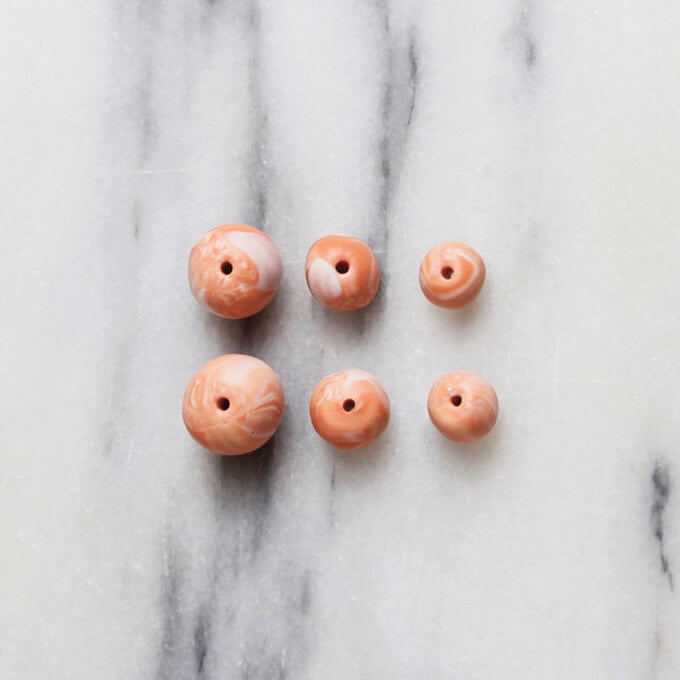
To make the earring beads, roll the excess clay into a sausage and cut sections off the end. Roll to create 3 sets of balls in different sizes. Wiggle a cocktail stick into the balls to turn them into beads (note that you need to fit a needle and embroidery thread through the hole).
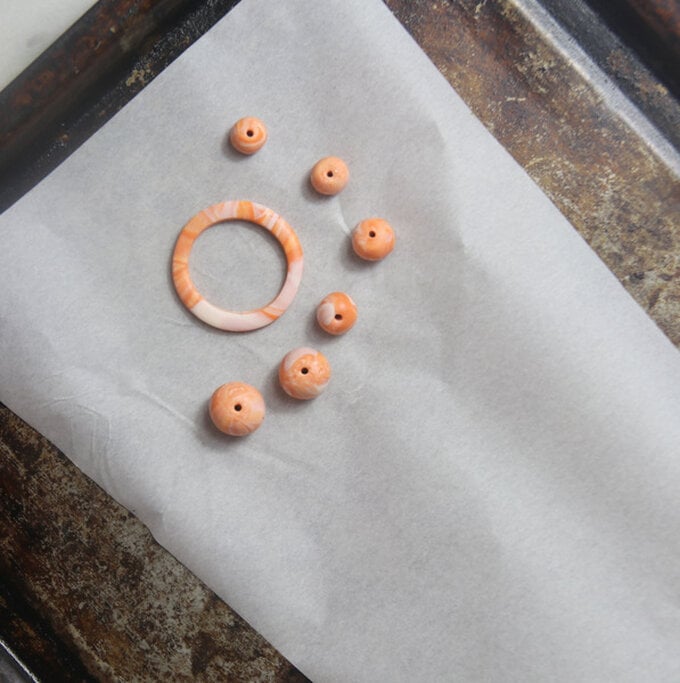
Place the beads and pendent on a baking tray lined with parchment paper and bake for 30 minutes at 110c.
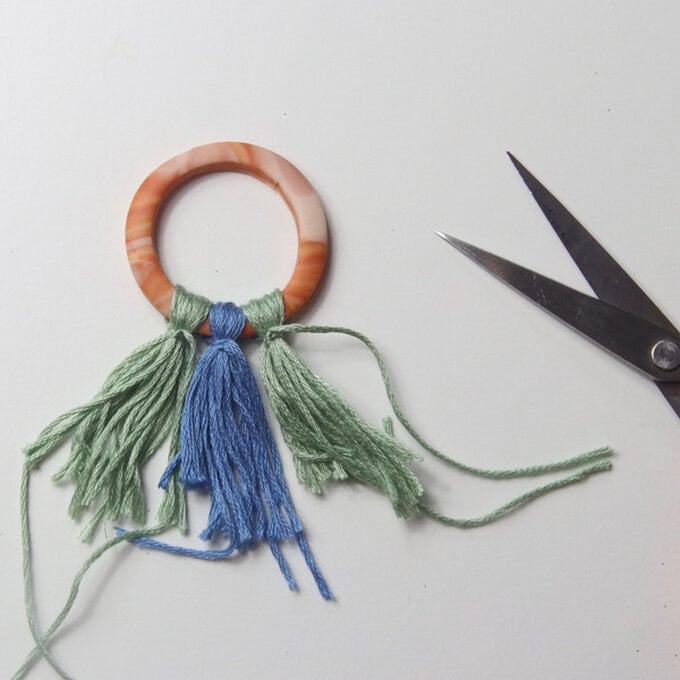
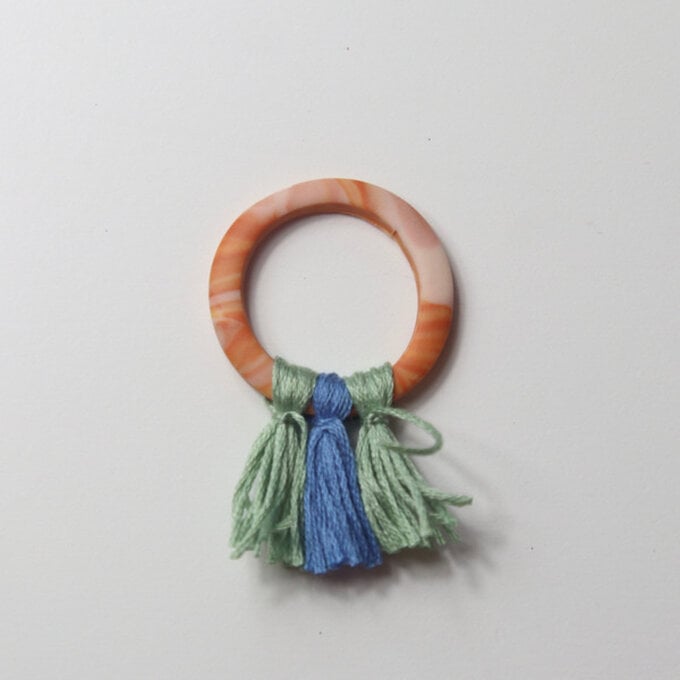
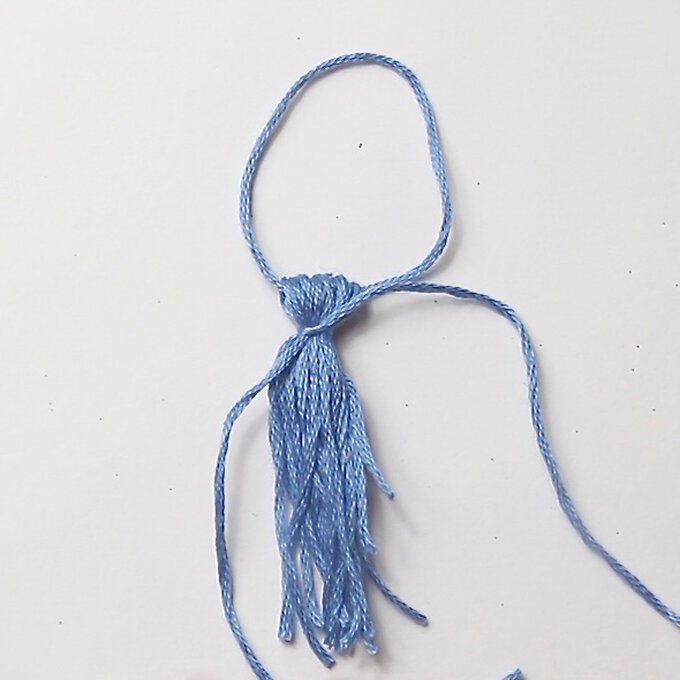
To make the tassels, wrap embroidery thread around 3 fingers about ten times. Remove and cut through the loops on one side. Hook over the Fimo ring and tie in place with another piece of thread, then cut to neaten the ends. Repeat to create as many tassels as you like on the necklace.
Attach the pendant onto the necklace chain using a luggage style knot.

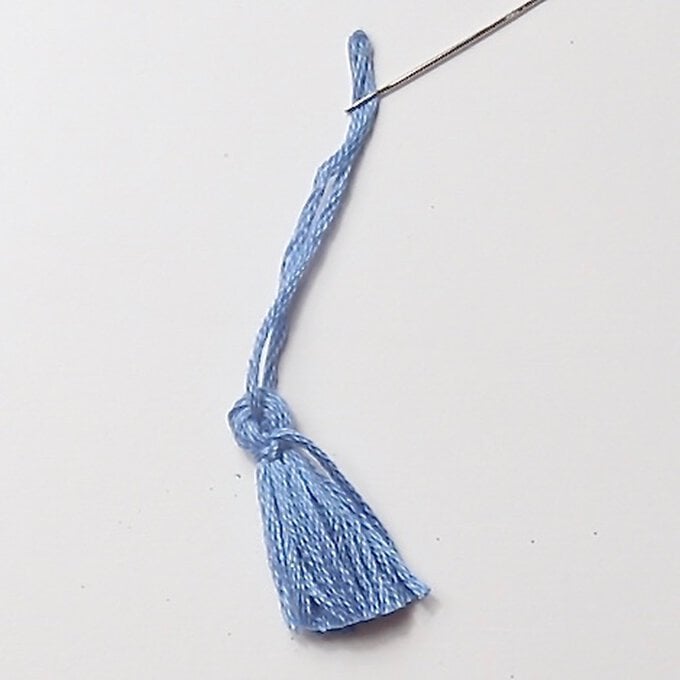
To make the earrings take a length of embroidery thread and tie it in a loop so that it is about 2 inches long when pulled taut. Make a tassel as per the necklace. Loop it through the embroidery thread and secure it in place with another piece of thread. Trim the tassels.
Use a needle to thread the beads on. Pull the clasp of the earring hooks open and attach to the top of the embroidery thread. Push the clasps back together.