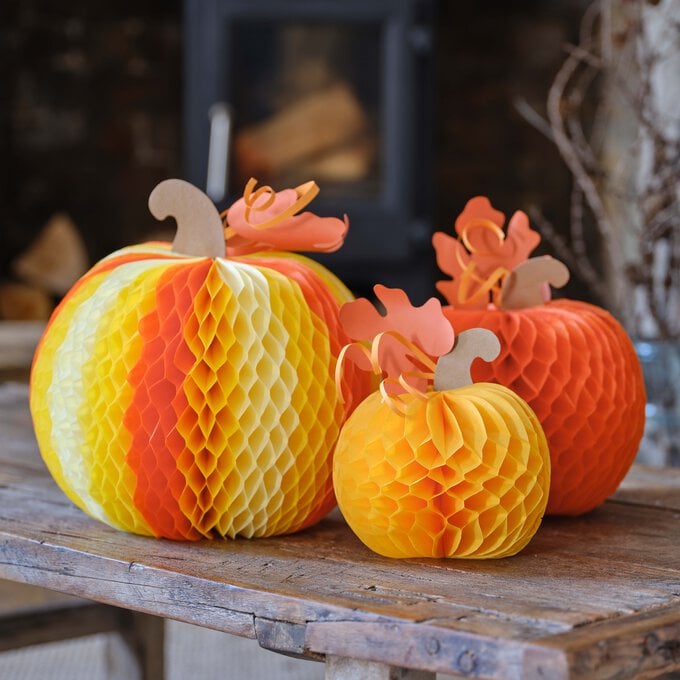
How to Make Tissue Paper Honeycombs
Add a pop of colour with these bright honeycomb decorations! Follow our simple guide to turn sheets of tissue paper into a fun feature for any room or party.
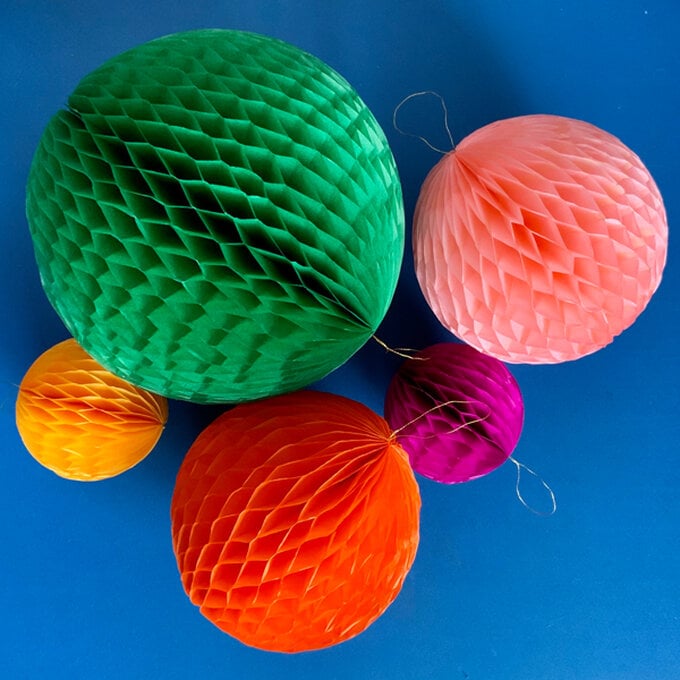
These tissue paper honeycomb balls can be made in any colours of your choosing! Choose fun combinations for decorations that will transform any space and make your special celebrations even more memorable. The honeycomb decorations can be made in a range of sizes.
Project and instructions by Sue Smith
You will need
Subtotal
Is $ 3.49
Subtotal
Is $ 1.49
Subtotal
Is $ 7.49
Subtotal
Is $ 3.49
How to Make
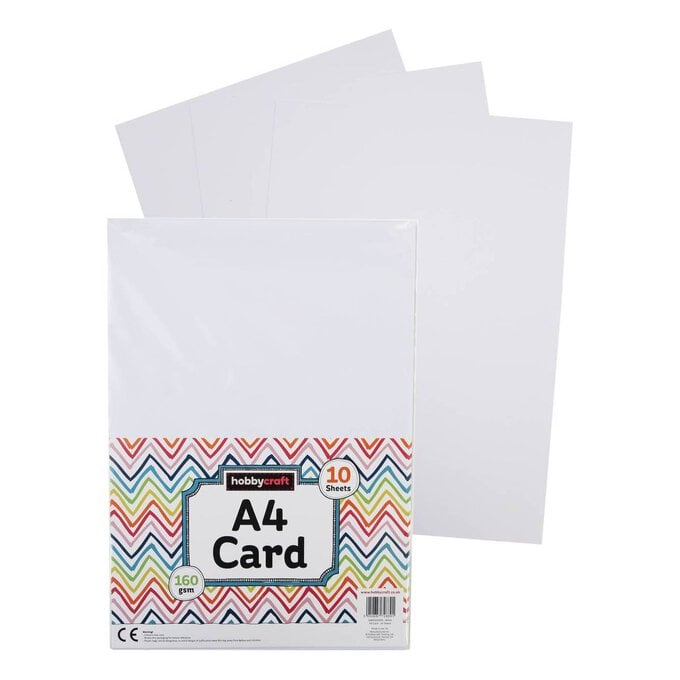
* A4 Card
* Lined Paper
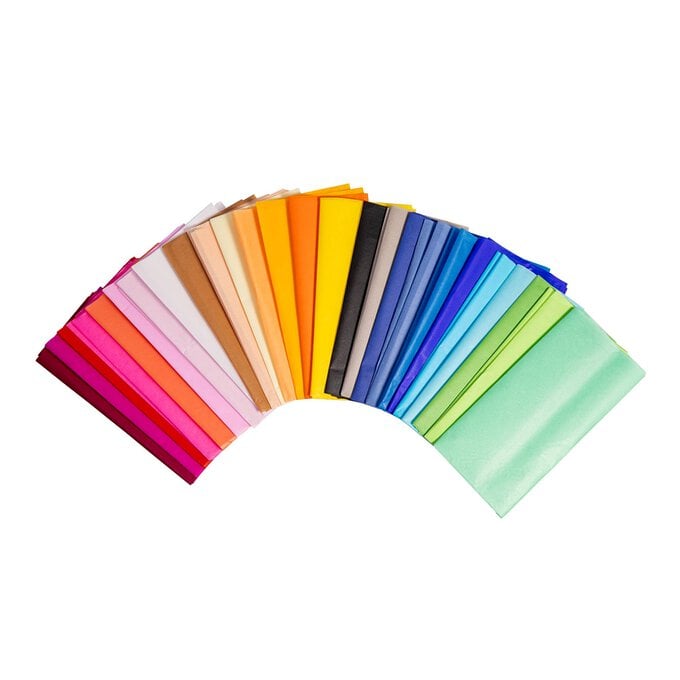
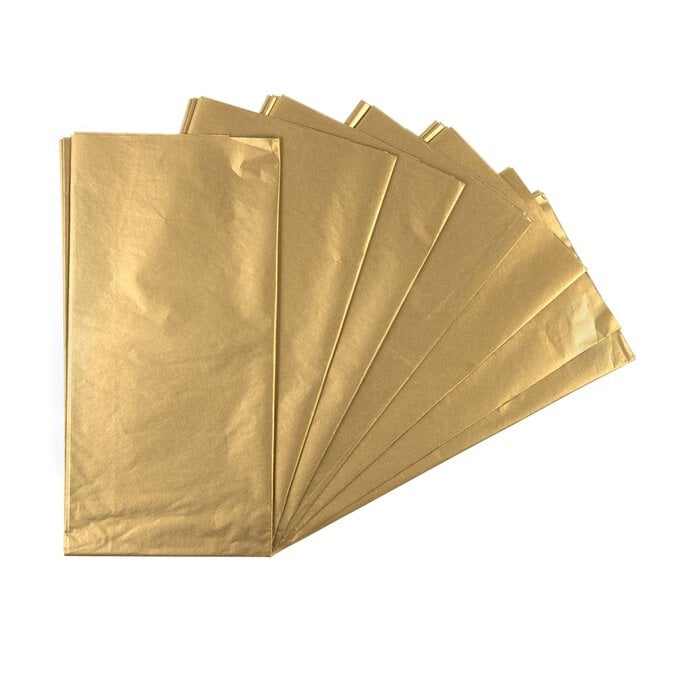
* Tissue Paper
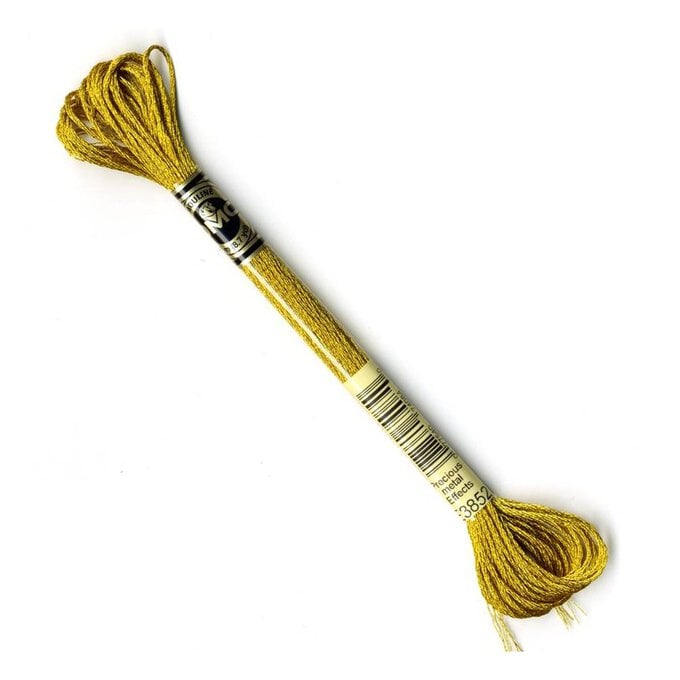
* Thread
* Glue Stick
* Scissors
* Pen/Pencil
* Craft Tape
* Tea Plate, Saucer and Cup

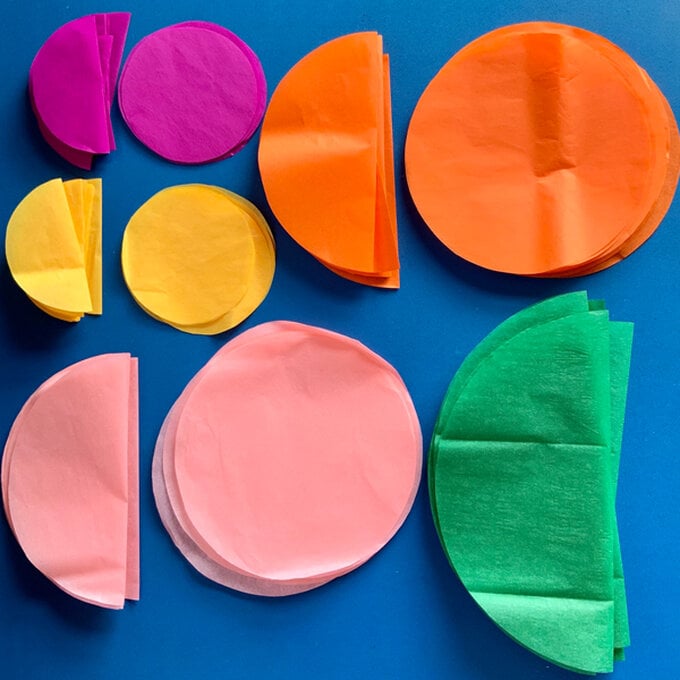
Begin by choosing four sheets of tissue paper in pale pink, orange, dark pink and yellow, from both large variety packs. Also take all five sheets of the darker green colour tissue paper from both green packs.
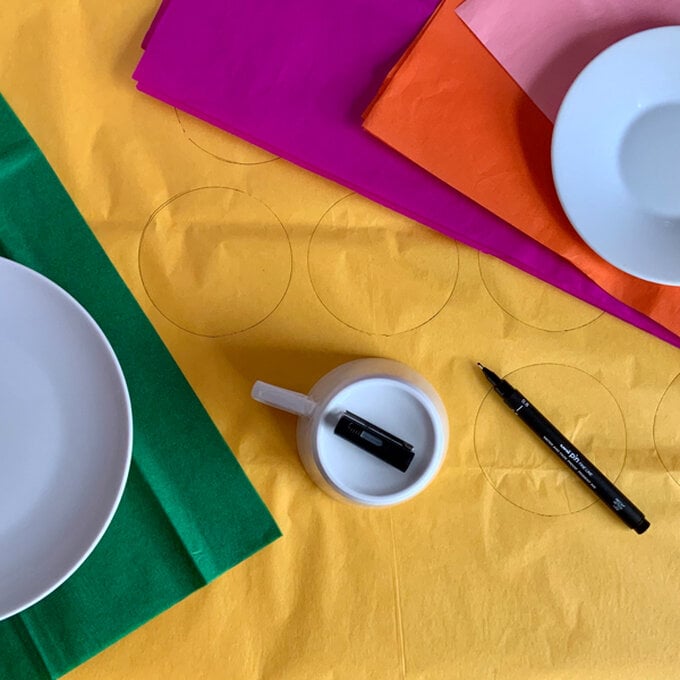
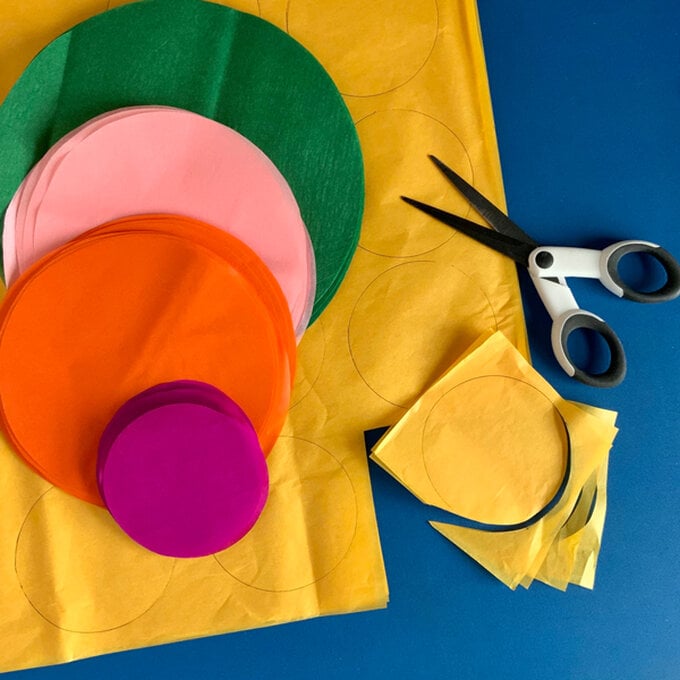
Use the rim of a teacup (8 cm diameter) to draw five circles with a black fine liner pen, onto the stack of yellow tissue paper. Repeat for the dark pink sheets.
Draw round a saucer (14 cm diameter) as before, six times onto the stack of pale pink, and repeat for the orange tissue paper.
Lastly, draw round a tea plate (20 cm diameter) five times onto each stack of dark green tissue paper.
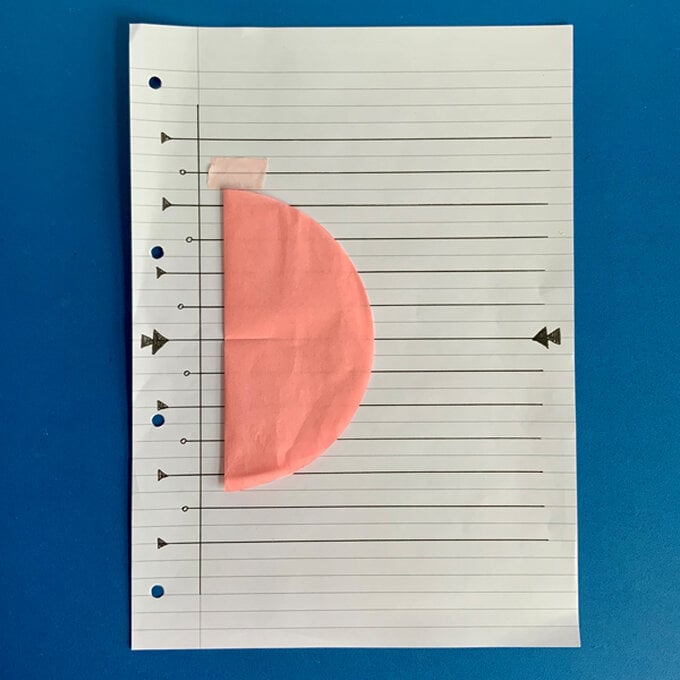
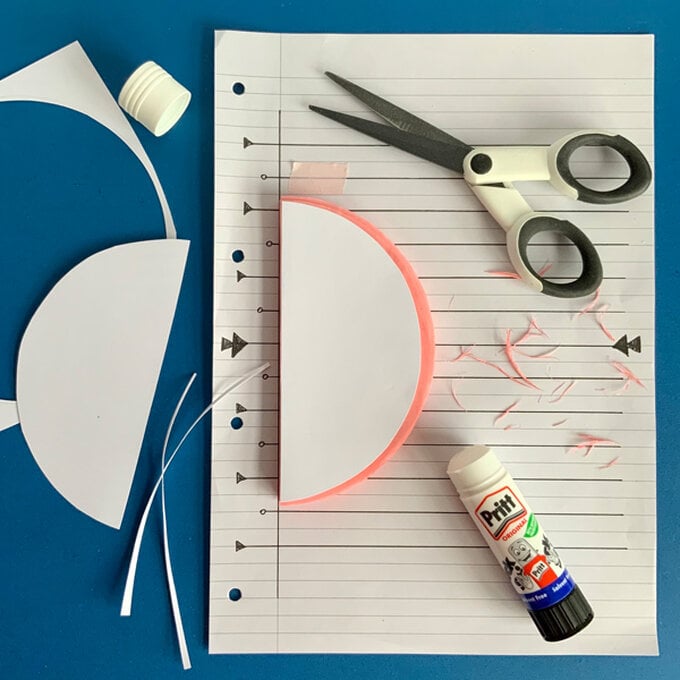
Create a gluing guide from a sheet of A4 ruled paper. Draw a main centre line across the middle of the page horizontally, marking it with a double arrow. Draw over each alternate line, from the centre line out towards the top and bottom of the page. Mark the two closest lines to the centre with a small circle. Then mark the next two lines away from the centre with an arrow. Repeat this alternate pattern marking all the drawn lines. This completes the gluing guide, which can be used for all sizes of tissue semi-circles.
Take one of the pale pink semi-circles, fold and pinch to create a centre mark. Place this centrally on the gluing guide, and add a piece of craft tape towards the top as a further guide.
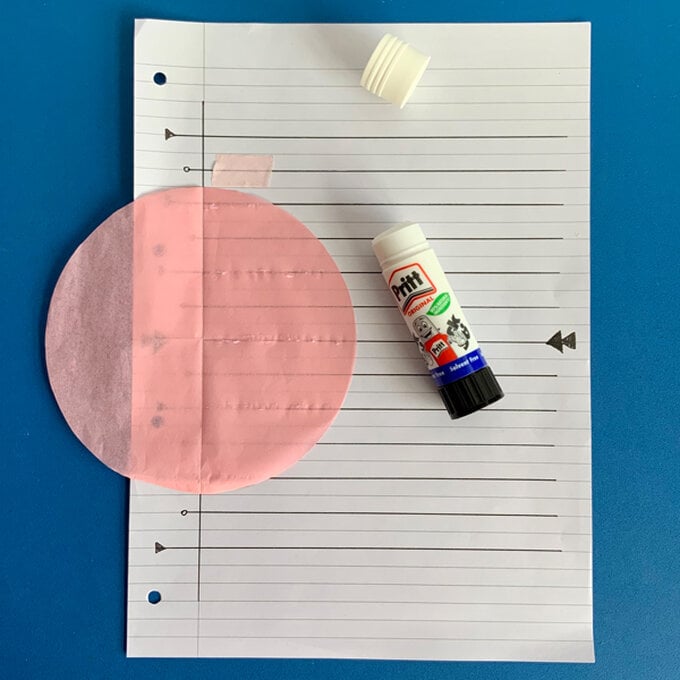
Open out the semi-circle. Use a glue stick to draw fine lines of glue from the fold line out to the circle edge. Place these lines of glue following all the guide lines marked with an arrow, including the main centre line.
Fold the semi-circle closed, and gently press flat.
Repeat this process for 40 pale pink semi-circles.
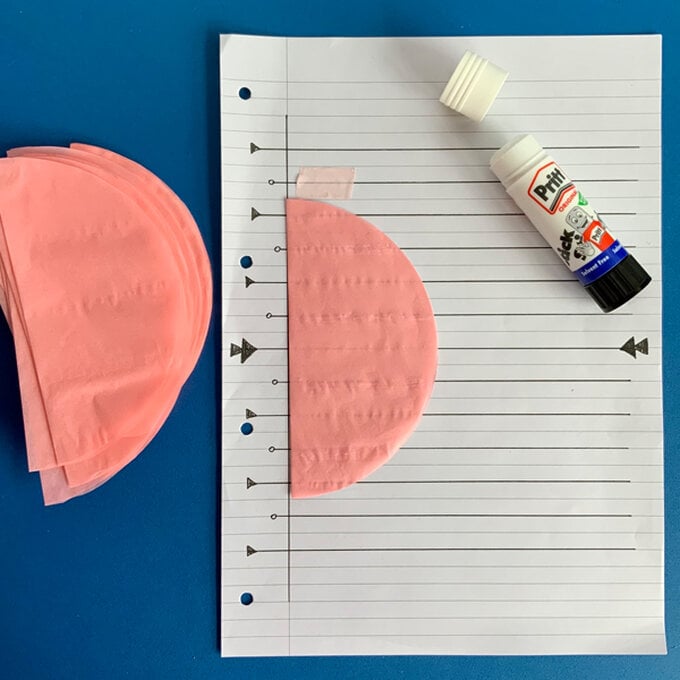
Next, place one of the prepared semi-circles back onto the gluing guide. This time add fine lines of glue to the top surface, following the lines marked with a circle. Then place another semi-circle exactly on top and press down.
Repeat this process gluing and adding more semi-circles, until all 40 have been attached in a stack.
Draw round the saucer onto a sheet of white card and cut out. Fold in half, open up, and cut across the centre line. Trim along the fold line a couple more millimetres, making the semi-circle smaller. Glue in place on top of the prepared stack of pale pink semi-circles, so that the circumference is just within the outer edge of the tissue layers.
Repeat this step fixing the second half of the card semi-circle to the base of the prepared tissue stack.
Neaten the curved tissue edges by trimming any uneven layers.
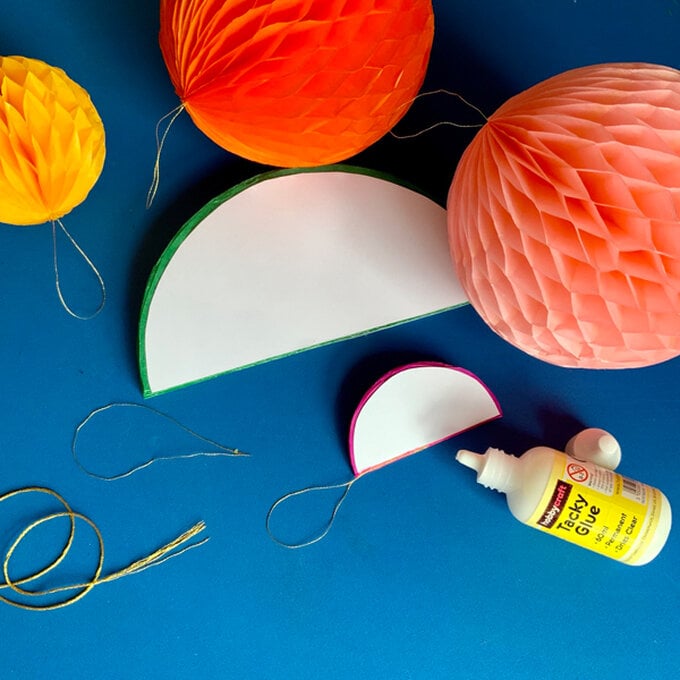
Cut a small length of gold thread to make a hanging loop. Split the thread into six thinner yarns.
Apply plenty of tack glue along the straight folded edge of the prepared semi-circle stack to hold the spine in place. Attach one of the thin yarns at one end creating a loop. Allow to dry over night with a little weight placed on top to hold flat.
When dry, gently open out the semi-circle to form a ball. Hold in place using blue tack. Inspect the results of the honeycomb effect, carefully teasing apart any areas caught by extra gluing.
Repeat this whole process creating the orange tissue paper decoration.
Next, try the largest dark green decoration, remembering to pinch and crease the centre of the first semi-circle, to move the craft tape marker to a new position.
Repeat for the two smaller decorations with less gluing lines.
Prepare each decoration the same way with the protective card outer layer, glued spine, and added hanging loop.

Related Products

Is $ 3.49

Is $ 15.00

Is $ 4.49 , was $ 7.49

Is $ 2.49