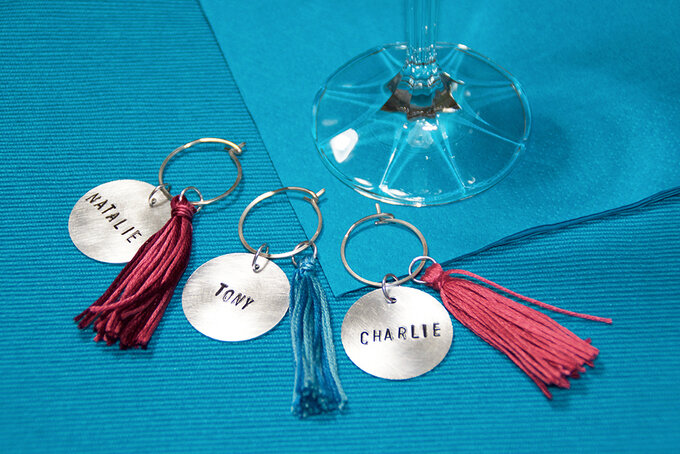
How to Metal Stamp Wine Glass Charms
Wine glass charms are a great gift to give to anyone who loves to have a cheeky glass of wine now and then, or simply loves to host the most spectacular parties. These charms are a must-have decorative accessory perfect for so many occasions such as, dinner parties, hen nights, weddings and much more!
Not only do they help you know who each drink belongs to, they also add that extra little touch to the table. So get your party going by adding these charms to your wine glasses.
You will need
Subtotal
Is $ 8.49
Subtotal
Is $ 7.49
Subtotal
Is $ 8.49
Subtotal
Is $ 17.00
Subtotal
Is $ 20.00
Subtotal
Is $ 4.49
Subtotal
Is $ 6.49
Subtotal
Is $ 43.00

Subtotal
Is $ 4.49 , was $ 6.49
Subtotal
Is $ 12.00
How to make
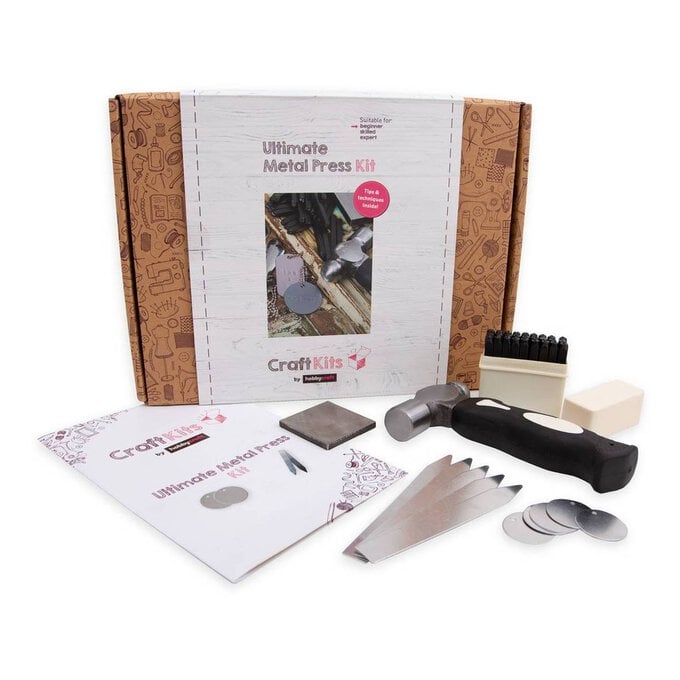
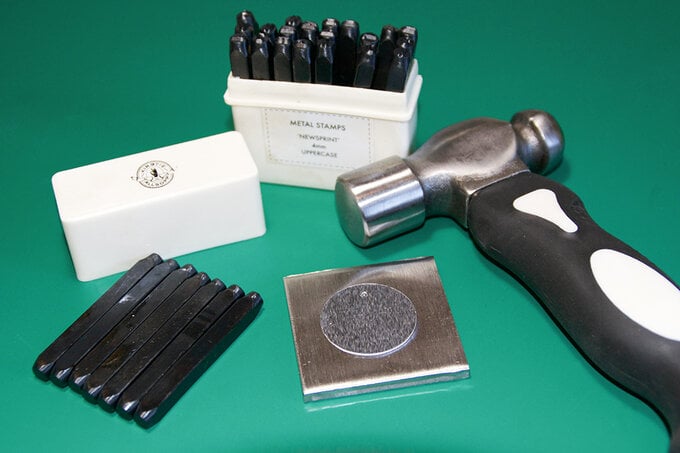
Open up your Metal Press Kit and take out the following: Box of 26 metal stamps, hammer, metal discs and small steel block.
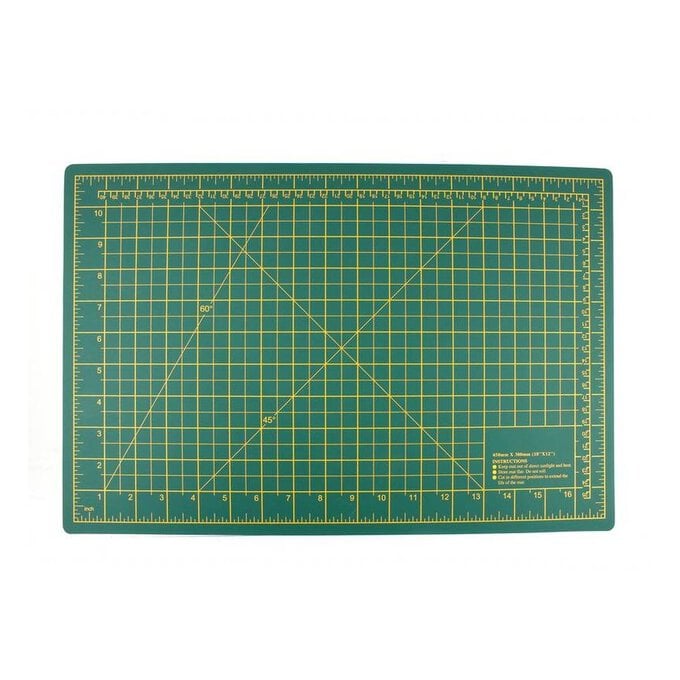
I would also recommend using something that will protect the surface you are working on. A cutting mat is quite useful as it is made of a high density material so it is able to deal with any damage it receives and if it gets any mess on it, it can be easily wiped away!
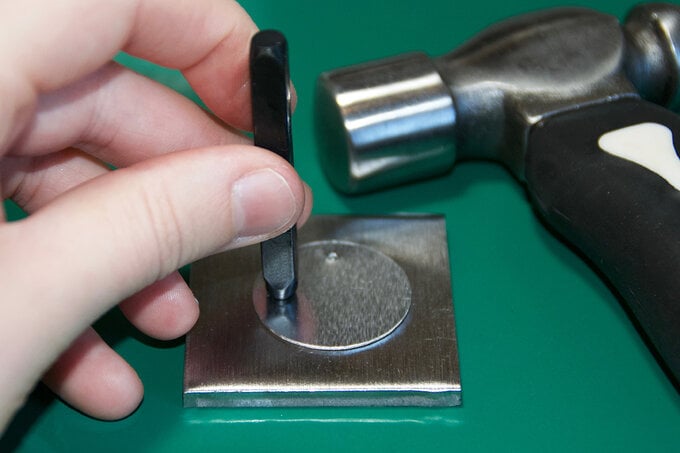
When choosing the names or words for each one of your discs, lay your metal stamps out in order on the surface you are working on. Always double check that your letters are the right way round before stamping!
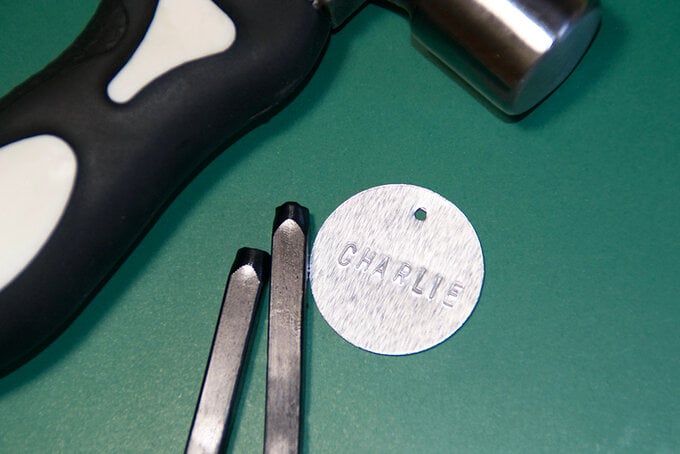
Using one hand to hold your stamp and the other to hold the hammer, position your stamp on the disc and use the hammer to give it one hard tap, maybe two if you feel the stamp hasn't left a deep enough impression.
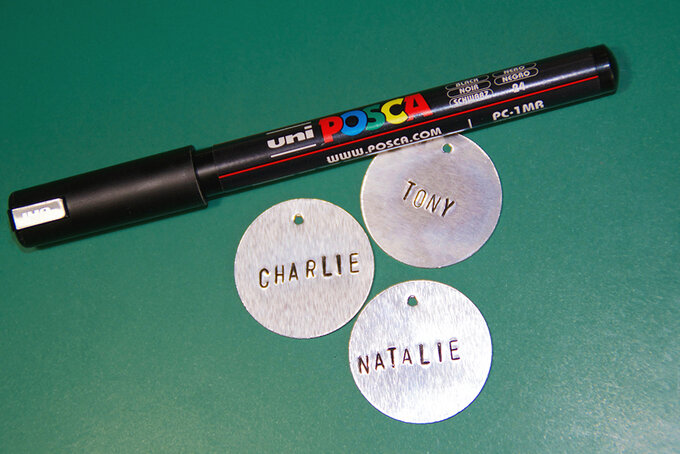
To make your stamped name or word stand out, give it an oxidised look using a black Uni Posca marker. These markers are great because you can use them on lots of different materials!
If the pen runs on the surface of your disc while you are applying it, let it dry first and then wipe away any excess with some tissue.
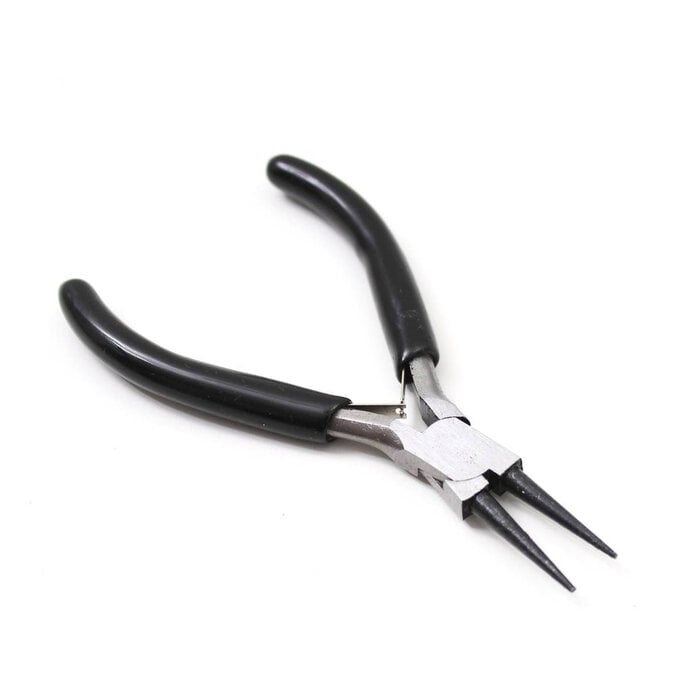
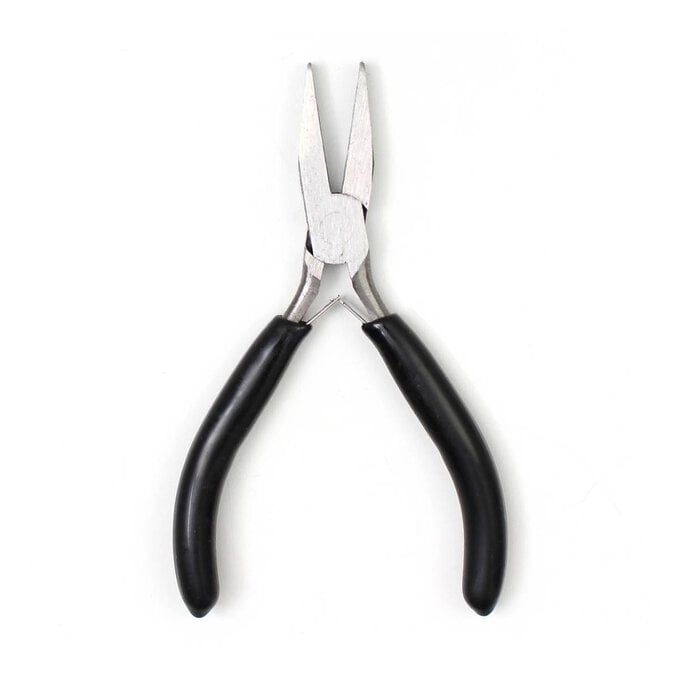
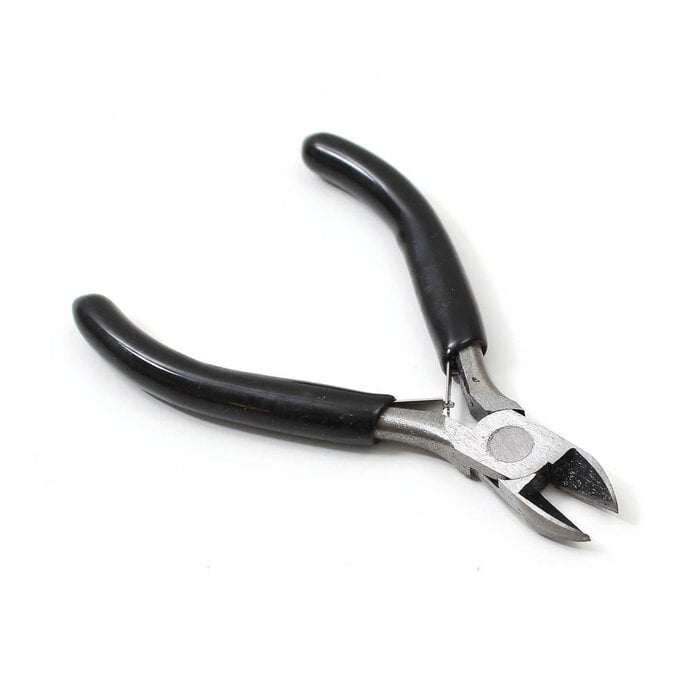
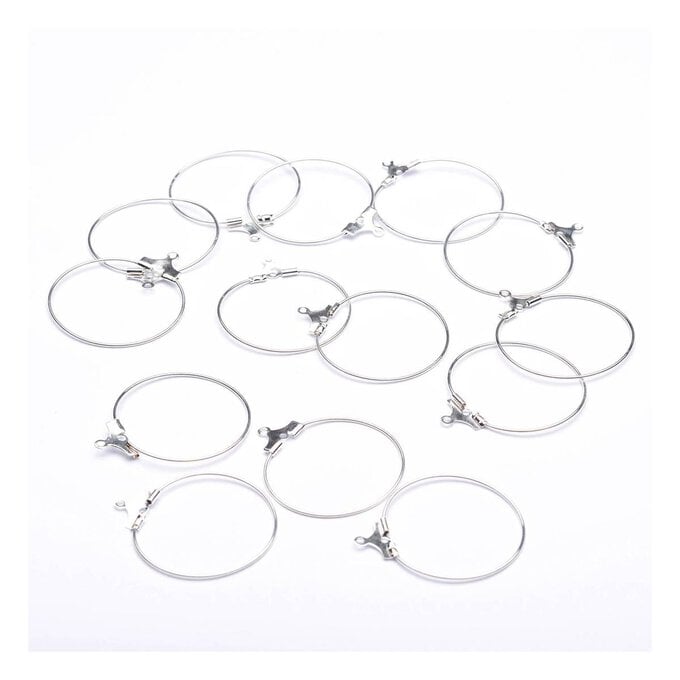
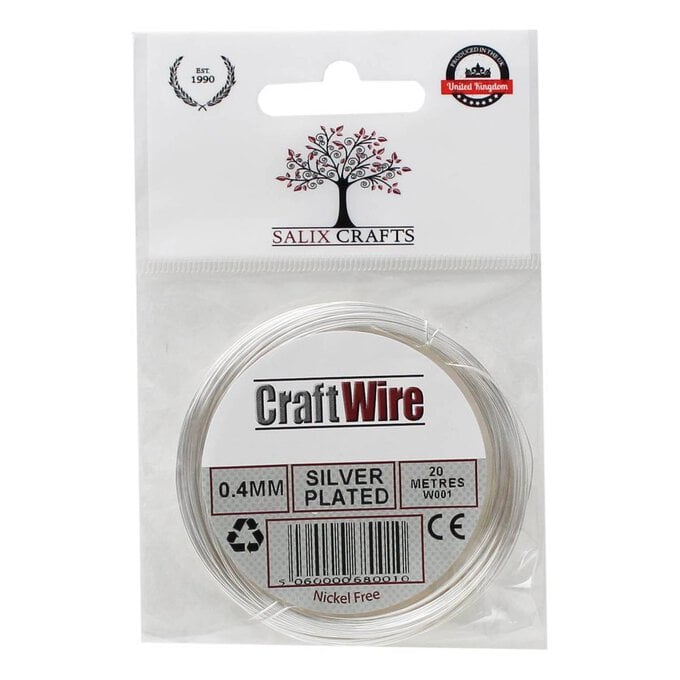
Now to make the round hook rings to go on the neck of your wine glass! For this you will need jewellery wire, cutting pliers, flat nose pliers and round nose pliers.
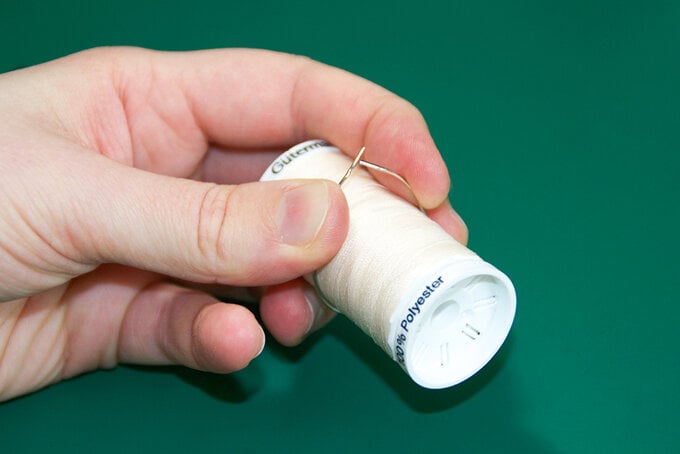
Begin by cutting a 10 cm piece of wire using your cutting pliers. To create your ring, use something that is round to create the shape, for me I used a small gutermann thread. But you could literally use anything, a thin glue stick, a small paint pot…
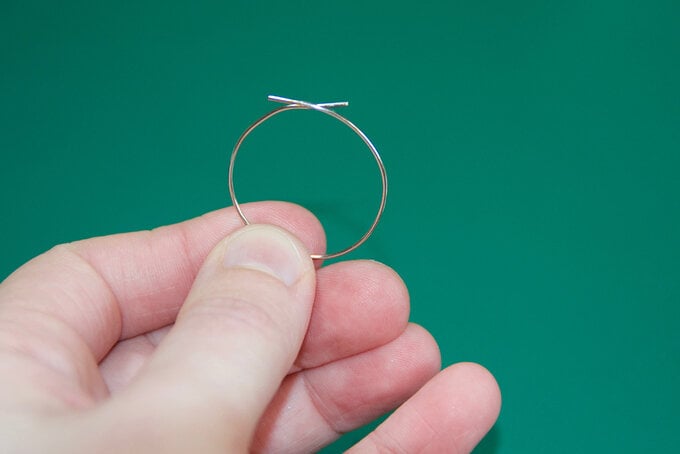
When creating your ring, make sure that the ends are overlapping each other as this is very important for the next step!
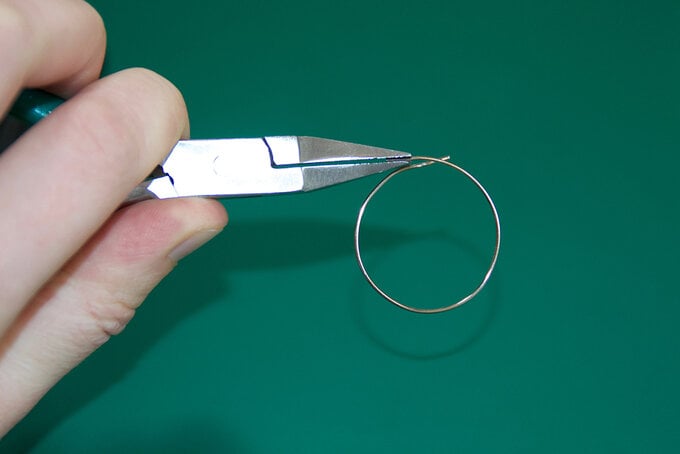
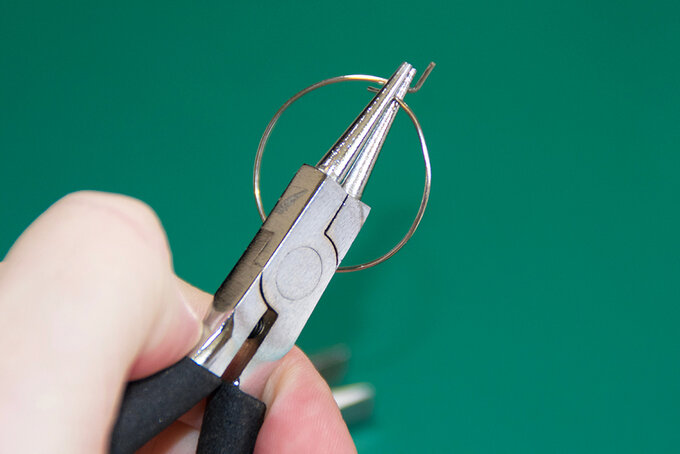
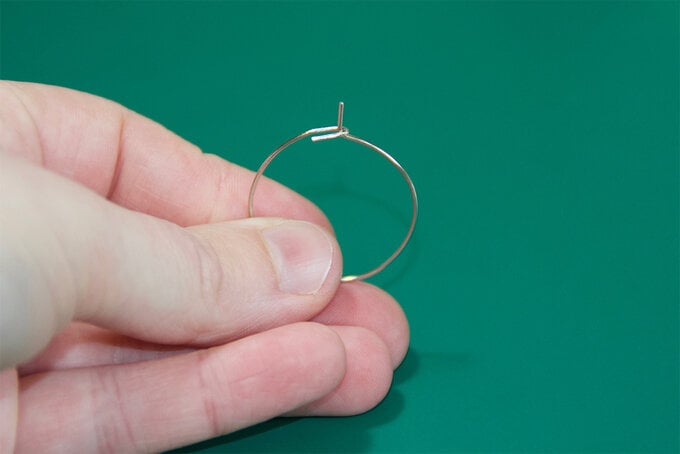
Now using your flat nose pliers, bend one of the edges of the wire upwards to a 90 degree angle.
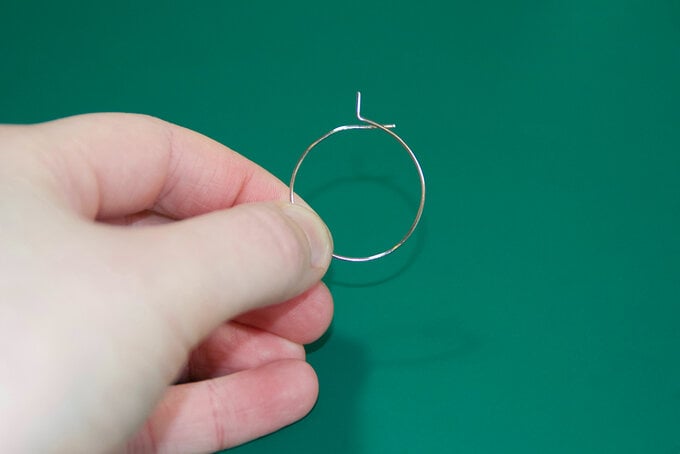
Now use your round nose pliers, bend the other edge of your wire to create a hook. Bring your the hook shaped edge around the wire you have bent to a 90 degree angle, this will lock the ring. To unlock the ring, simply apply a small amount of pressure onto the wire so that the ring bends inwards.
Time to dazzle up those rings using the discs you have stamped onto, jump rings and tassels!
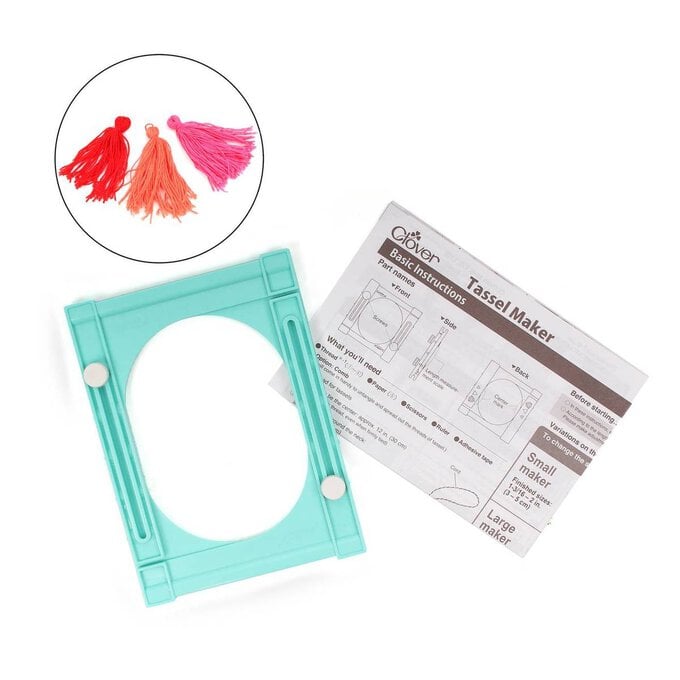
To make tassels, it is very very easy and takes no time at all! Either use our new Clover Tassel Maker , or go for the traditional method :
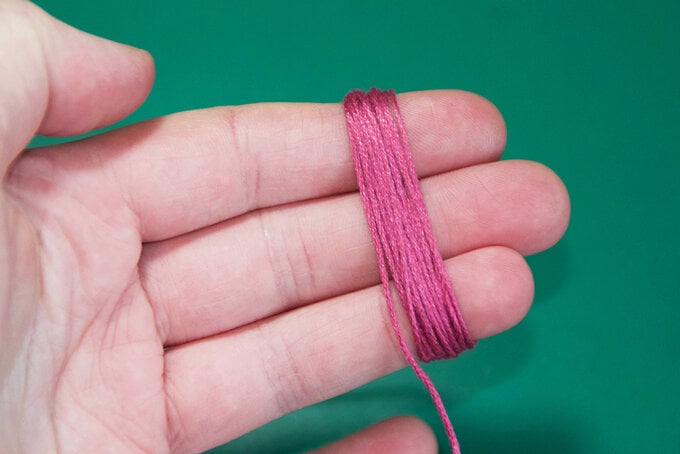
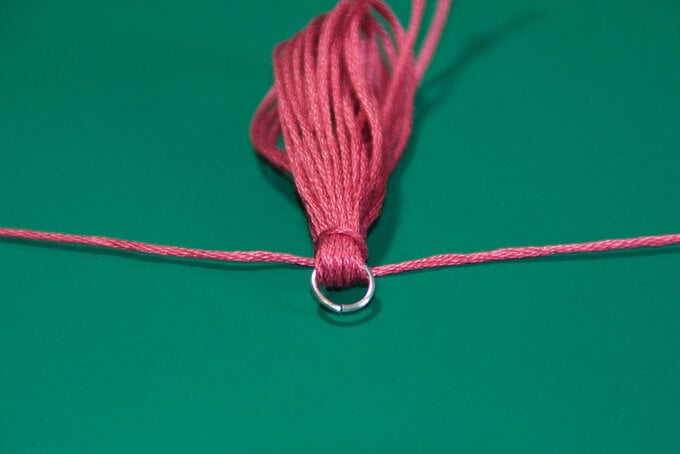
To begin with, take your chosen anchor thread and begin wrapping it around three of your fingers approx. 15 times. But you can wrap it round more or less depending on how big you want your hassle to be.
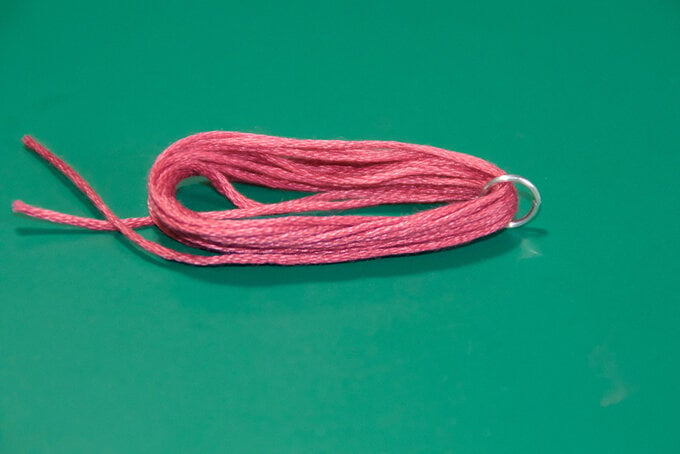
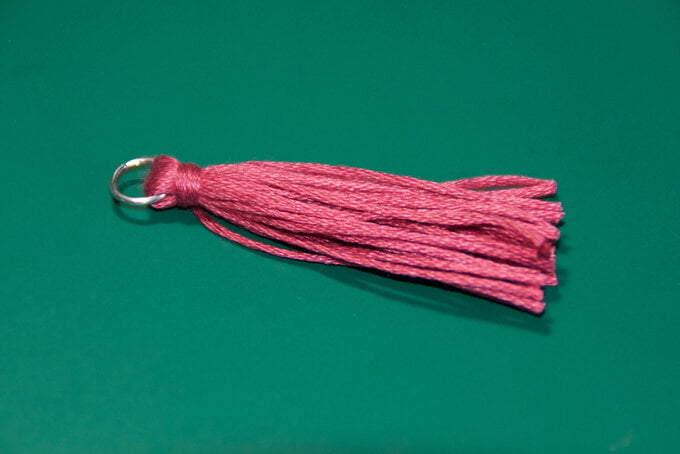
Remove the thread from your fingers and attach onto a jump ring. Then take a separate piece of thread approx. 15 cm long and wrap it around the very top of the thread close to the jump ring, pull on this thread quite tightly and make a knot. Cut away all the looped thread at the bottom and trim straight.
Related Products

Is $ 17.00

Is $ 5.49

Is $ 22.00

Is $ 15.00

