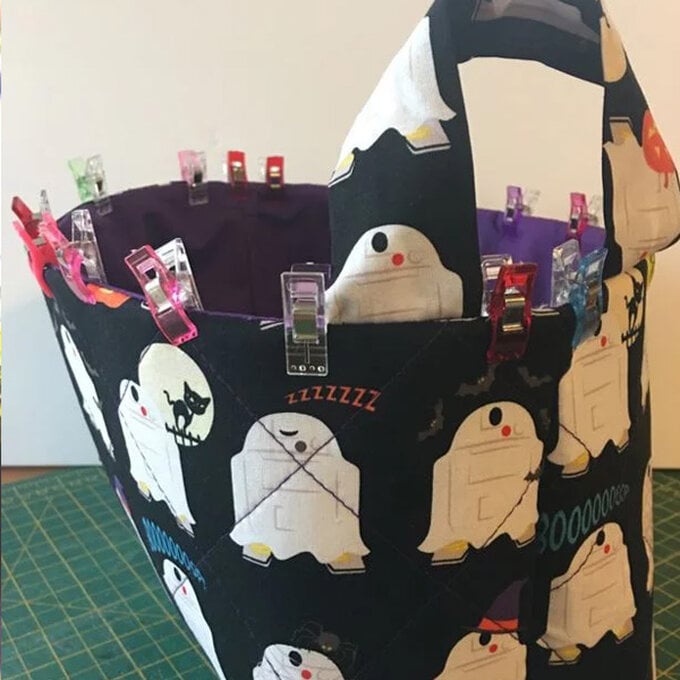
How to Sew a Halloween Treat Basket
Level
Beginner
Time
1 hour
Budget
10 - 30
This sewn make is simply perfect for storing all those goodies collected when Trick or Treating. The best thing about this make is that it will be reusable year after year!
Follow this quick and easy guide below to create Halloween treat baskets for your little ones and all of their friends!
You will need

Quantity:
1
Subtotal
Is $ 29.00
Quantity:
1
Subtotal
Is $ 4.49

Quantity:
1
Subtotal
Is $ 24.00
Quantity:
1
Subtotal
Is $ 20.00
Quantity:
1
Subtotal
Is $ 12.00
Total:
£0.00
You will also need:
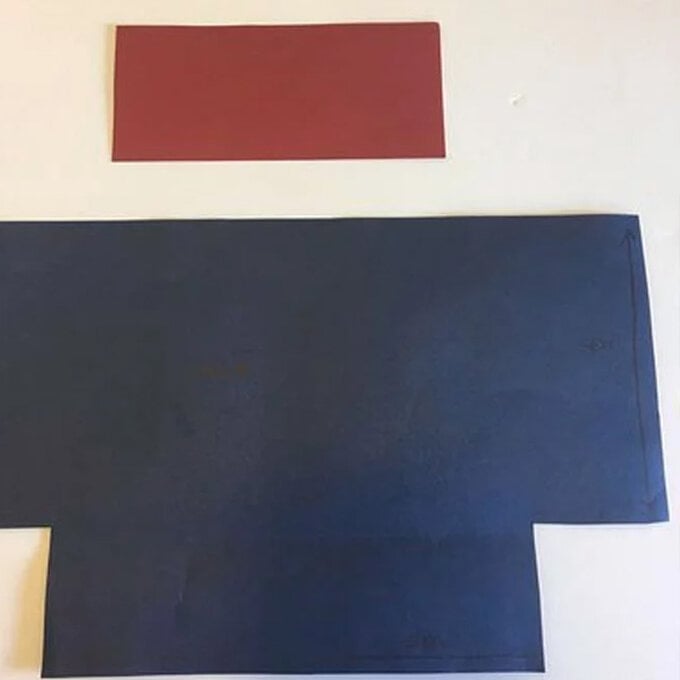
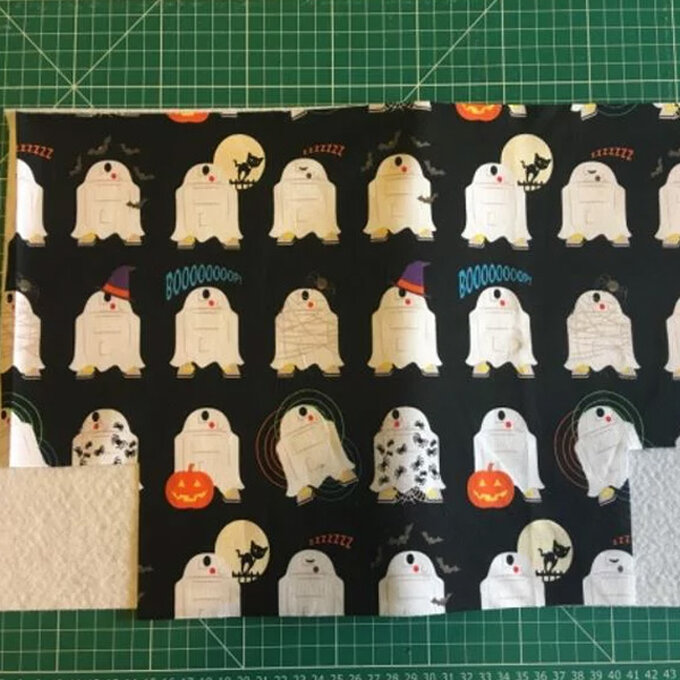
* Fabric of choice
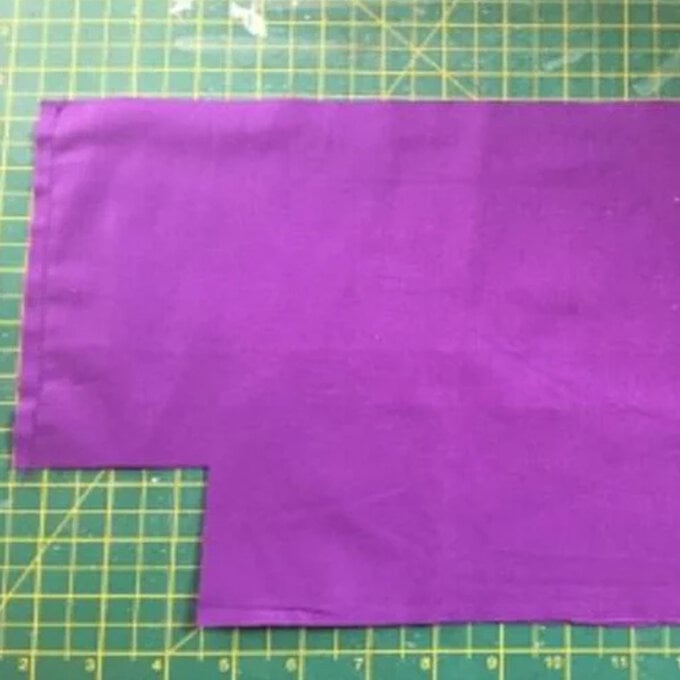
Step-1
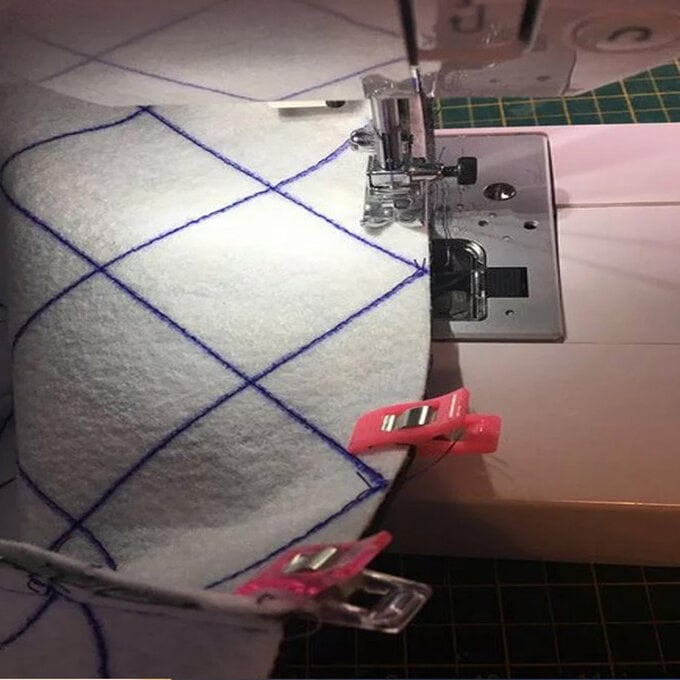
Step-2
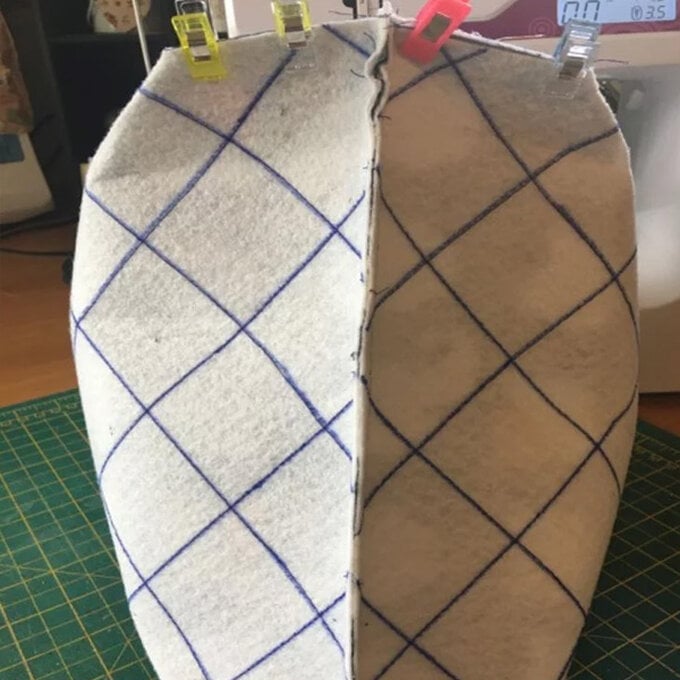
Step-3
Step-4
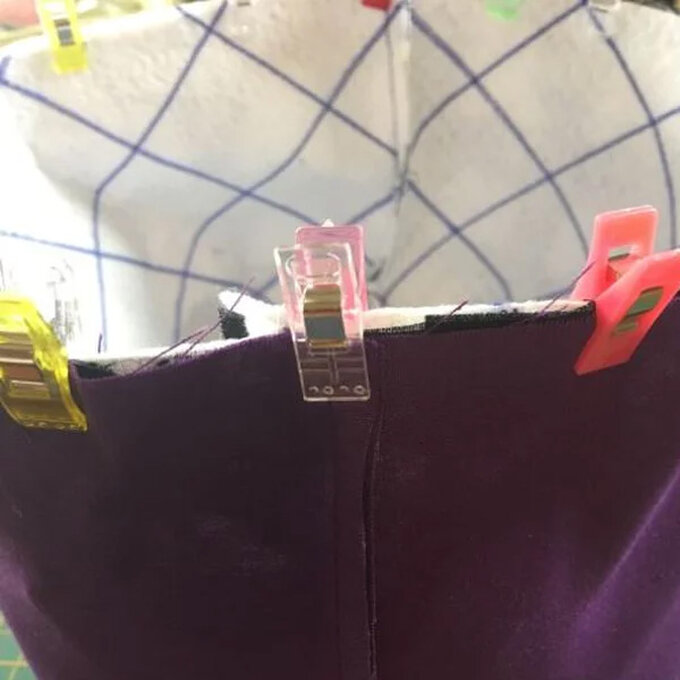
Step-5
Step-6
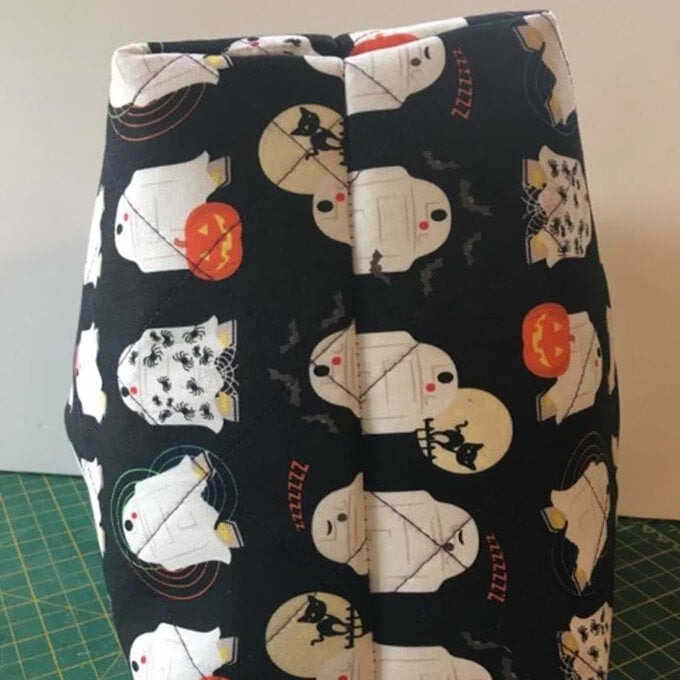
Step-7
Step-8
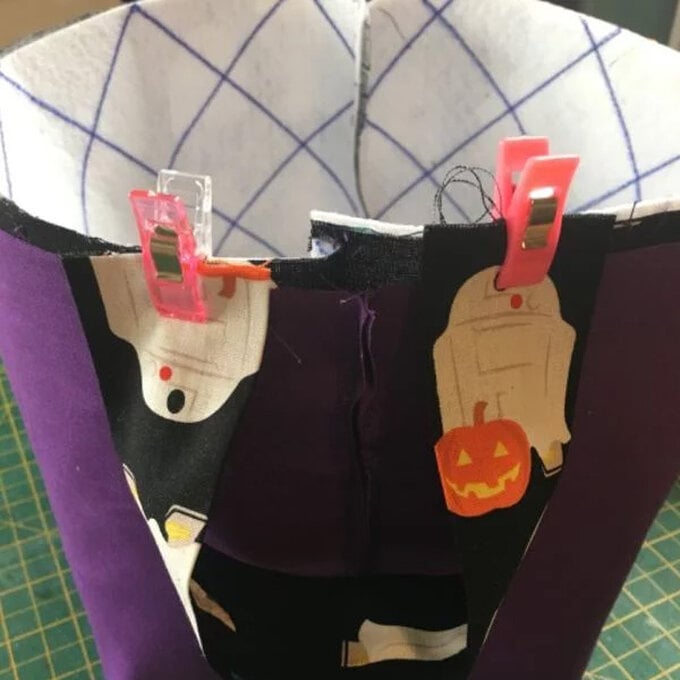
Step-9

Step-10
Step-11