How to Sew a Letter Cushion
Discover how to create a stylish letter cushion using your favourite fabric designs. Perfect for intermediate level sewers, this project is ideal for making as a personalised gift!
With the help of your sewing machine, you'll be able to turn any letter of the alphabet into a cute and comfy cushion. Whether you match your fabric or use a contrasting design to make an impact, you'll be able to spell out an entire name or phrase in cushions!
Project and instructions by Paula Milner, The Crafty Lass.
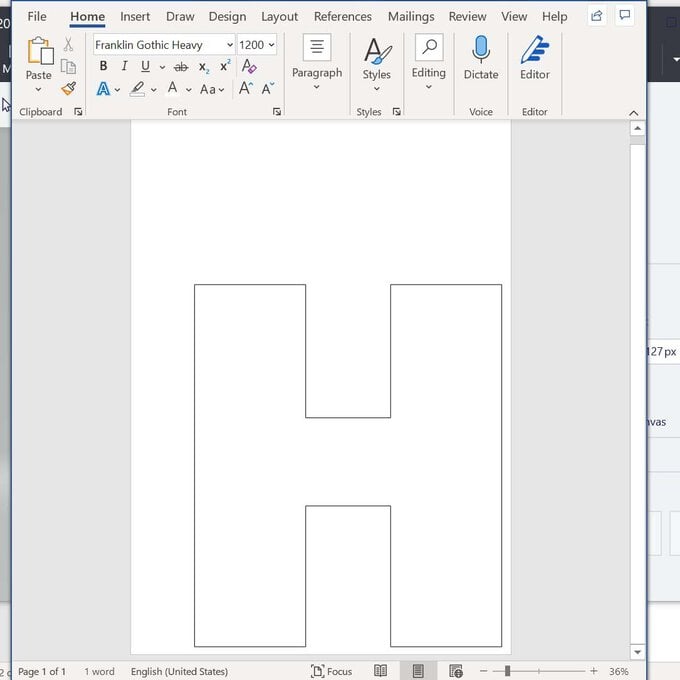
Screen grab reference images have been taken from Microsoft Word. This project was created using Microsoft Word; however, it can be completed without it.
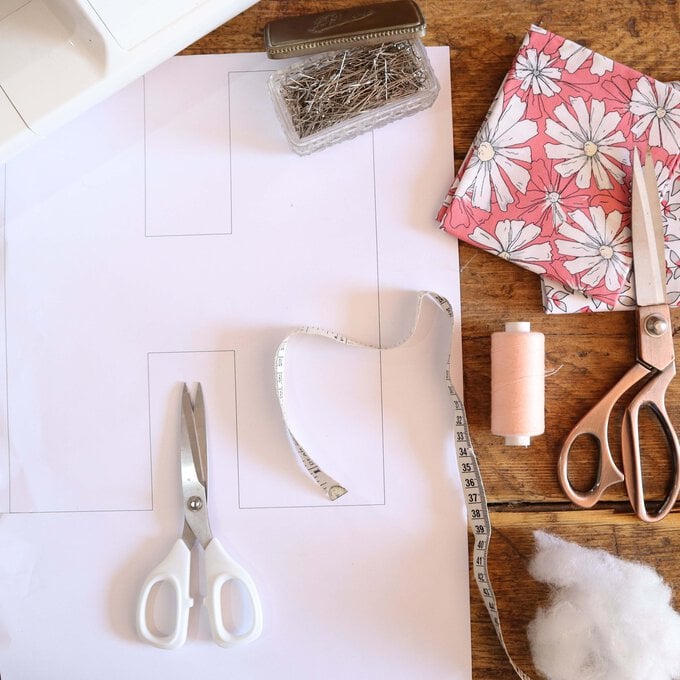
You will need
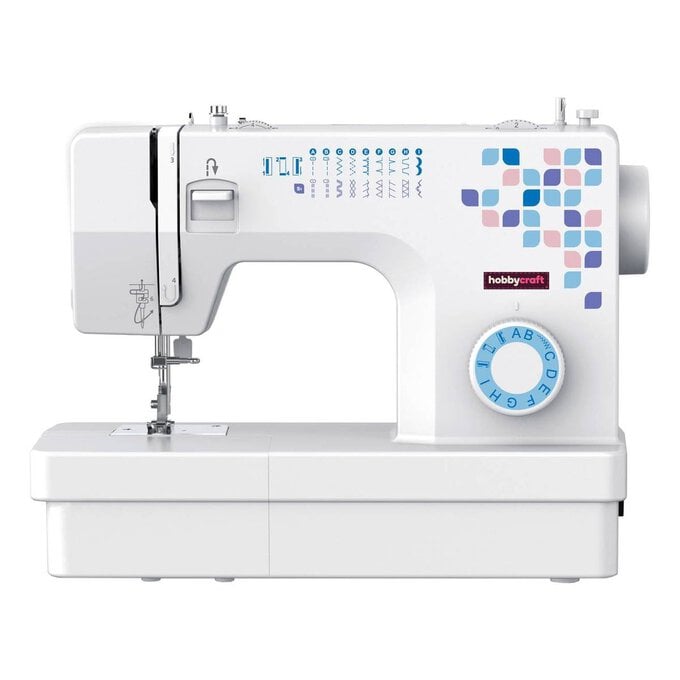
Subtotal
Is $ 128.00
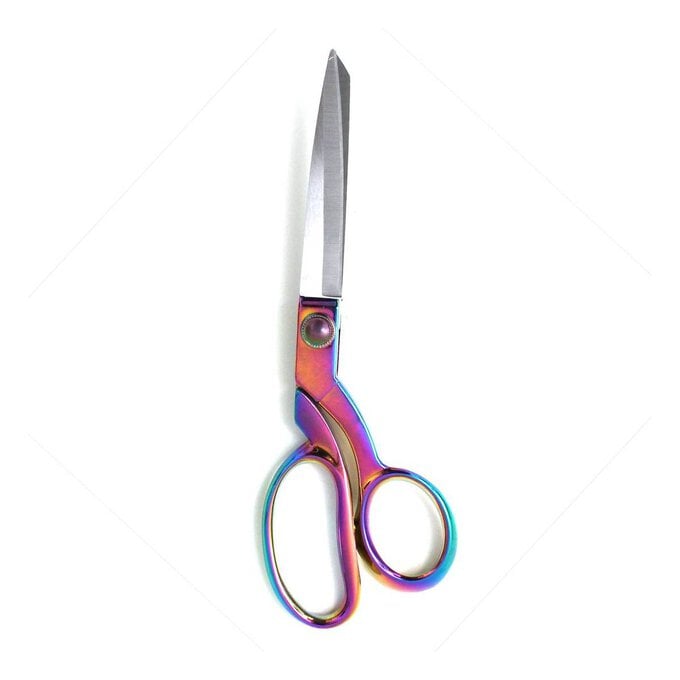
Subtotal
Is $ 33.00
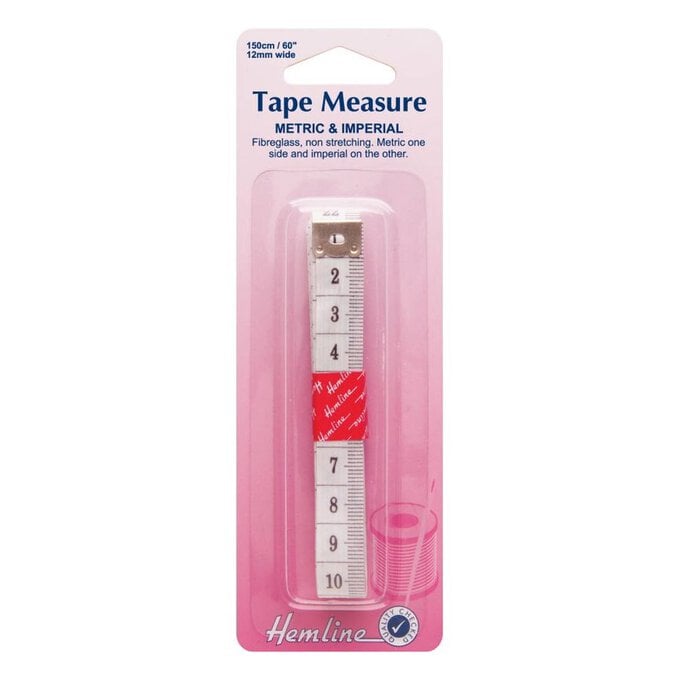
Subtotal
Is $ 4.49
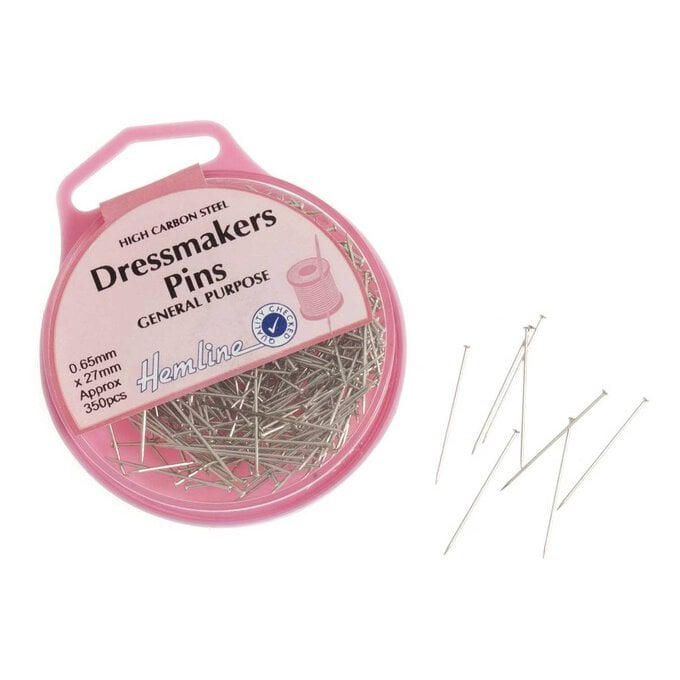
Subtotal
Is $ 6.49
Subtotal
Is $ 4.49
Subtotal
Is $ 1.49 , was $ 3.49

Subtotal
Is $ 9.49
Subtotal
Is $ 9.49 , was $ 13.00
Out of stock
How to make
You will also need:
* Fabric or fat quarters of choice
* A printer
* Microsoft word installed on a laptop, PC, Tablet, or mobile device
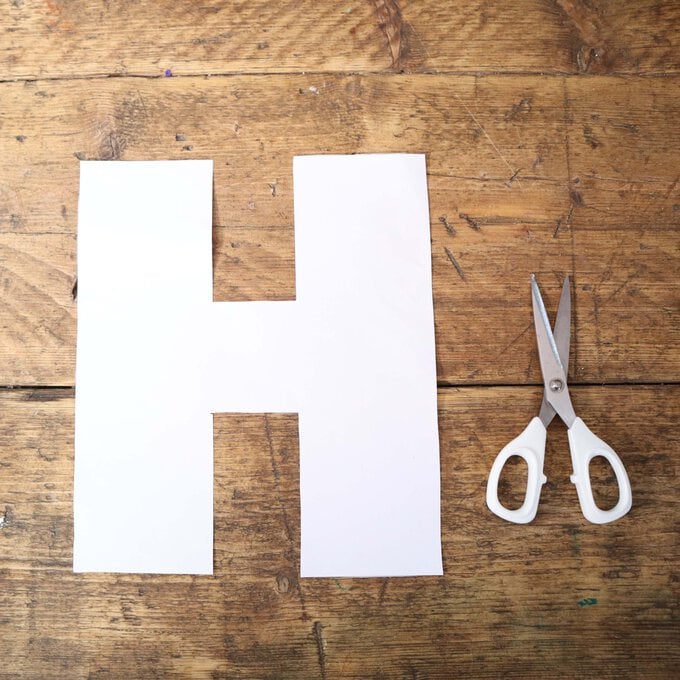
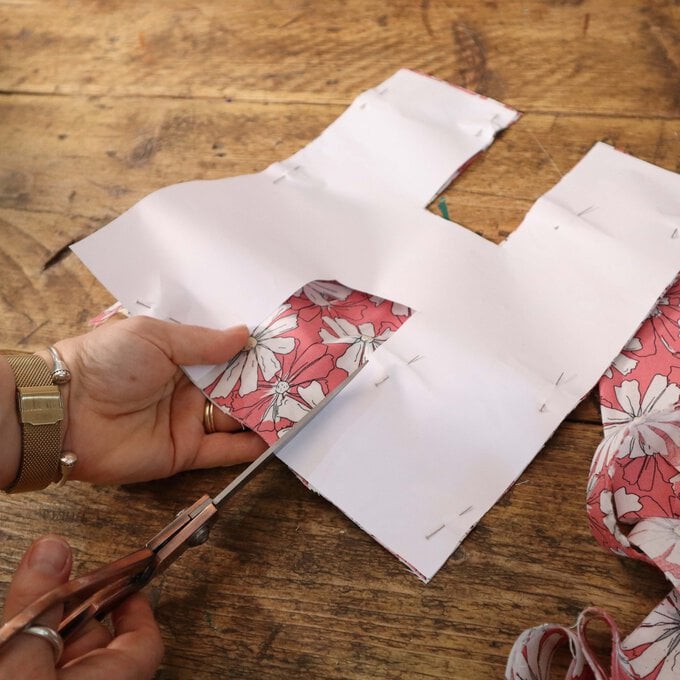
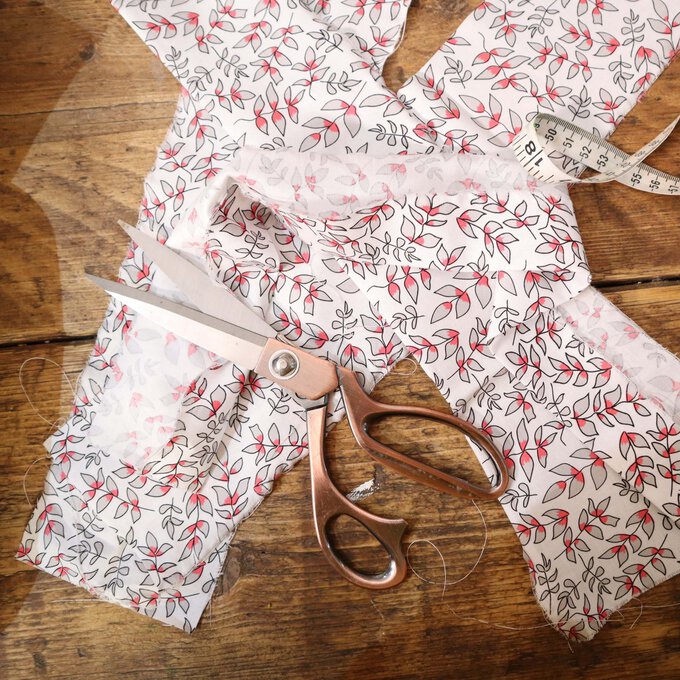
Collect your tools and materials and then print off your template. I printed the letter 'H' from Microsoft Word using 'Franklin Gothic Heavy' Font in size '1200' on to A3 paper. Alternatively, you can draw your own letter onto a piece of A3 paper to create your own template. Cut out your letter paper template.
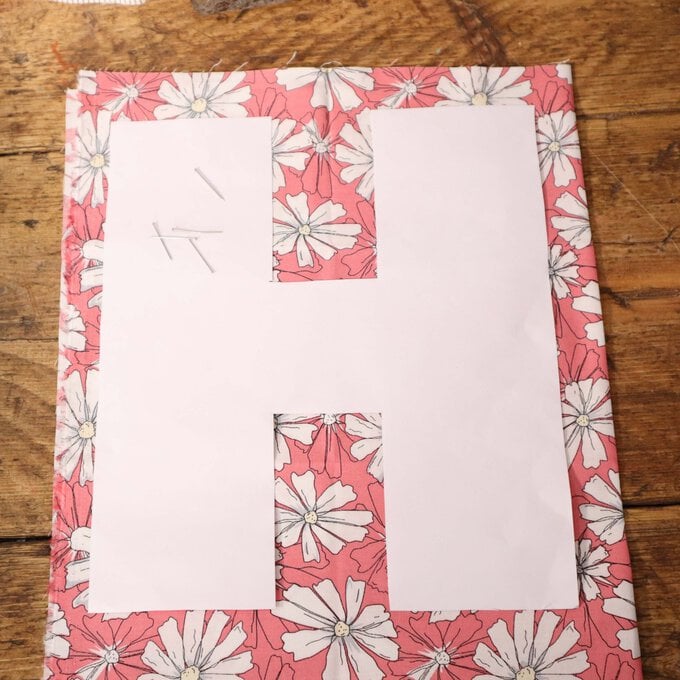
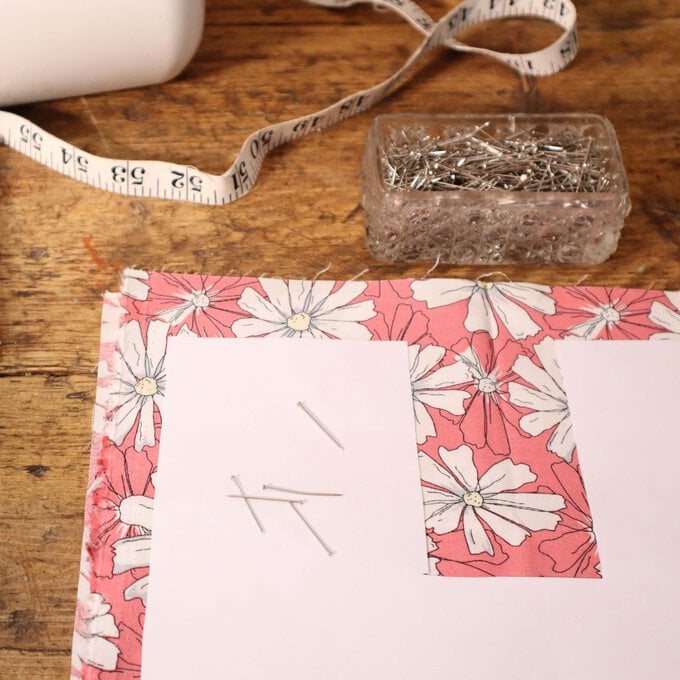
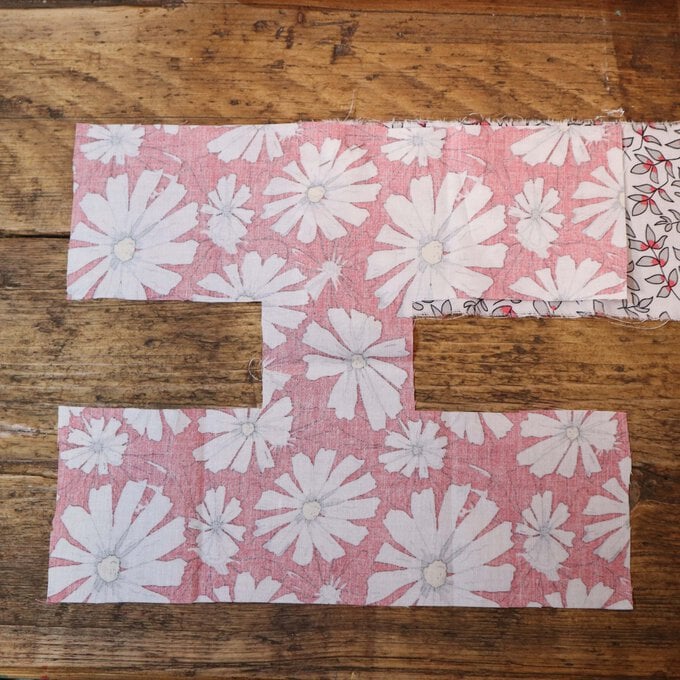
Fold your chosen fabric in half with the right sides out and press if required. Lay your paper template on top. This ensures you have both the front and back of the letter both forward facing and in reverse. On a letter such as 'H' it's the same both ways, but for some letters, like 'B' or 'C', you need to make sure you have both directions. Pin into position, then cut out your fabric letters around the template.

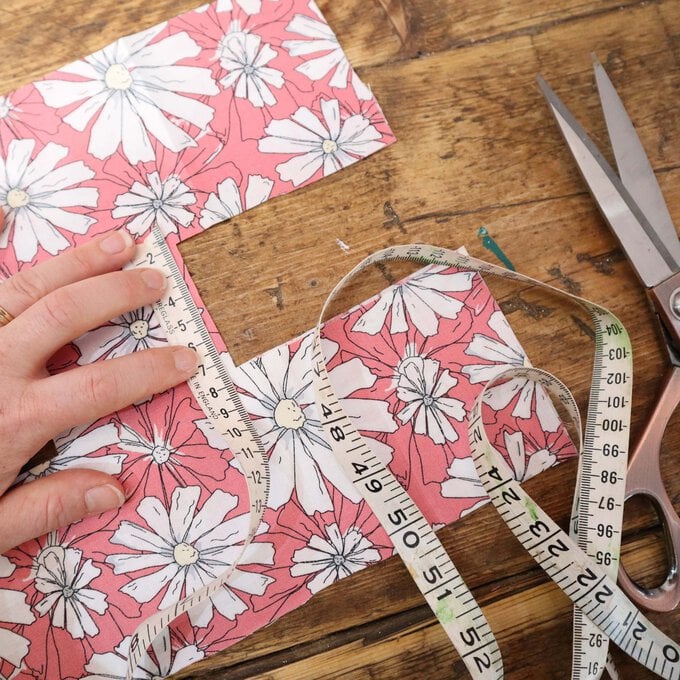
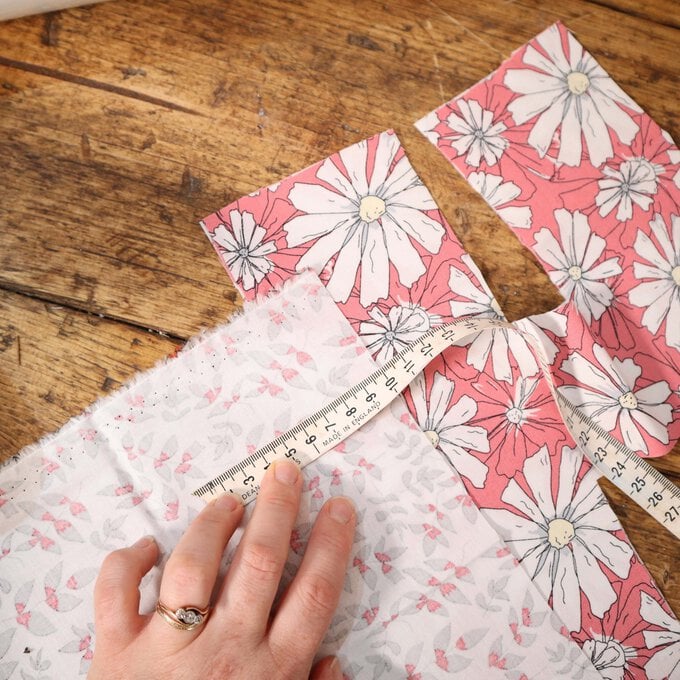
Measure around every edge of your letter – this will give you the total length required for your fabric sides.
Cut your fabric to this total length plus an extra 10cm to ensure you have enough coverage for seam allowances and an 'overlap'. You can make your letter as thin, or as thick as you like. I chose to cut the side strips at 10cm wide. If using fat quarters, you may need to stitch strip sections together to make it long enough for your total edge measurement.

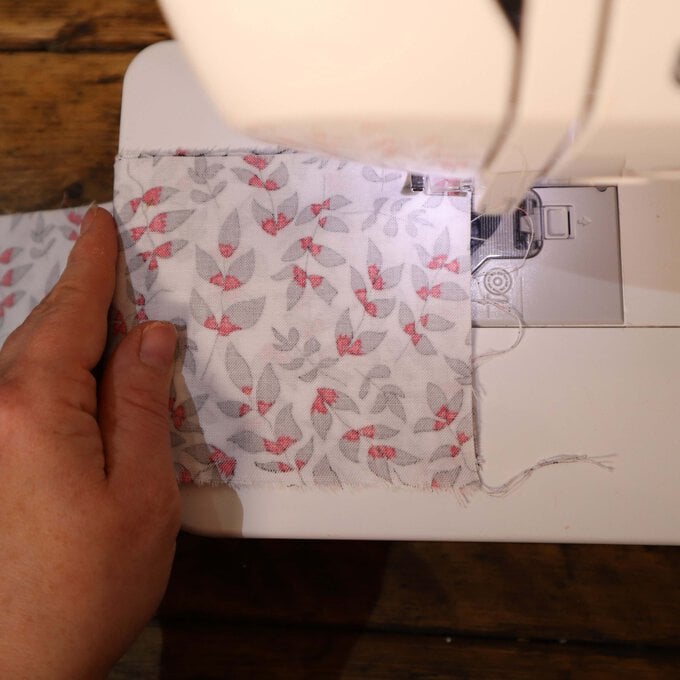
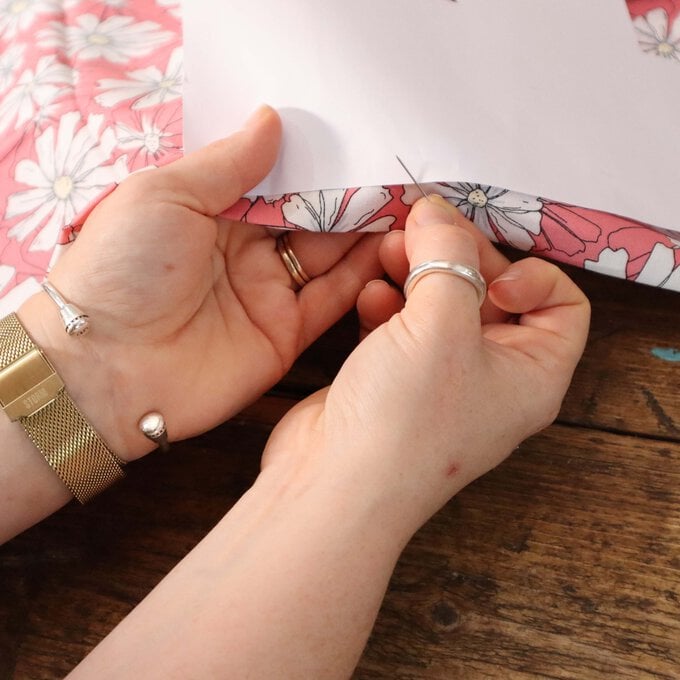
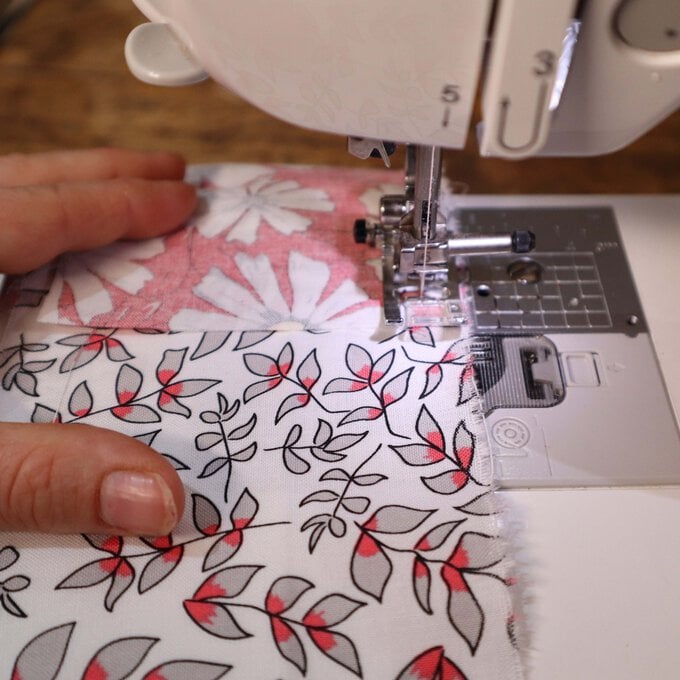
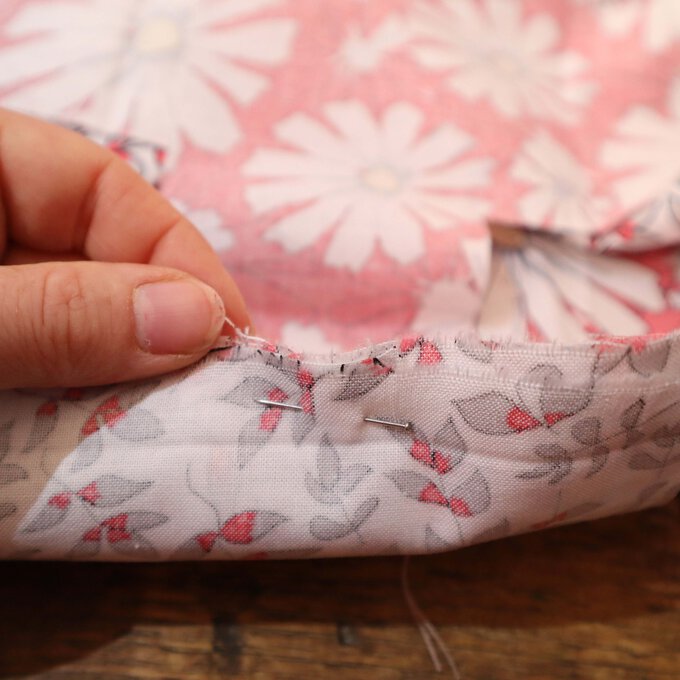
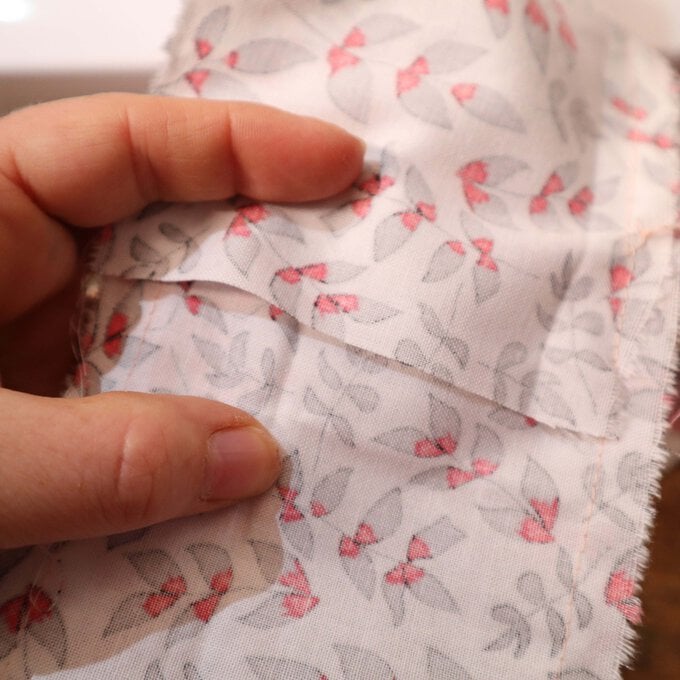
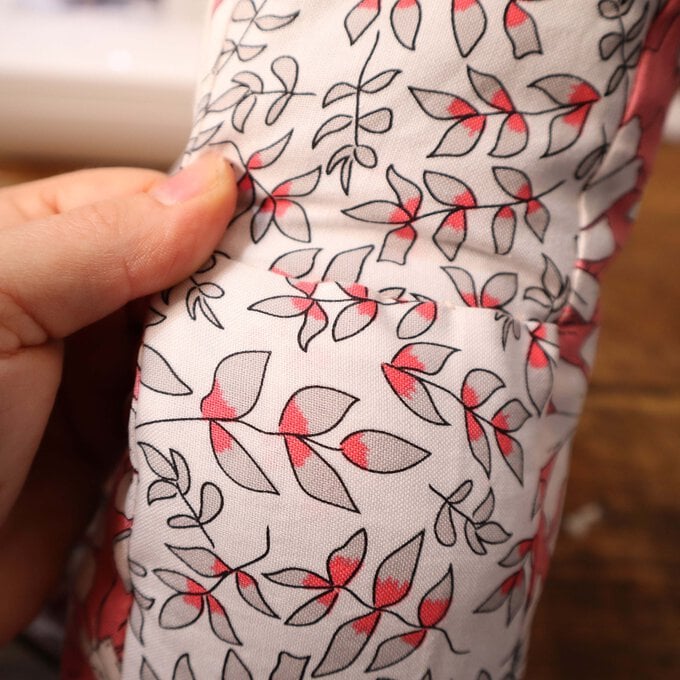
Take your side fabric and fold it over slightly at one end by around 3cm. Take one of your letter pieces, and with right sides together, pin your folded edge on to your letter with the edges aligned. You can pick any point around the edge that you would like this to be, we'll be working our way around the letter until the side fabric is sewn all the way around.

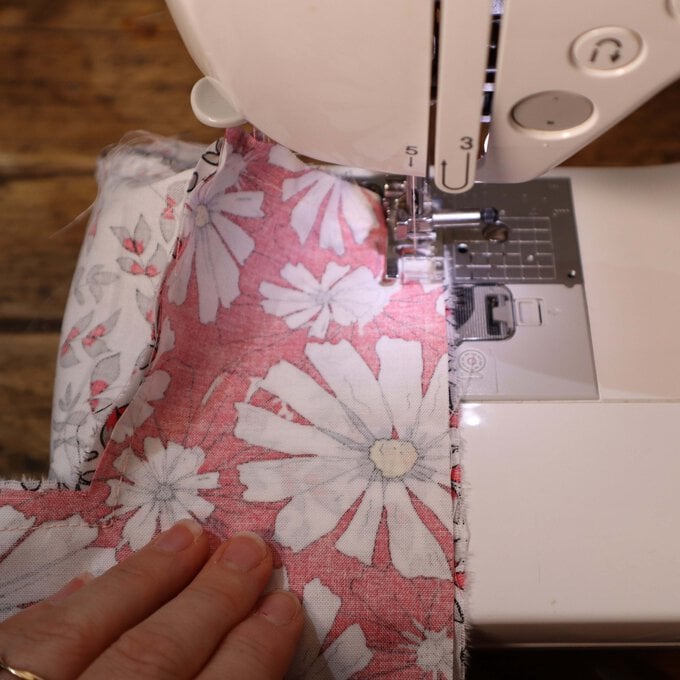
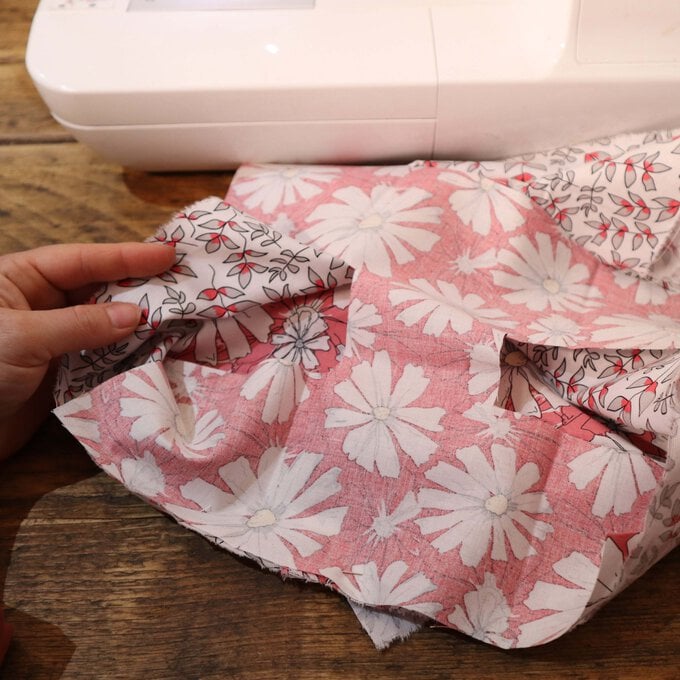
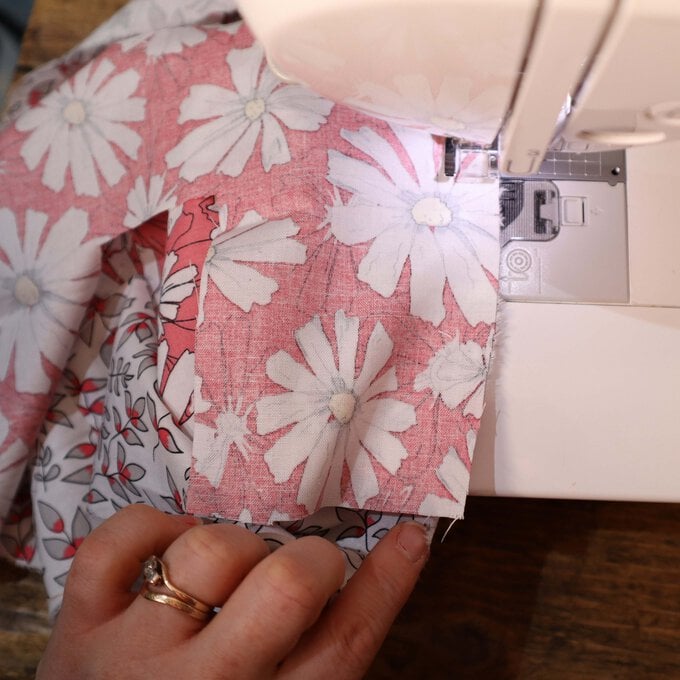
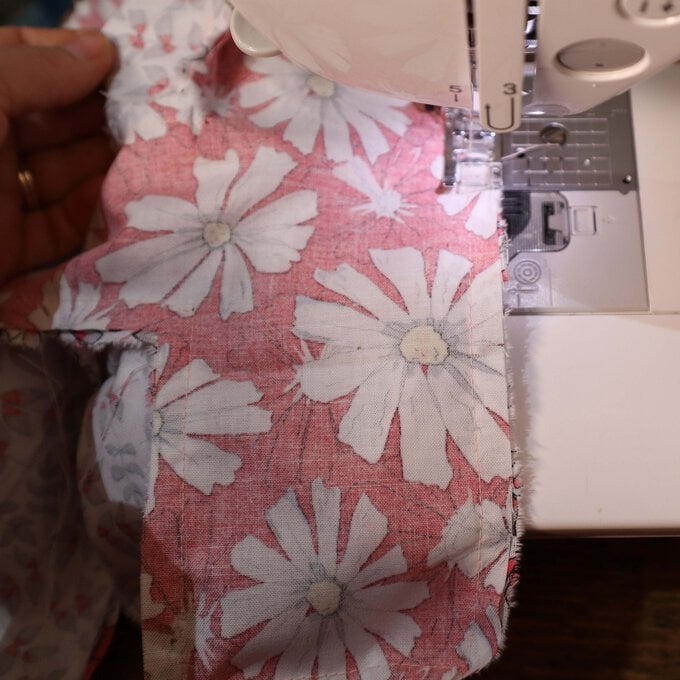
Using a 1cm seam allowance and a simple running stitch, sew slowly to attach your edge to the letter - turning at every point and curve on the letter. Try not to pull the fabric too tight to ensure no puckering – just keep the fabric nice and flat.
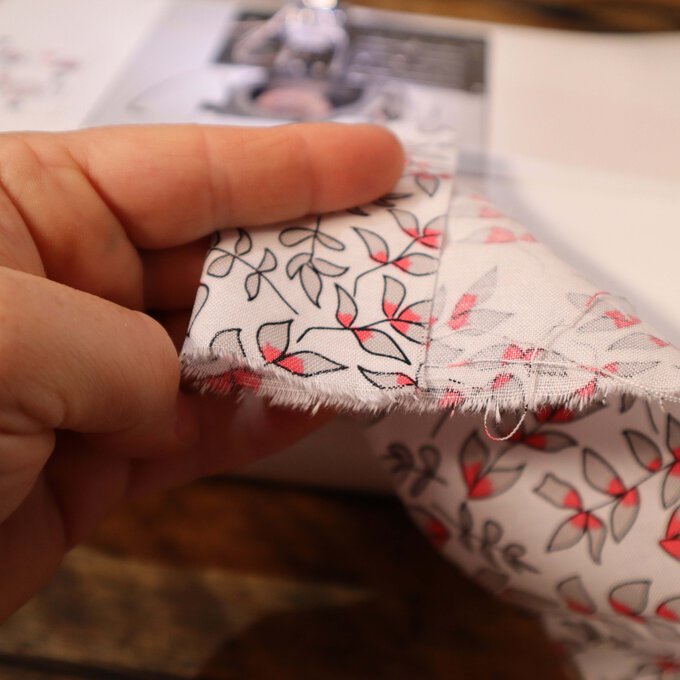
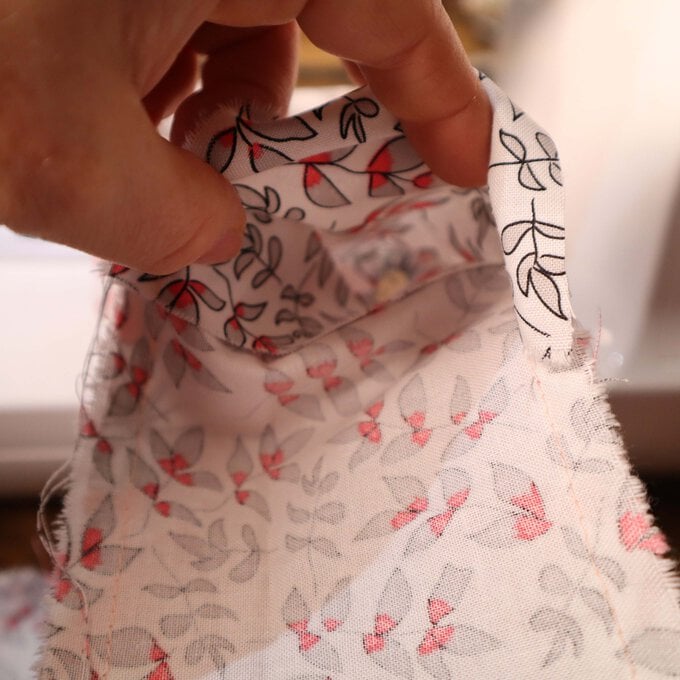
When you get to the point where you have gone all the way around the edge, just make sure your side edges overlap and then secure your threads.

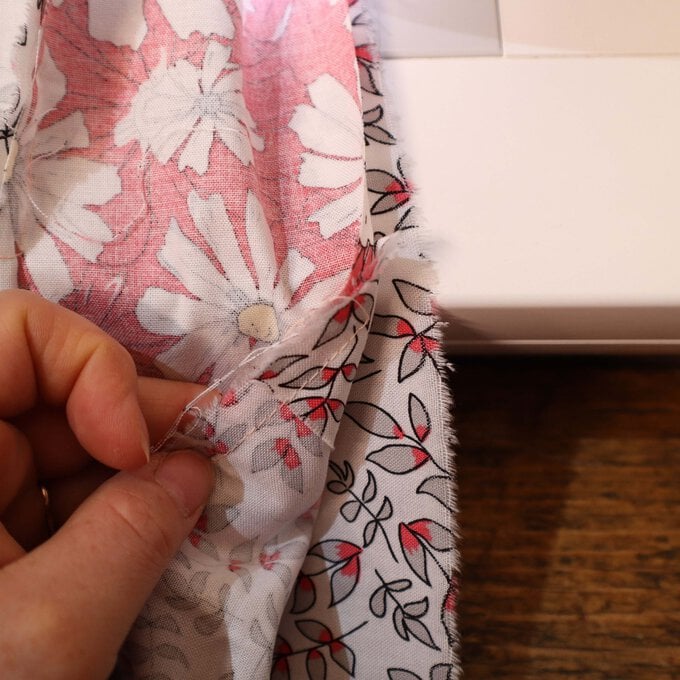
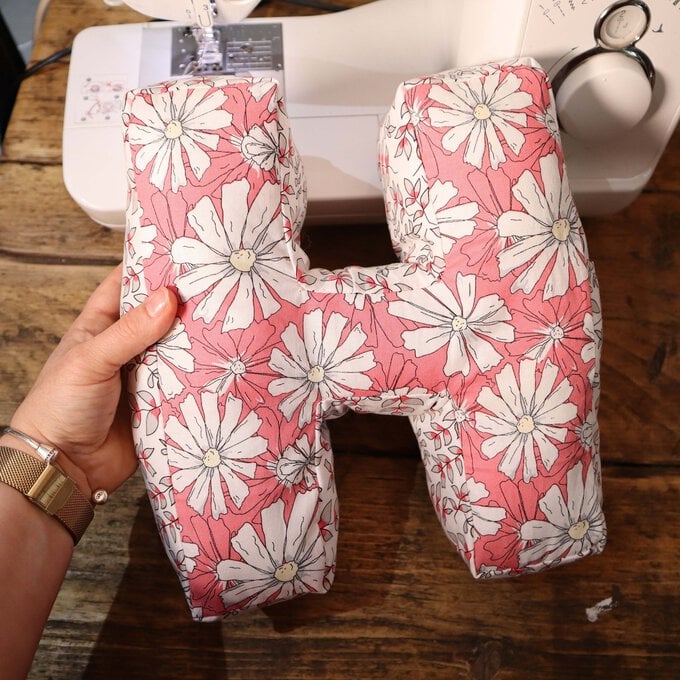
Take your second letter for the back and with right sides together, repeat the same as step 5 so that you complete the other side of your cushion.
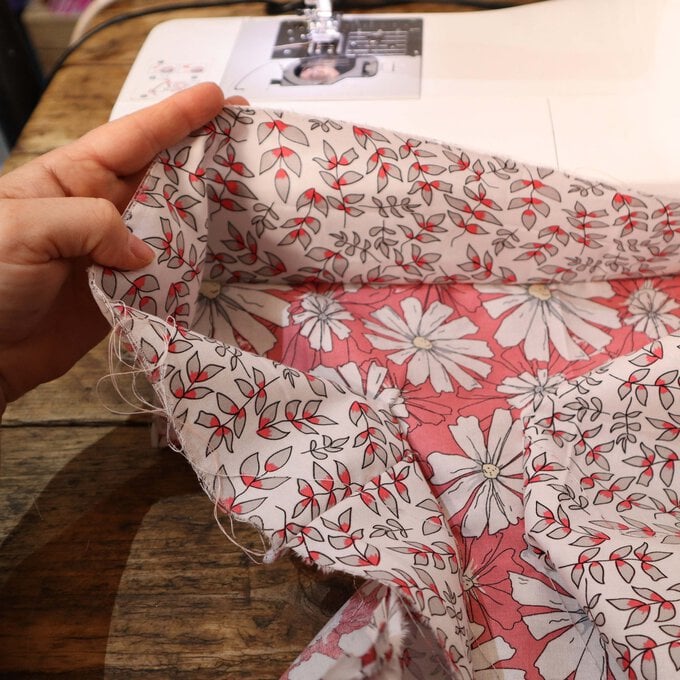
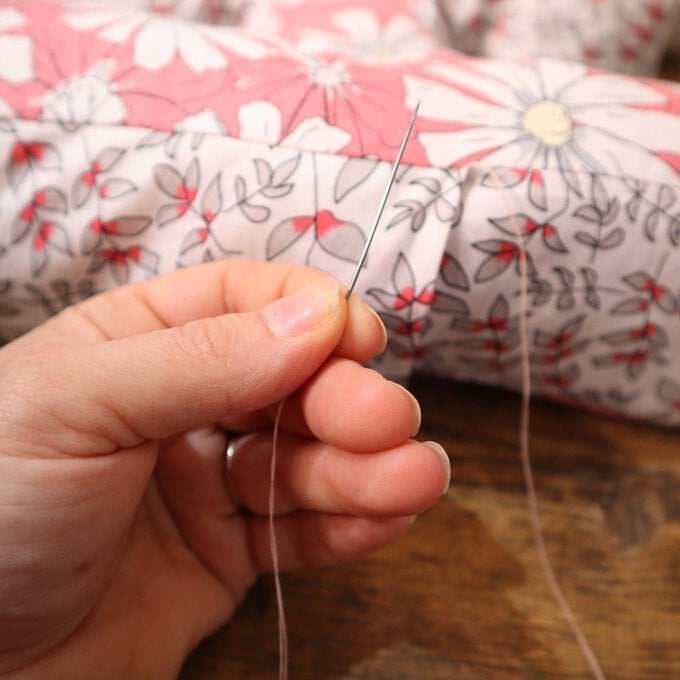
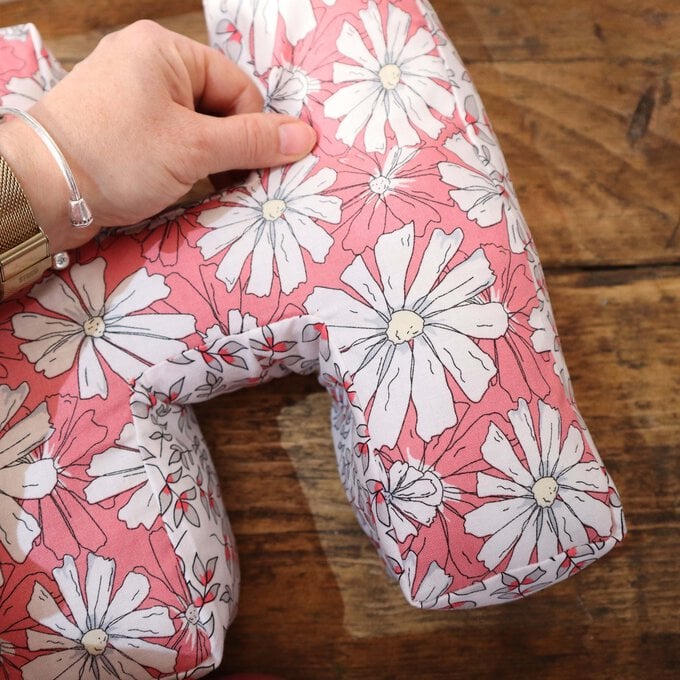
Turn your letter out the right way through the gap in your side seam. Stuff your cushion through the gap and hand sew your side seam gap closed.
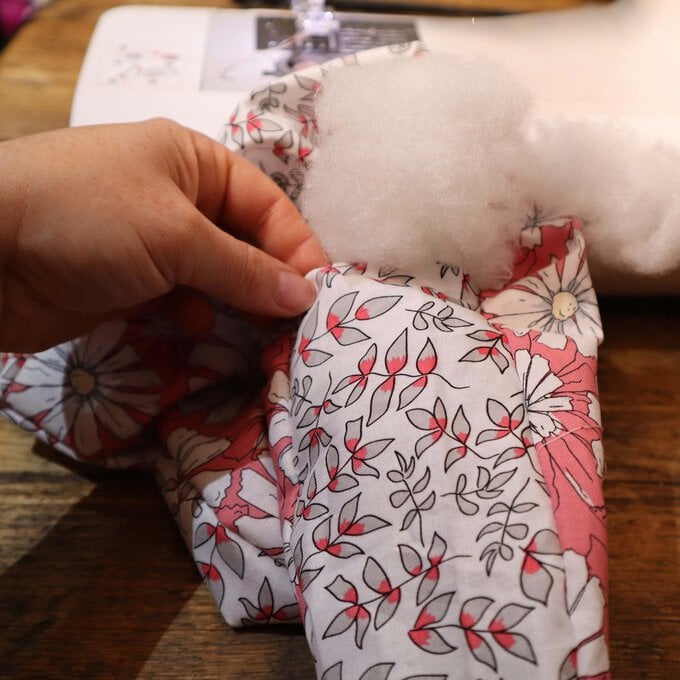
Give your cushion a push and a squeeze to remove any lumps and push the stuffing into shape.
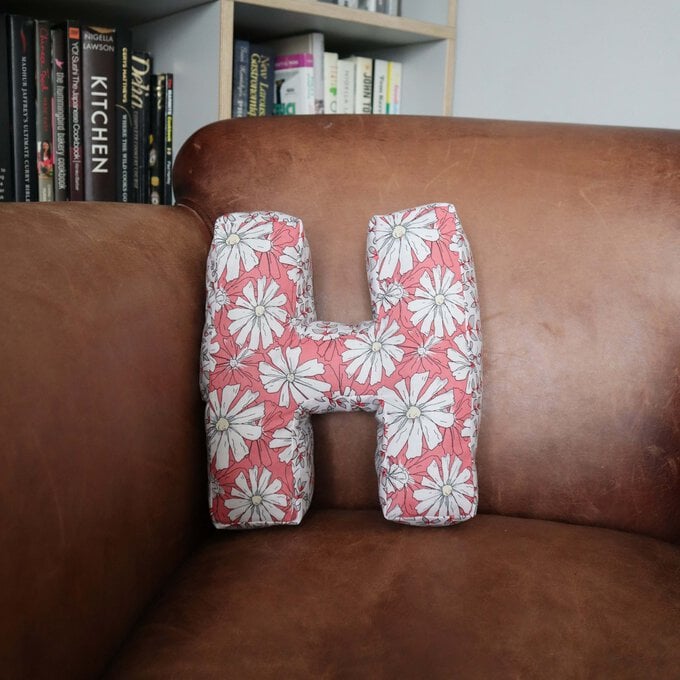
Your letter cushion is now complete!
Craft with us at our workshops


Related Products