How to Sew a Ruffled Ribbon Makeup Bag
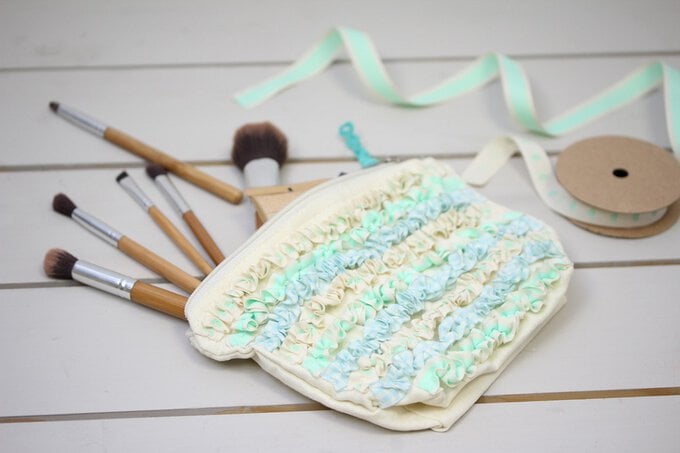
Put those pretty scraps of ribbon you have lying around to good use and show them off finally with a pretty ruffled ribbon effect makeup bag. This is a fab project for beginners as you only need to do some straight line stitching and it also helps teach you the basics of how to create ruffles and gathers using your machine!
You will need
Subtotal
Is $ 128.00
Subtotal
Is FREE
Subtotal
Is $ 30.00
Subtotal
Is $ 5.49
Out of stock
Subtotal
Is $ 7.49 , was $ 15.00
Out of stock
How to make
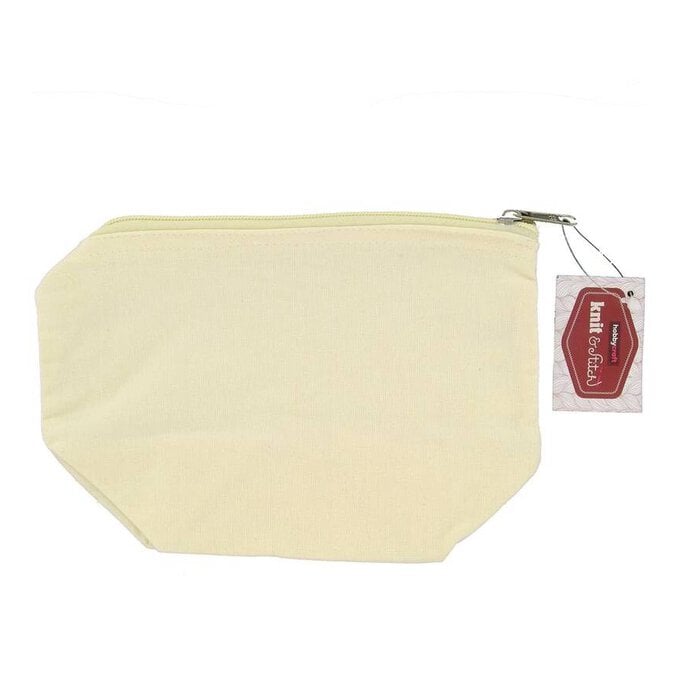
Lay ribbon strips on to the front of the plain zip bag to establish the layout of the ribbons.
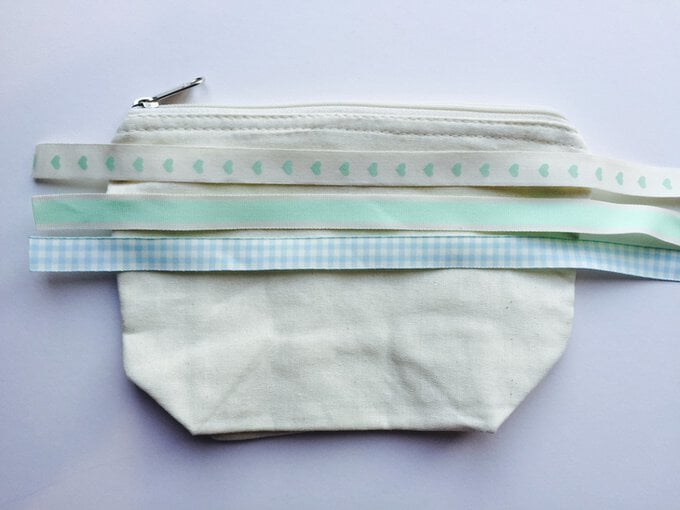
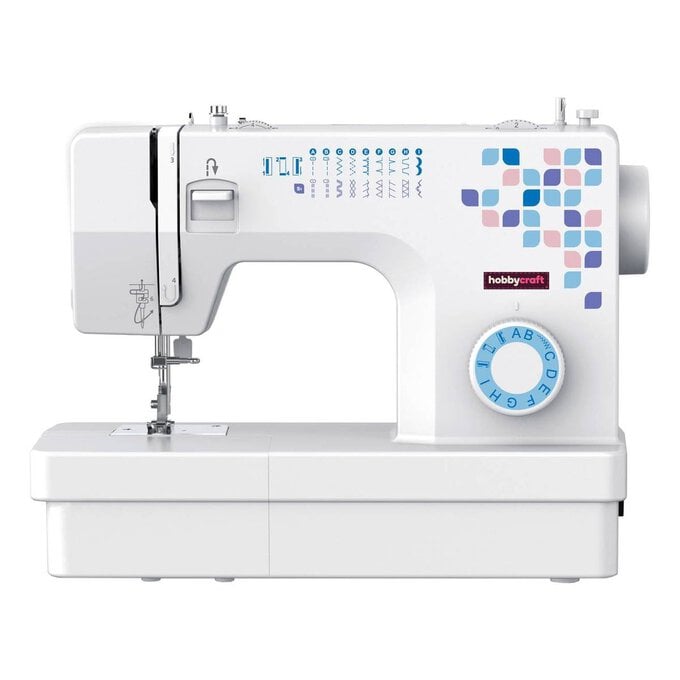
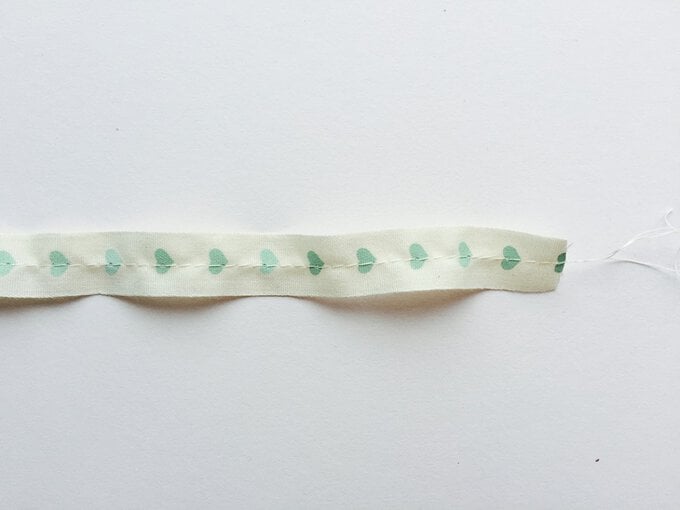
Cut your first length of ribbon, making it twice the length of the width of the bag. Set your sewing machine to the longest straight stitch. Start stitching with a couple of forward & backward stitches to ensure a secure start. Stitch a straight line along the centre of the entire length of the ribbon, leaving about 10cm excess thread at the finishing end.
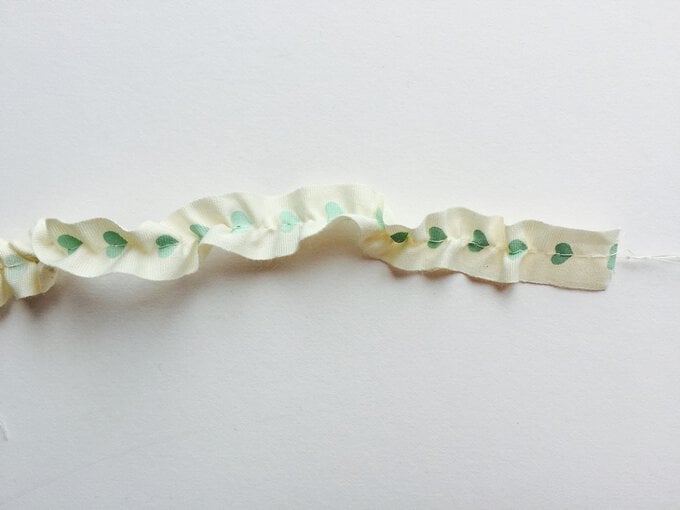
Pull the end of the top thread which makes the ribbon start to ruffle up. Keep pulling and ruffling the ribbon until it is the same width as the zip bag. Tie the loose end threads securely in a knot to prevent the ribbon from un-ruffling. Trim threads.
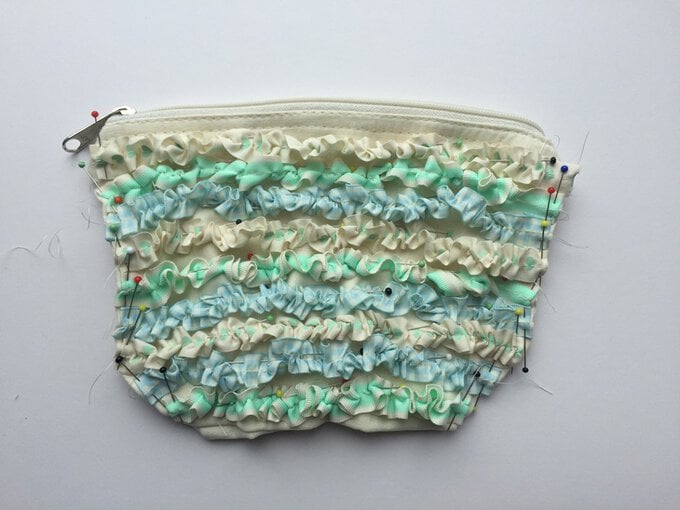
Pin to the front of the bag. Repeat steps 2 – 3 until you have enough ruffled ribbon strips to cover the front of the zip bag. Pin all ruffles in place.
Hand stitch each ruffle securely to the front of the zip bag along the centre and end of each ribbon.
Complete the zip bag by tying a small length of coloured ribbon through the zip pull.
