How to Sew Baby Bloomers and Matching Headband
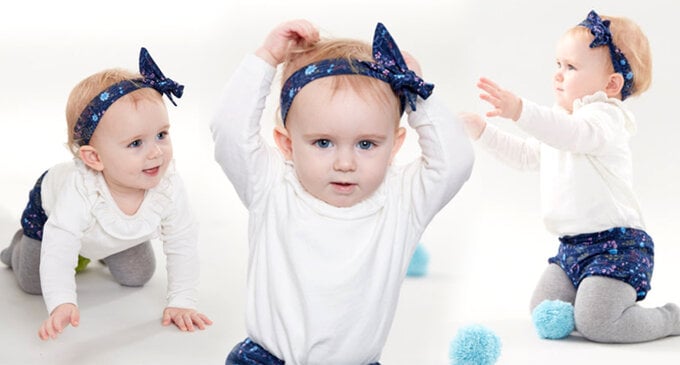
These cute bloomers and headband sets make a great handmade baby gift! They are a practical nappy cover whilst also looking adorable on any little one, PLUS they only take one fat quarter to make a matching set!
Project and how-to make instructions by Kathi Smith
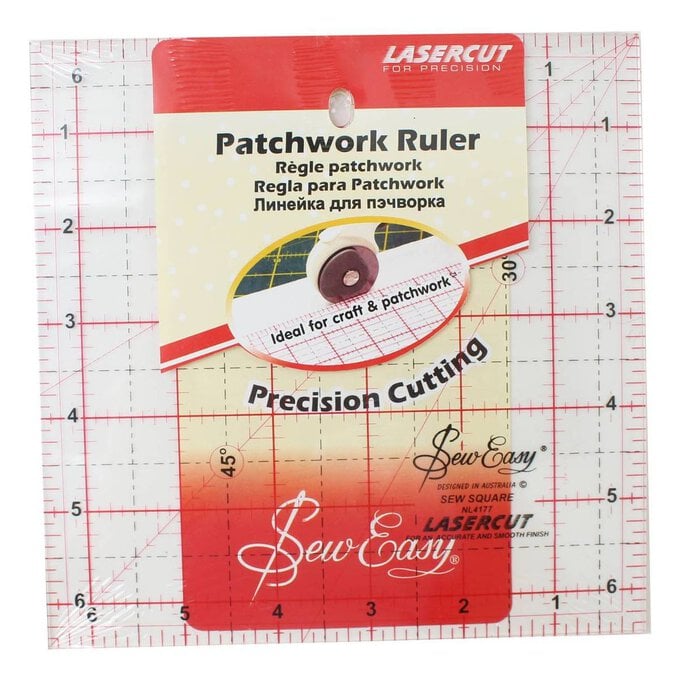
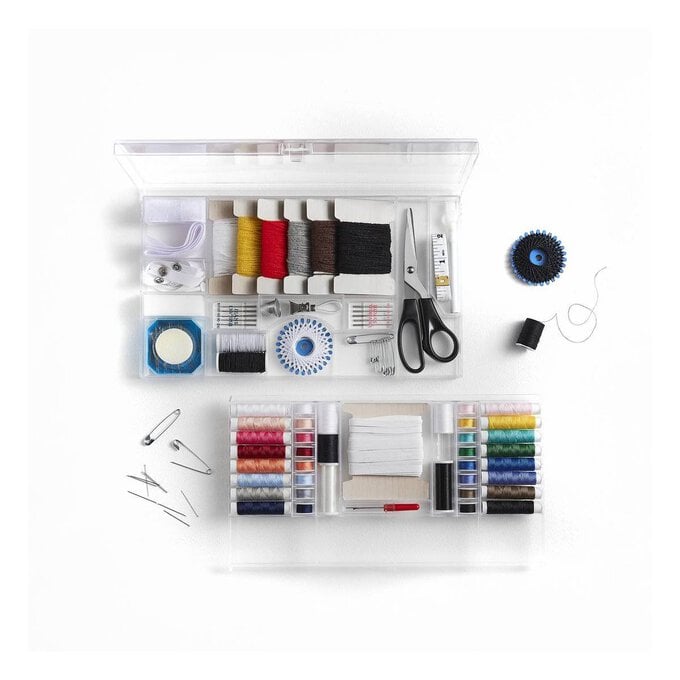
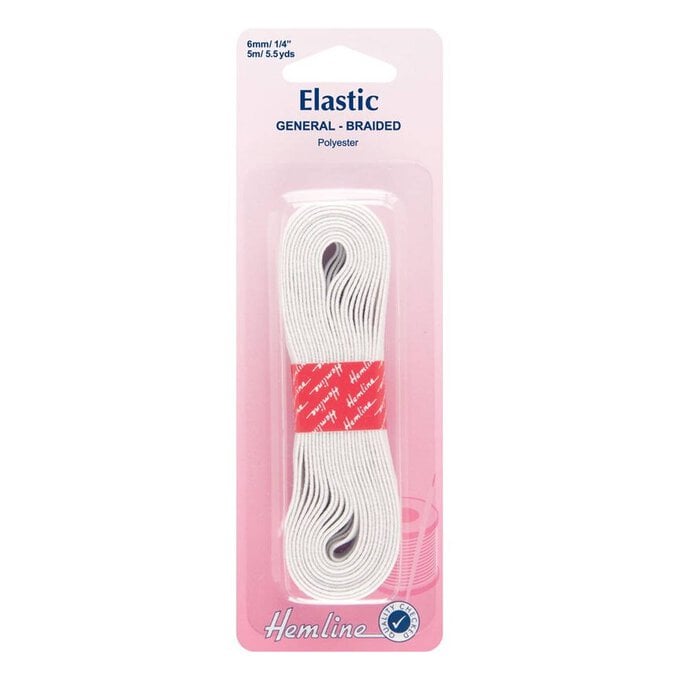
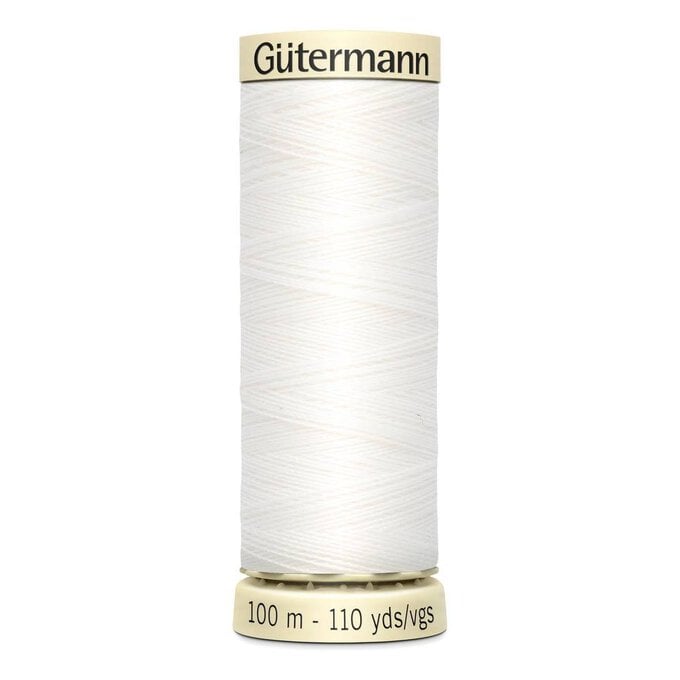
You will need
Subtotal
Is $ 123.00
Subtotal
Is $ 24.00
Subtotal
Is $ 26.00
Subtotal
Is $ 28.00

Subtotal
Is $ 274.00
Subtotal
Is $ 5.49
Subtotal
Is $ 4.49
Subtotal
Is $ 21.00
Subtotal
Is $ 9.49
How to make
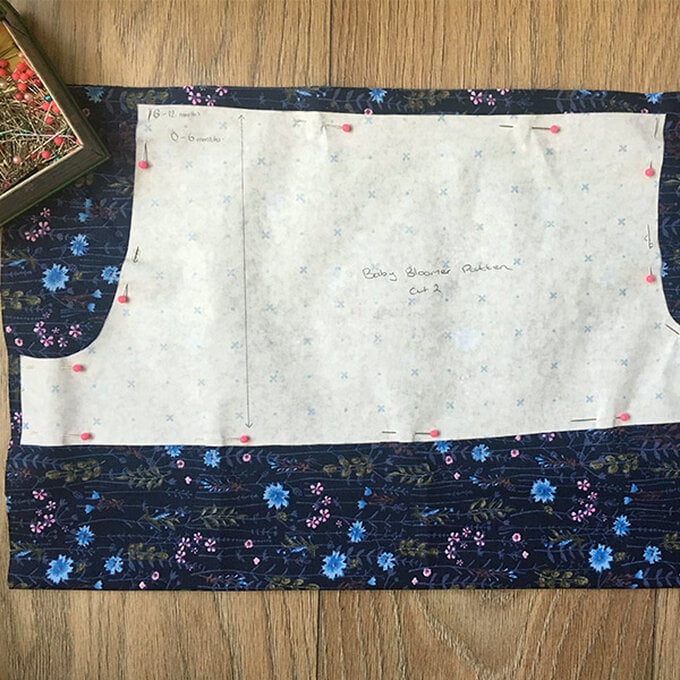
Download, print and cut out the baby bloomers template. Prepare one of the fat quarters by washing and ironing.
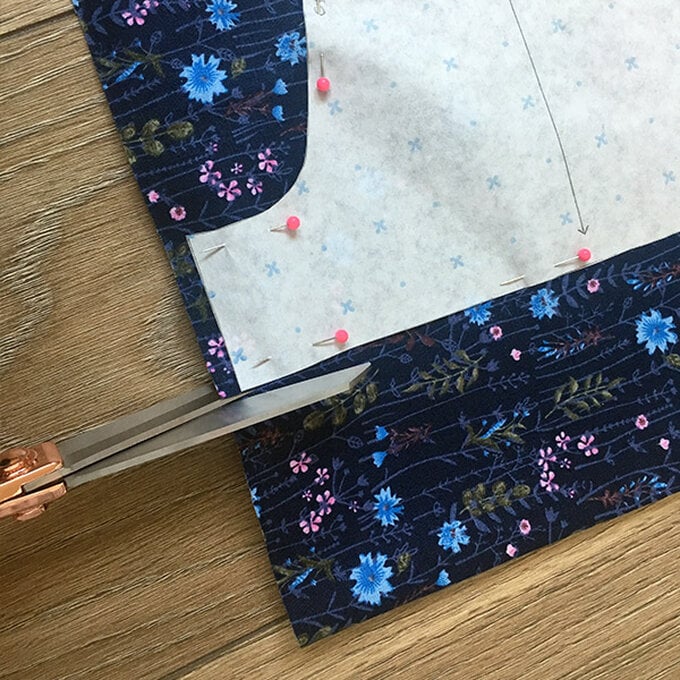
Fold the fat quarter in half and pin the pattern piece to it.
Carefully cut the fabric pieces out.
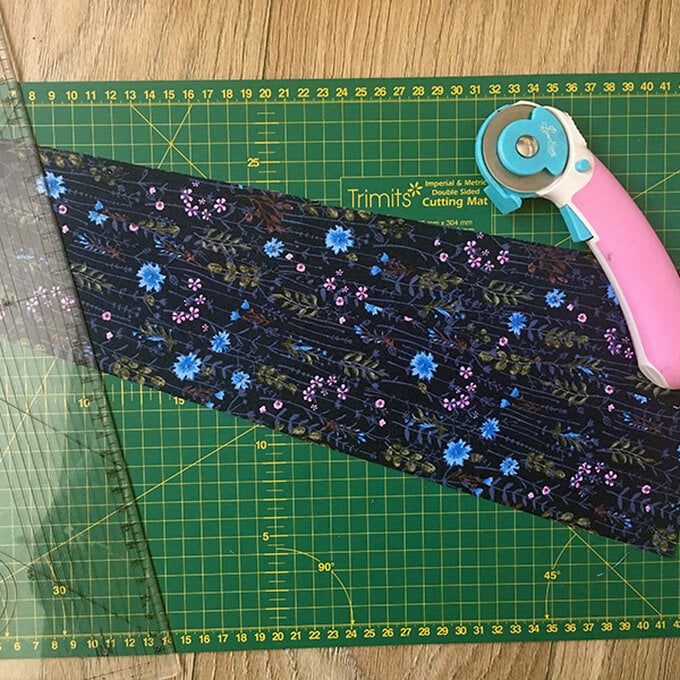
From the remaining fabric cut two 6cm wide strips and set aside.
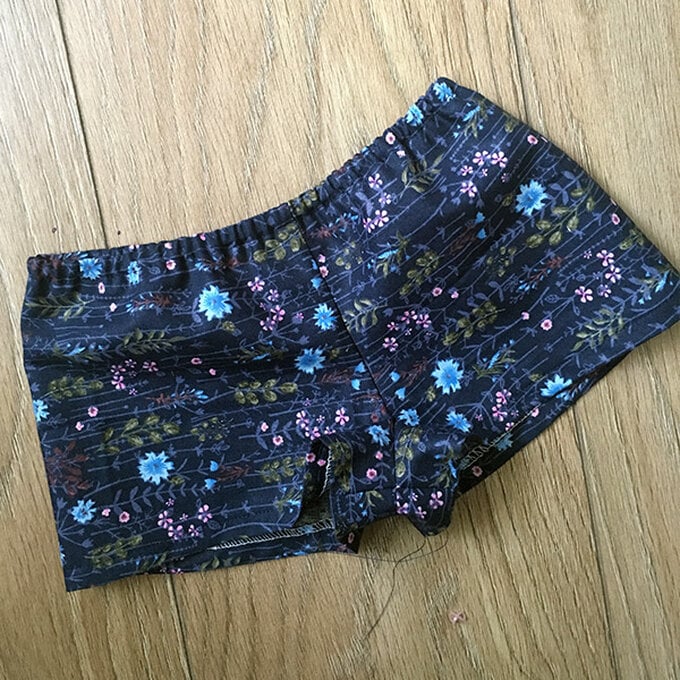
Using a 5mm seam allowance, sew the centre fronts right sides together. Then sew the centre backs right sides together.
Overlock the seams and press.
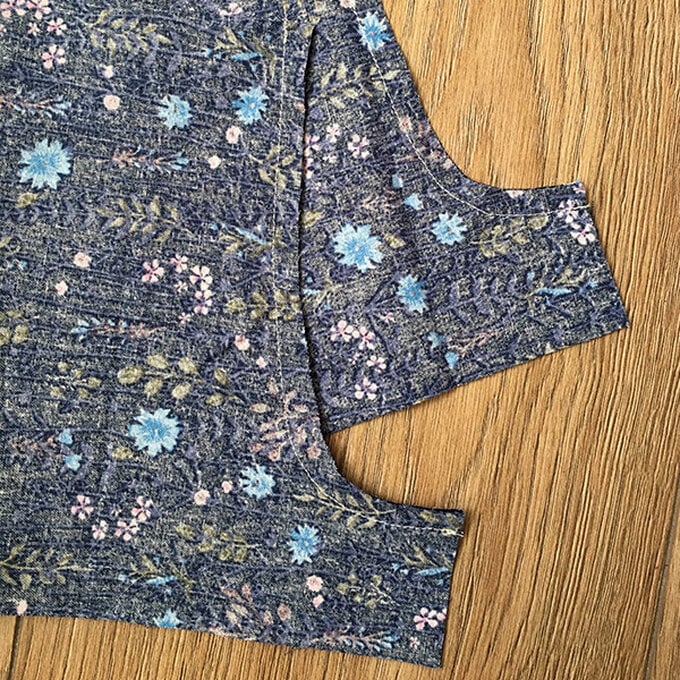
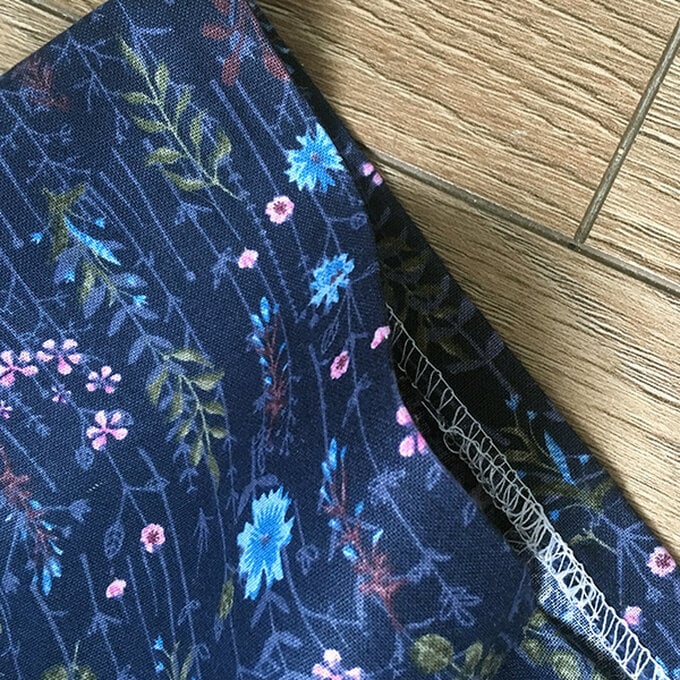
Pin together to crotch seam and sew with a 5mm seam allowance, overlock and press.
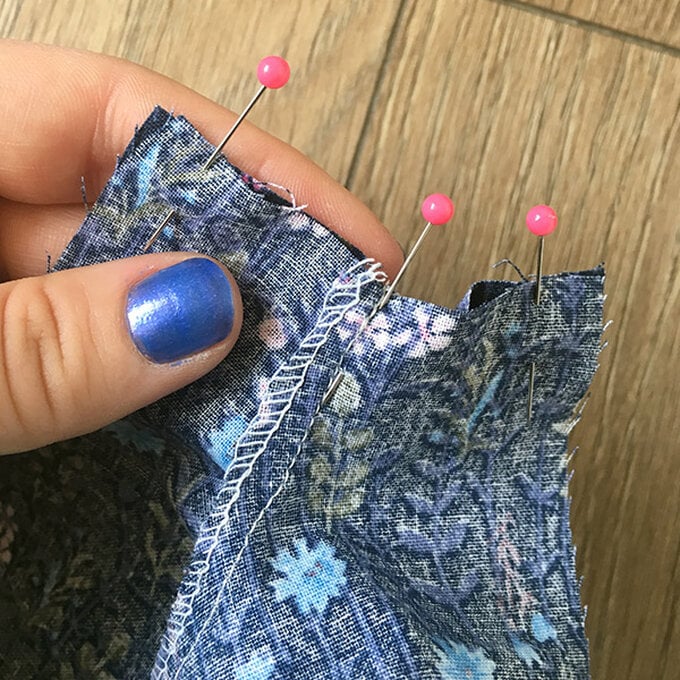
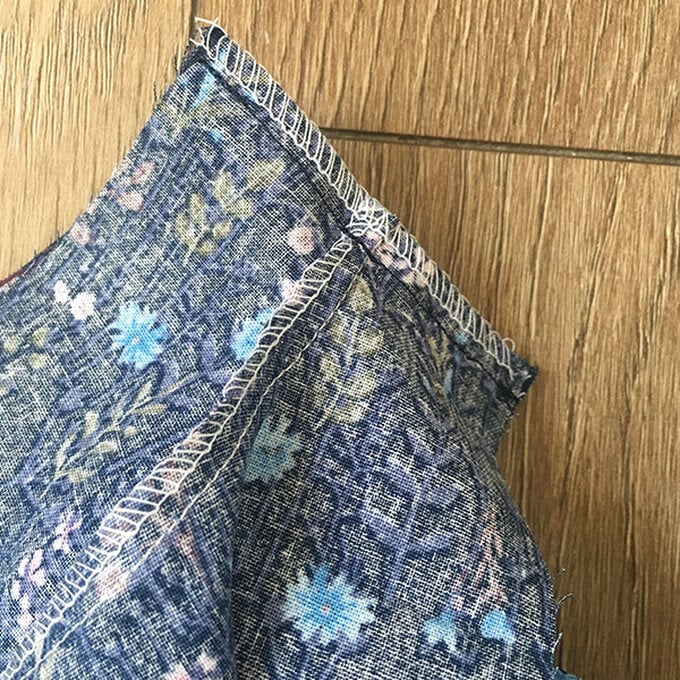
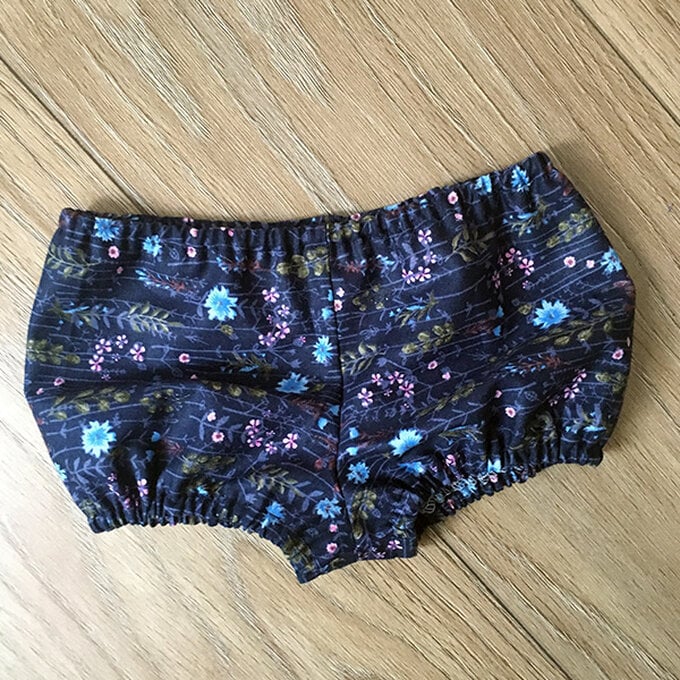
Turn the bloomers the right way out and overlock around the waist and leg holes.
Fold and press down 1cm from the waist and leg holes.
Cut the elastic you need:
0 – 6 months = 1 x 16” piece and 2 x 8.5” pieces
6 – 12 months = 1 x 17” piece and 2 x 9.25” pieces
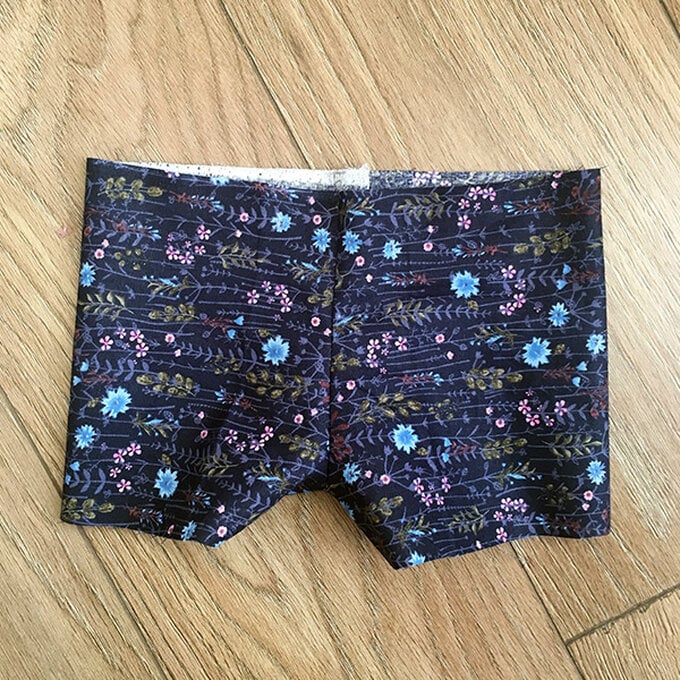
Sew down the 1cm you folded over, leaving a gap at the back to insert the elastic. Do the same for the leg holes.
Using a safety pin for ease, insert the elastic into the waistband. Stitch the elastic together and sew up the gap. Do the same for the leg holes.
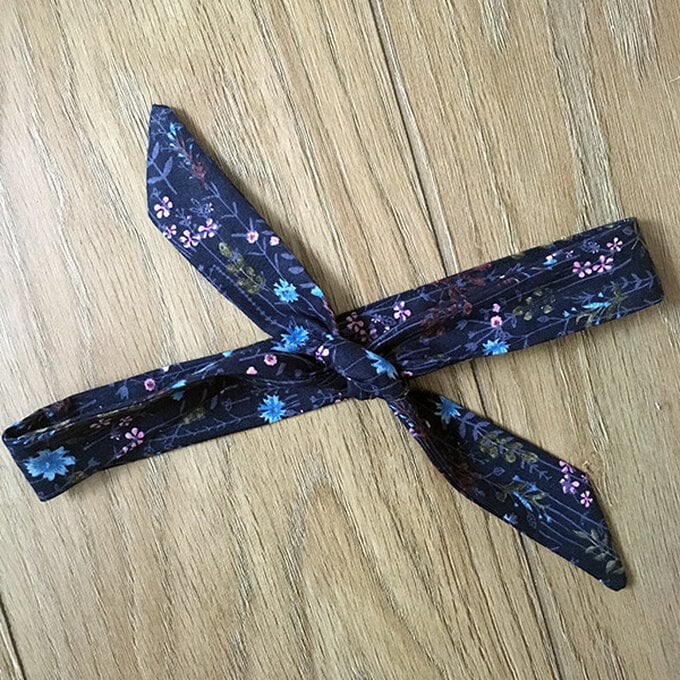
Next, it's time to sew the headband! Take the two strips you set aside earlier, stitch right sides together and press.
Right sides together, fold and sew along the long edge using a 5mm seam allowance and leaving a gap in the middle. Sew the ends at a curved 45 degree angle and trim.
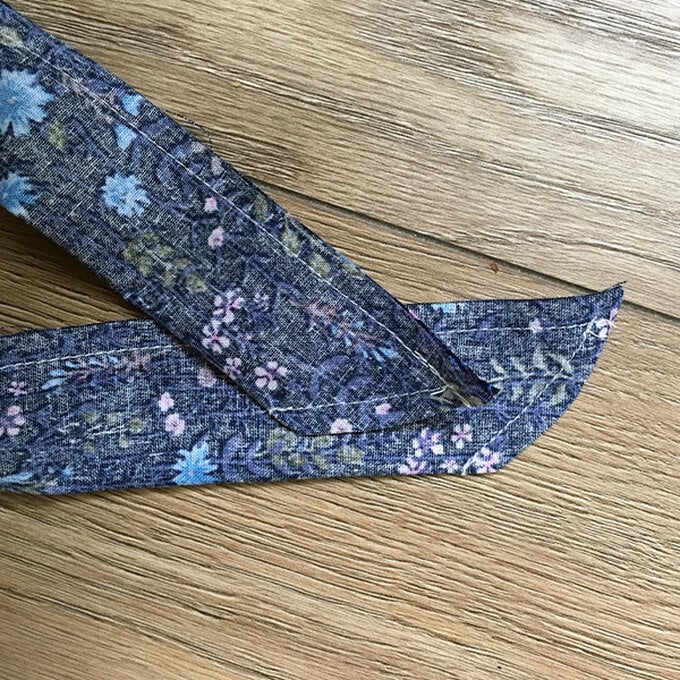
Turn the headband strip through, using a chopstick to push out the corners. Press and top stitch down the gap.
To complete, tie the headband into a classic knot.
Related Products