How to Sew Placemats and Napkins
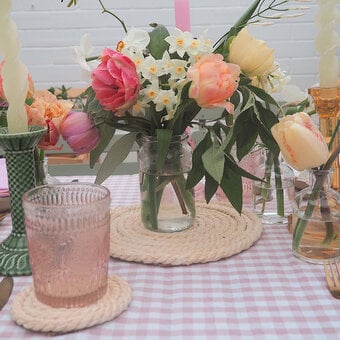
Learn how to sew placemats and napkins with this simple step-by-step guide. Add handmade decorative elements with tassels and embroidered initials to make your placemats truly one of a kind, ready to adorn your dining table.
The Joules Spring Botanical cotton fat quarters are ideal for making napkins and placemats to refresh your table décor ready for summer, with beautiful bee prints and florals adorned with butterflies.
Project and instructions by Paula Milner, The Crafty Lass
Please note: The number of fat quarter packs you need will depend on how many napkins and placemats you wish to make. One fat quarter pack will make one placemat and two napkins.
You will need
Subtotal
Is $ 21.00
Subtotal
Is $ 2.49
Subtotal
Is $ 17.00
Subtotal
Is $ 14.00
Out of stock
* Fat Quarters
* Sewing Machine
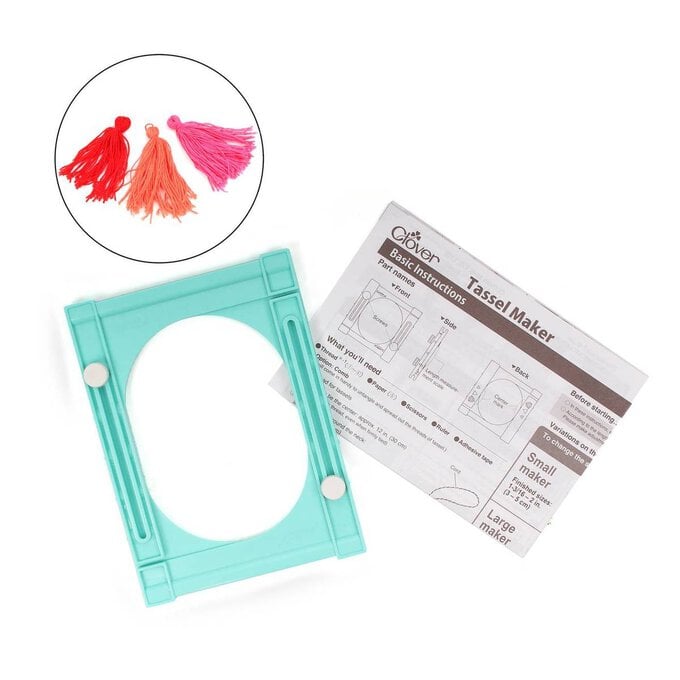
* Adjustable Tassel Maker
* Dressmaking Scissors
* Pins
* Tape Measure
* Thread
* Embroidery Thread (in two different colours)
* Tapestry Hand Needles
* Polydown Wadding
* A Pencil
* Scissors
* Iron
* Compass (or something circular)
* Large Sheet of Paper

Measure 18cm in your compass between the point and pencil nib. Or, find something to draw around that is 36cm in diameter.
Draw your circle, which will be 36cm in diameter, then cut out using scissors.


Repeat step two and cut out the same circle in your wadding, and your backing fabric.


Follow the instructions on the Clover Tassel Maker to make your tassels before placing them around the edge of your top fabric pointing inwards - we've made 12 tassels - pin into position.


Using a simple running stitch and a 0.5cm seam allowance, sew the tassels into position.


Lay the front tassel piece down, before laying your backing fabric on top, right sides together, before adding the circle of wadding.
Using a simple running stitch, sew all of these pieces together using a 1cm seam allowance.
Leave a gap for turning out the placemat.


Fold each edge over by 0.5cm, and again so the raw edges are enclosed inside. You may find It easier at the corners to fold down a small triangle first before doing this to make neat corners. Press the seams into place with an iron.


Using a simple running stitch on your sewing machine, go around all four edges to secure everything into position. Secure your threads.

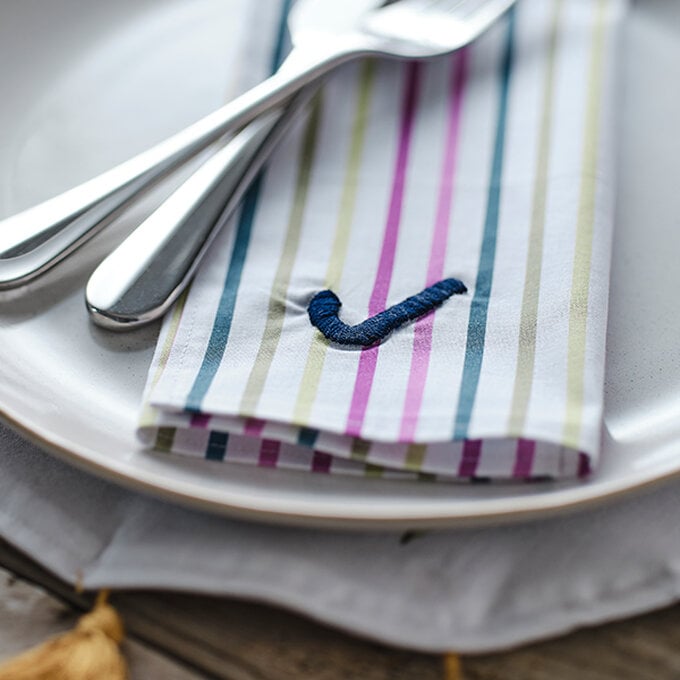
Print, or a draw your initial onto paper, and place behind your napkin. Trace lightly onto the fabric using pencil.
Top Tip: You may find it useful to place the fabric and template against a window with a source of light, or use a Cricut BrightPad if you have one to make the process easier.


Using Satin Stitch, fill in the initial using the navy embroidery thread.
Top Tip: For helpful hits and tips on embroidery stitches visit the Hobbycraft YouTube channel >


