5 Simple Embroidery Repair Techniques to Try
If you’re passionate about the environment and love upcycling, why not give a new sense of life to damaged clothing using your embroidery skills? In celebration of Earth Day 2022, this project guide features five simple embroidery repair techniques that can be used to preserve beloved garments in an eco-friendly way.
Perfect for intermediate-level embroiderers, this project is ideal for showing off your favourite embroidery stitches by adding a pop of colour to your wardrobe!
You will need
Subtotal
Is $ 6.49
Subtotal
Is $ 4.49

Subtotal
Is $ 8.49
Subtotal
Is $ 2.49
Subtotal
Is $ 2.49
Subtotal
Is $ 2.49
Subtotal
Is $ 2.49
Subtotal
Is $ 2.49
Subtotal
Is $ 2.49

Subtotal
Is $ 2.49
Subtotal
Is $ 2.49
Subtotal
Is $ 2.49
Subtotal
Is $ 2.49
Subtotal
Is $ 2.49
Subtotal
Is $ 2.49
Subtotal
Is $ 2.49
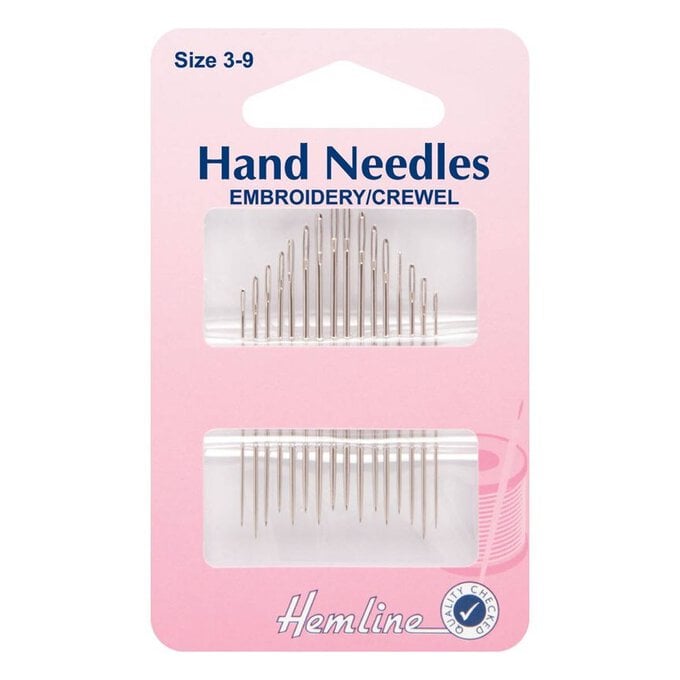
You will also need:
* Heat erasable pen
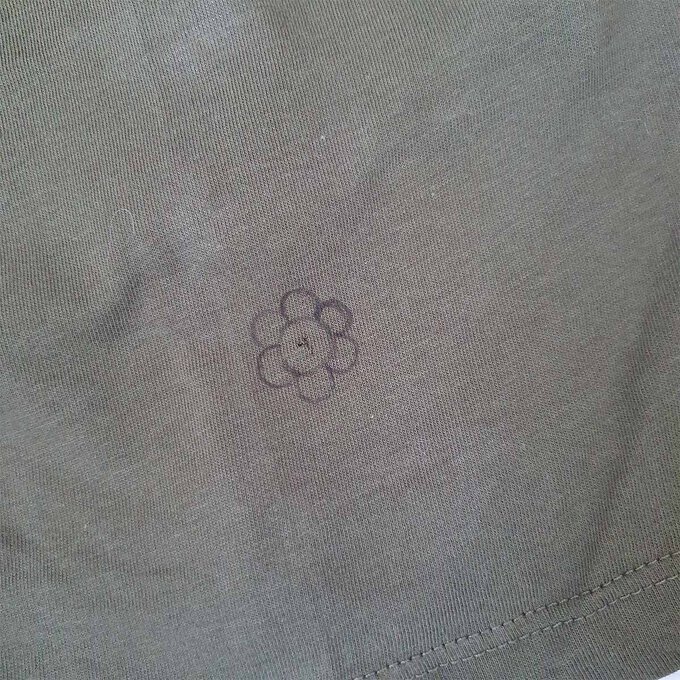
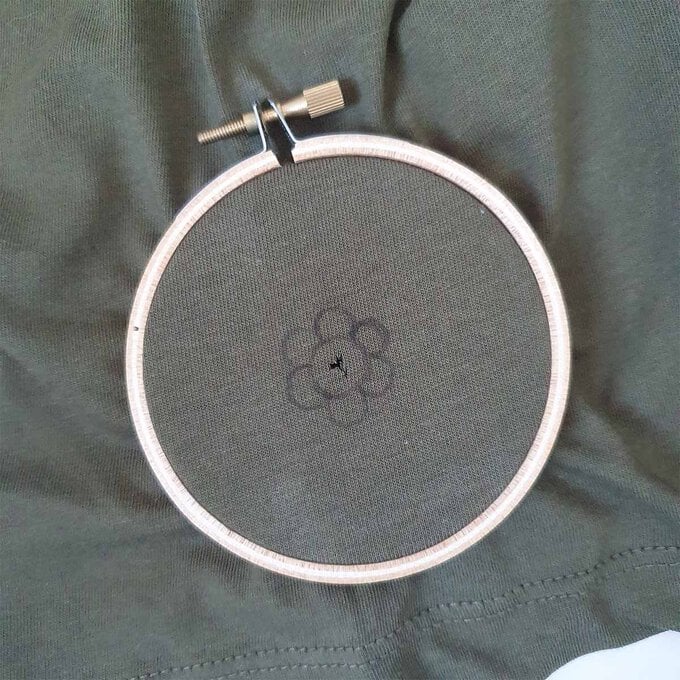
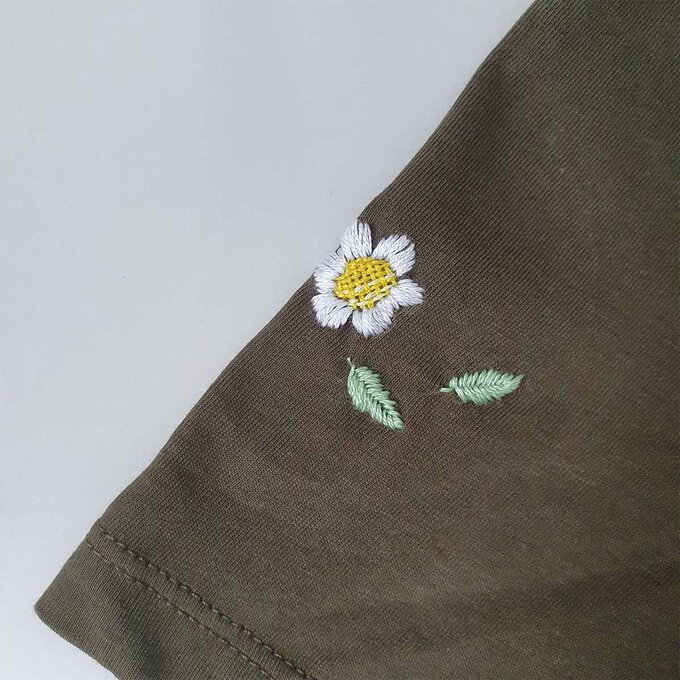
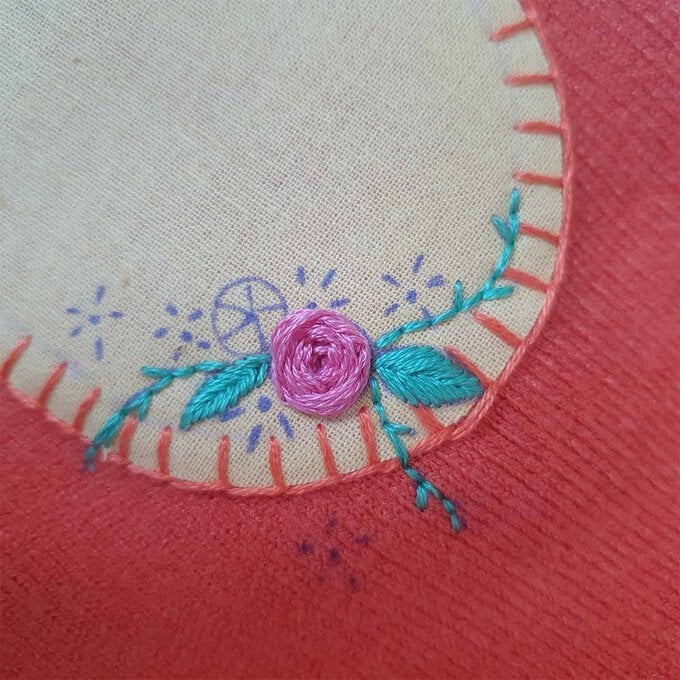
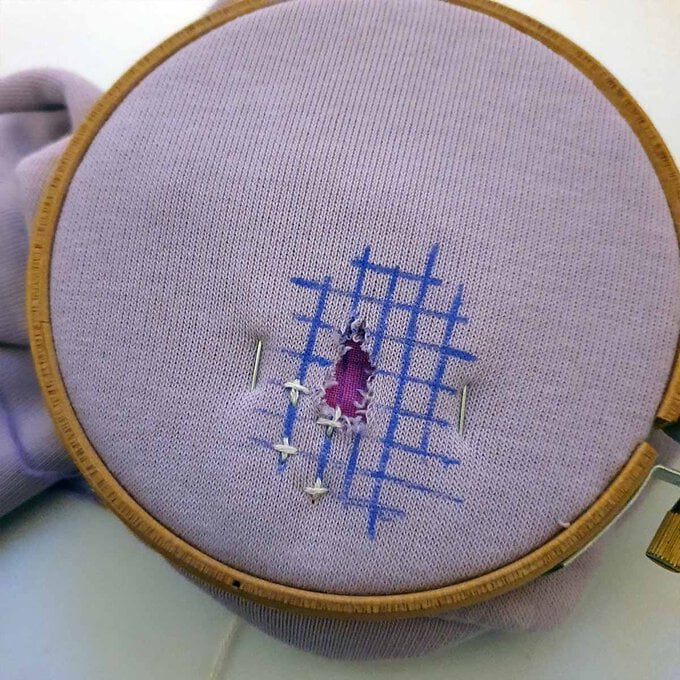
Using two strands of embroidery thread, stitch straight lines across the middle part of the flower.
Use two strands of a lighter thread colour to weave the stitches, under and over the first straight stitches. Continue until the shape is filled.
Use three strands of the next embroidery thread colour to fill in the petals using satin stitch.
Optional – add two leaf designs, stitch these using three strands of embroidery thread using a Fish Bone stitch.
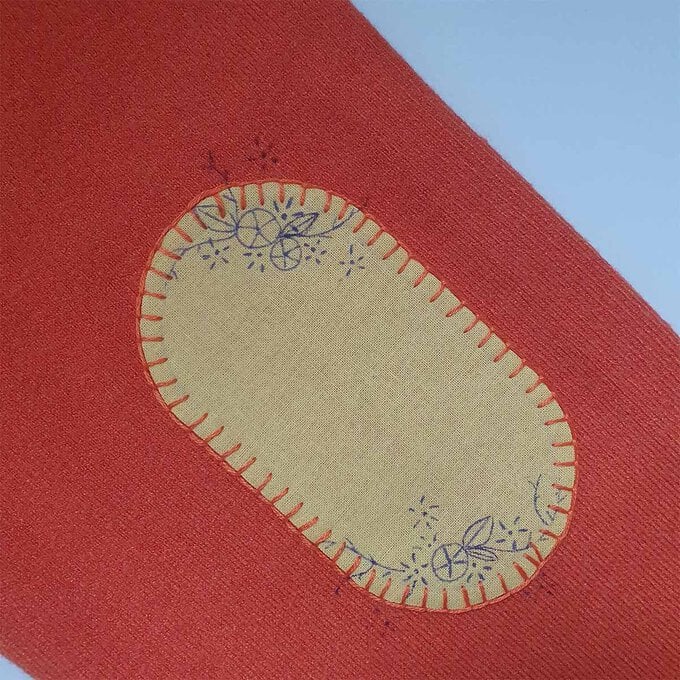
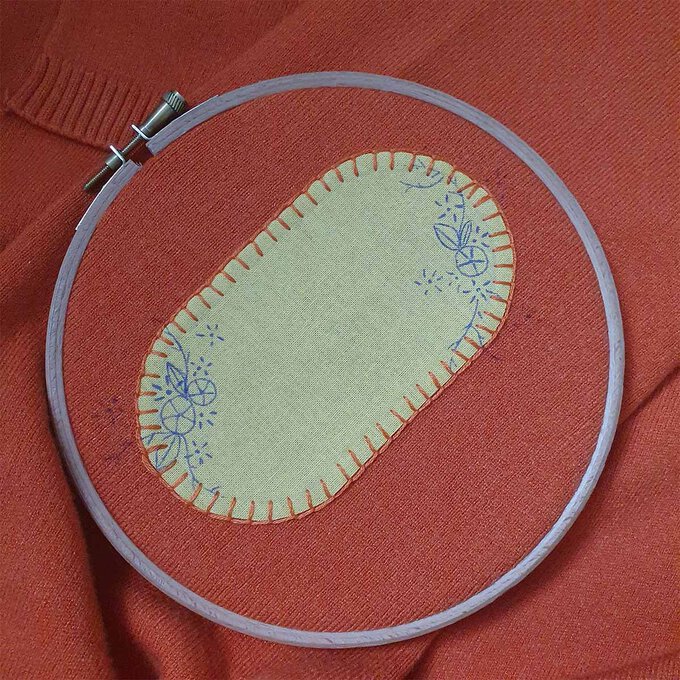
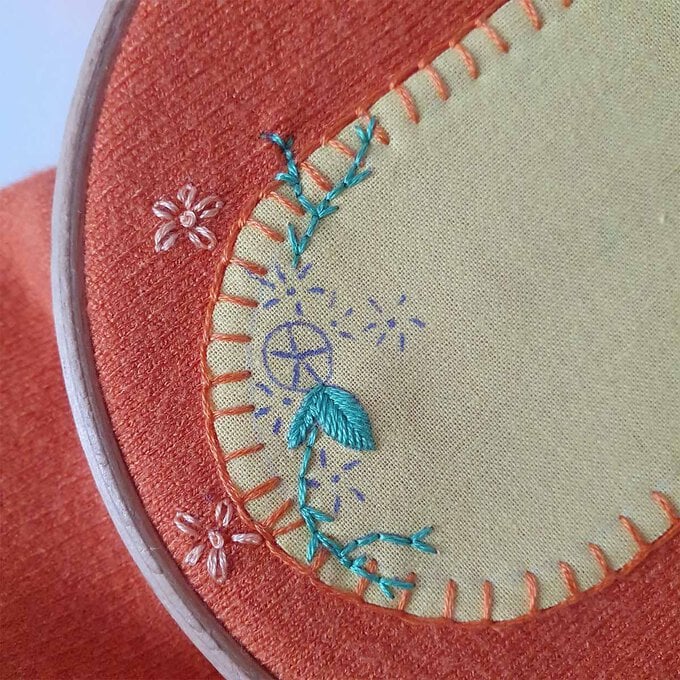
Use three strands of embroidery thread for all, starting with a Fish Bone Stitch for the leaves. The move on to Back Stitch for the foliage. Lazy Daisy and French Knots for the smaller flowers and Woven Roses for the larger flowers.
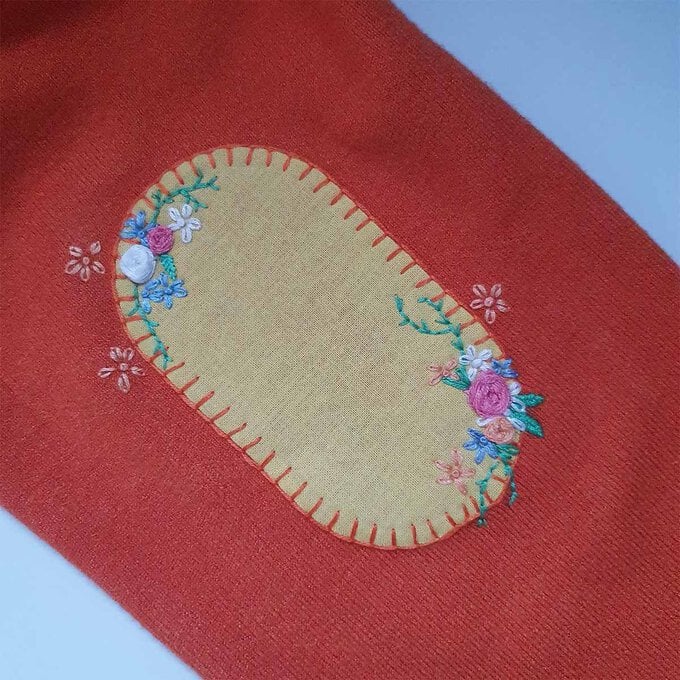
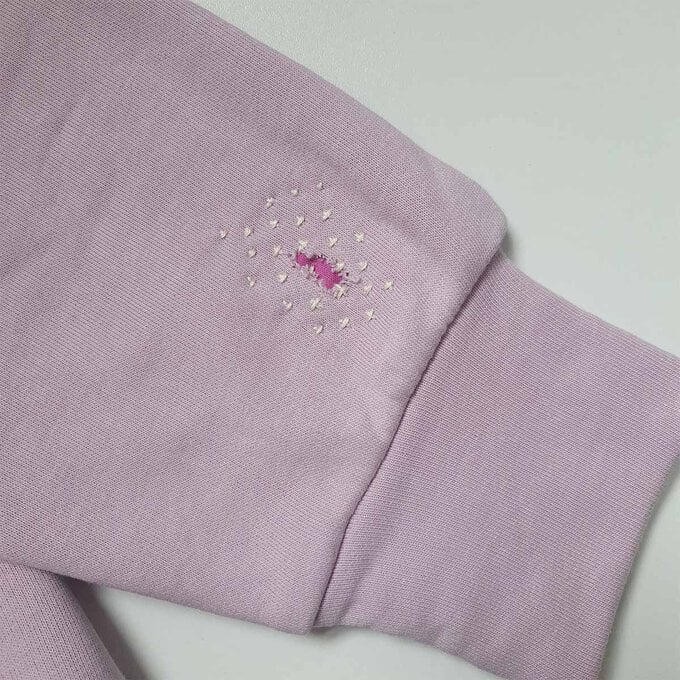
Once you have completed the stitches, remove the hoop and press well. Repeat for the other sleeve.


Remove the hoop and press well to remove the pen lines.
Optional – to add to the design of this jumper we also added the to the shoulder. Again, draw lines in a grid and cross stitch.
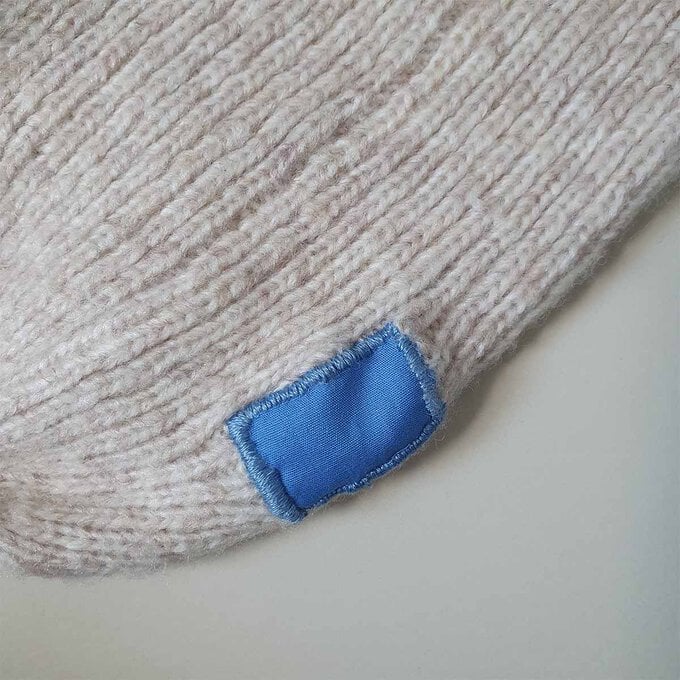
Remove the hoop and press well.
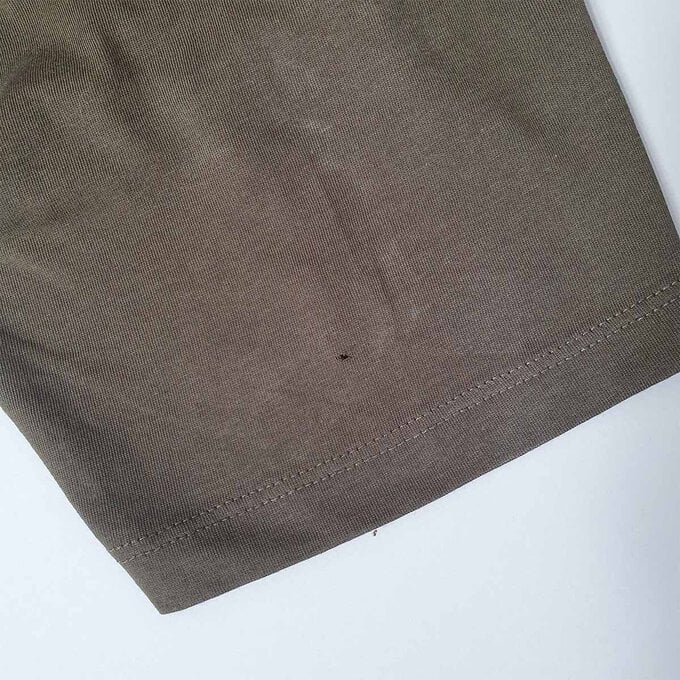
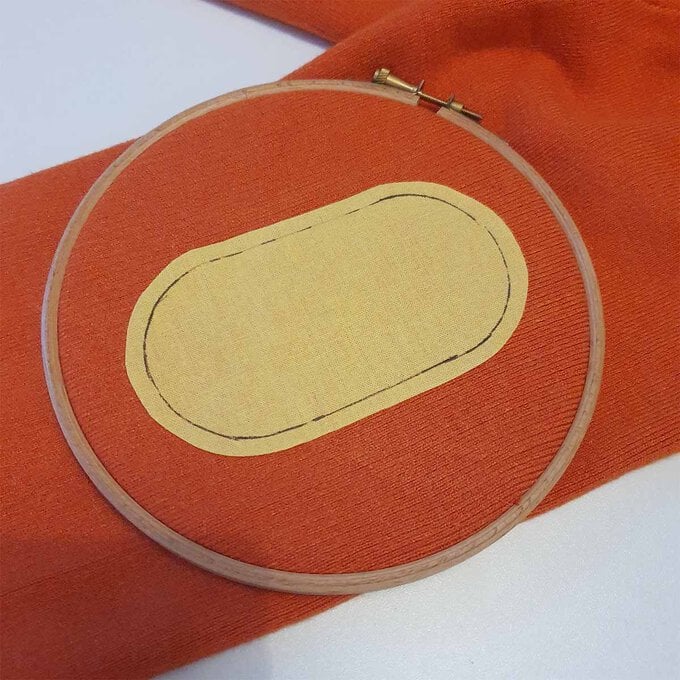
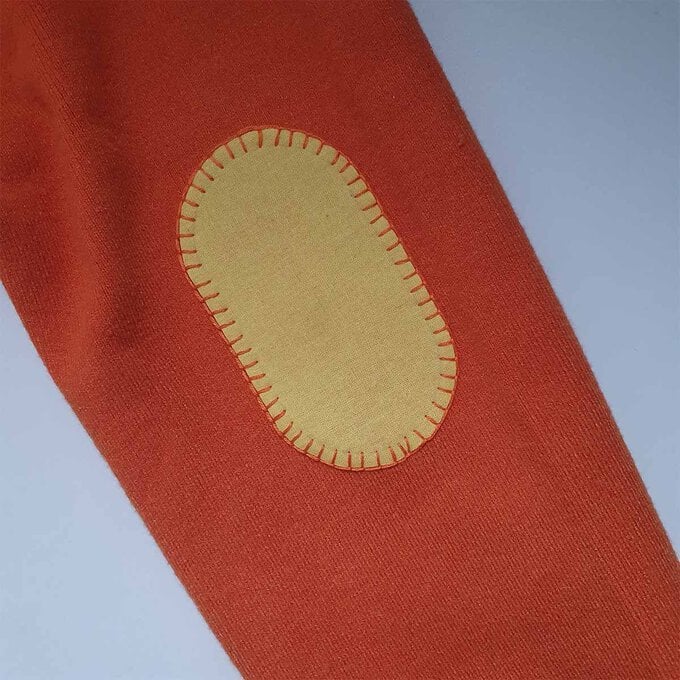
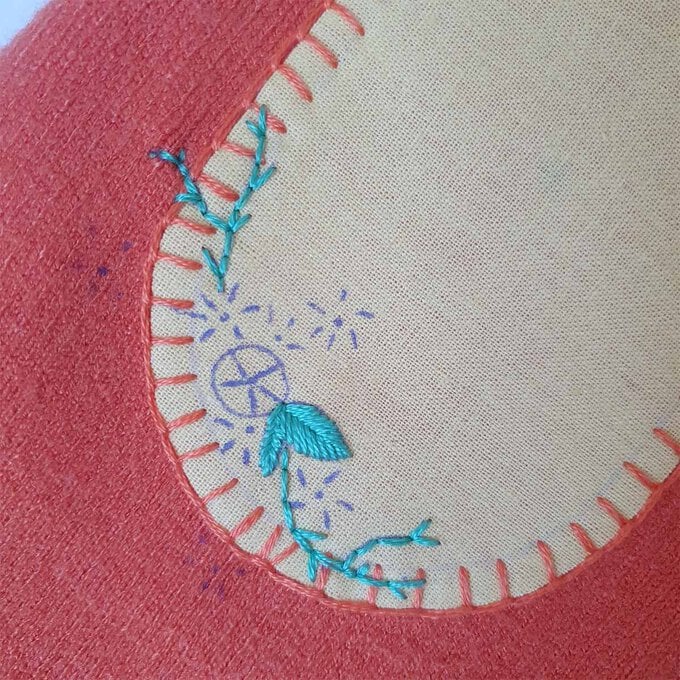
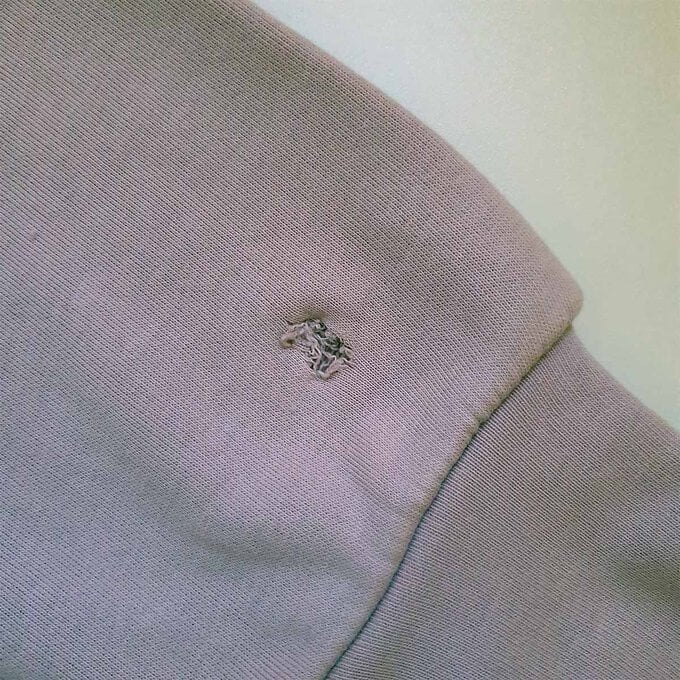
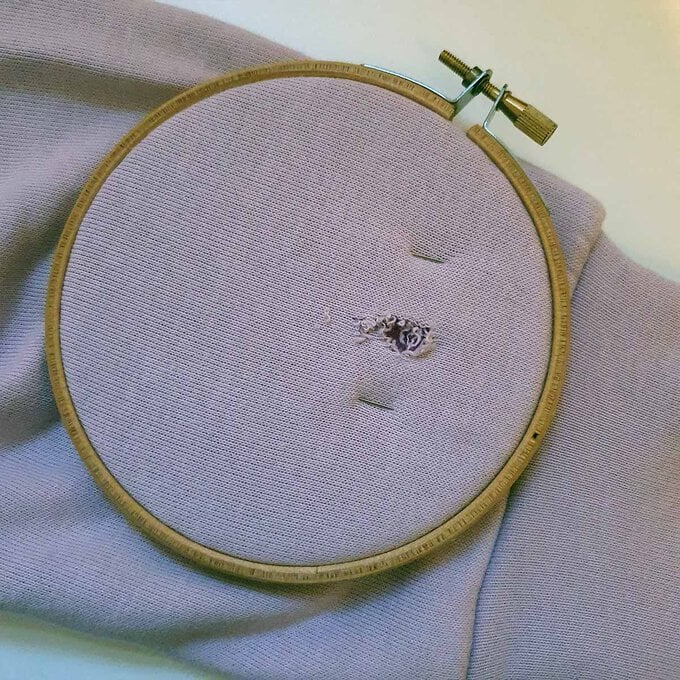
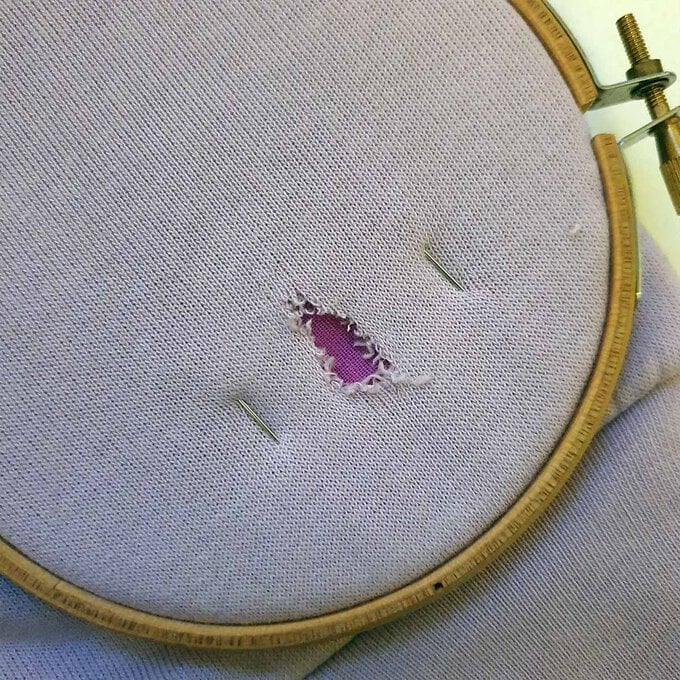
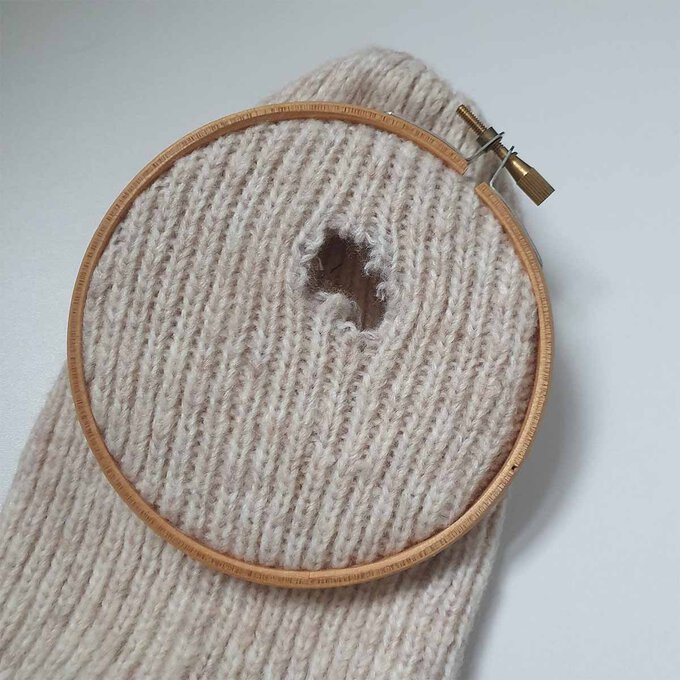
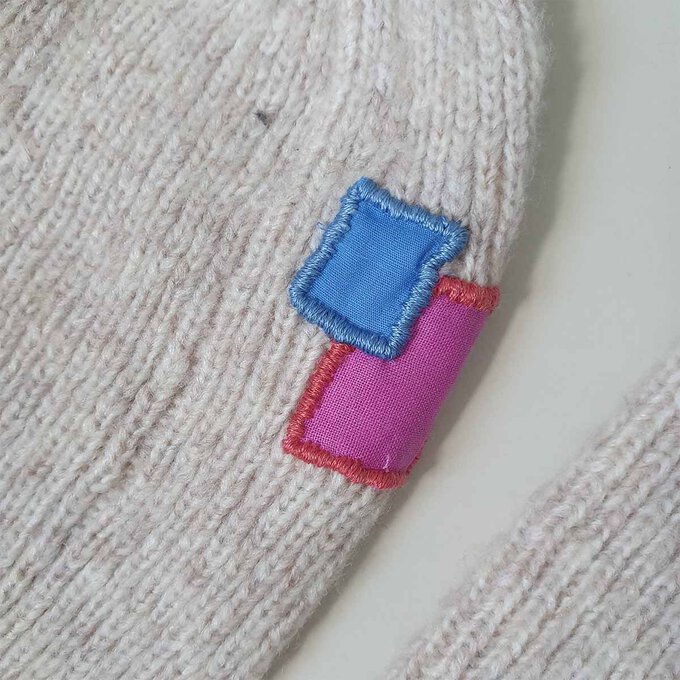
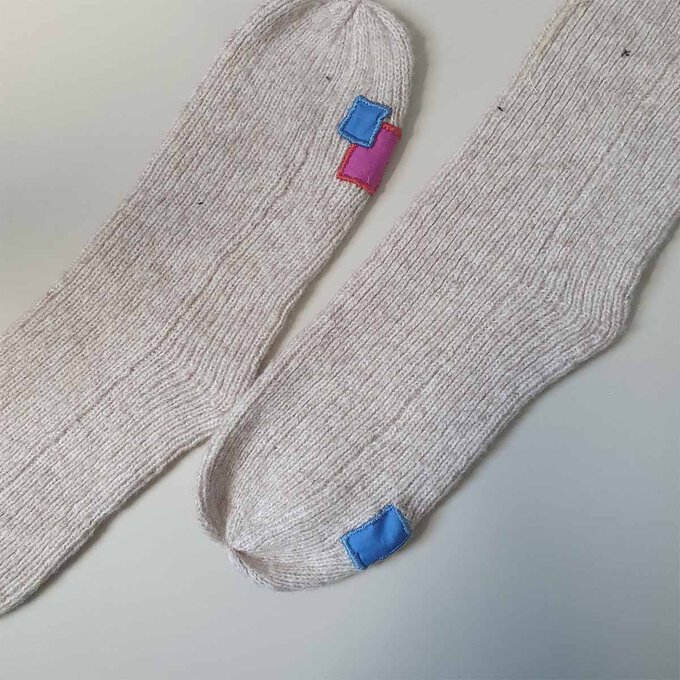
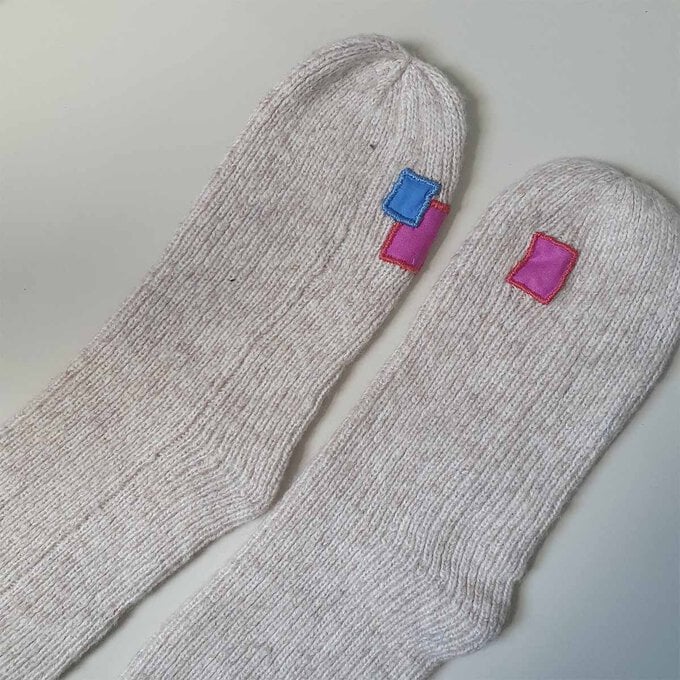
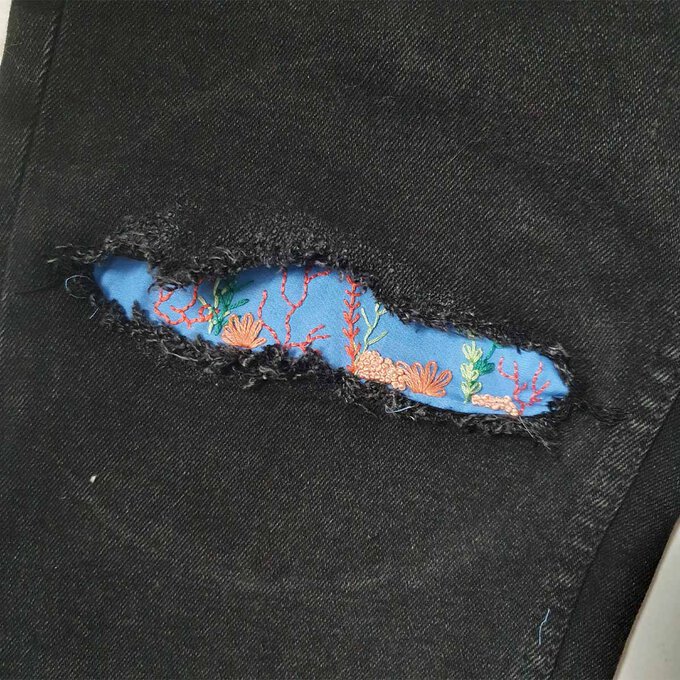
Identify the hole(s) you want to stitch over and place a hoop around it.
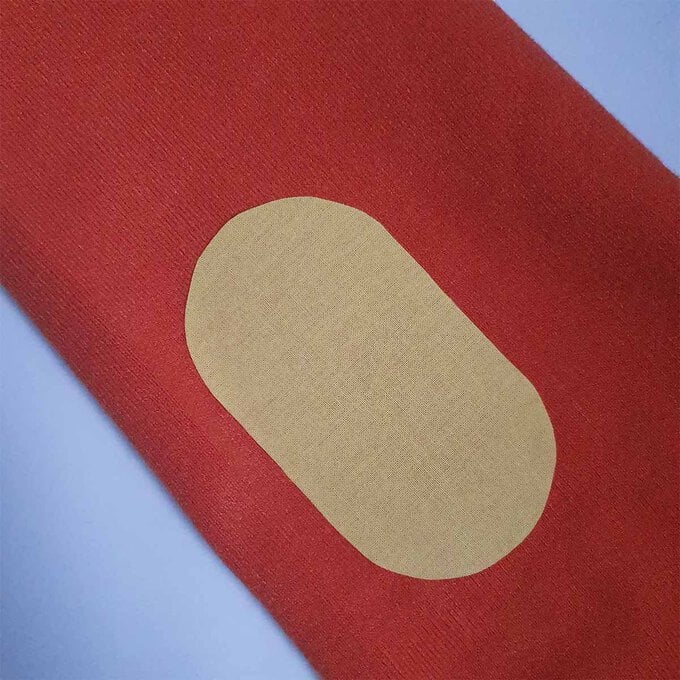
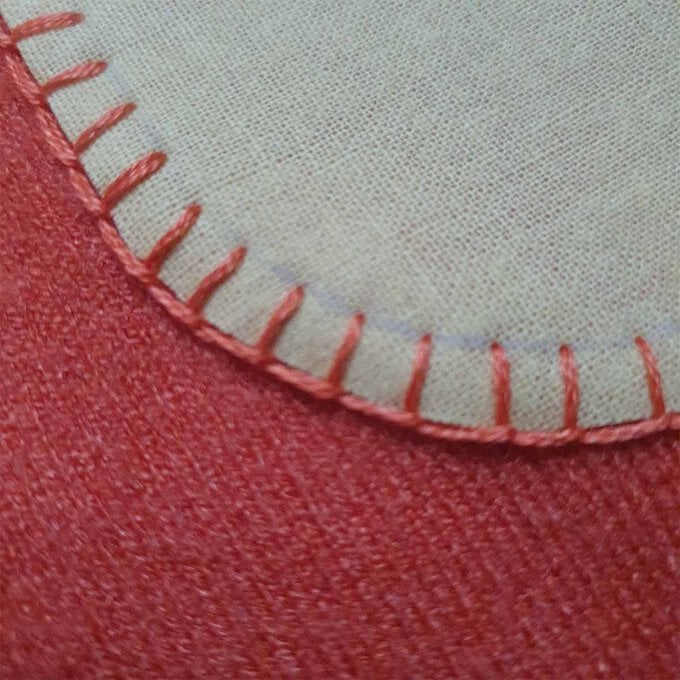
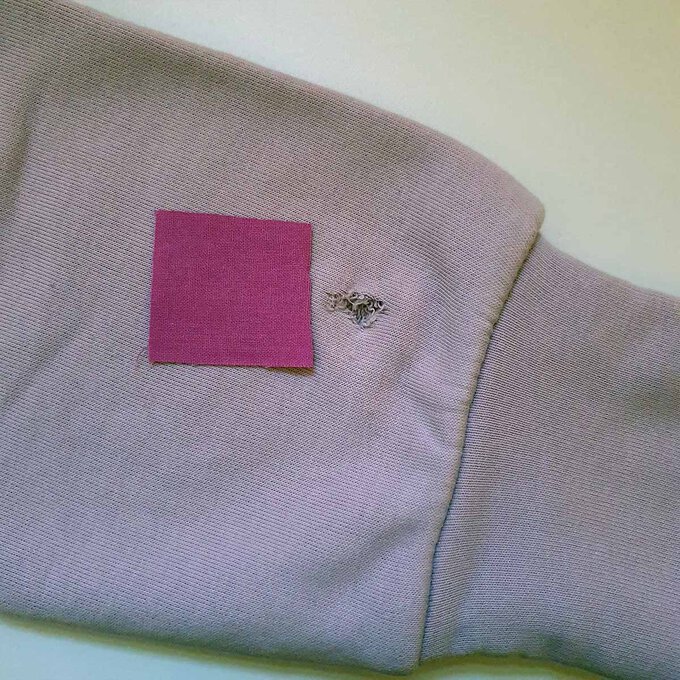
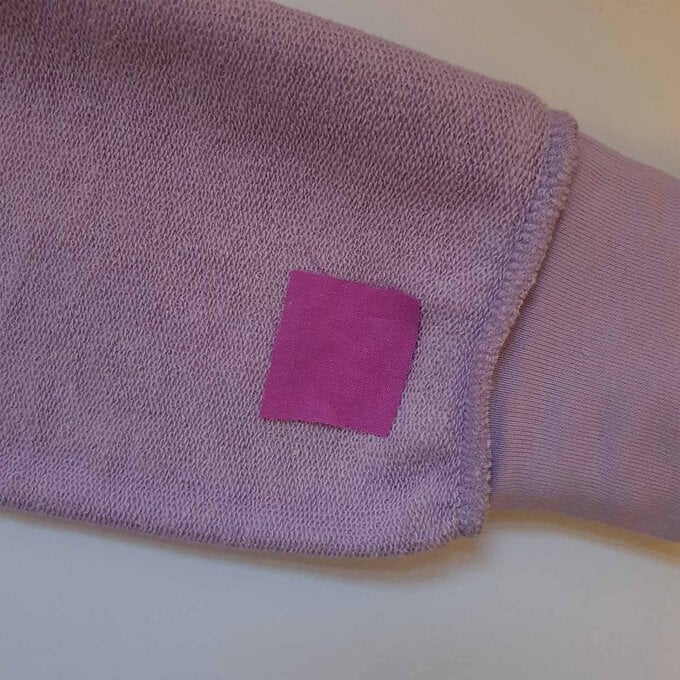
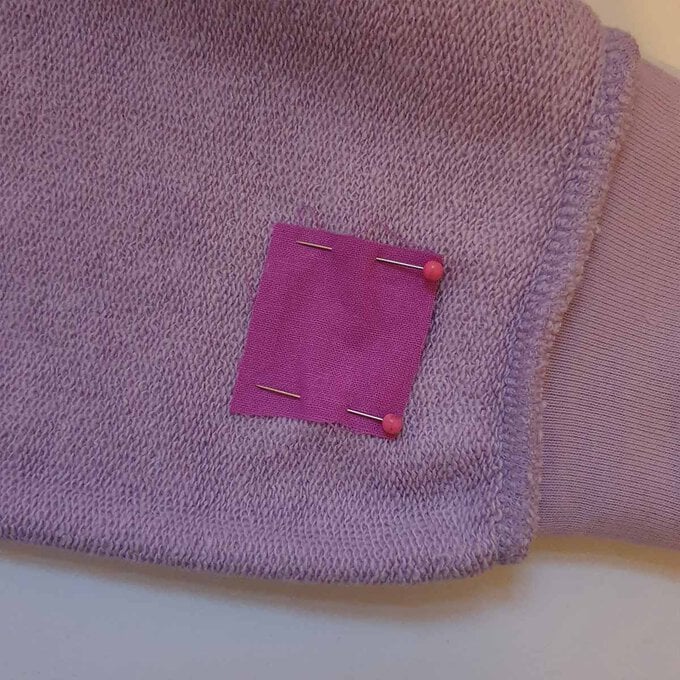
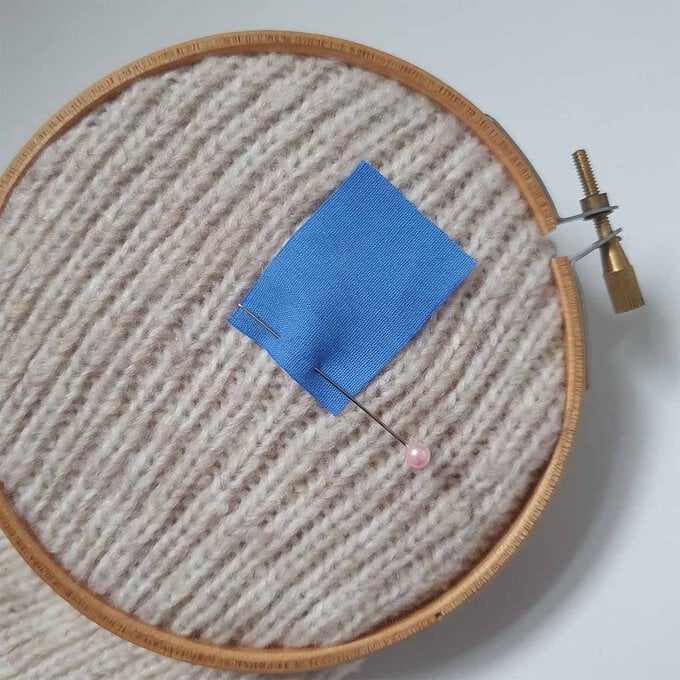
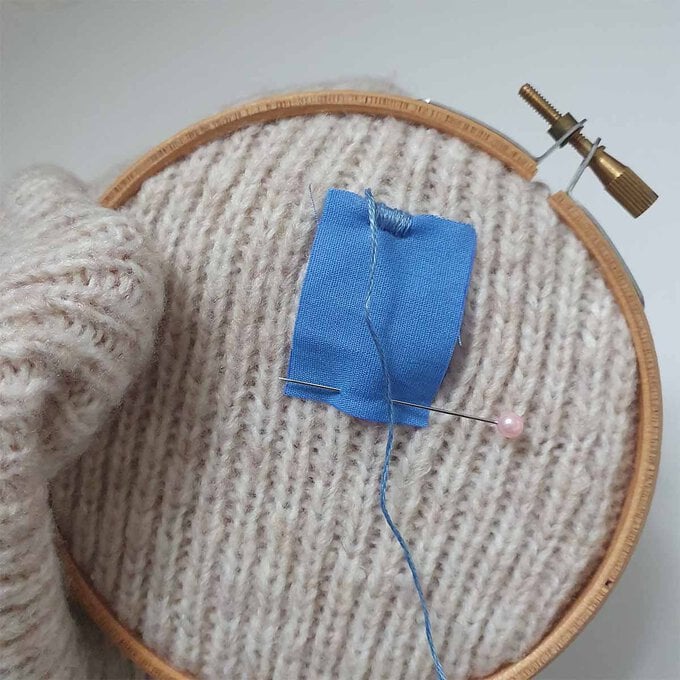
Cut a piece of fabric just big enough to cover the hole and pin. Using two strands of matching embroidery thread, Satin Stitch the whole way around the patch.
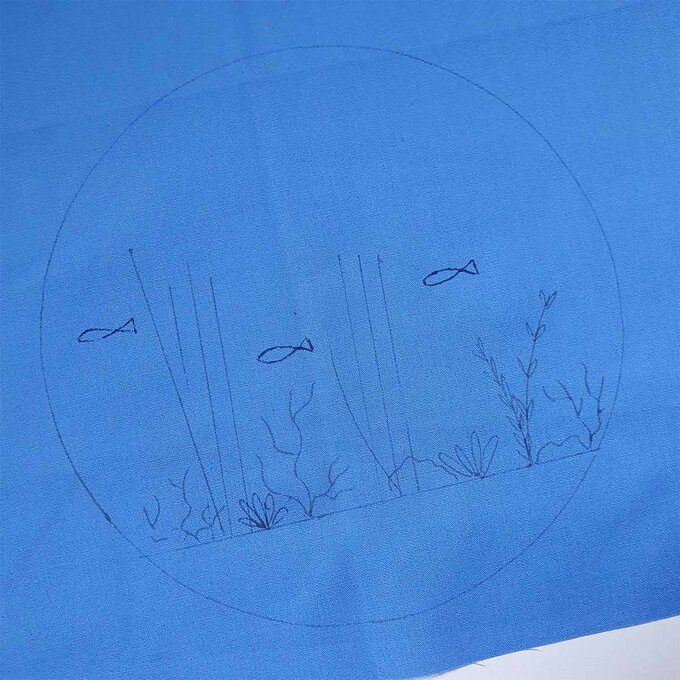
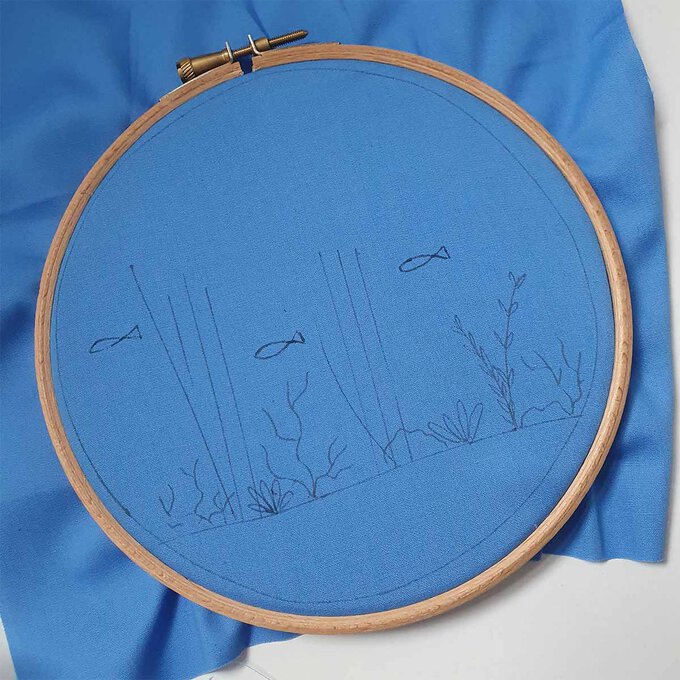
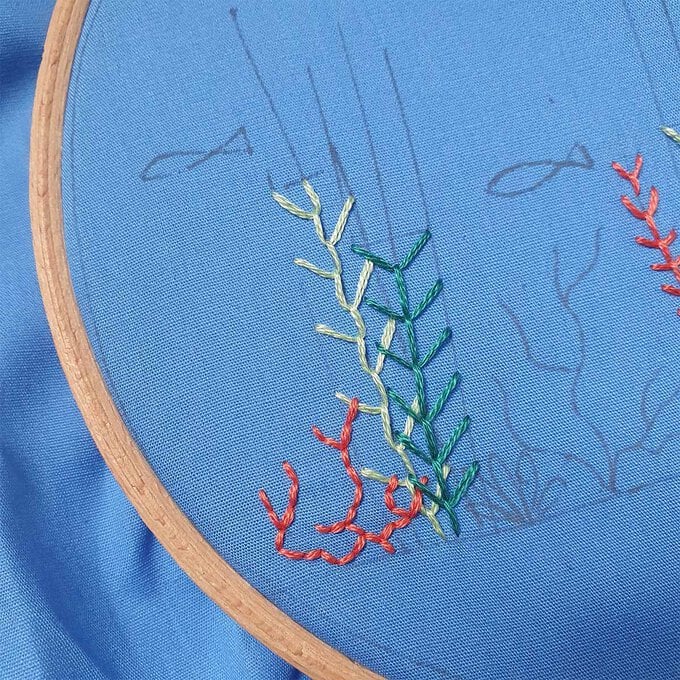
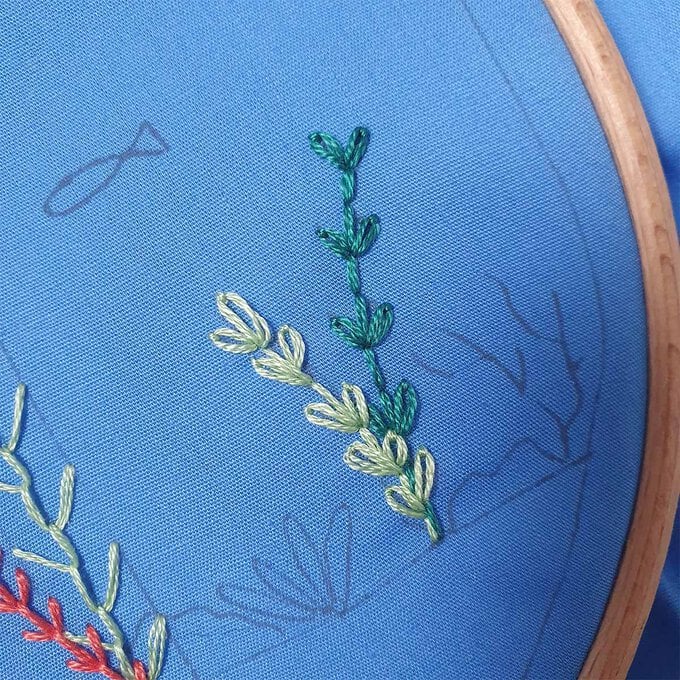
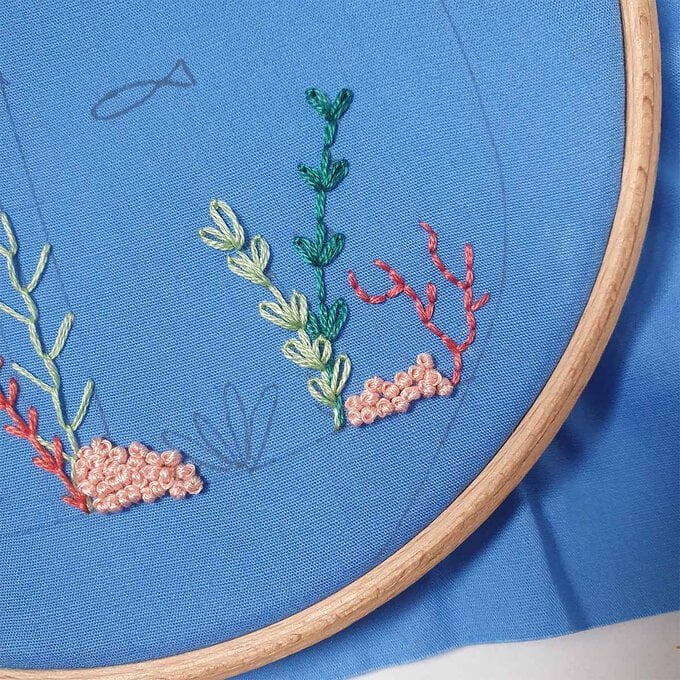
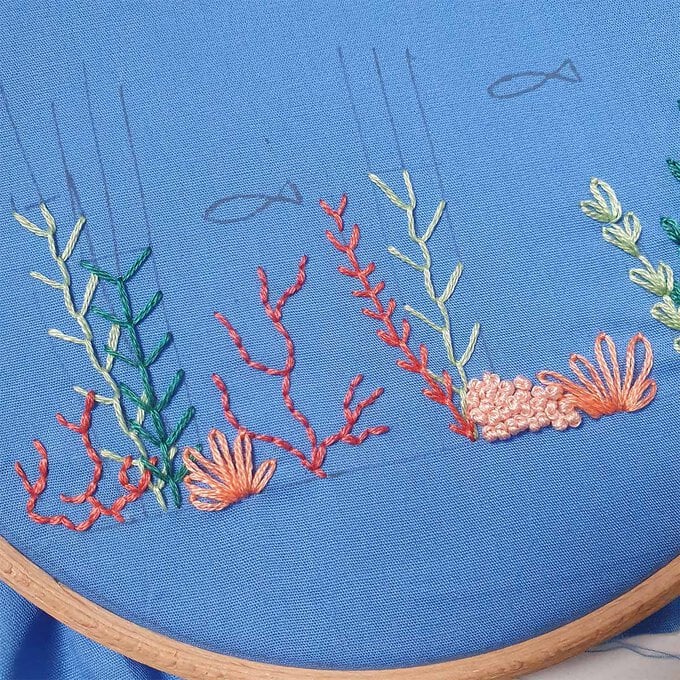
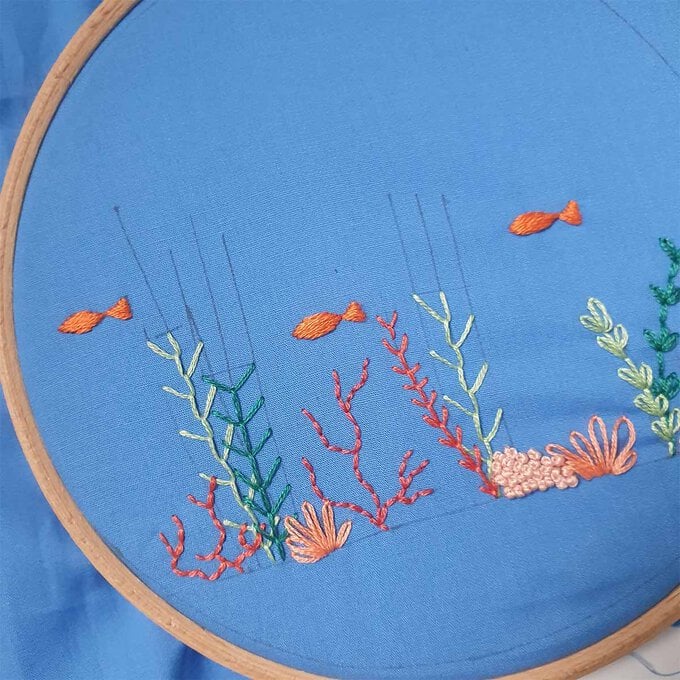
Use two strands of thread for each stitch apart from the French Knots which uses all 6 strands of thread. Follow the images to stitch each section listed below:
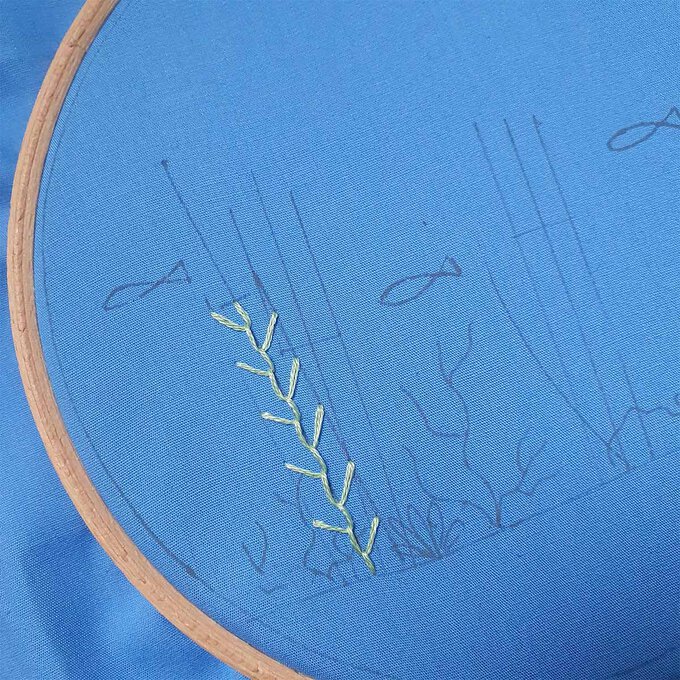
- Feather Stitch for this reed
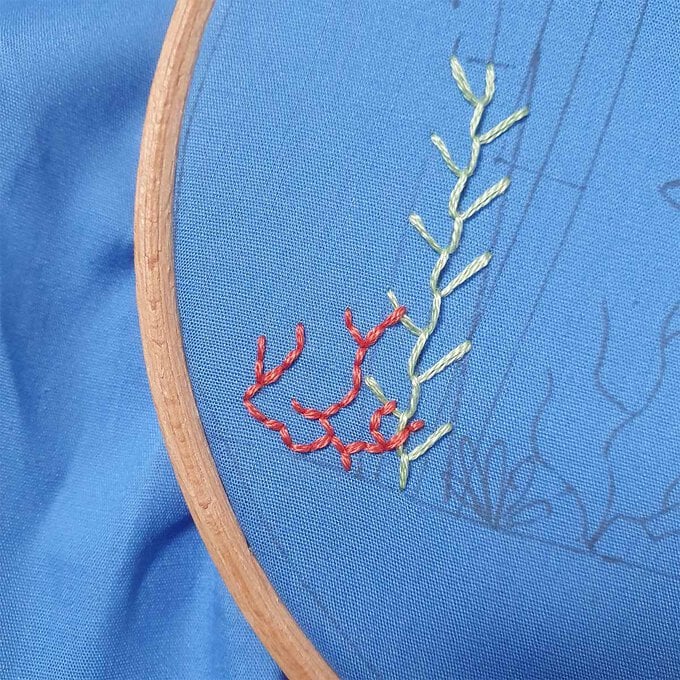
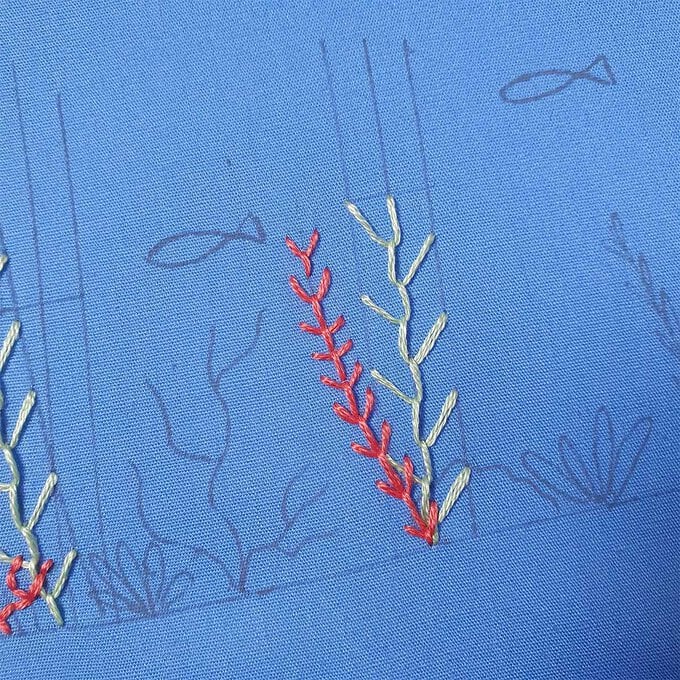
- Back Stitch for the coral
- Fly stitch for this reed
- Lazy Daisy and Back Stitch for these reeds
- French Knots for the seabed
- Large Lazy Daisy stitches for the smaller coral
- Finally, use Satin Stitch for the small fishes.
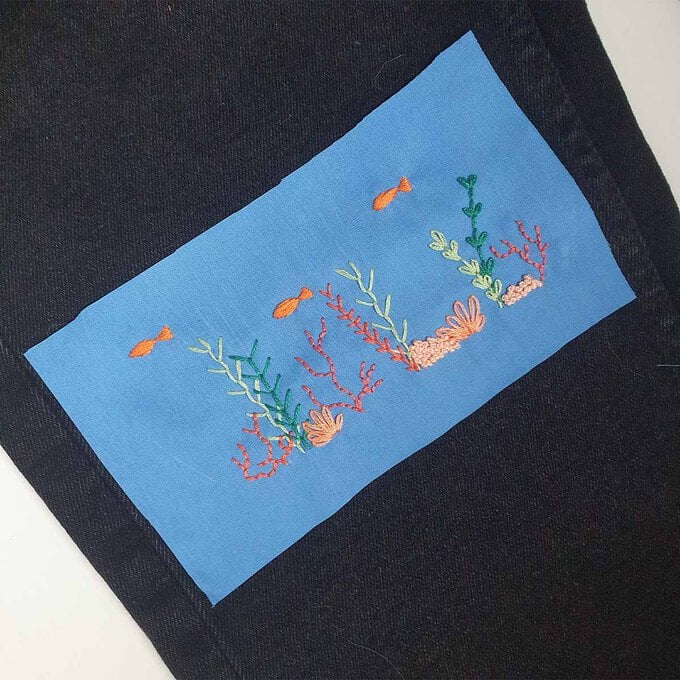
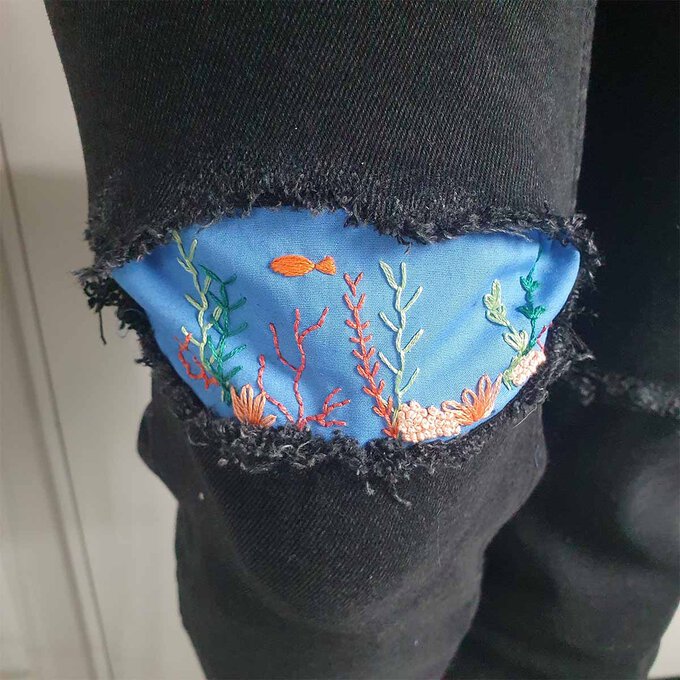
Remove the design from the hoop and iron-away the pen marks.
Trim the fabric and place onto the jeans.
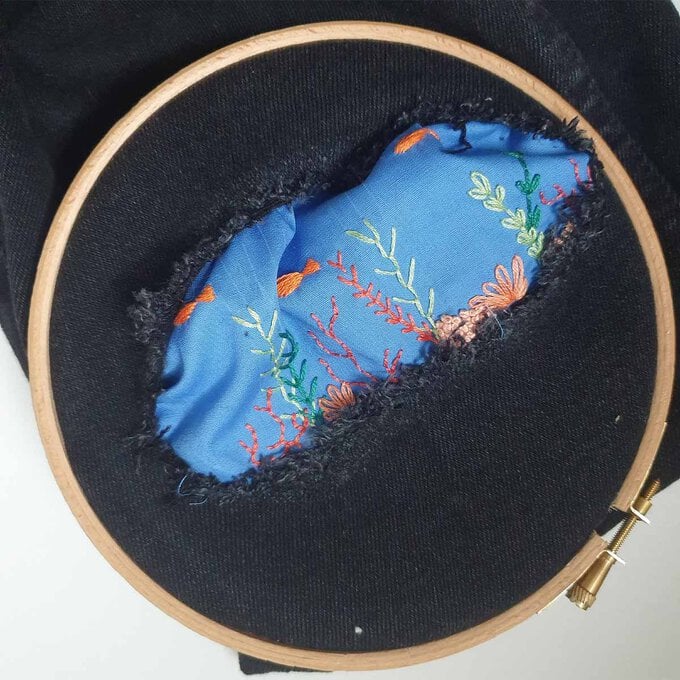
Place inside the hole and pin into place.

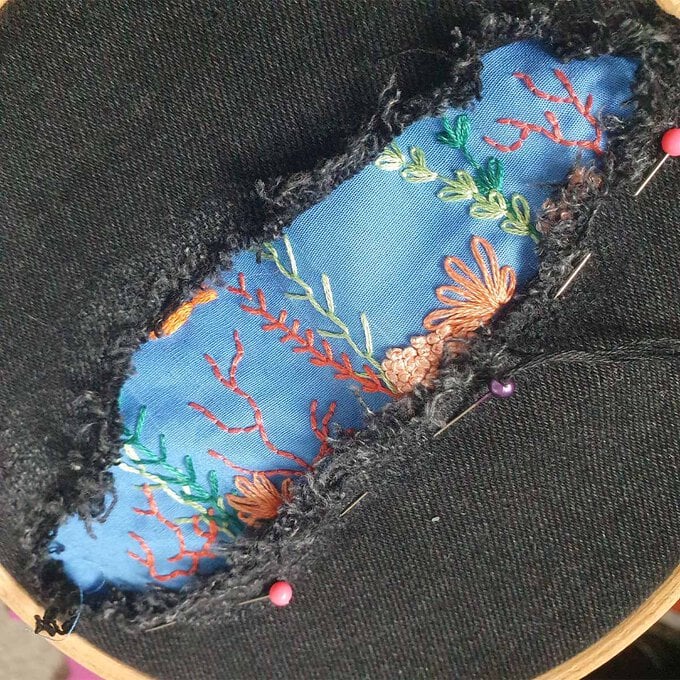
Use matching thread to stitch around the design, make sure the fabric is a little loose within the jeans to allow for wearability.
Remove the hoop and try on.
Create a second patch if needed.
Related Products