3 Ways to Use Dried Flowers at Your Wedding
Elevate your wedding style with a selection of beautiful accessories created using dried flowers.
Let nature's beauty guide your creativity, and allow you to craft something truly unique for the special day.
You will need
Subtotal
Is $ 1.49
Subtotal
Is $ 1.49
Subtotal
Is $ 3.49
Subtotal
Is $ 4.49
Subtotal
Is $ 1.49
How to Make
You Will Need
Buttonhole:
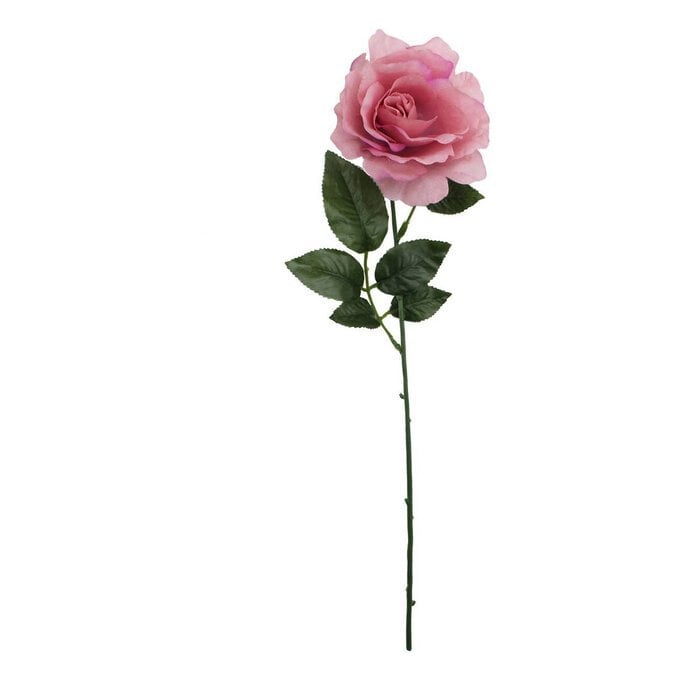
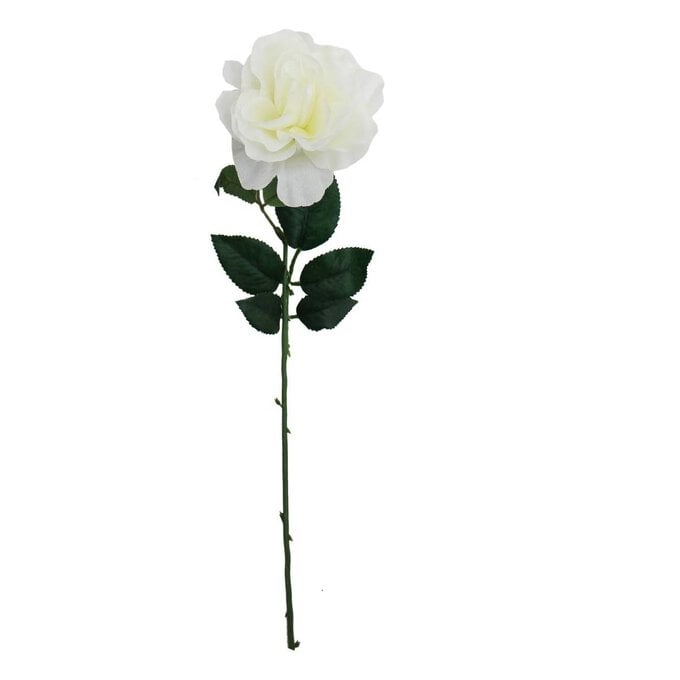
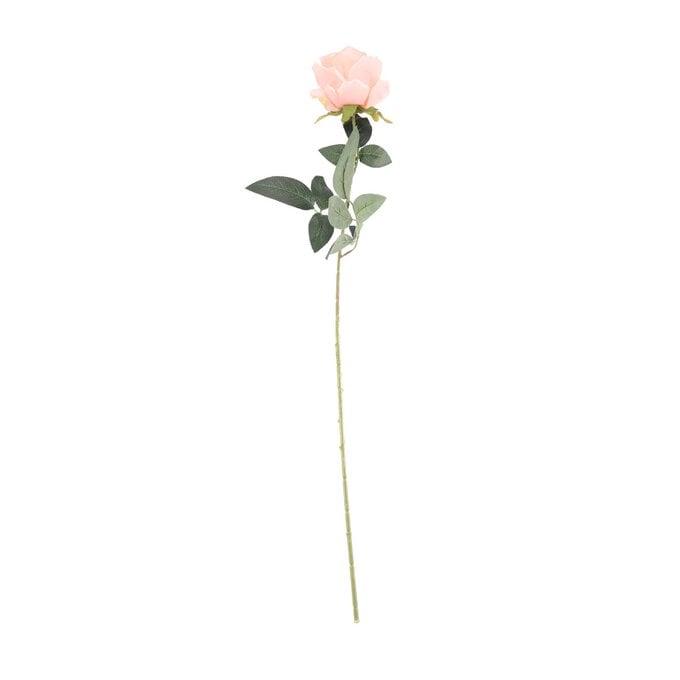
* Assorted dried flowers
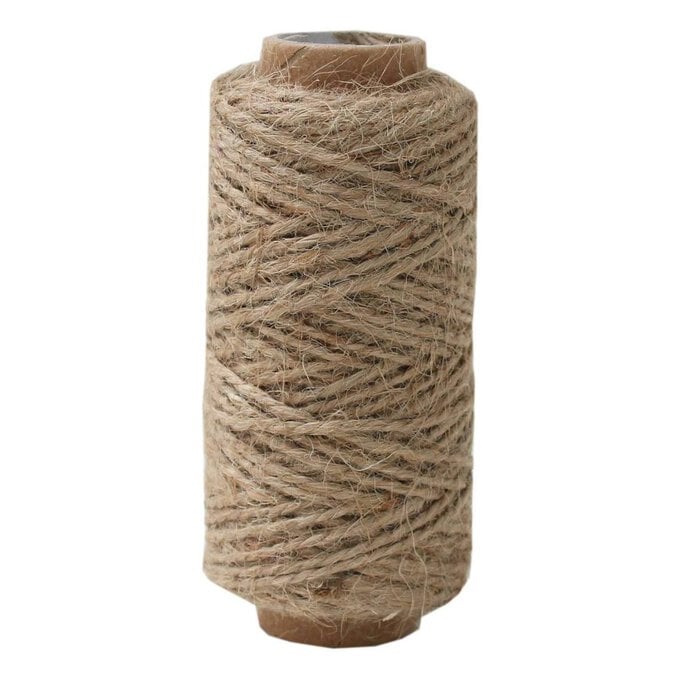
* Jute twine
* Scissors
Hair Piece:
* Assorted dried flowers
* Pliers
* Wire cutters
* Stem wire
* Moss tape
* A ruler
* A hot glue gun
Pocket Boutonnière:
* Thick cardstock
* A selection of fake flowers & leaves
* Hessian twine
* Tape or Glue
* Scissors
To make your own hair barrette, take the craft wire and a ruler and measure 2 inches.
Use pliers to fold the wire at the 2 inch mark.
Press the folded end with your pliers to tighten the prong. Twist the end a few times to secure.


Bend the wire at a 90-degree angle, then bend it again roughly ½ inch along.
Repeat steps 1-3 to form a second prong.
Twist at the top again to secure.


Repeat steps 5-6, and work your way down the barrette, making as many prongs as you’d like.
When you’re happy, use wire cutters to trim the excess, and curl the sharp end over with your pliers.

Take a dried flower stem and a stem wire. Place the wire against it and wrap one end around the stem.
Wrap the wire approx. 3-4 times to secure.
Trim the stem a few mm below the wire.


Wrap the wire stem with moss tape, and trim to approx. 3cm in length.
Repeat to prep all of your dried flowers for the hair piece.
Start at one end and wrap a wire stem around the top of the barrette.


Add more flowers, ensuring an even mix of shape and texture.
Continue to add flowers until the top edge is fully covered. For any gaps, you can always add some more using a hot glue gun.


Take a selection of dried flower stems, ensuring an even mix of colours and shapes.
Arrange in a cluster, with higher stems at the back, and a shorter, focal piece at the front. Take a length of twine and start to wrap it around at the bottom of the cluster, leaving a long tail.


Take a selection of fake flowers and leaves. Start with more than you’ll need, to give you enough to mix and match with when you start designing.
For some of the leaf pieces, snip into separate leaves to give you more freedom of placement.


Take a piece of thick cardstock and measure the size of your chosen pocket. Cut your cardstock to size, and cover with double-sided tape.
Remove the paper from the double-sided tape about halfway down the cardstock. You can remove the full paper, but leaving half covered makes it less fiddly!


Start positioning leaves around the top edge, pressing them onto the tape. Think about the shape that you want poking out the top of the pocket, and ensure a mixture of shapes and heights.
Start with the largest flower and stick into position.
Start adding more flowers around it. Some of the wire stems will overlap the paper double-sided tape.


Continue filling in the smaller flowers until you’re happy.
Then, remove the remaining paper from the tape, taking care not to dislodge the wire stems.


Take a long length of jute twine and start to wrap around the cardstock, butting the top of the jute against the bottom of the flowers, and leaving a long tail down the back. Stick the jute against the tape while doing so.
Continue wrapping until all the card is covered, then tie the ends into a tight knot to finish.


