Skip to Content (Press Enter) Skip to Footer (Press Enter)

Cricut: How to Make Adhesive Vinyl Wall Art

Level
Beginner
Time
1/2 day
Budget
10 - 30

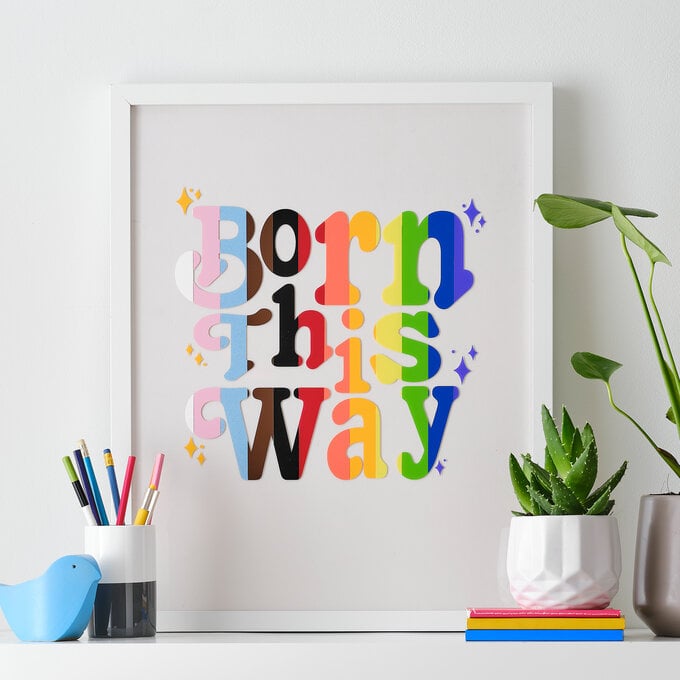
Have a drawer full of Cricut vinyl scraps? Prepare to decorate your home for Pride Month with this bright, vinyl wall art. It couldn't be easier to follow our step-by-step instructions.

This project is perfect for decorating for a Pride party or displaying in your home all year round! 

Discover more Pride projects here >

Please note: This project contains paid for content from the Cricut Design Space app. Screenshot reference images are taken from the iPad version of Design Space.

Project by Hobbycraft Artisan:

Irene De Sá

Find out more

You will need

Is $ 27.00

Quantity: 1

Subtotal

Is $ 27.00

Is $ 13.00

Spend over £70 on Cricut for FREE Hat Press when added to basket
Quantity: 1

Subtotal

Is $ 13.00

Is $ 18.00

Spend over £70 on Cricut for FREE Hat Press when added to basket
Quantity: 1

Subtotal

Is $ 18.00

Is $ 33.00

Spend over £70 on Cricut for FREE Hat Press when added to basket
Quantity: 1

Subtotal

Is $ 33.00

You’ve viewed 2 of 4 products

Total:

You Will Need
* Cricut Design Space App (Installed on an Ipad, Desktop or Mobile Device)
* Cricut Machine (We've used a Cricut Maker but this project can be re-created on an Explore Machine)
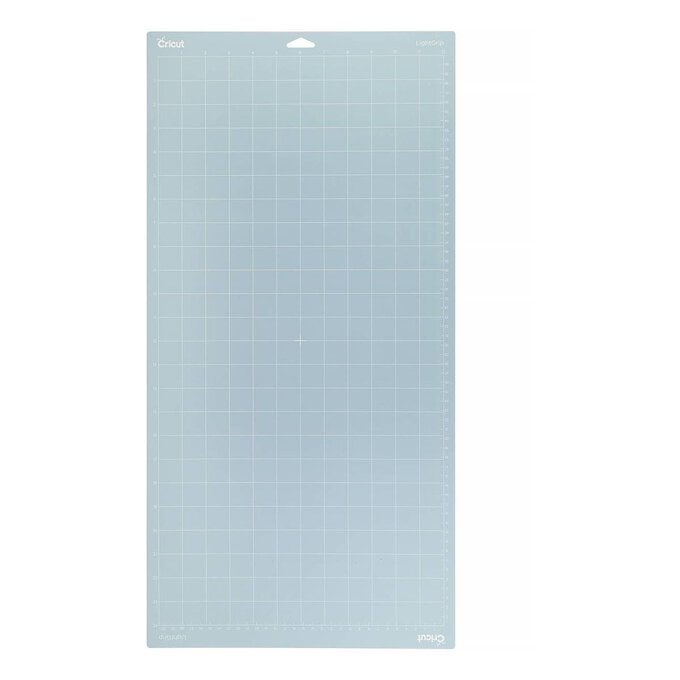
* 12 x 24" Cricut LightGrip Cutting Mat
* Cricut Basic Tool Set
* Paper Trimmer
* Adhesive Vinyl Scraps
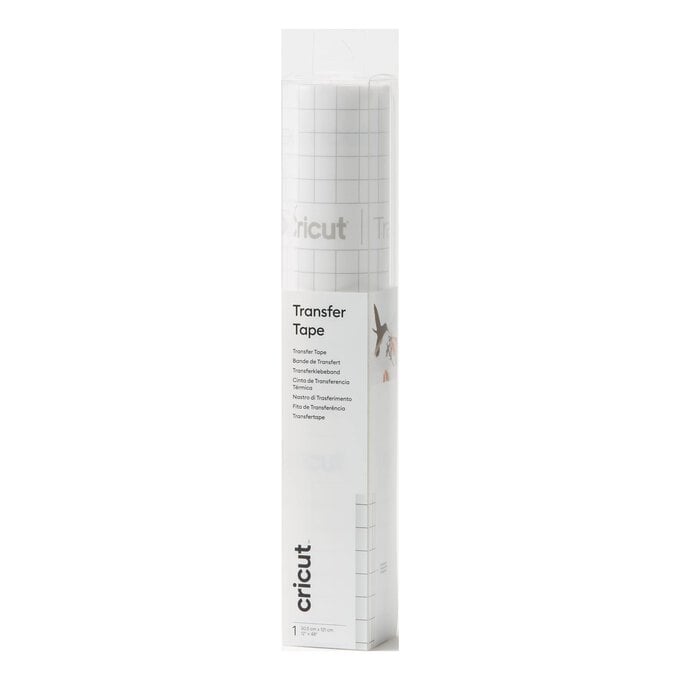
* Transfer Tape
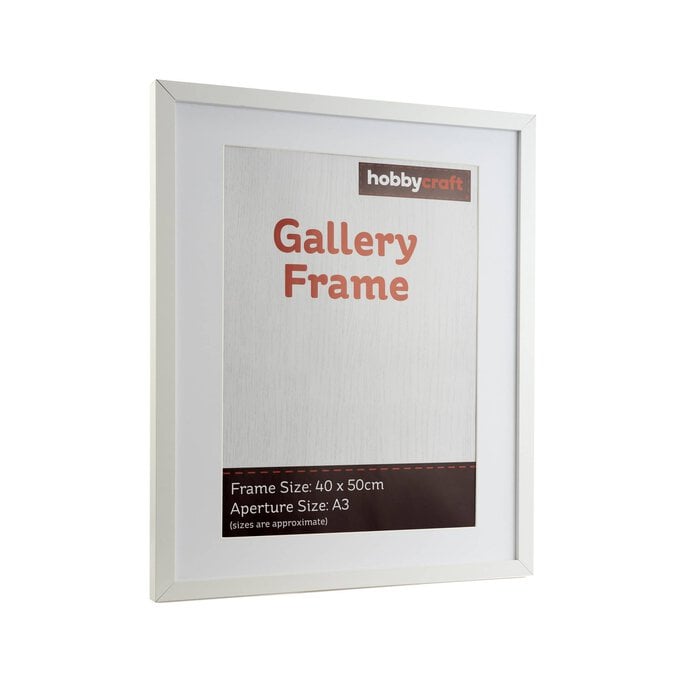
* 40 x 50cm Picture Frame


How to Make

Step 1

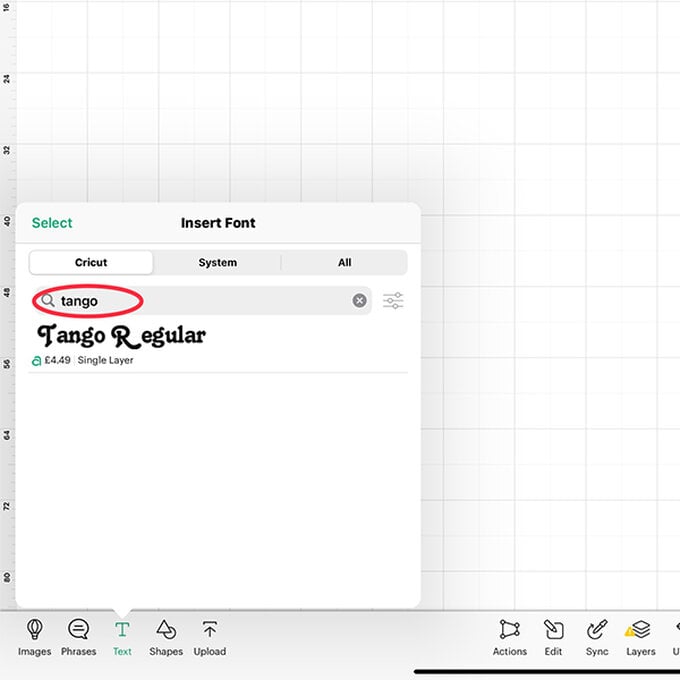
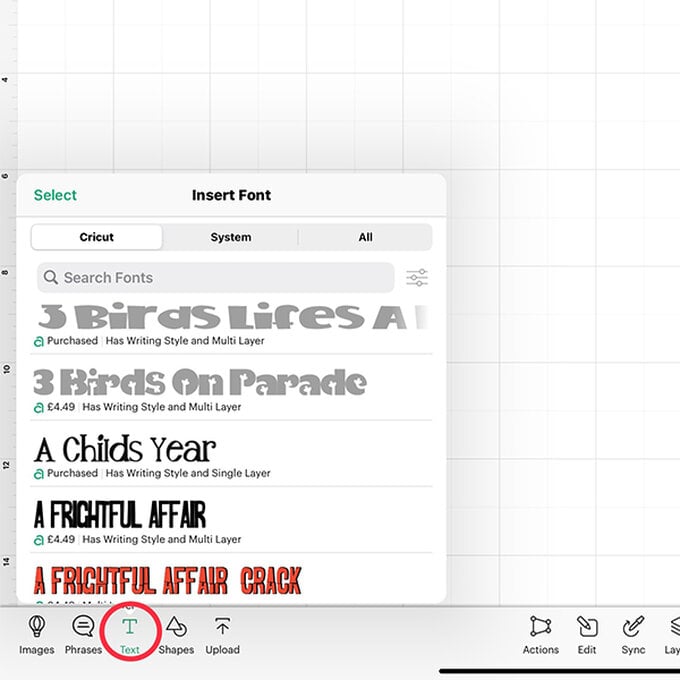
Open design space and select ‘start new project’. Select 'text' at the bottom left of the screen and type "Tango" into the search bar. Select font called ‘Tango Regular’.
Step 2

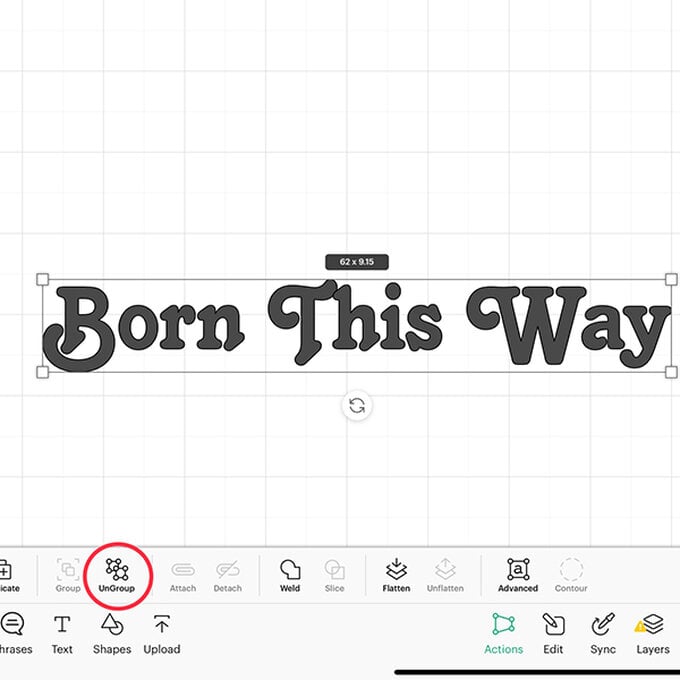
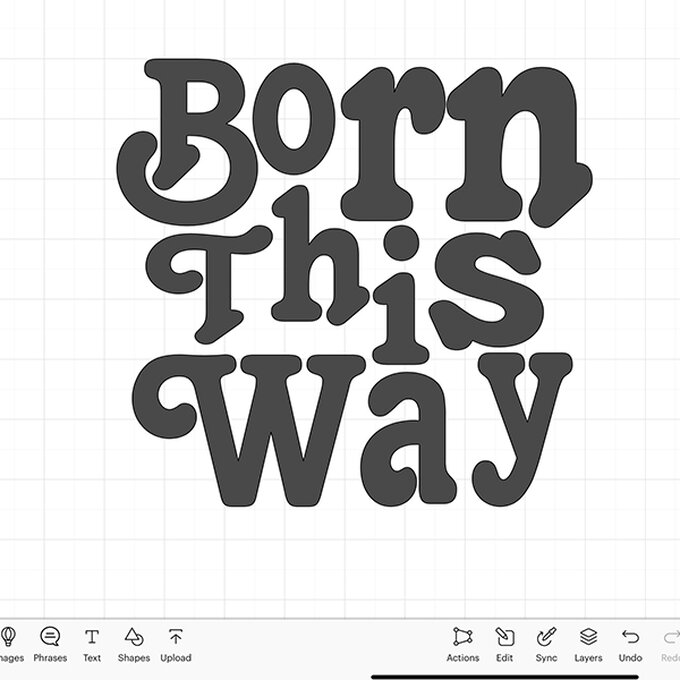
With the font selected, write ‘Born This Way’. Then press the 'actions' button. After doing this, on the left side there will be an 'ungroup' button – this will allow you to move each letter individually.
2.jpg?sw=680&q=85
Step 3
Place the letter in this formation – or any formation that you would like.
3.jpg?sw=680&q=85
Step 4
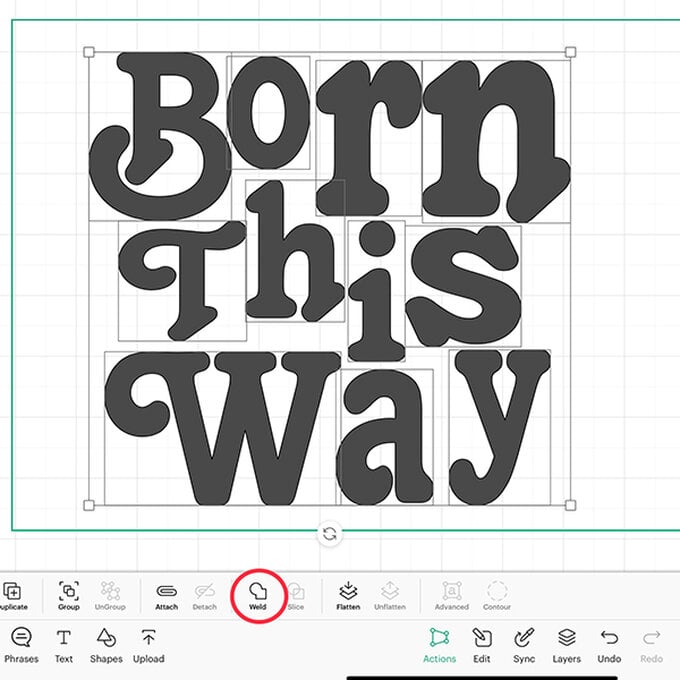
Create a box around all the letters – ensure you have them all selected. Once this is done, in your actions you will find the 'weld' tool – this will weld all the letters together so they cut exactly how you have positioned them.
4.jpg?sw=680&q=85
Step 5

Now to add some sparkles to the design!


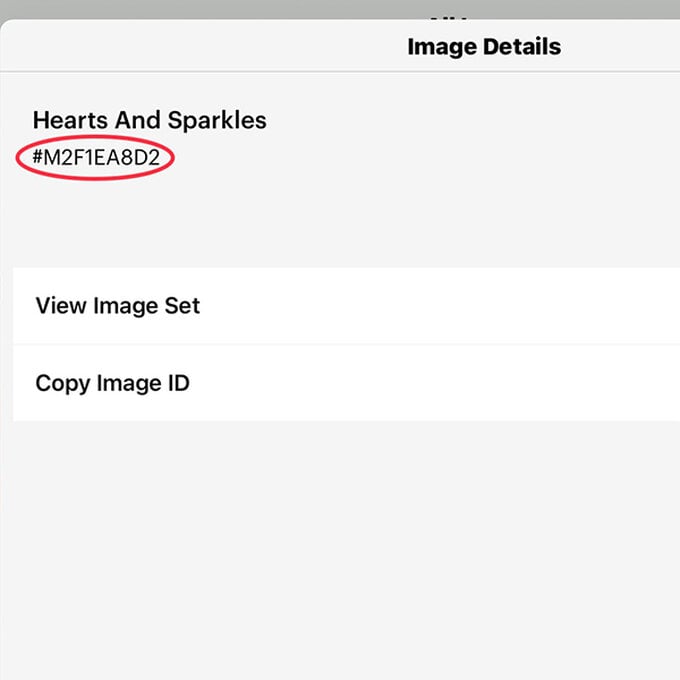
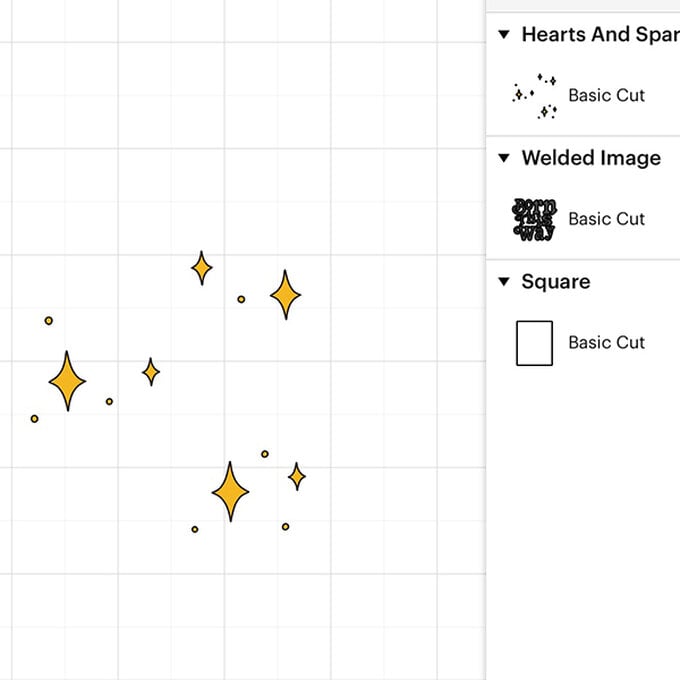
On the bottom left there is an 'images' button – select that and search for "#2F1EA8D2". Select the image and add it to your canvas.
5.jpg?sw=680&q=85
Step 6

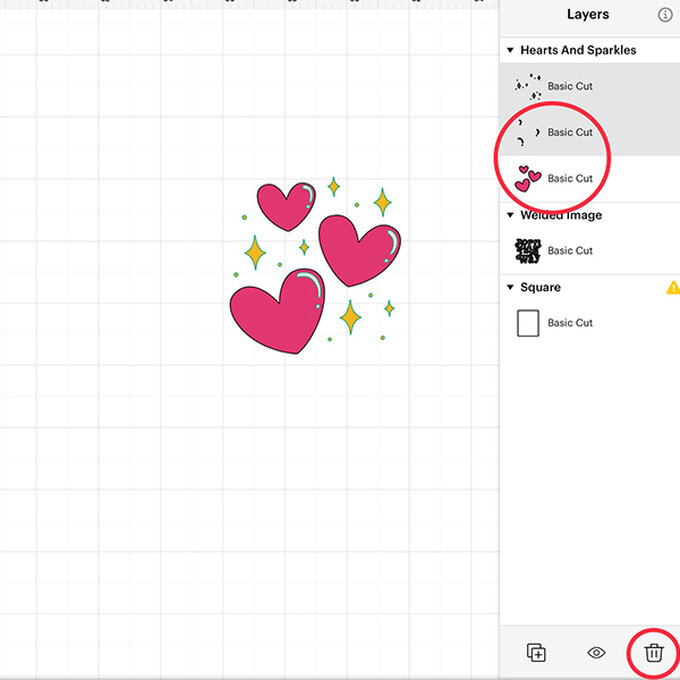
With the image on your canvas, remove the two layers (in the layers section) and leave just the sparkles.


To remove them you need to select the layer you want to remove by clicking on it and select the 'delete' option on the bottom right.
Step 7

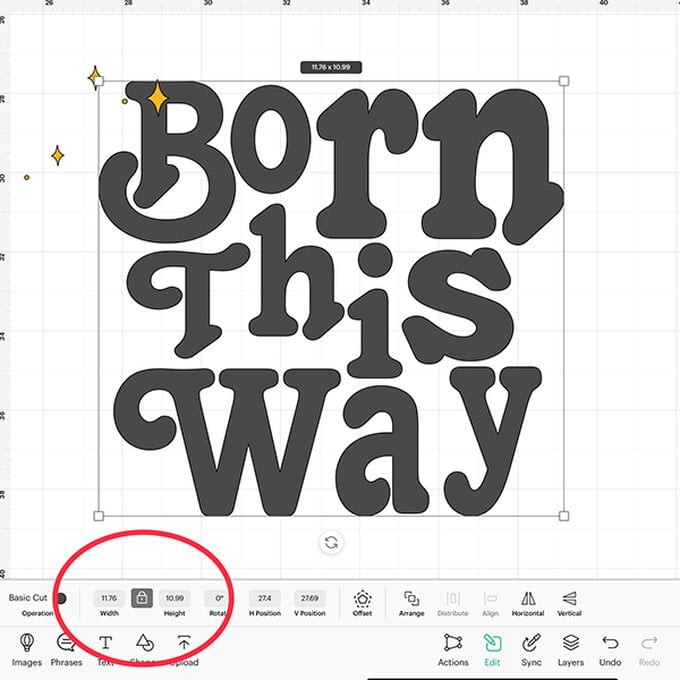
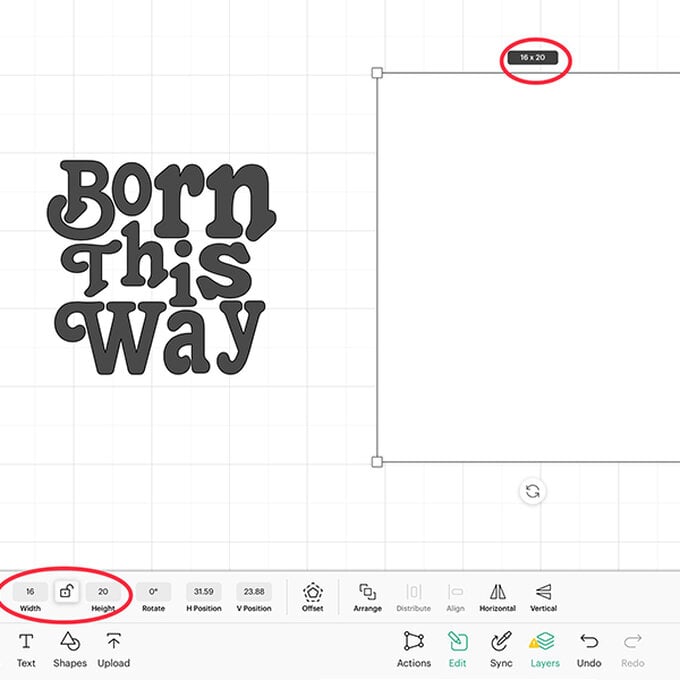
Add a square shape the size of your frame (16" x 20") to your canvas. This will act as a template to ensure the text will fit to the frame.


Tip: Make sure to unlock the image (found between the width and height of the image), this is in the 'edit' section when your shape is selected.
7.jpg?sw=680&q=85
Step 8
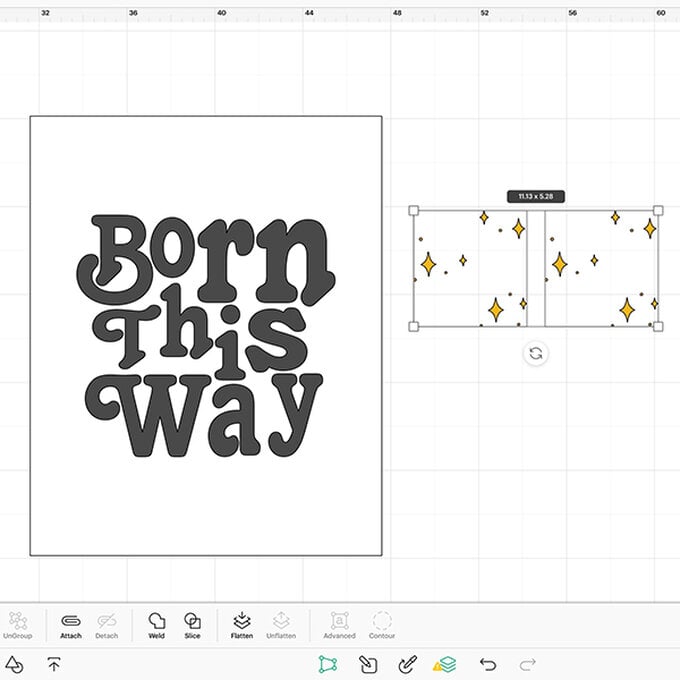
Add your text over the template square & adjust it to fit. Size the text to 11.32" x 10.59" and the sparkles to 5" x 5".
Step 9

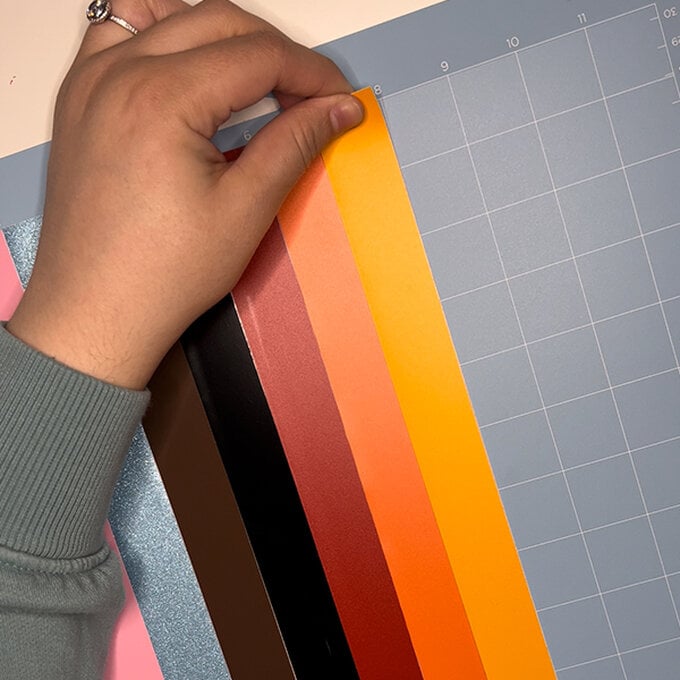
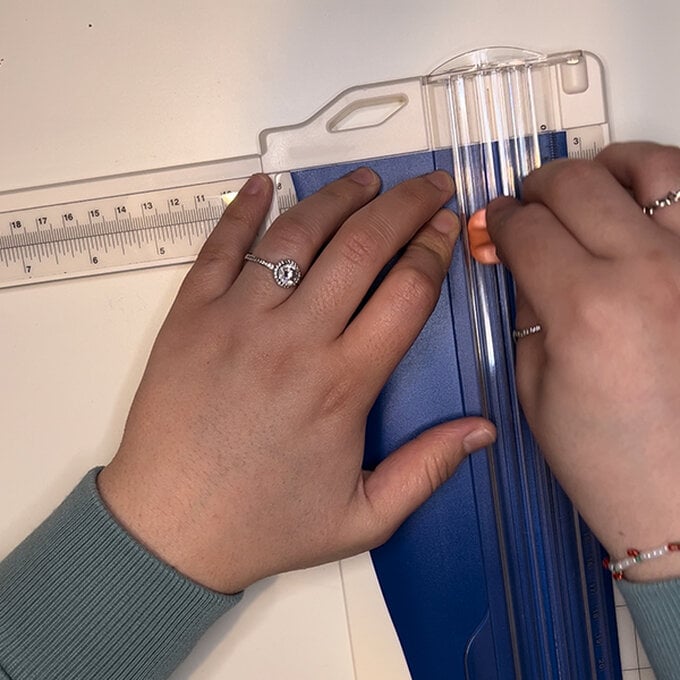
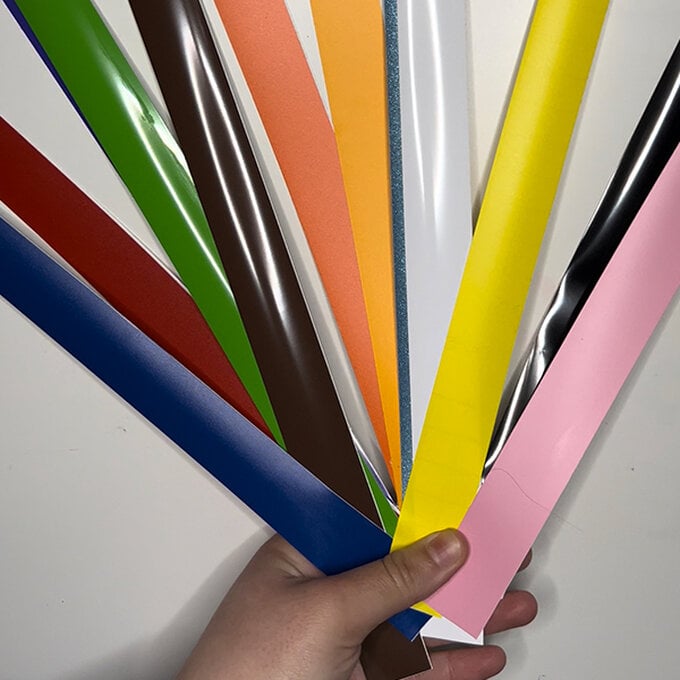
Grab all your vinyl colours. Using the blue Cricut mat, create 12 strips that are 12" x 1". Use the paper trimmer to cut the vinyl.
Step 10
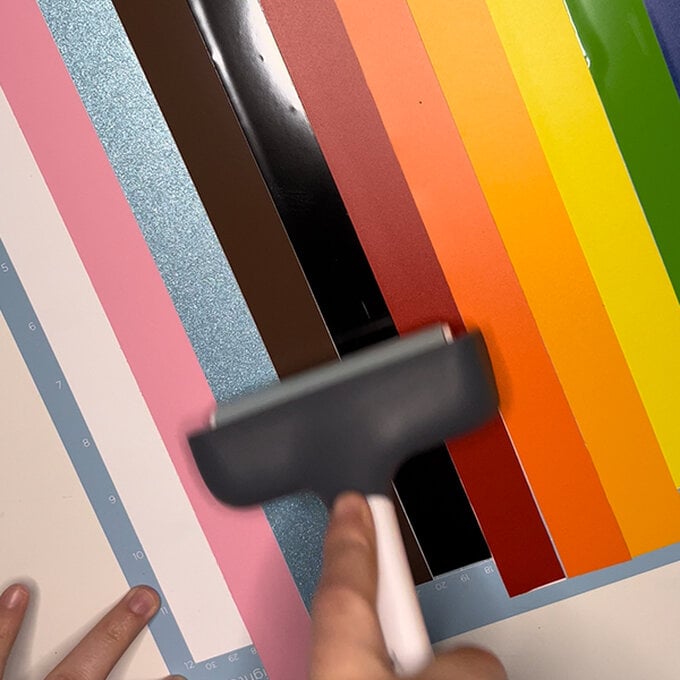
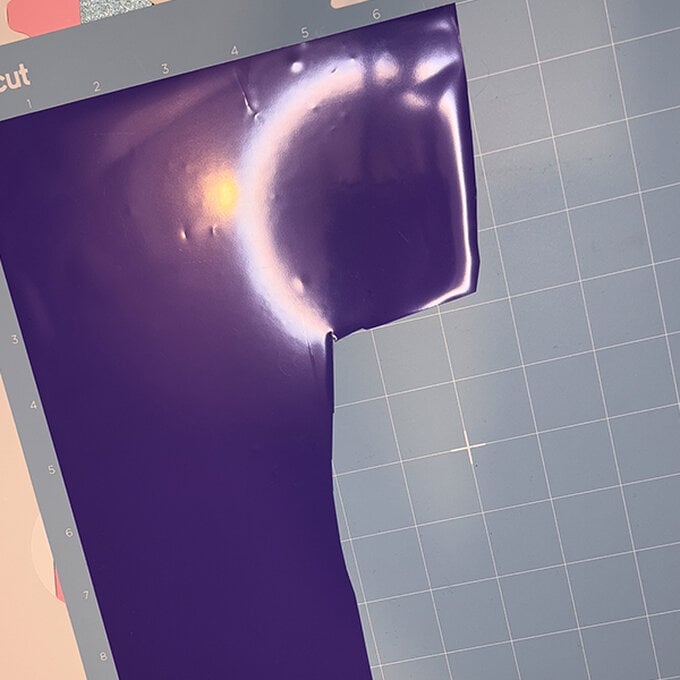
With all your strips cut, go ahead and start adding them to your mat. As you apply each colour, use the Cricut brayer to ensure each colour is flat on the mat.
Step 11
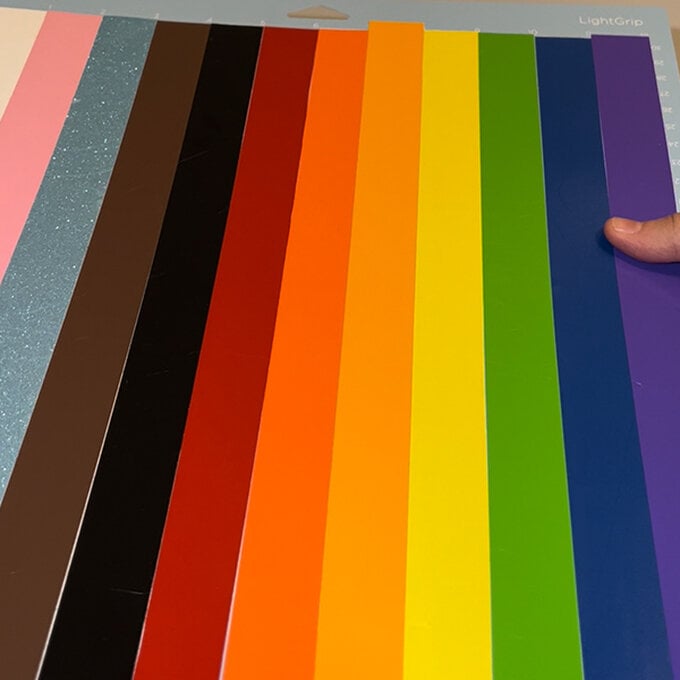
With all the strips added, your mat it should look like a beautiful rainbow. Ensure there are no gaps between then colours.
11.jpg?sw=680&q=85
Step 12
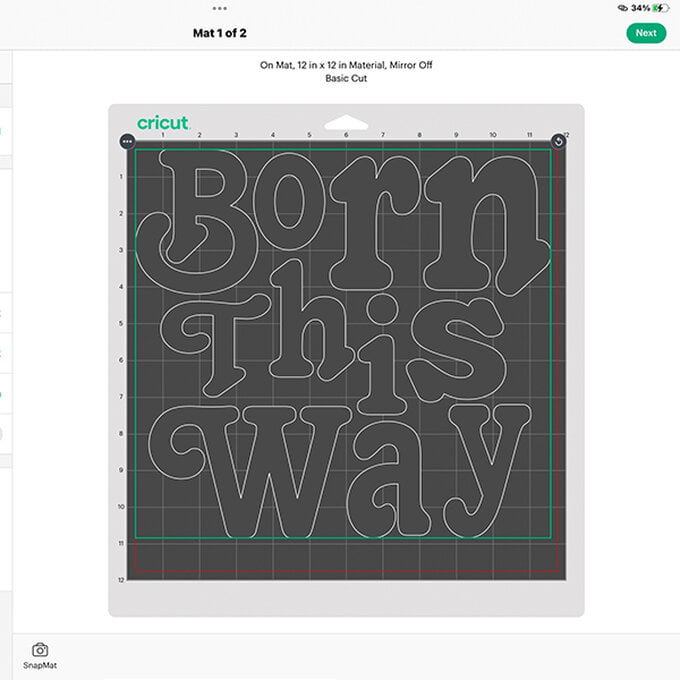
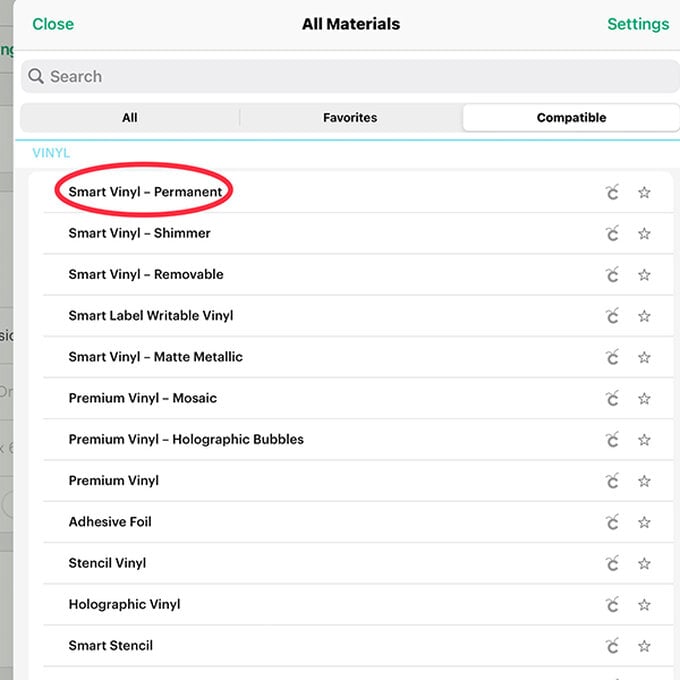
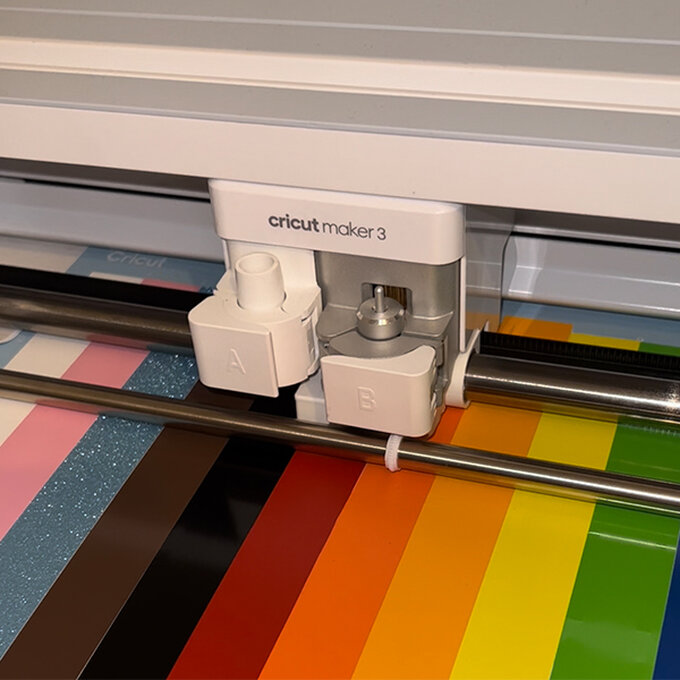
Ensure you're connected to your machine – go back into Design Space and remove the square template. Ensure that the project fits well on the mat, once you're happy with how it looks click ‘next’. Select 'smart vinyl' – go ahead and select the setting depending on which scraps of vinyl you might be using.
Step 13
Go ahead and feed your mat into the machine. If you're using different types on vinyl on the same mat, keep an eye on it whilst it's cutting.
13.jpg?sw=680&q=85
Step 14
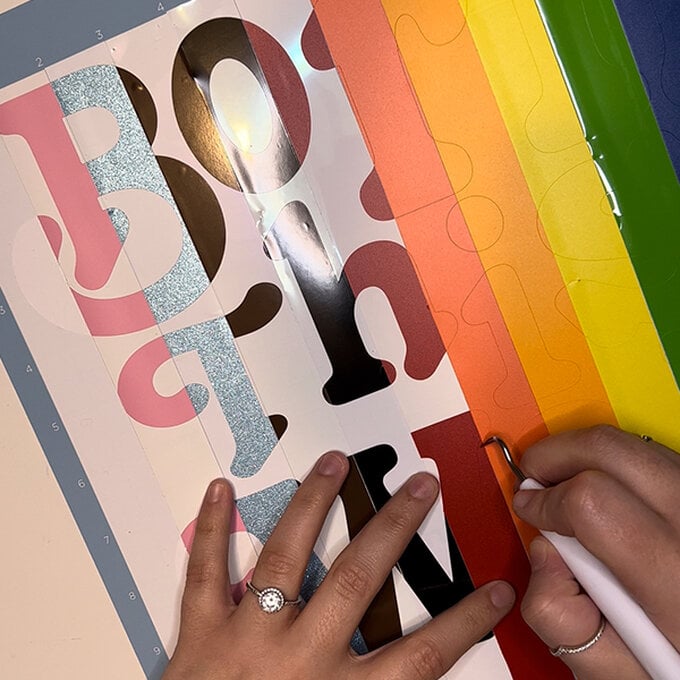
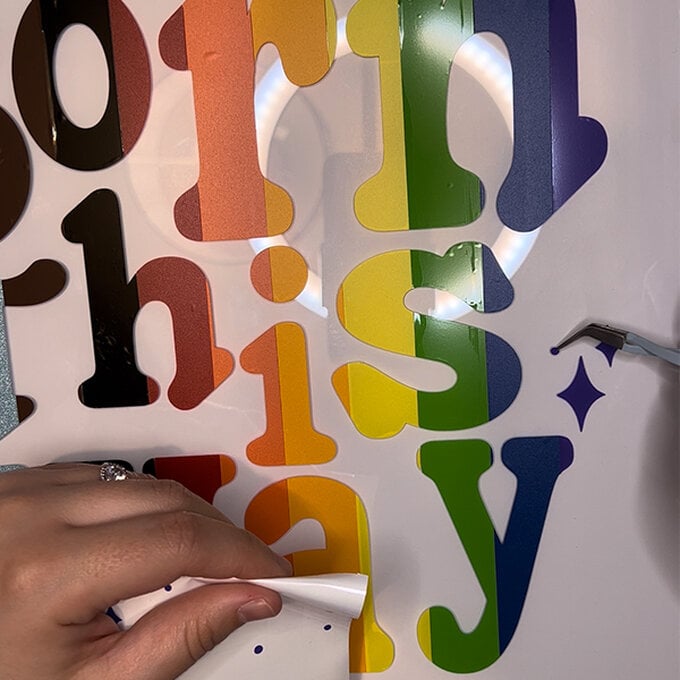
When the machine has finished cutting, remove the mat from the machine. Leaving the vinyl on the mat, start weeding the project - this will help with adding the transfer tape.
14.jpg?sw=680&q=85
Step 15
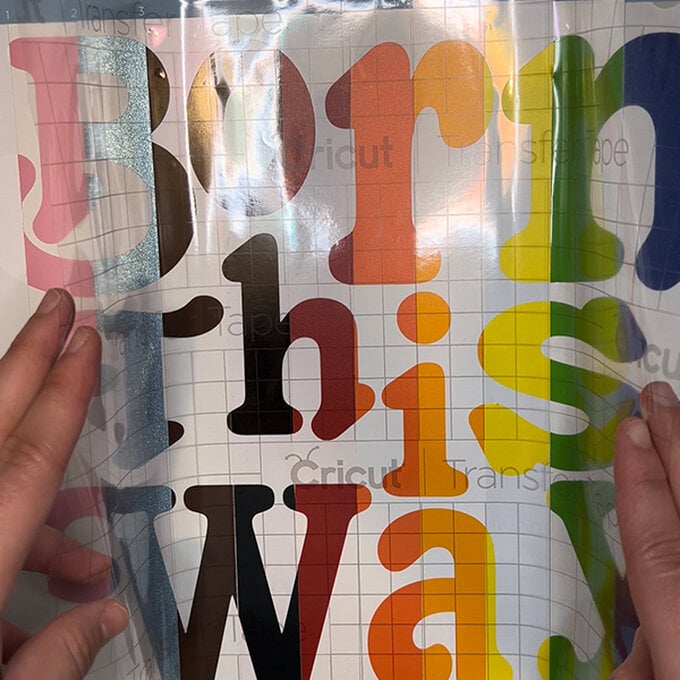
After weeding, cut a piece of transfer tape to fit the project (around 12" x 12"). Remove the backing of the transfer tape and place carefully over the design.
15.jpg?sw=680&q=85
Step 16
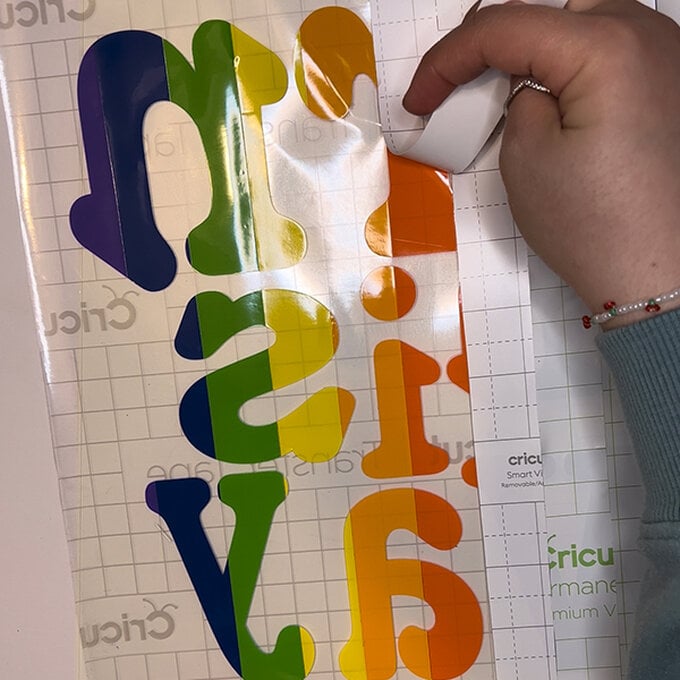
Once you have placed the transfer tape, remove the vinyl off the mat. Then, remove the backing of the vinyl off the transfer tape.
16.jpg?sw=680&q=85
Step 17
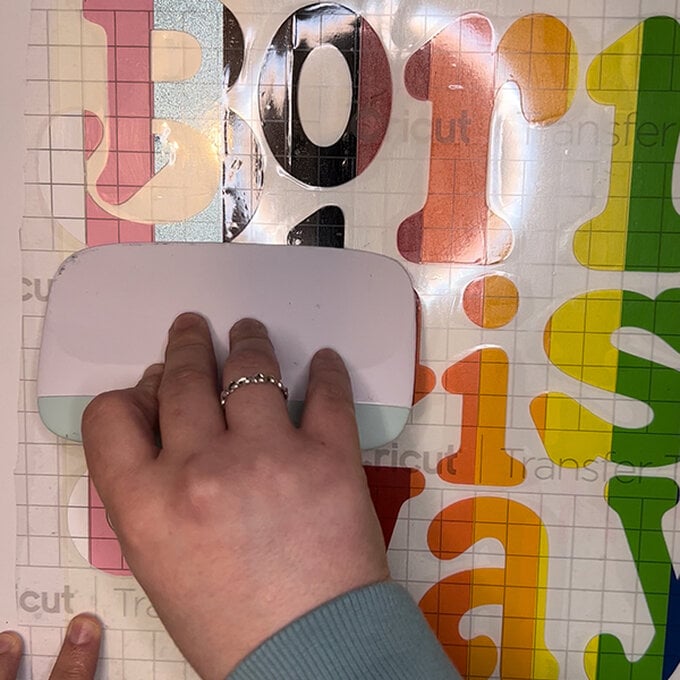
Ensure the glass on your frame is clean and free of any marks. Place your design with the transfer tape in the middle of the frame. You can use the lines to help aid you get it straight. Use the scraper to ensure everything is completely stuck onto the frame.
17.jpg?sw=680&q=85
Step 18
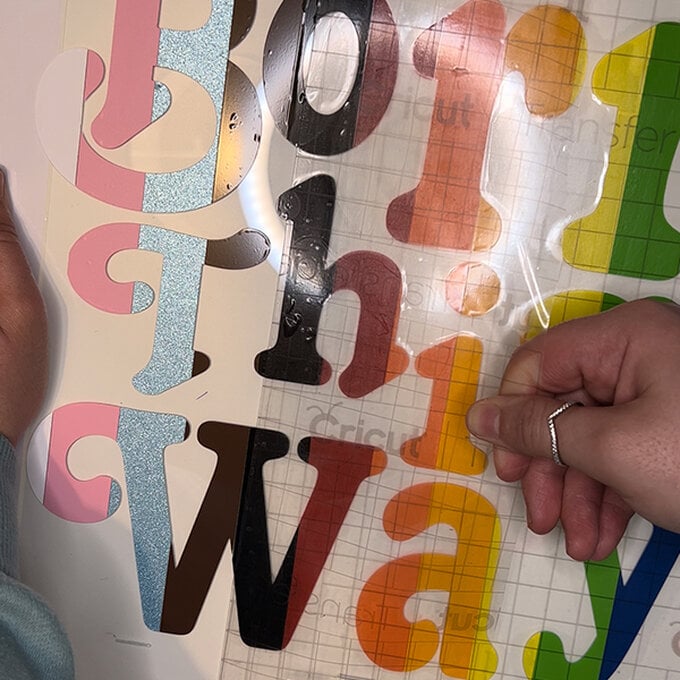
Remove the transfer tape carefully off the frame. Do this slowly so you don’t lose any pieces of the design.
18.jpg?sw=680&q=85
Step 19
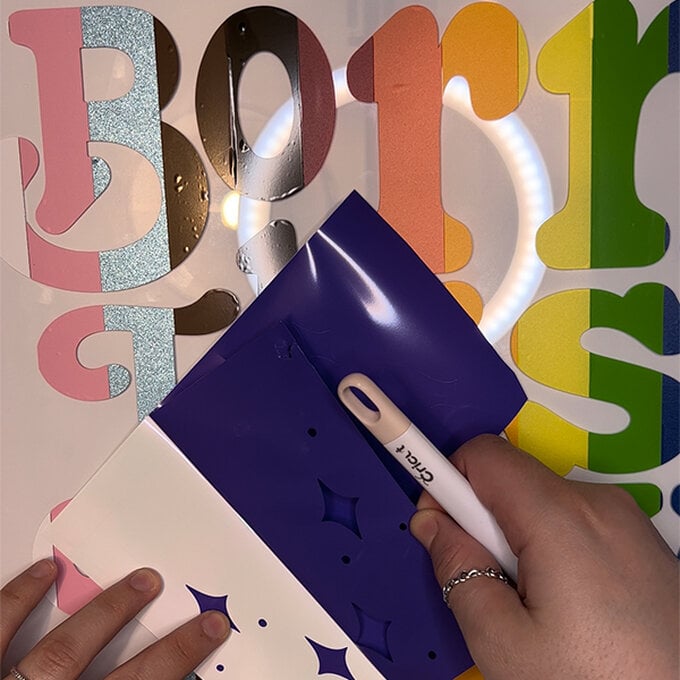
Using yellow and purple vinyl, cut out some of the sparkles. Once they are cut, weed them out and use your tweezers to add them to you design randomly.
Step 20
Add an A3 piece of card into the frame so we can see the beautiful design. You have now completed your artwork to display in PRIDE of place in your home!
Idea_main_cricut-how-to-make-adhesive-vinyl-wall-art.jpg?sw=680&q=85
  • bvseo_sdk, dw_cartridge, 18.2.0, p_sdk_3.2.0
  • CLOUD, getReviews, 4ms
  • reviews, product
  • bvseo-msg: Unsuccessful GET. status = 'ERROR', msg = 'Not Found.'; Unsuccessful GET. status = 'ERROR', msg = 'Not Found.';

Related Products

Top