Cricut: How to Make a Halloween Advent Calendar with Iron-On Vinyl
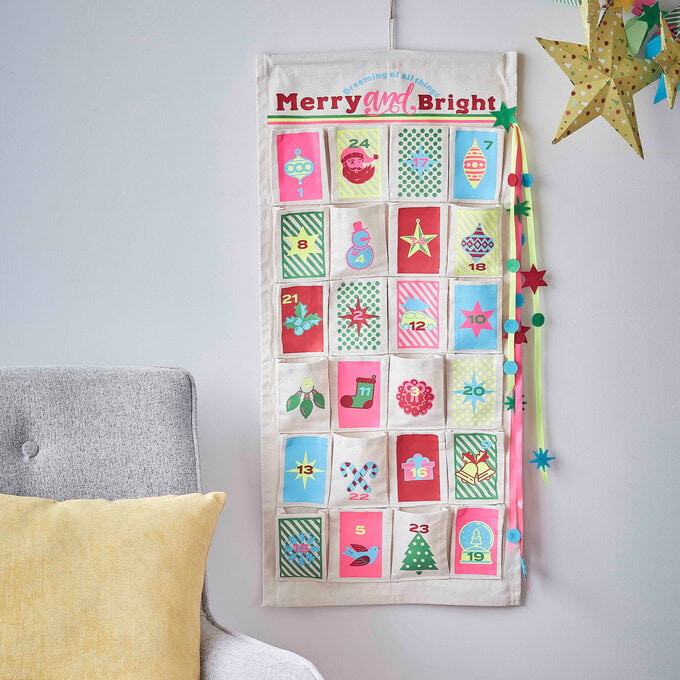
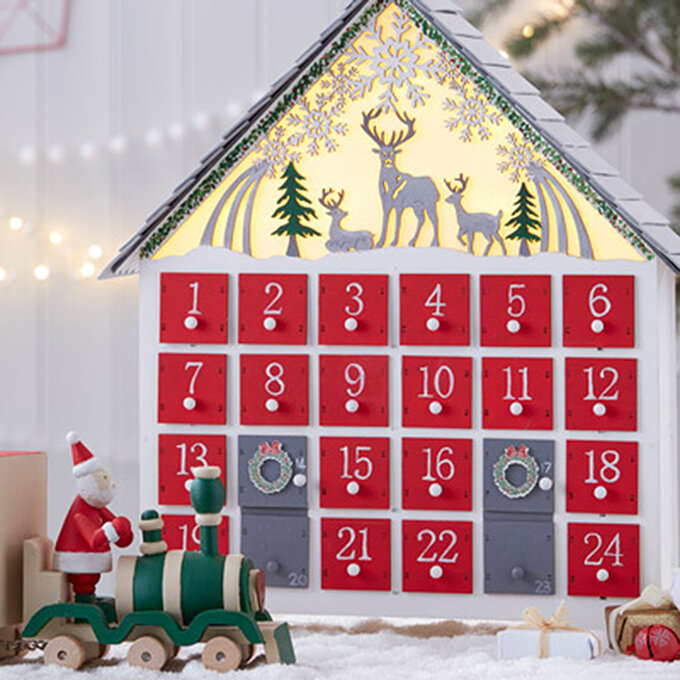
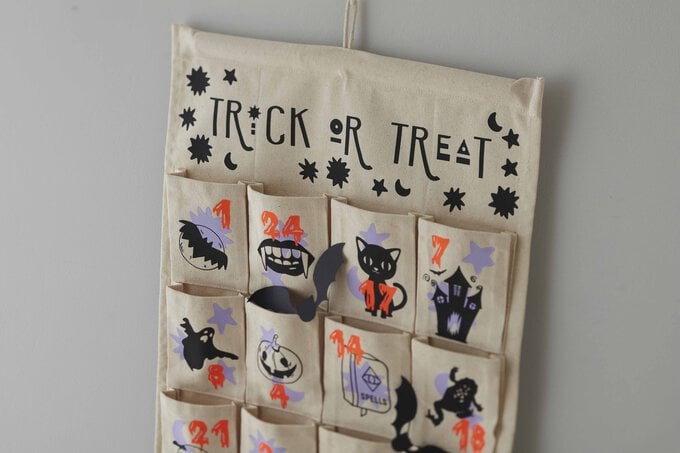
Discover how to create a Halloween advent calendar with this step-by-step project guide. Perfect for those who love a quirky and alternative project, this bright pocket advent calendar is great for filling with treats to count down the days to Halloween!
Aimed at intermediate Cricut users, this project is ideal for making and enjoying with the entire family and can even become a yearly family tradition that you bring out year after year.
Cricut Design Space Project Link: Halloween Advent Calendar andgt;
Project and instructions by Emma Jewell.
This project contains paid for content from Cricut's Design Space app. Screen grab references images are taken from the desktop version of Design Space.
You will need
Subtotal
Is $ 424.00

Subtotal
Is $ 52.00
Subtotal
Is $ 17.00
Subtotal
Is $ 17.00
Subtotal
Is $ 17.00

Subtotal
Is $ 13.00
How to make
You will also need:
* Cricut Design Space app installed on a laptop, PC, Tablet, or mobile device
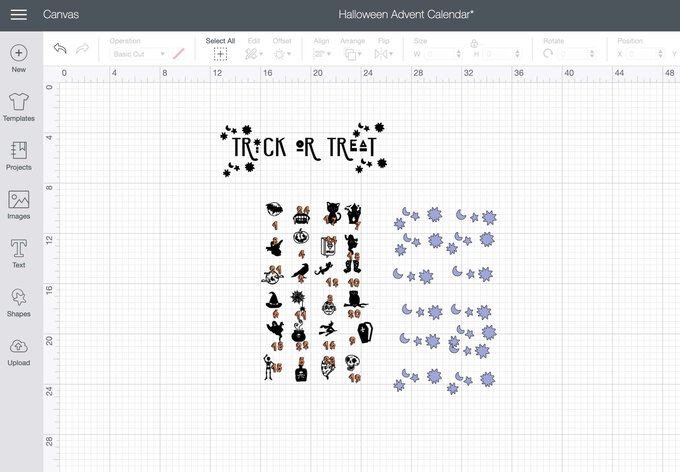
Open up the project in Cricut Design Space by clicking on the link in the description, or alternatively, use the link below – https://design.cricut.com/landing/project-detail/60e2d57291f58a0d604934fe
If you would like to design your own advent calendar, create a template of 24 rectangles and add images and numbers to create your desired design.
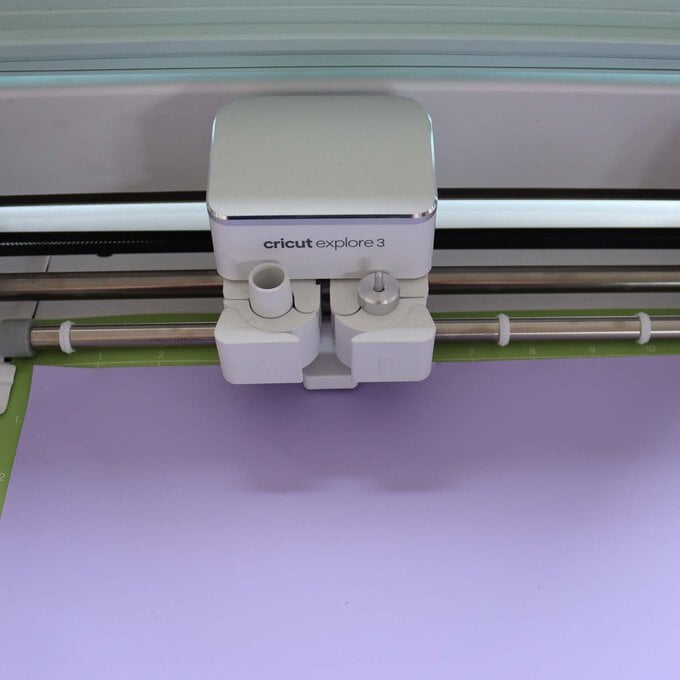
Lay the first sheet of iron-on-on face down onto the mat, make sure that all of your images have been mirrored in Design Space before loading the mat into the machine. Select iron-on as the material you would like to cut and start cutting.
Once the cut is complete, repeat the steps for each sheet of iron-on until all of the project is cut.
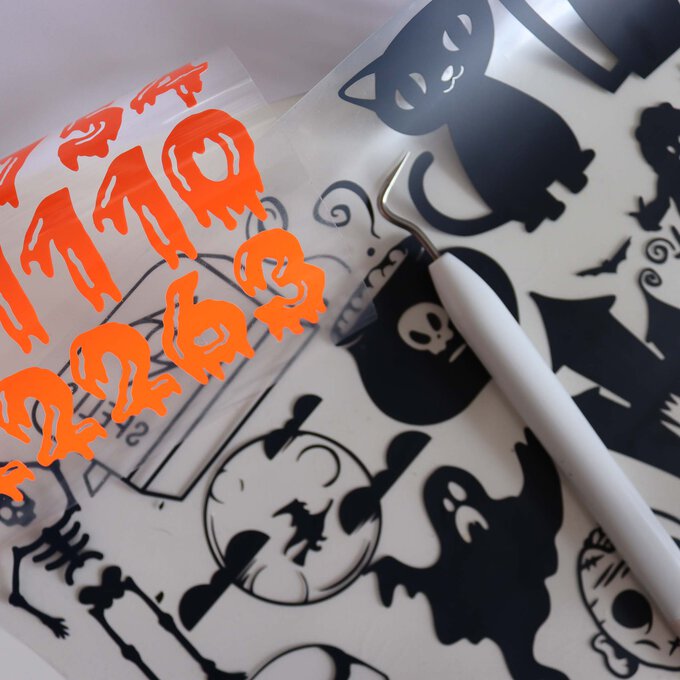
Next weed all of the iron-on sheets by taking off all of the iron-on, leaving only the designs on the clear carrier sheet. Once weeded cut around all of the individual pieces.
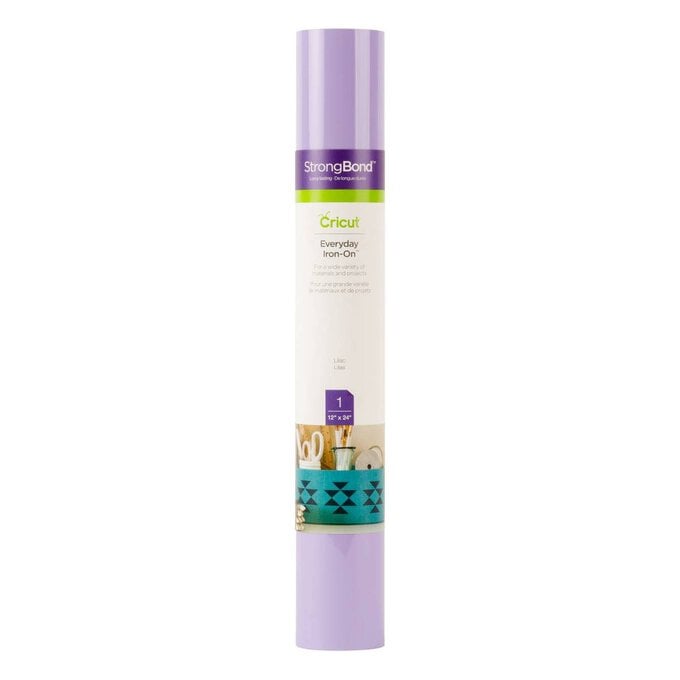
Turn on the EasyPress Mini (Check the temperature using the Cricut Heat Guide). Take all of the purple stars and lay them down onto the advent calendar blank. Press the stars and remove the carrier sheet once cool.
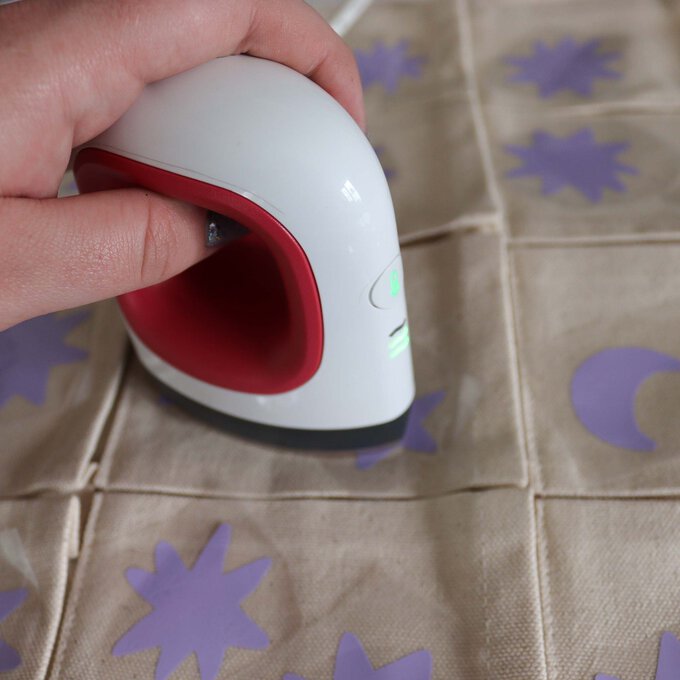
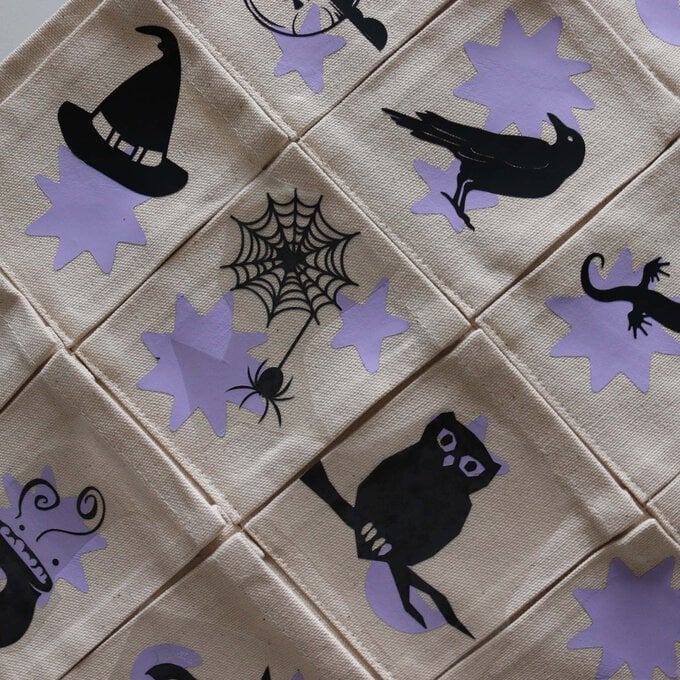
Next, add the black Halloween images and press. Remove the carrier sheet once cool.
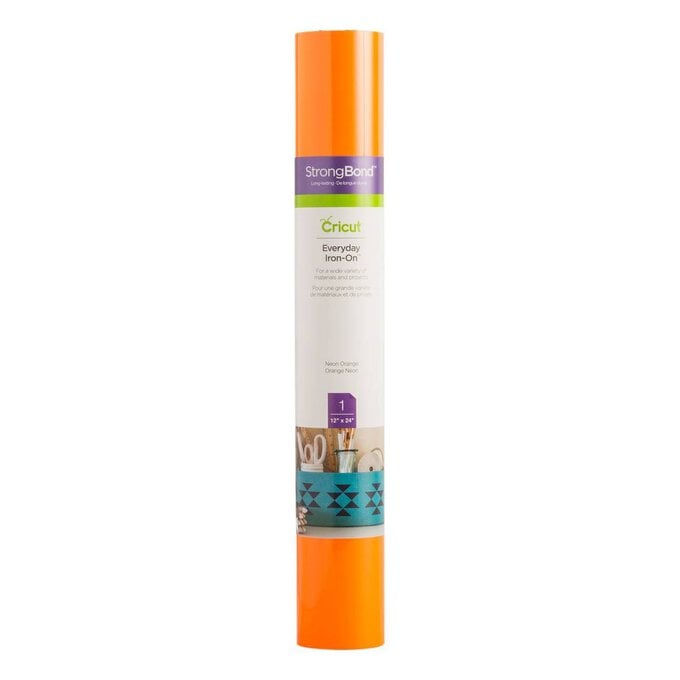
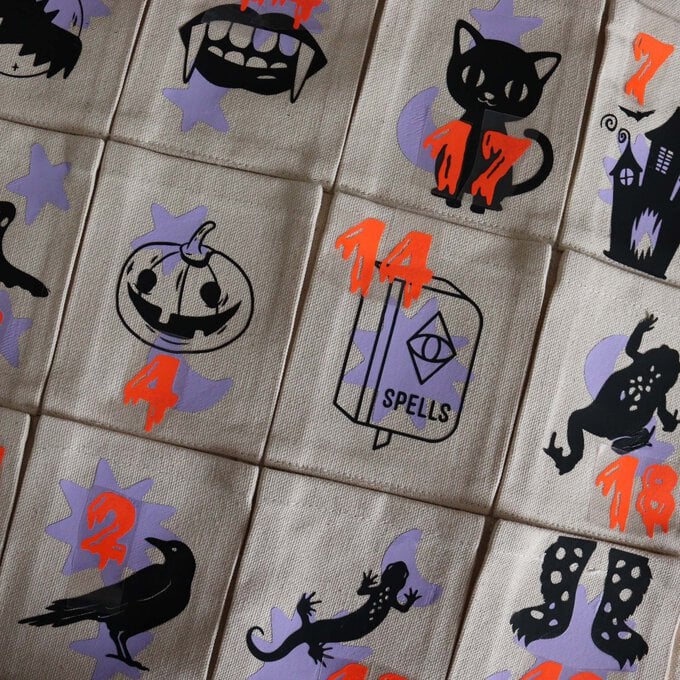
Add the neon numbers in any order you wish. Press and then remove the carrier sheet once cool.
Finally add the 'Trick or Treat', header and press using the EasyPress Mini, wait for it to cool before peeling off the carrier sheet.
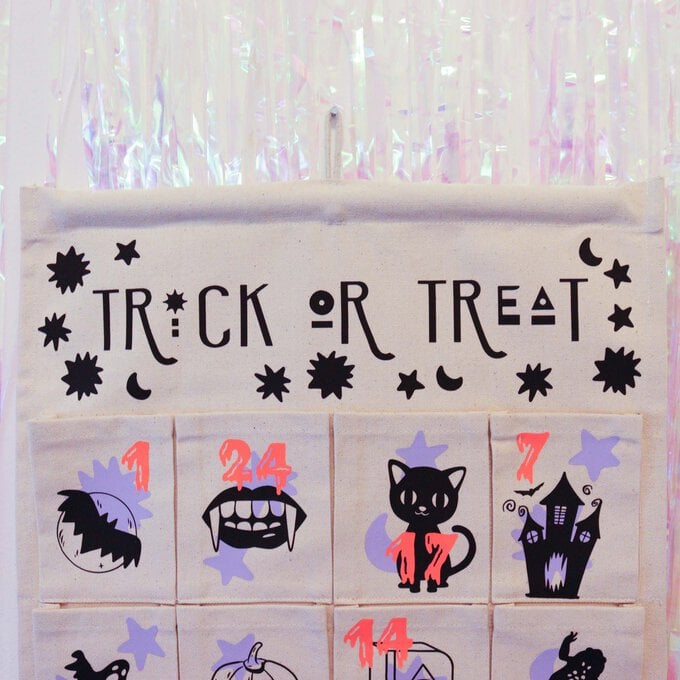
Fill the pockets with little treats ready to hang up and enjoy.
Related Products