Cricut: How to Make an Iron-On Vinyl Advent Calendar
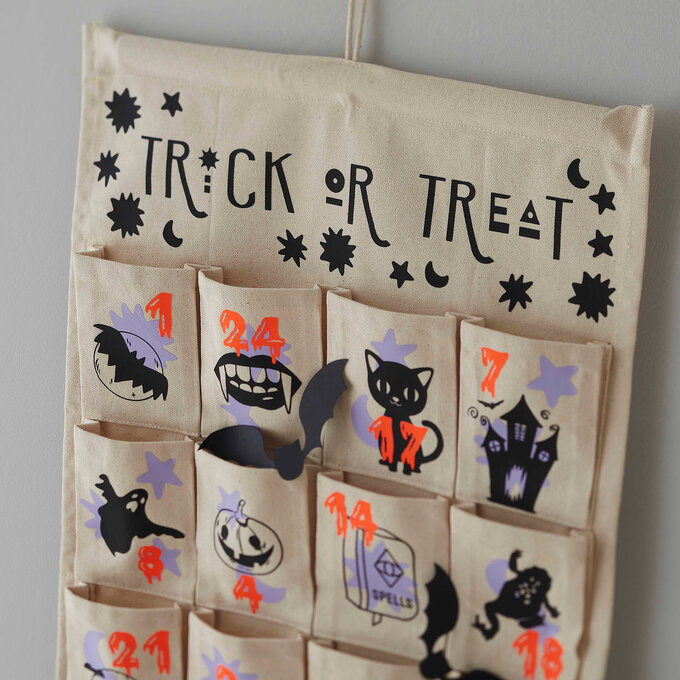
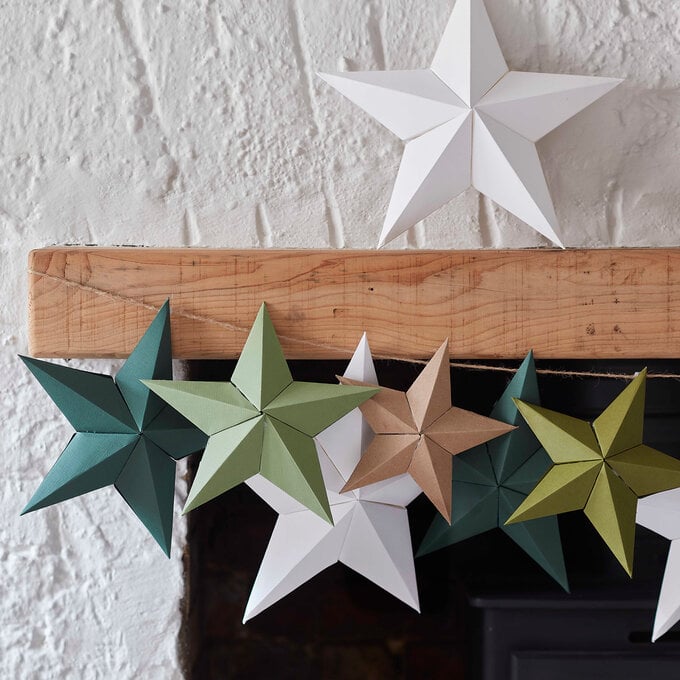
Get creative in your countdown to Christmas with this Cricut vinyl advent calendar! It's the perfect way to add a pop of colour and personalisation to this seasonal staple.
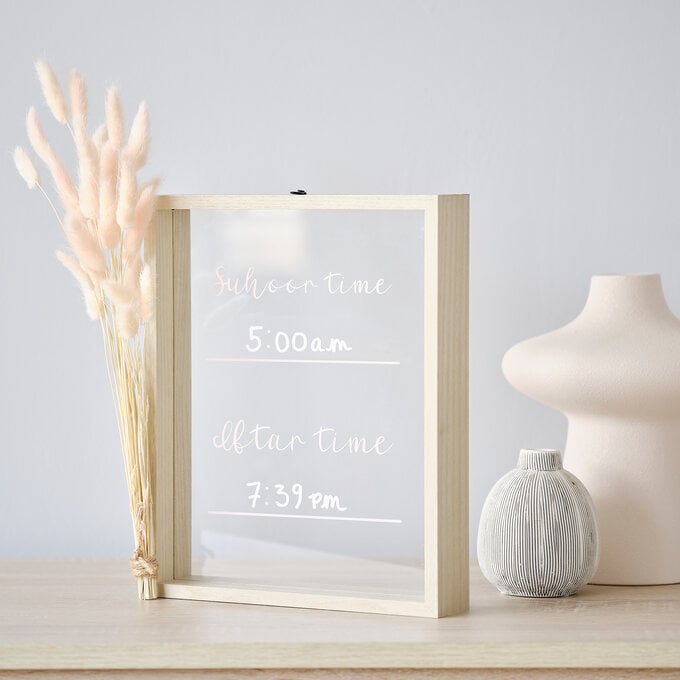
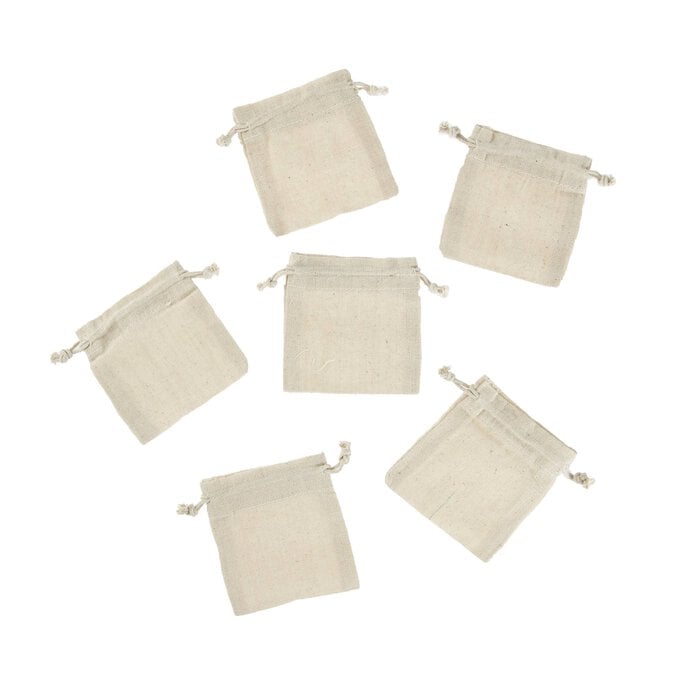
The Cricut Joy and EasyPress Mini are the perfect pairing for adding your designs to each of the linen drawstring bags. Once the project is complete, simply fill the bags with sweet treats and mini gifts, then peg them up on a length of twine ready for each day. You could even hide them around the house for your little ones to find!
Project and instructions by Nerrisa Pratt
Discover more Christmas Cricut projects here >
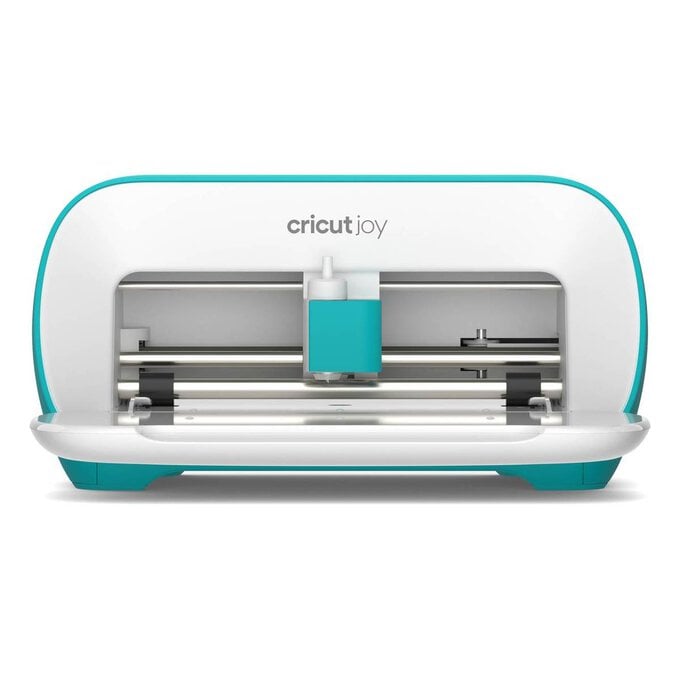
Please note: This project contains paid for content from Cricut's Design Space app. Screen reference images are taken from the desktop Mac version of Design Space. This project has been created using the Cricut Joy, but it can also be created on the Cricut Maker and Explore Air 2.
You will need
Subtotal
Is $ 5.49
Subtotal
Is $ 214.00
Subtotal
Is $ 25.00

Subtotal
Is $ 53.00
Subtotal
Is $ 13.00
Subtotal
Is $ 13.00
Subtotal
Is $ 13.00
Subtotal
Is $ 13.00
Subtotal
Is $ 2.49
Subtotal
Is $ 2.49
Subtotal
Is $ 2.49
Subtotal
Is $ 2.49
How to make
You will also need:
* Cricut Design Space app installed on a laptop, PC, tablet or mobile device
Open the Cricut Design Space app and start a new project, in the font of your choice. Type the numbers 1-25.
To ensure all of the numbers are uniform. Select each one and in the 'size' menu at the top, ensure they are all around 2.5cm tall.


Click 'Make it' and ensure you follow the on-screen instructions to cut the design.
Remember to make sure that 'Mirror' is switched on and your material is on the mat shiny side facing down.

Once all of your numbers are cut and weeded, use your scissors to snip them apart, making sure you have numbers 1-25.

Take your EasyPress Mini and preheat the bag for 15 seconds.
Remove the EasyPress and place your number in the desired location. Press for 30 seconds and then turn the bag over and press for an additional 15 seconds.
Leave to cool, then peel off the carrier sheet once warm to the touch.
Use Cricut's online Interactive Heat Guide to determine which setting is best for the type of EasyPress and iron-on vinyl you're using: https://cricut.com/en_us/heatguide


To add some colour and festive cheer to your advent calendar, open Design Space and add a selection of Christmas-themed images to your blank canvas.
In order to make sure all of your shapes end up on one mat, click each shape one by one and make sure they're the same colour.


Pick a few colourways of vinyl and cut all of your shapes from each one – we have chosen a palette of four for this project. We've also printed a few variations of each shape so that we can mix and match them when we layer them up.
First, pick your base shape and use the process detailed in step 4.


Using the inverse shape (the part you would normally weed from your Cricut cut) in a different shade, wait for the base to cool completely before adding a new layer of colour on top.
Ensure the carrier covers the pattern underneath to avoid melting your base.


To make the most of mixing and matching, lay all of your pouches out so you can see where the colours will work best.
For extra decoration, we've also added some handmade tassels from embroidery thread to add a pop of even more colour and texture.


Related Products