Cricut: How to Make Ceramic Coasters with Infusible Ink Pens
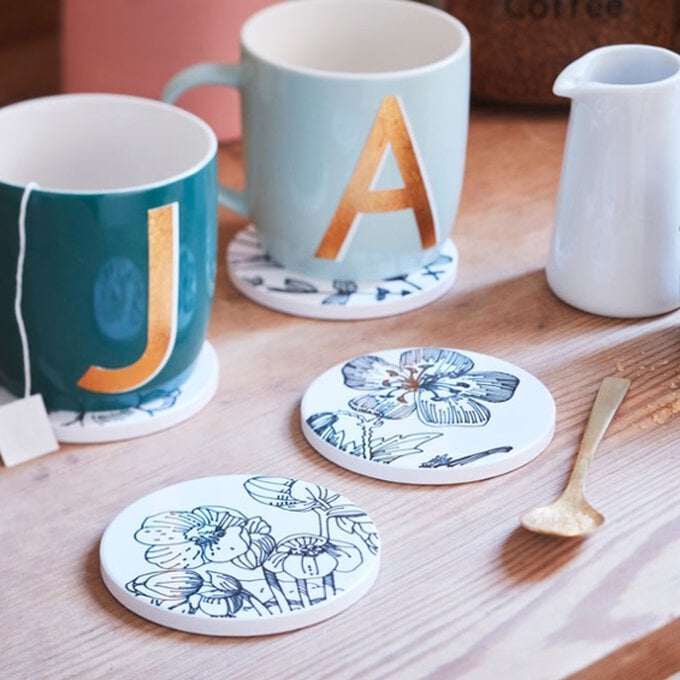
Add a touch of monochrome elegance to your coffee table with these Cricut Infusible Ink Ceramic Coasters - perfect for personalising your table décor.
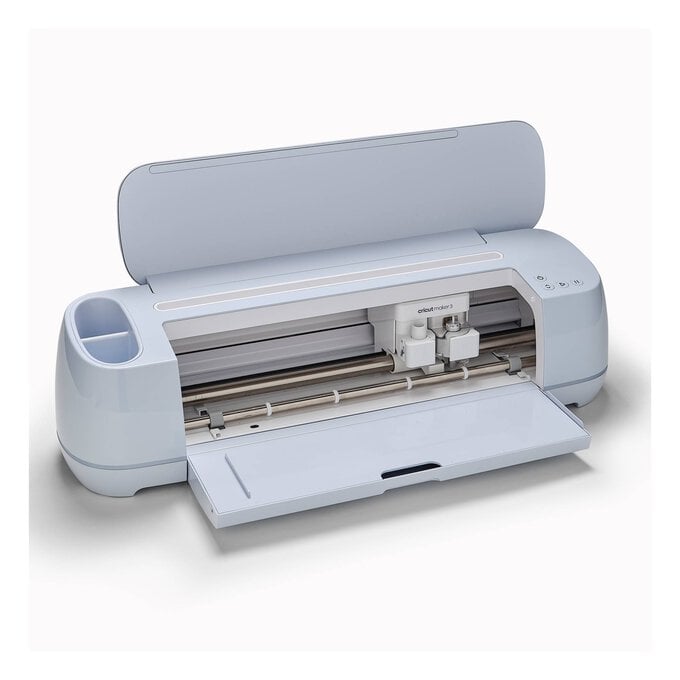
This project has been created on the Cricut Maker but you can also create it using the Cricut Joy or Explore Air 2.
Project by Hobbycraft Artisan Chrissie Ellson
Please note: the project contains paid content from Cricut's Design Space app. Screen reference images are taken from the desktop version of Design Space. Screen reference images of Cricut's EasyPress Heat Guide are taken from a mobile web browser.
You will need
Subtotal
Is $ 25.00
Subtotal
Is $ 21.00
Subtotal
Is $ 11.00
Subtotal
Is $ 190.00 , was $ 219.00
Subtotal
Is $ 40.00
Subtotal
Is $ 586.00
Subtotal
Is $ 31.00
Subtotal
Is $ 13.00
How to make
You will also need:
Cricut Design Space app installed on a laptop, PC, Tablet or mobile device
One Sheet of Printer/copier Paper
12 x 12 sheet of cardstock
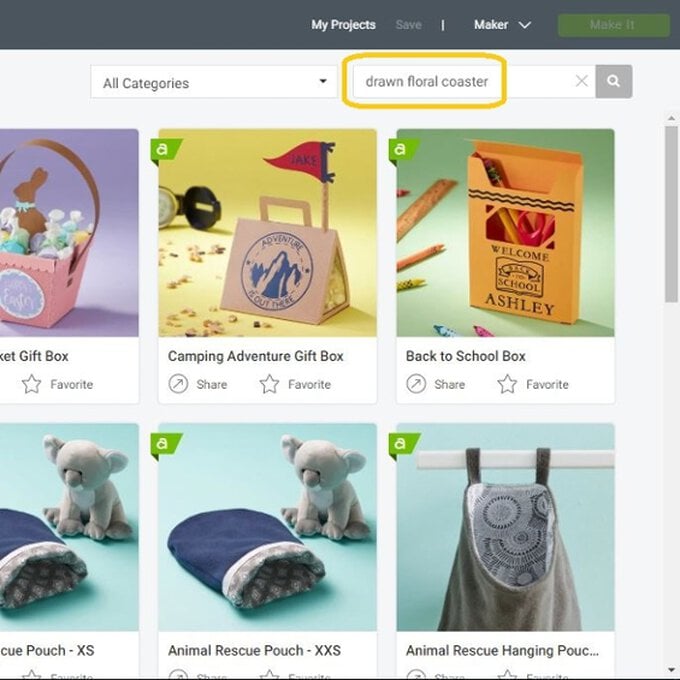
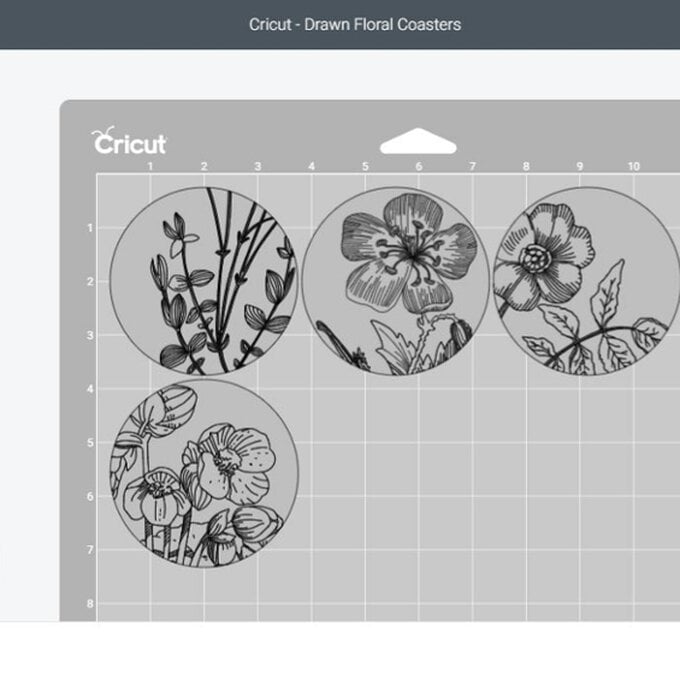
Open Design Space and in the “Projects” section of the app search for “Drawn Floral Coasters”.
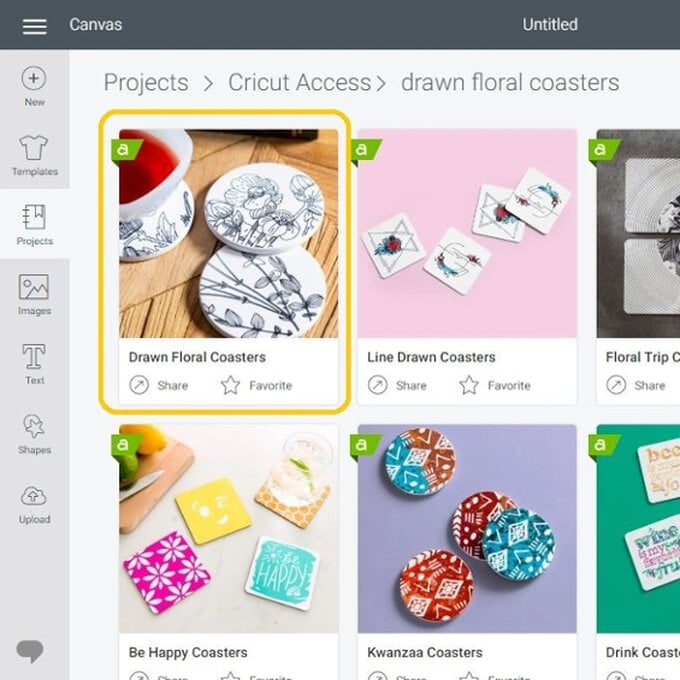
Select the “Drawn Floral Coasters” project.
Click the green “Make It” button.
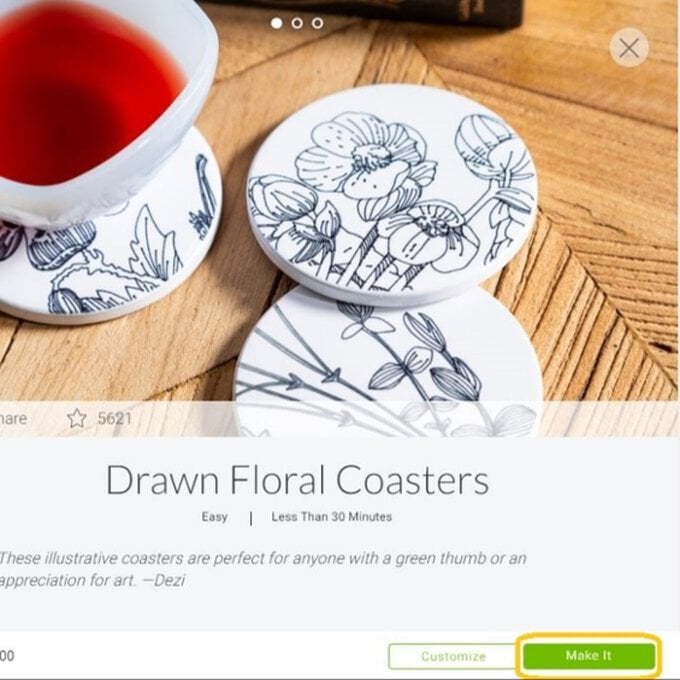
You'll be taken straight through to the mat preview screen bypassing the design canvas.
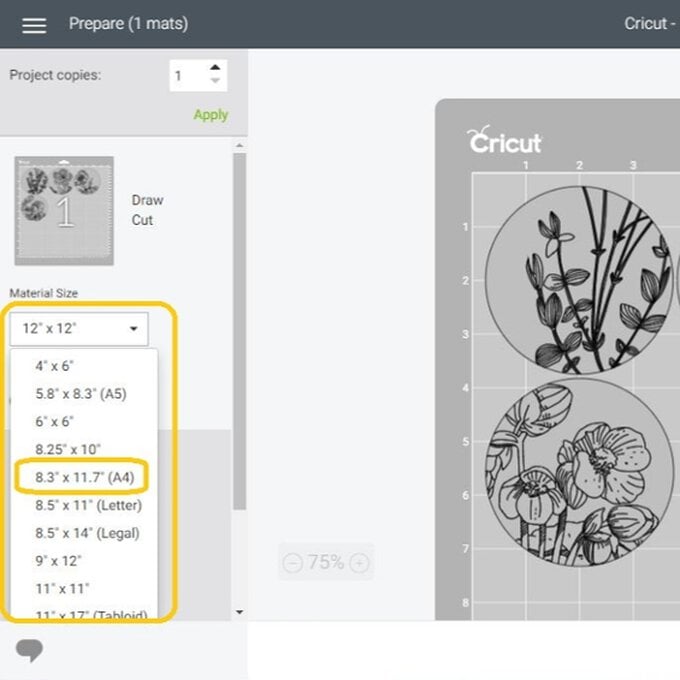
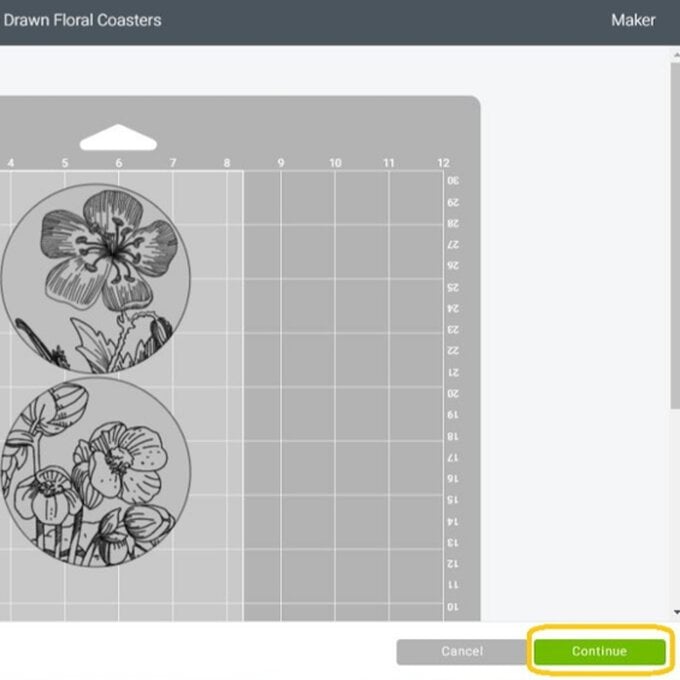
Change the “Materials Size” to A4 as you will be drawing on to printer/copier paper, then click “Continue”.
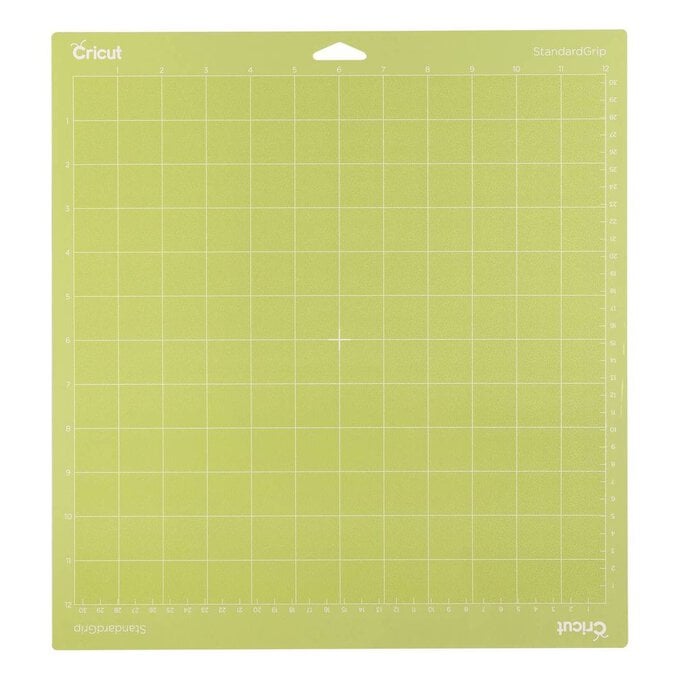
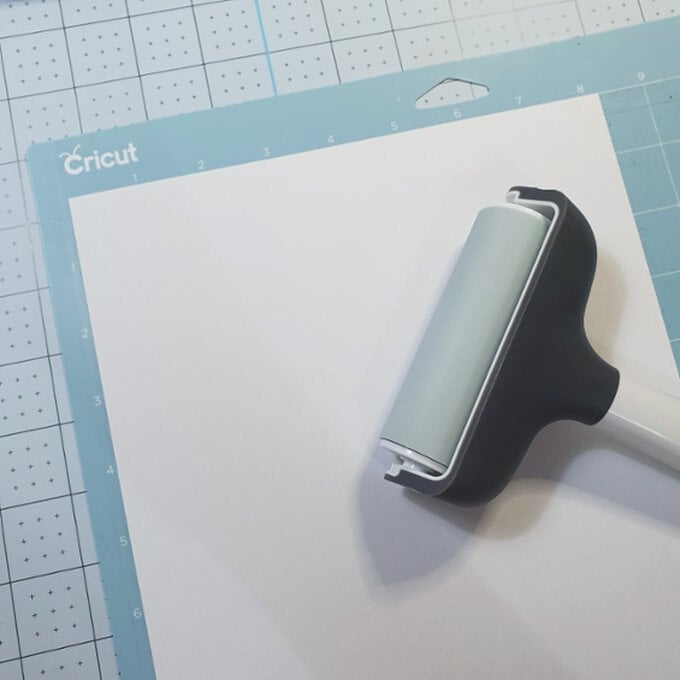
Place the printer/copier paper on to a blue LightGrip mat and roller over it with a Cricut Brayer or scraper tool.
Once through to the machine set up screen, click “Browse All Materials”.
If you are using an Explore Air 2, turn the Smart Dial to "Custom" which will bring up the "Browse All Materials" option on screen.
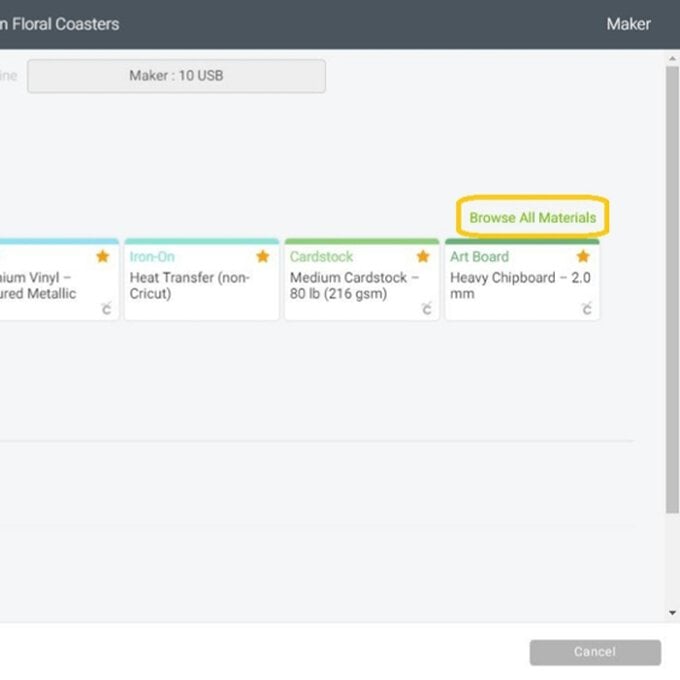
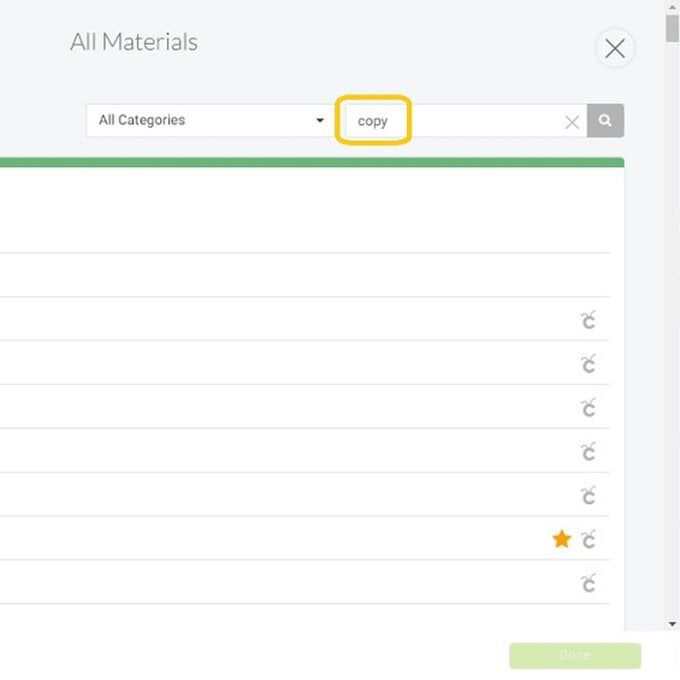
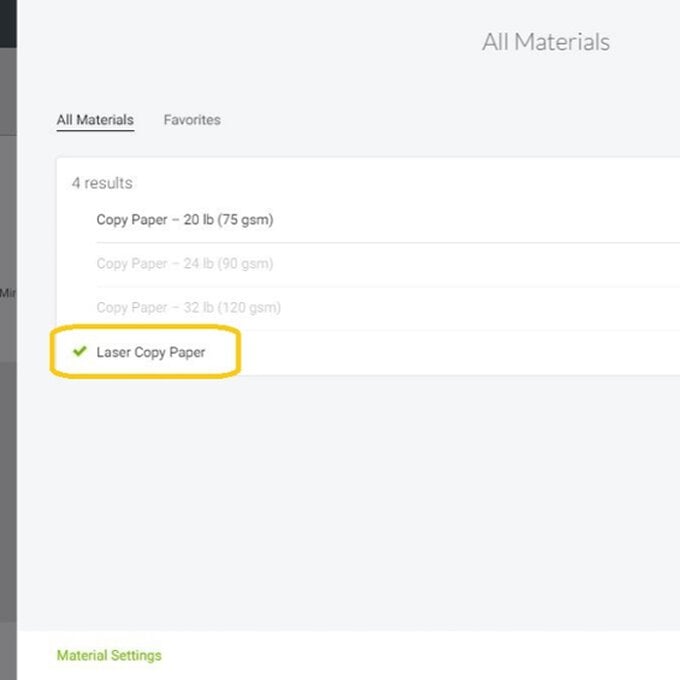
Search “Copy” in the search box, then select the "Laser Copy Paper" option.
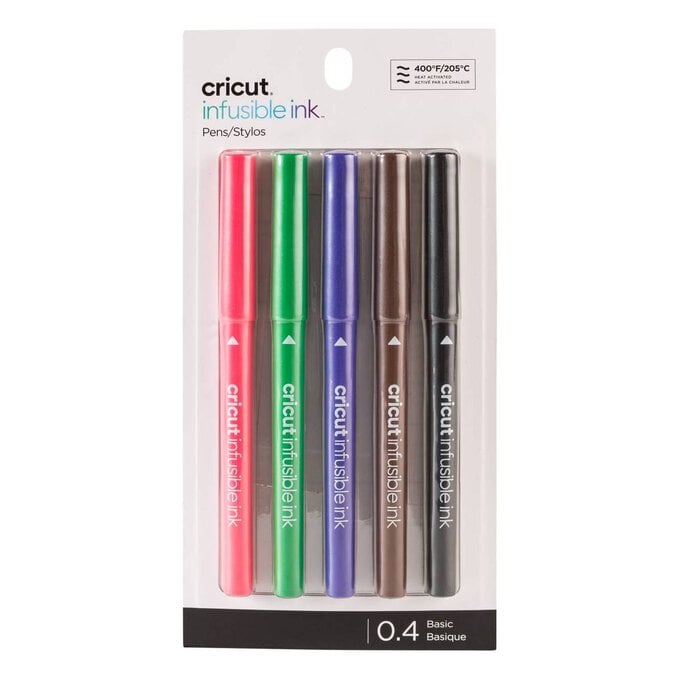
Load the Infusible Ink Pen into your machine, followed by the blue LightGrip mat. To start the machine drawing and cutting, press the flashing Cricut icon.
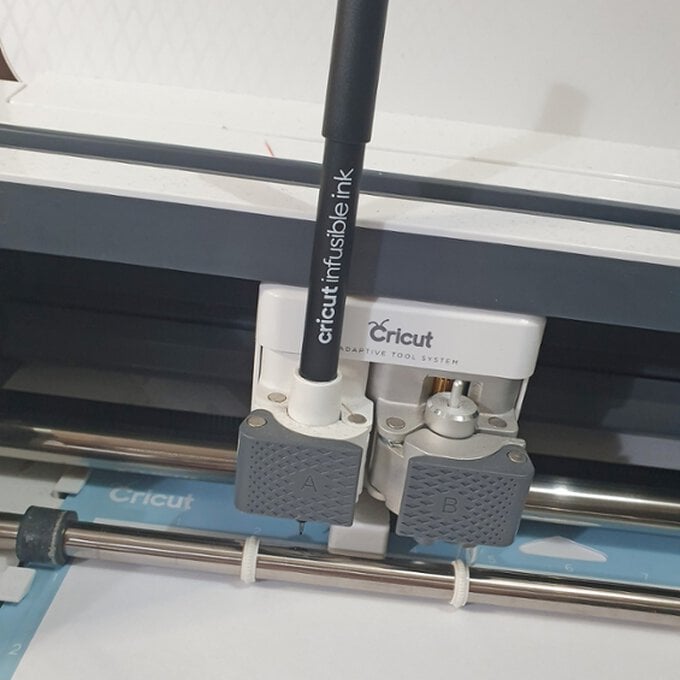
Your machine will begin by first drawing the image and then cutting the shape.
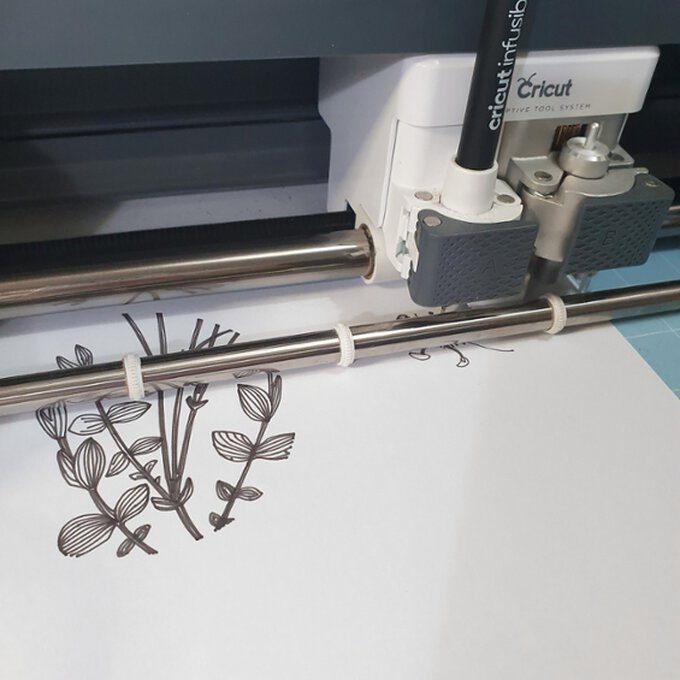
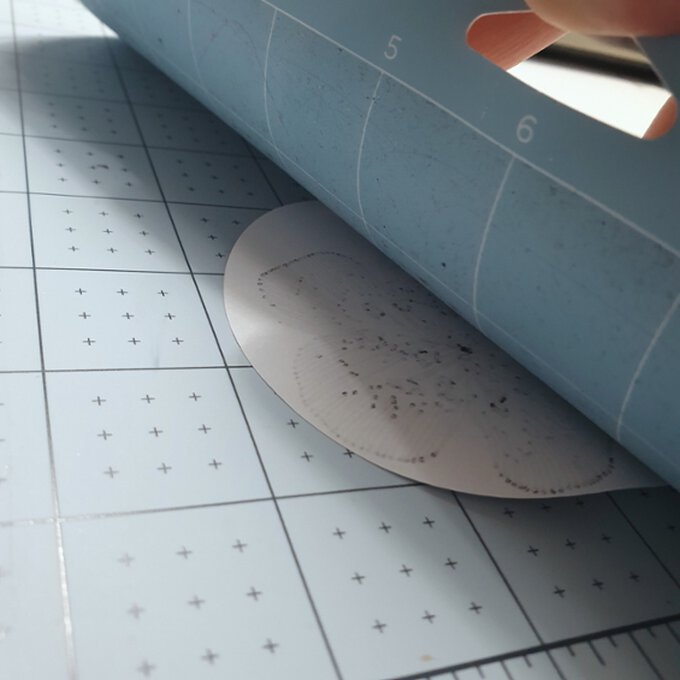
Once the machine has finished, unload the mat and carefully remove the design. To do this, flip the mat over so that it is face down, then slowly and craefully peel away the mat from the paper.
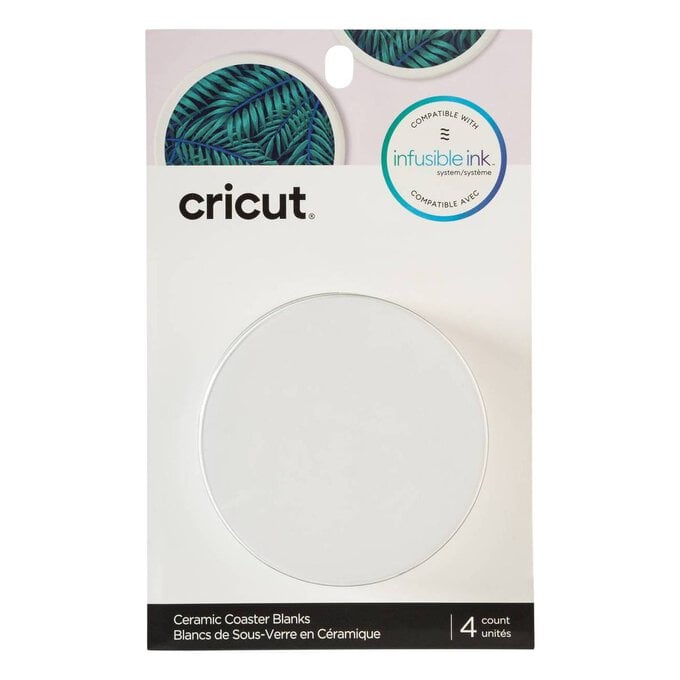
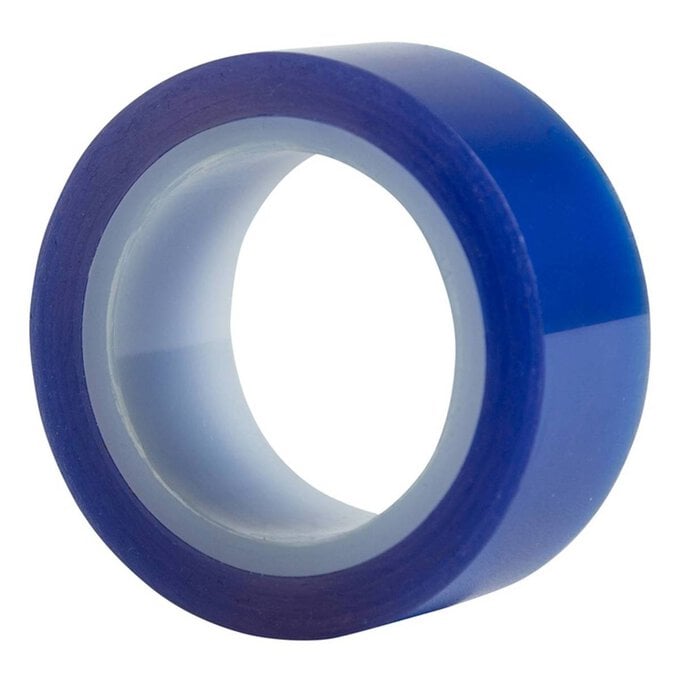
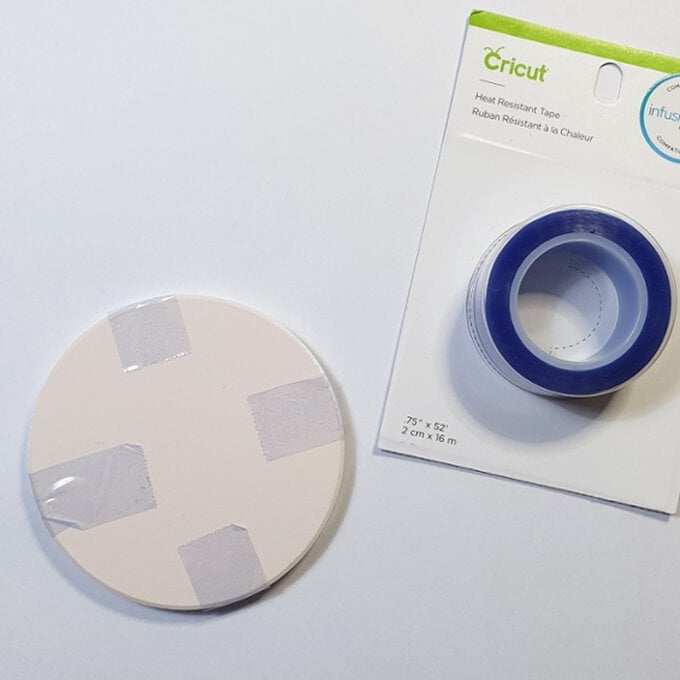
Secure the design to each of the coasters using Cricut's Heat Resistant tape. This will ensure the design stays put while the heat is applied using your EasyPress and that you get a crisp design.
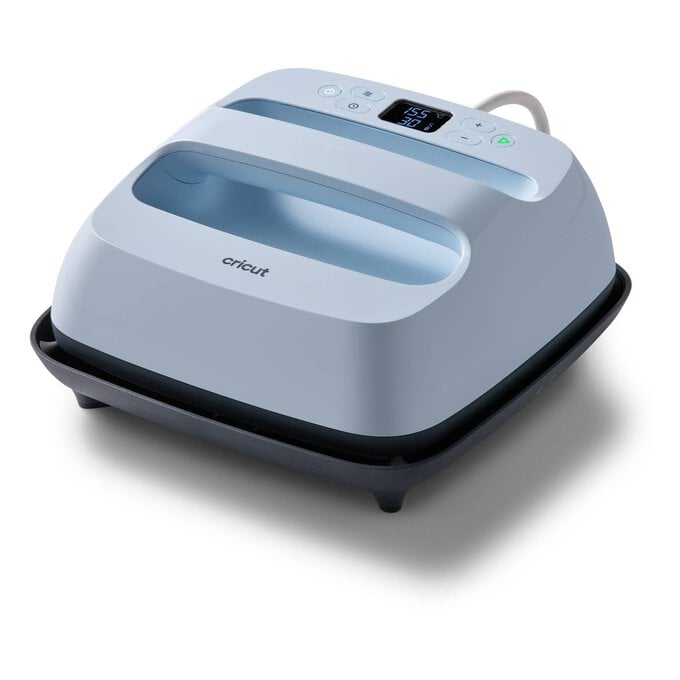
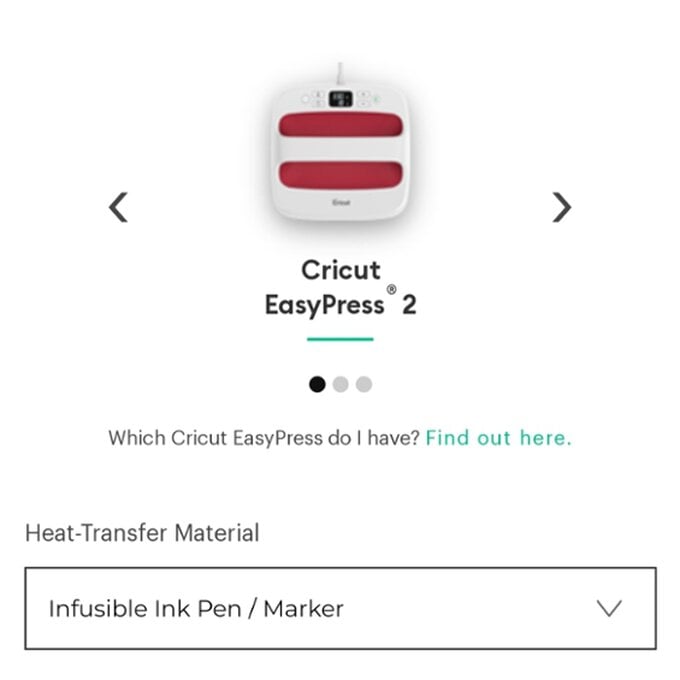
Follow the settings from Cricut's online EasyPress Heat Guide (www.cricut.com/en_us/heatguide) to set the time and temperature for your EasyPress.
Top Tip: When working with Infusible Ink make sure that your EasyPress covers the whole design.
Press your coasters stacking as per the instructions in the online Heat Guide.
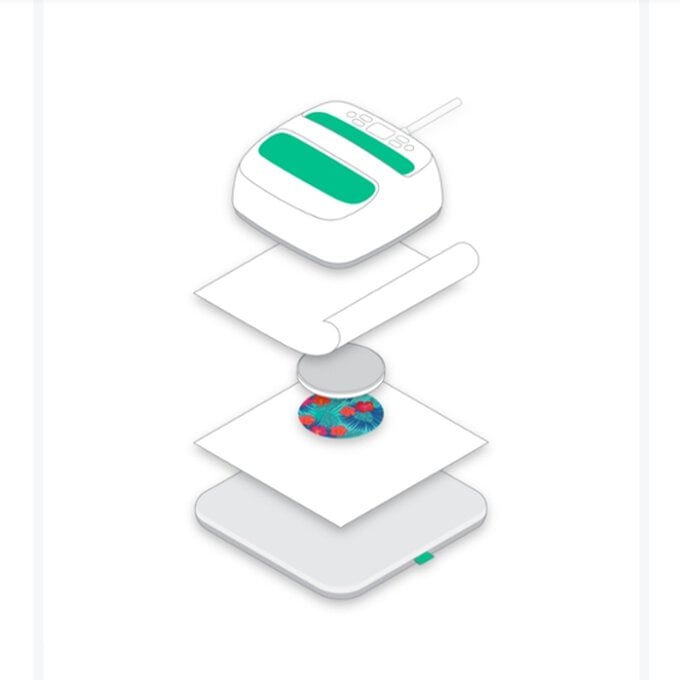
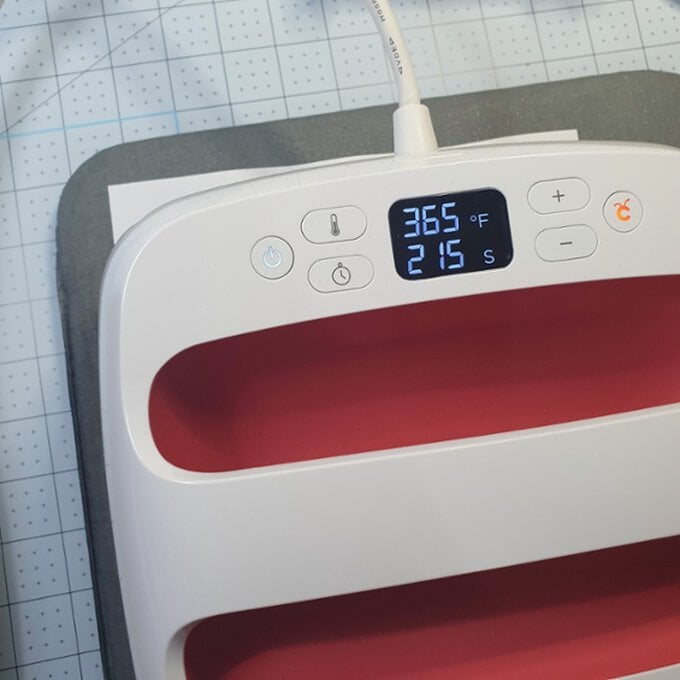
Leave your coaster to cool completely before revealing your design.
