Cricut: How to Make a Fabric Banner
Learn how to create a fabric banner with a helping hand from your Cricut machine in this step-by-step guide.
There's no end to the projects that can be created using the Cricut Design Space project link below. Stick with our traditional 'Merry Christmas' message or you could even opt for something more bespoke!
This fabric banner can be created using any fabrics you have in your stash. Thicker fabrics work best; however, if you have something lightweight you would like to use, simply use an iron-on interfacing to provide stability.
Project and instructions by Aisha Cluitt
Cricut Design Space Project Link: Fabric Banner
Please note: This project contains paid-for content from Cricut's Design Space app. Screen grab reference images are taken from the desktop version of Design Space. This project was created using the Cricut Maker; however, it can also be recreated on any of the Cricut Explore machines using bonded felt fabric.
You will need

Subtotal
Is $ 586.00
Subtotal
Is $ 75.00
Subtotal
Is $ 18.00
Subtotal
Is $ 31.00
Subtotal
Is $ 13.00
Subtotal
Is $ 4.49
You will also need:
* 1m Red cotton fabric - available in your local Hobbycraft store
* 0.5m White felt - available in your local Hobbycraft store
* Iron-on fuisble webbing - available in your local Hobbycraft store
* Iron
* Fabric scissors
* Fabric Glue
* Tape measure
* Pins
* Sewing machine
* Hammer
* Pencil
How to make
Start by opening the project in the Cricut Design Space app using the project link at the top of this post, or alternatively use the link below -
https://design.cricut.com/landing/project-detail/62e5a1c3d027617c4202fe9f
To access the project, copy and paste the link into your browser, you will be directed to a Cricut landing page, select 'Open' followed by 'Open Cricut Design Space Application'. The app will open (you may be prompted to log in) and the project overview screen will appear.
Select 'Customise'.


Once through to the Canvas screen, re-size the design to suit - ensure all the elements are grouped so that they re-size proportionately.
Once happy with the size of the banner, hide the red banner template using the 'Layers' menu, then select 'Make it'.


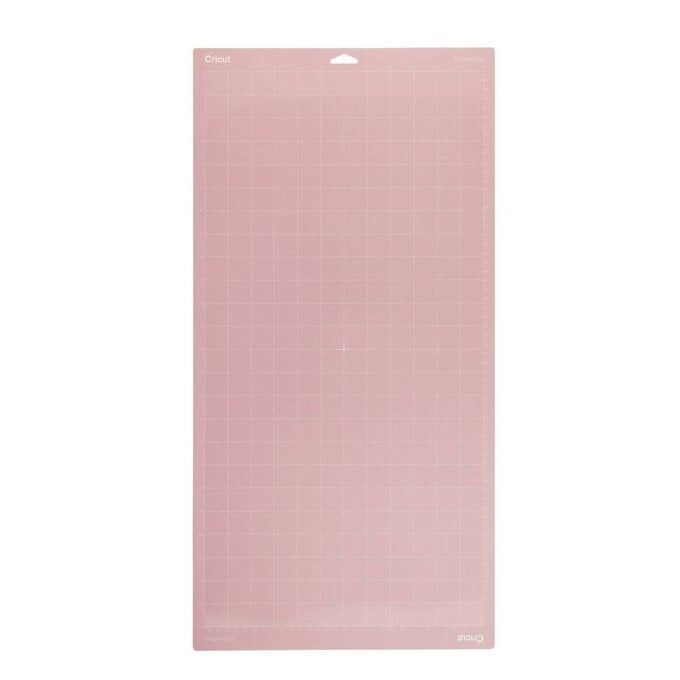
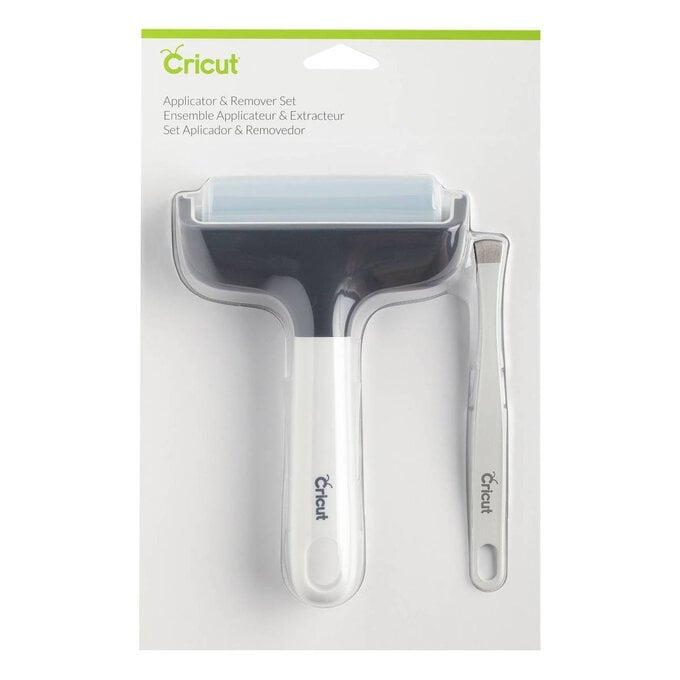
Cut the white felt to size and secure to the FabricGrip cutting mat using a brayer, ensuring good contact between the felt and the mat.
Once through to the machine set up screen, select the relevant cut setting - we used 'Felt'.
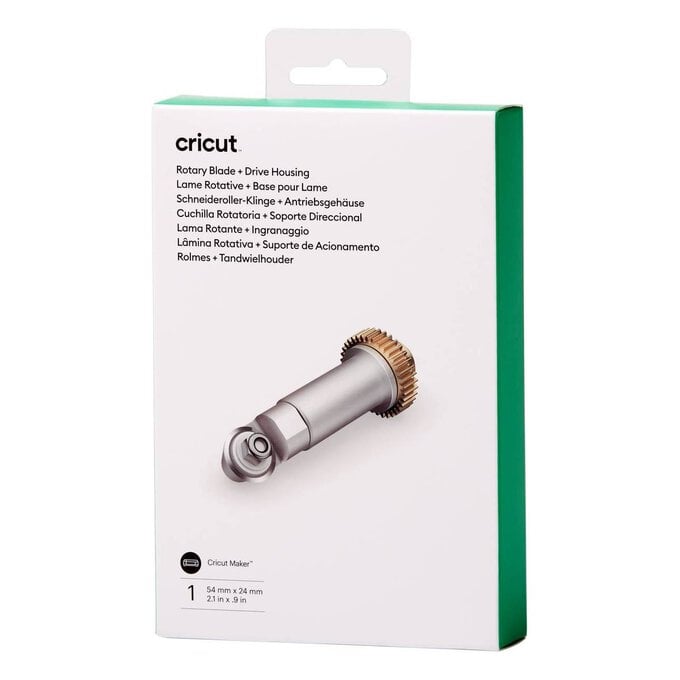
Load the rotary blade into your Cricut Maker (or if you're using an Explore, the pink bonded fabric blade + housing), followed by the cutting mat.
Follow the on-screen to complete the cut.


Once the cut/s are complete, unload the cutting mats from the machine.
Carefully remove the excess felt, followed by the cut lettering.

To create the banner cut red cotton to 80cm long and 54cm wide.


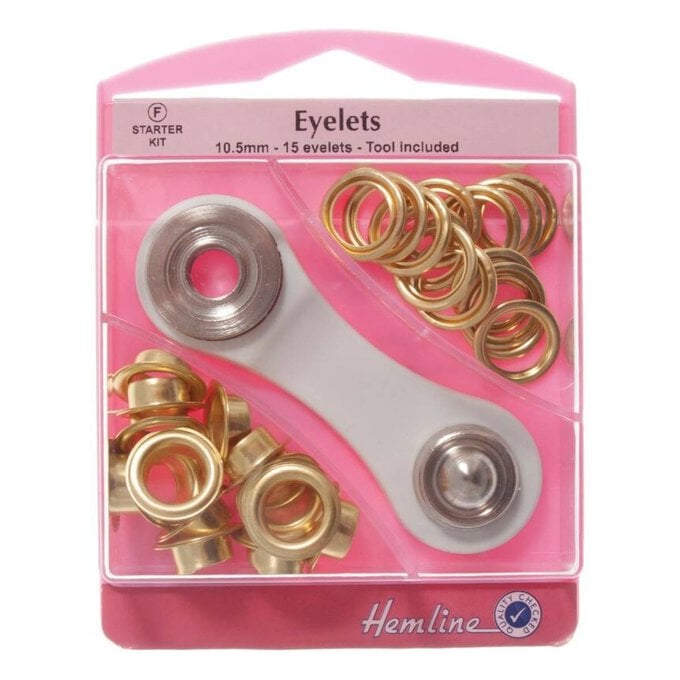
It's now time to attach the eyelets - to do this, start by using a pencil to mark 3cm in from the side and bottom edge pf the banner, using a cross to indicate the intersection point.
Place the solid metal ring from the eyelet kit underneath the intersection point, so that the cross sits centrally within the circle. Place the domed metal piece on top, then use a hammer to deliver a few short sharp taps - it's best to do this on a craft mat to protect your work surface.
Remove the domed section of the tool, followed by the solid metal ring to reveal the hole. Repeat this process in all four corners of the banner.


To secure the eyelet, turn the banner over so that the wrong side is face up, place the eyelet onto the solid metal ring, aligning it with the grooves on the ring.
Place the fabric on top of the eyelet so that it is protruding through the hole created in step 10. Place an eyelet on top followed by the domed tool.
Use a hammer to deliver a few short sharp taps - it's best to do this on a craft mat to protect your work surface.
Remove the domed section of the tool, to reveal the secured eyelet.
Repeat this process on all four corners of the banner.


Pin the felt lettering into place on the banner, once happy with the positioning use fabric glue to secure it in place.
Top Tip: Place a couple of heavy book on top of the lettering while the glue dries to ensure good adhesion between the felt and cotton.


Craft with us at our workshops


Related Products