Glowforge: How to Make an Acrylic Sign
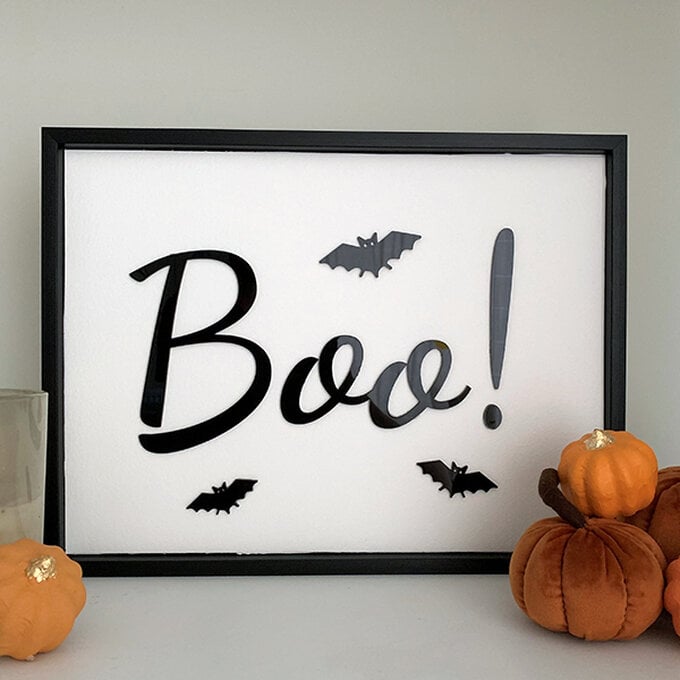
Get ready for the spookiest season of them all, with this super-quick and easy-to-make acrylic sign using the Glowforge laser cutting machine. It can be made with the Glowforge Pro or Plus.
Created with Glowforge Proofgrade materials, this acrylic sign is perfect for year-after-year use and can be made any size you like, thanks to the versatile nature of the Glowforge machine.
Project and instructions by Aisha Cluitt and Hobbycraft Artisan Chrissie Ellson
Please note: This project contains paid-for content from the Glowforge image and font library. Screen reference images are taken from the desktop version of the Glowforge design software.
You will need
Subtotal
Is $ 1,860.00
Subtotal
Is $ 7,425.00
Subtotal
Is $ 35.00
Out of stock
Subtotal
Is $ 29.00
Subtotal
Is $ 7.49

Subtotal
Is $ 4.49
Subtotal
Is $ 2,285.00
Subtotal
Is $ 4.49
Subtotal
Is $ 3.49
You Will Need
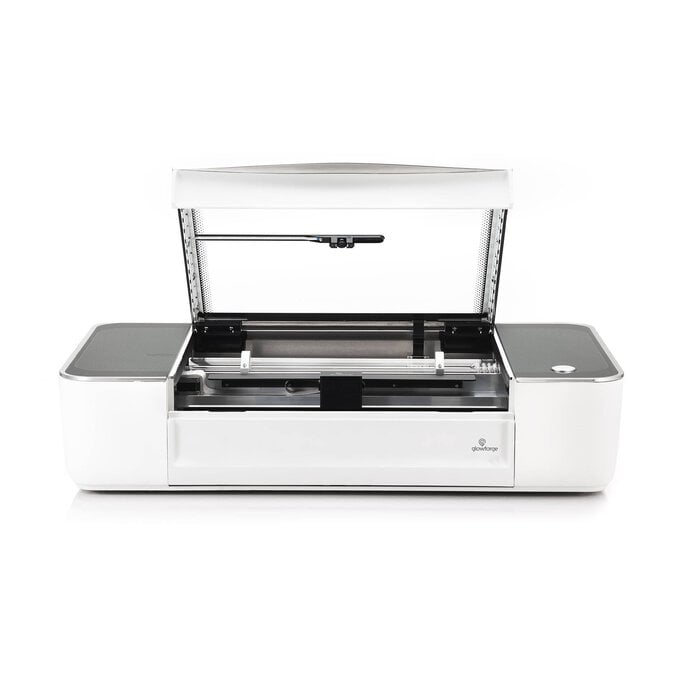
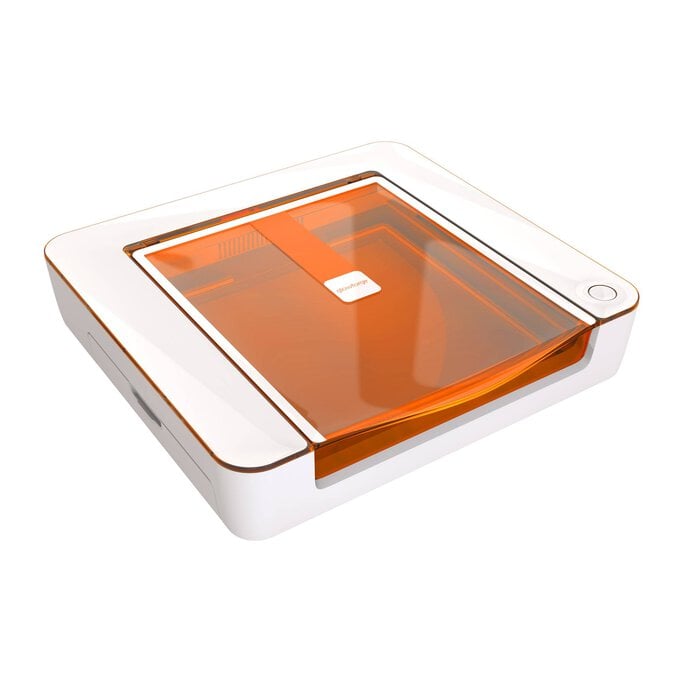
* Glowforge Laser Printer
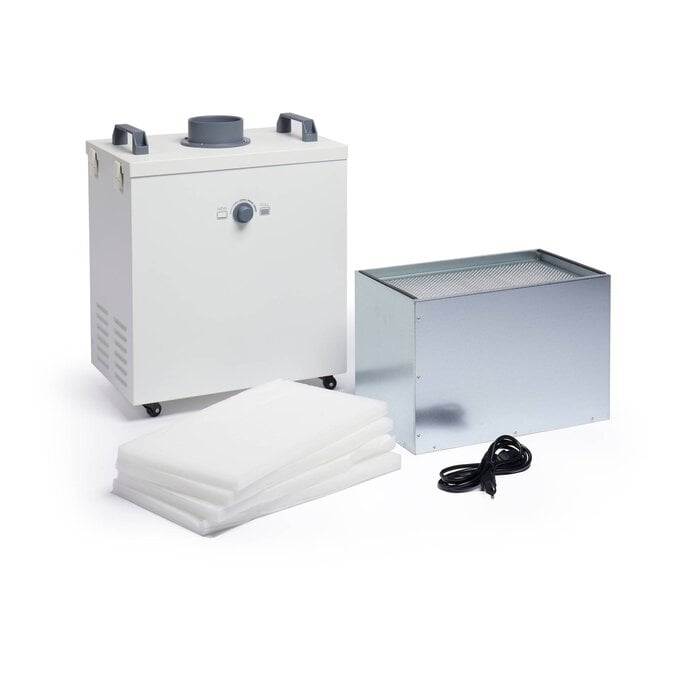
* Glowforger Air Filter
* Glowforge Aura Craft Laser
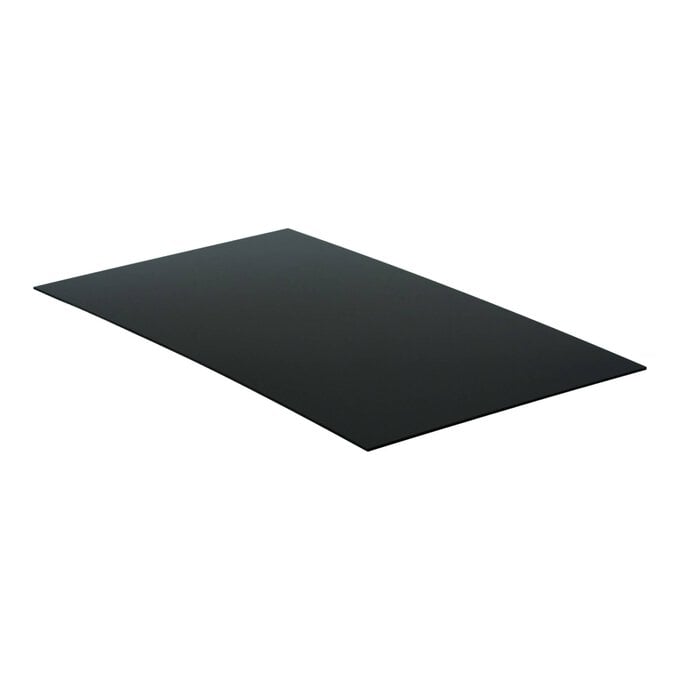
* Glowforge Proofgrade Black Acrylic
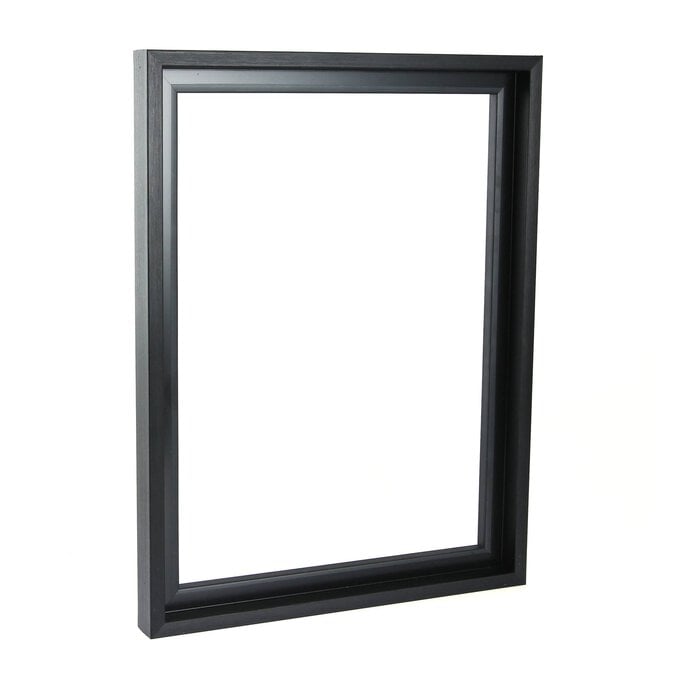
* Black Canvas Frame
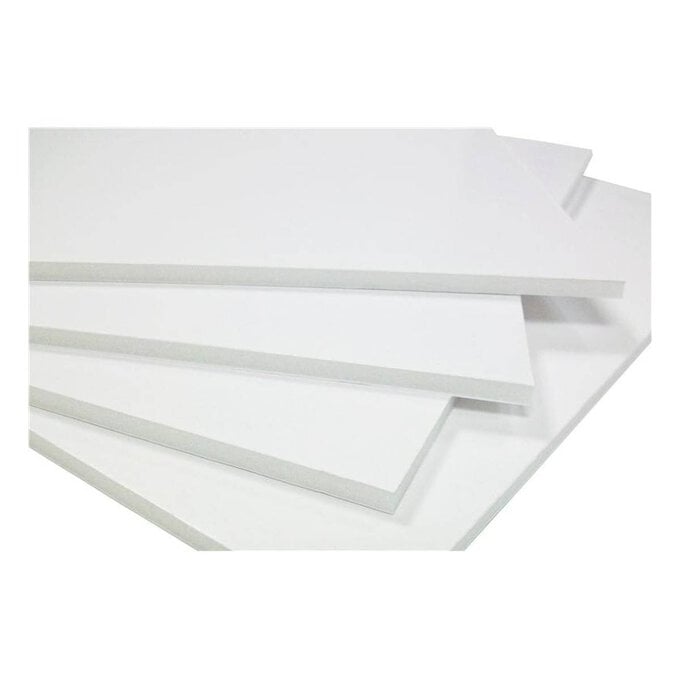
* White Foam Board (Bigger than your frame)
* White Card (Bigger than your frame)
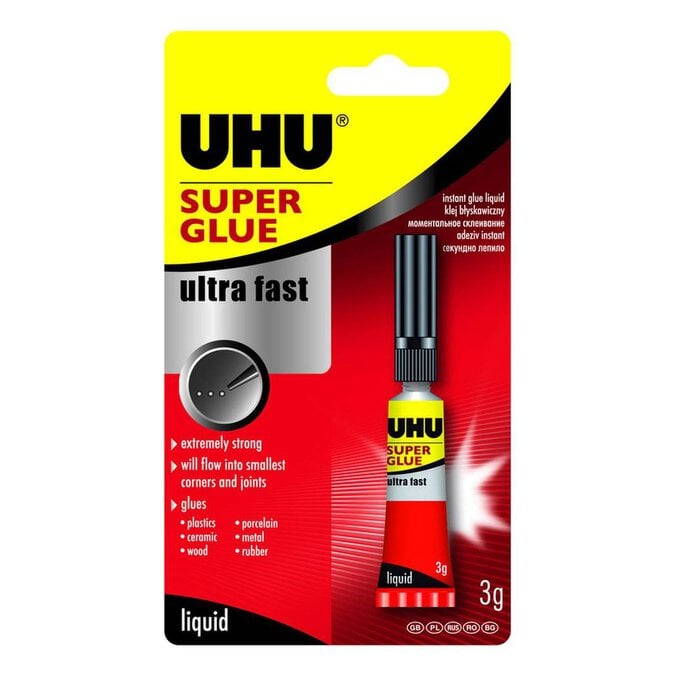
* UHU Glue
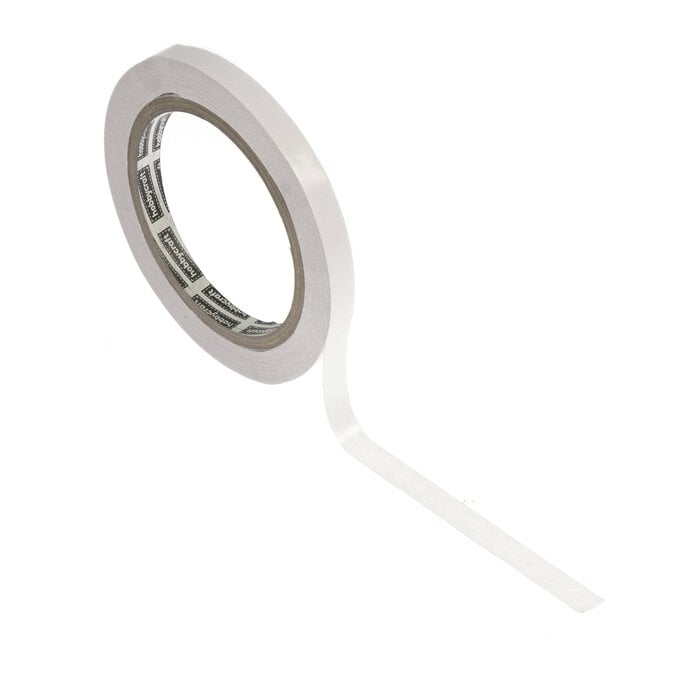
* Double Sided Tape
* Large Cutting Mat
* Craft Knife
* Metal Ruler
* Pencil
How to make
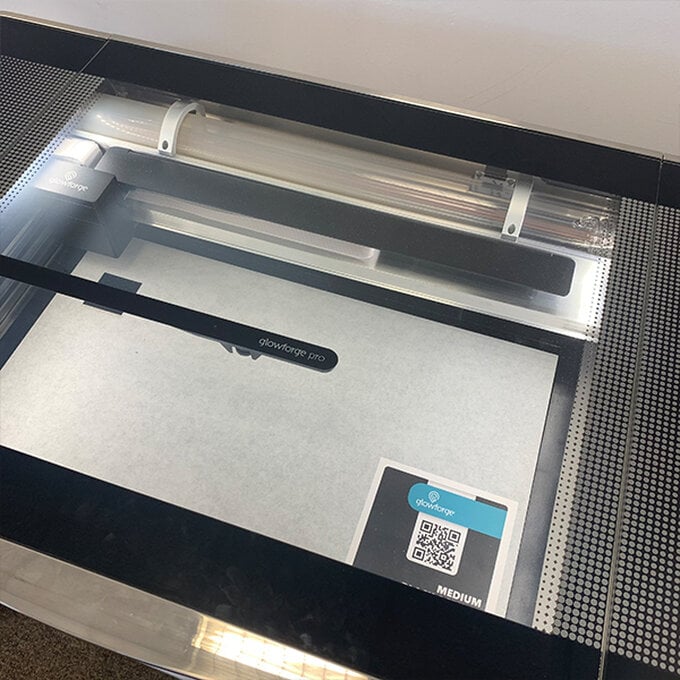
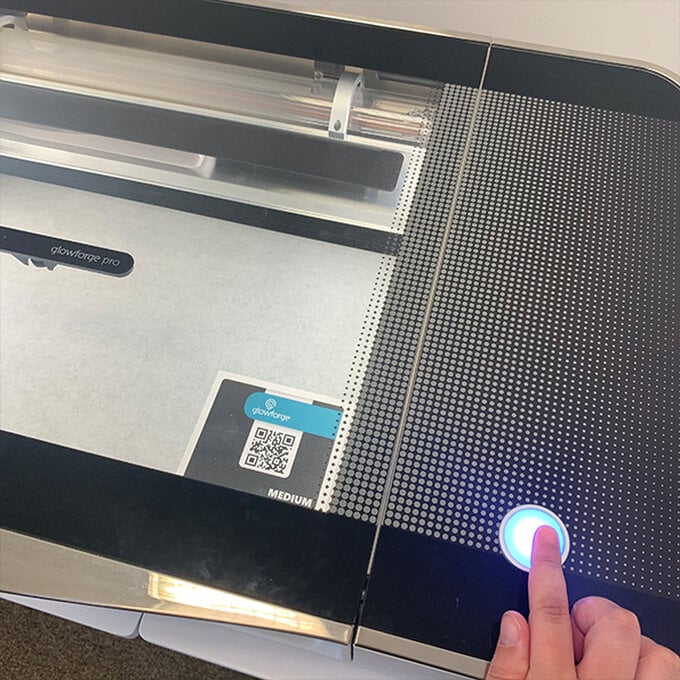
Switch the Glowforge on and connect to the machine on your desktop or laptop. Place the Glowforge proofgrade black acrylic sheet onto the bed of the machine with the QR code facing up.
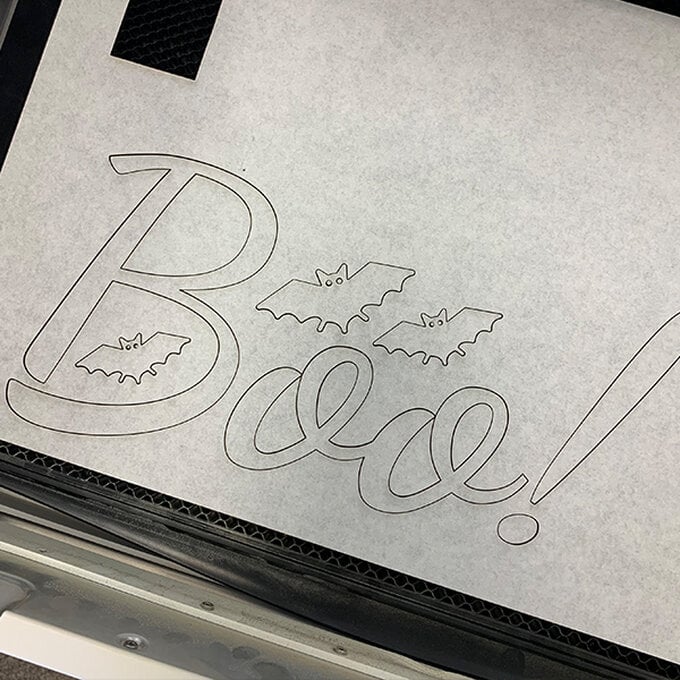
Start a new project within the design software and add type your chosen greeting/message - we’ve used the Normal ‘Dancing Script’ font.
Resize the text as desired making sure to measure the frame you wish to add the cut elements to, ensuring they are not too big/small.
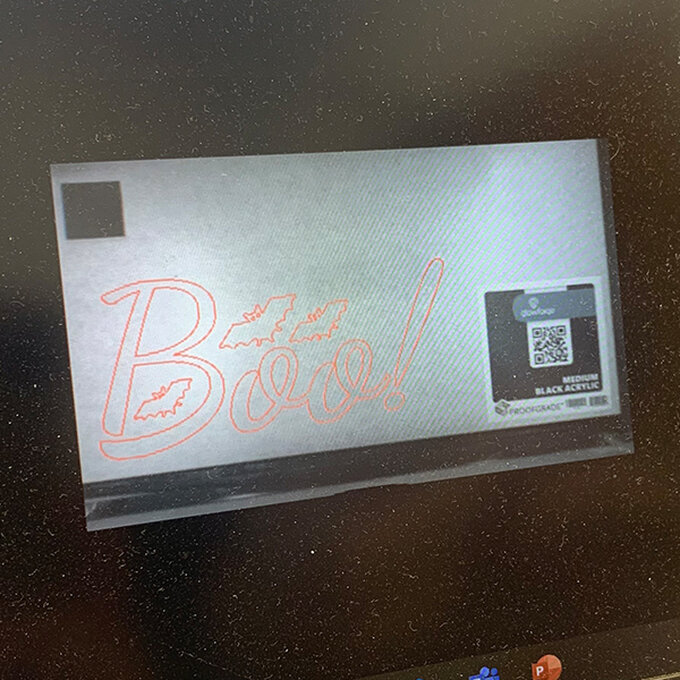
Add any additional design features around the text – we’ve added three bats in various sizes.
Position the elements on the material on screen (the machine will have scanned this shortly after adding it on the bed of the machine).

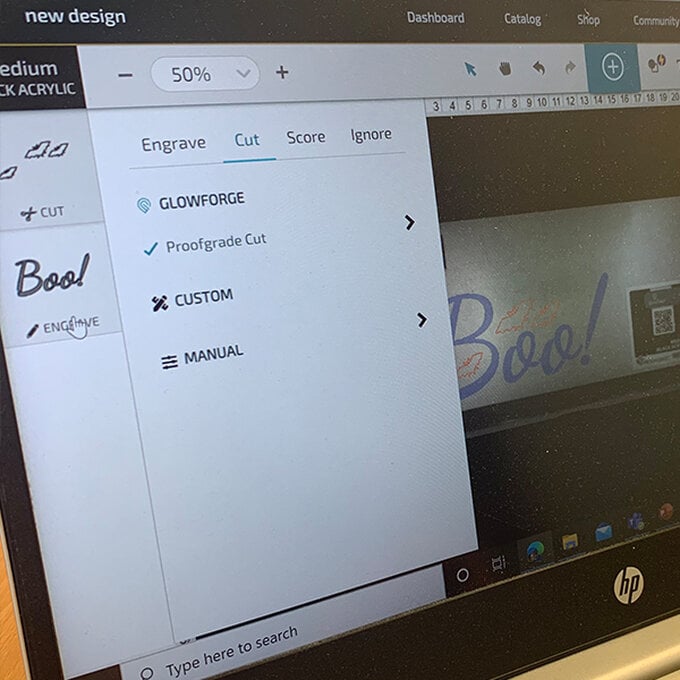
Within each of the design elements down the left-hand side of the screen set each of the elements to ‘Cut’. The lines on the design will now change to red cut lines.
As the material that is being cut is a Glowforge proofgrade material the machine will read the QR code and automatically know the settings that are needed to create the design.
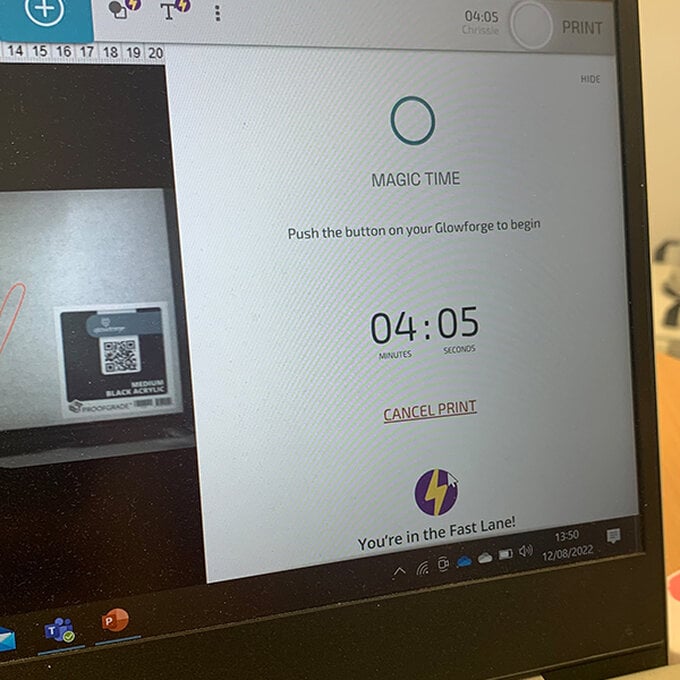
Select ‘Print’, then press the flashing go button on the machine when prompted. The machine will then start work on your design.
While the machine is working, a progress pop-up will appear on screen featuring a count-down timer of how long is left until completion.
Once complete wait for a prompt to display on screen before lifting the machine lid and removing the item/s.
Place to one side.
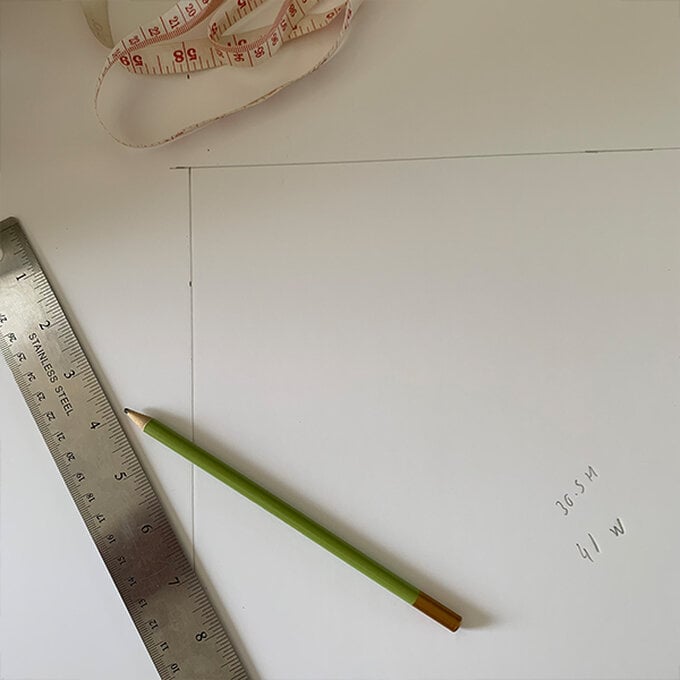
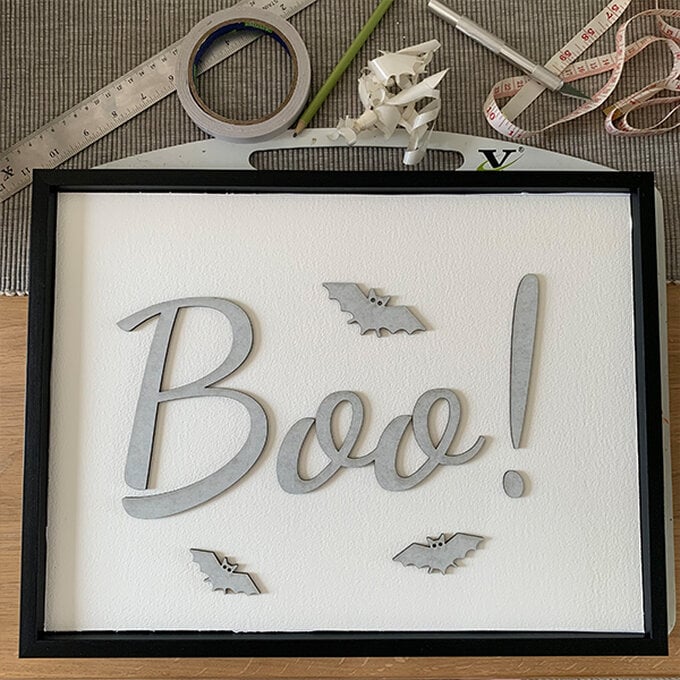
Measure the internal dimensions of the canvas frame and subtract 3mm from the width and height measurements.
Use a ruler and pencil to transfer the measurements to the foam board and the white card, then use a craft knife and metal ruler to cut the foam board and card to size.
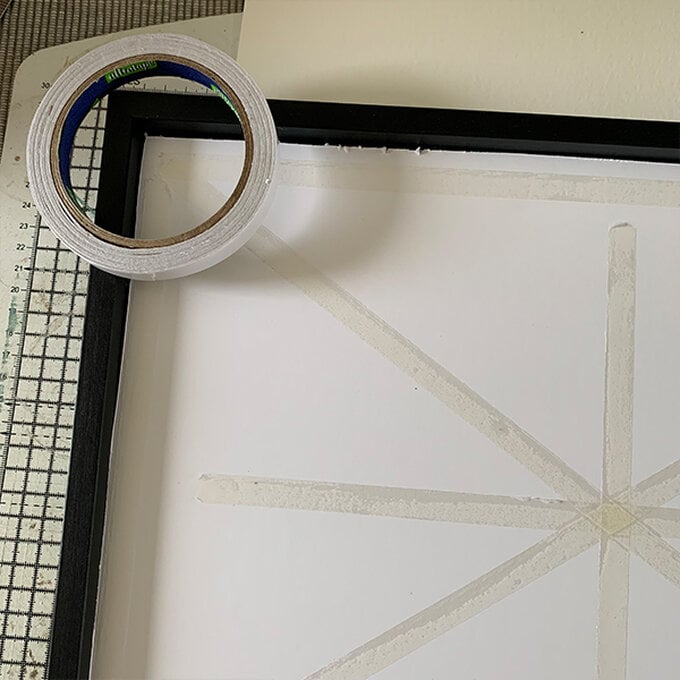
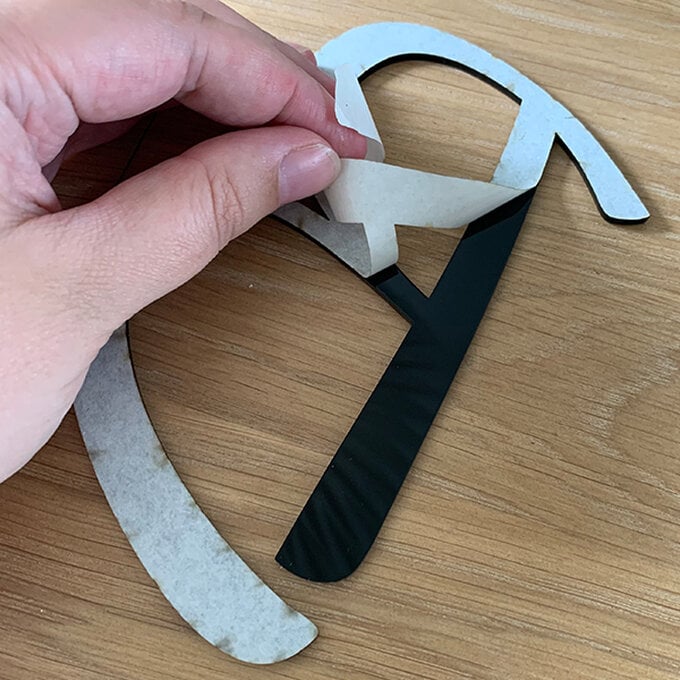
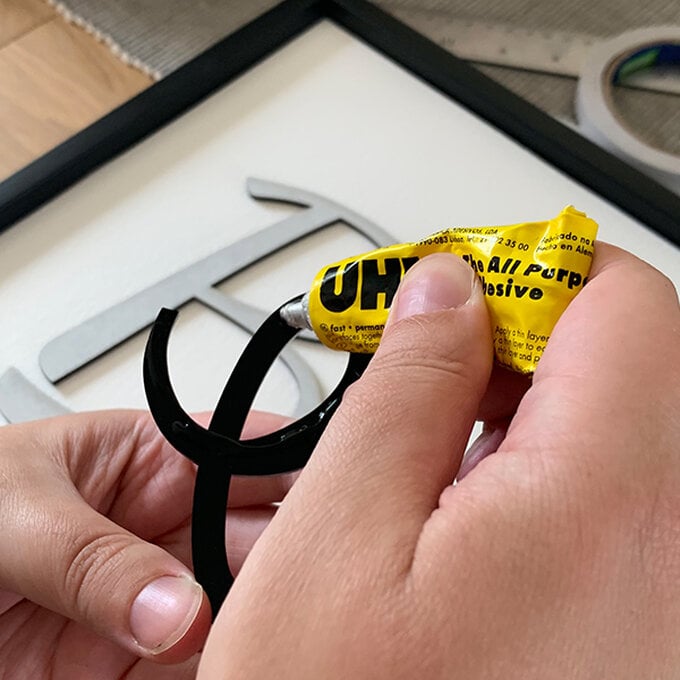
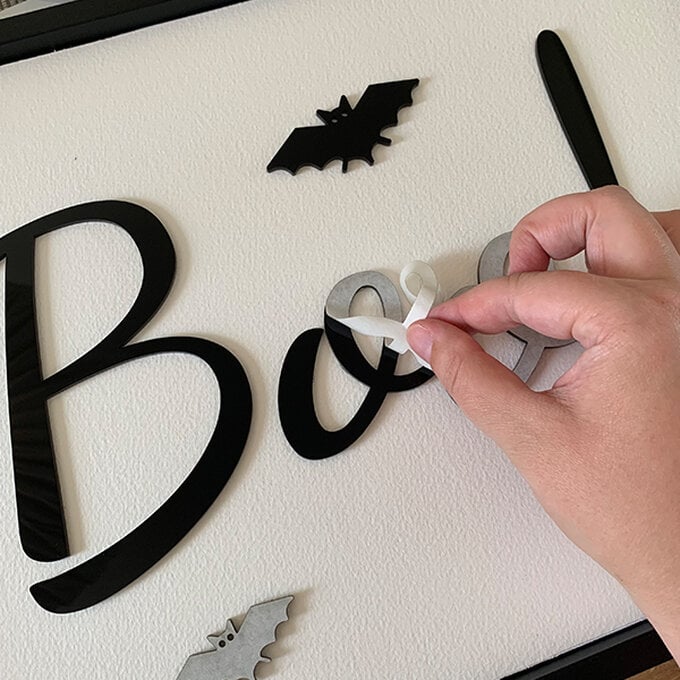
Remove the protective film from the back of the acrylic pieces and position them on top of the cardstock. Once happy with the position use an adhesive to secure the pieces in place.
Leave to dry.
Craft with us at our workshops


Related Products