Cricut: How to Make Wedding Table Numbers
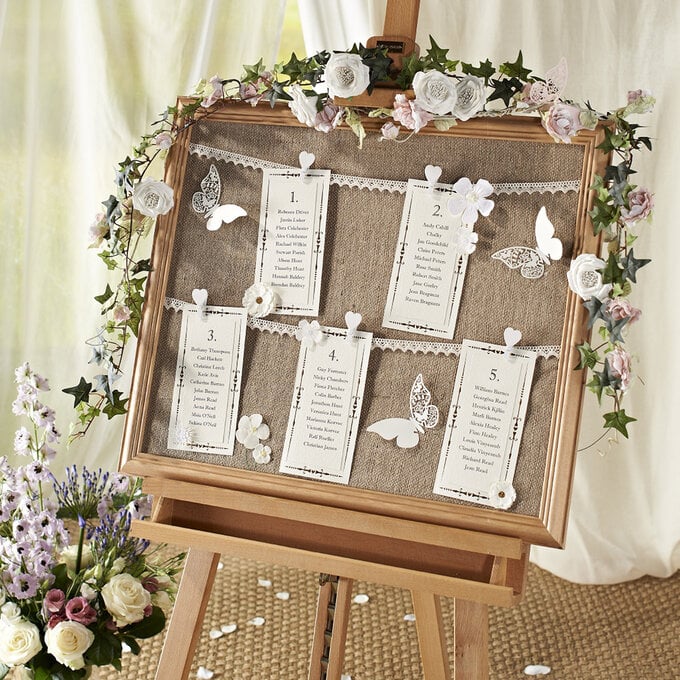
Let your guests know which table is which with these elegant, on-trend table number signs. Simple to make and easy to customise to suit your wedding theme, these table numbers will blend seamlessly into your wedding table arrangement on your big day!
With the help of your Cricut machine, this project is ideal for helping beginner Cricut users to discover new and exciting techniques that can be applied to a variety of different projects.
Project and instructions by Nerrisa Pratt.
Discover more Cricut ideas here andgt;
This project contains paid-for content from Cricut's Design Space app. Screen grab reference images are taken from the desktop version of Design Space. This project was created using the Cricut Maker; however, it can also be recreated on any of the Cricut Explore machines.
You will need

Subtotal
Is $ 607.00

Subtotal
Is $ 13.00

Subtotal
Is $ 40.00
Subtotal
Is $ 2.49 , was $ 4.49
Subtotal
Is $ 12.00
Subtotal
Is $ 13.00
How to make
You will also need:
* Cricut Design Space app installed on a laptop, PC, Tablet, or mobile device.
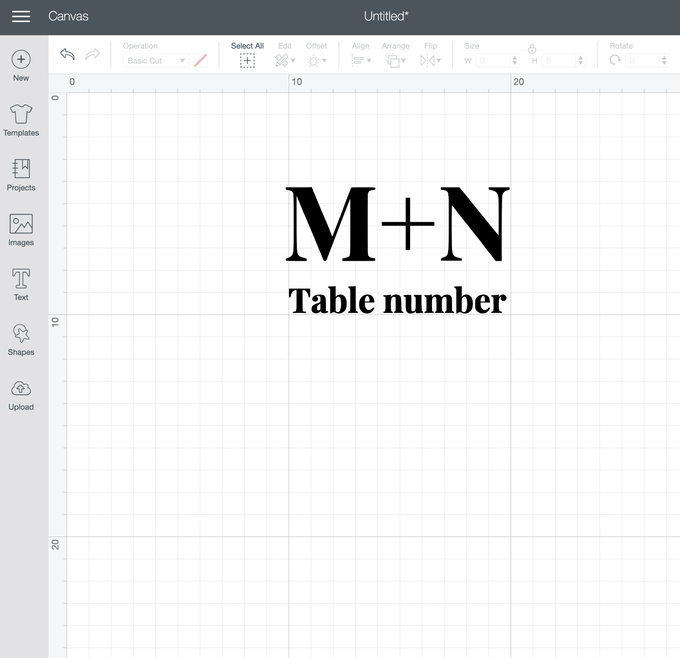
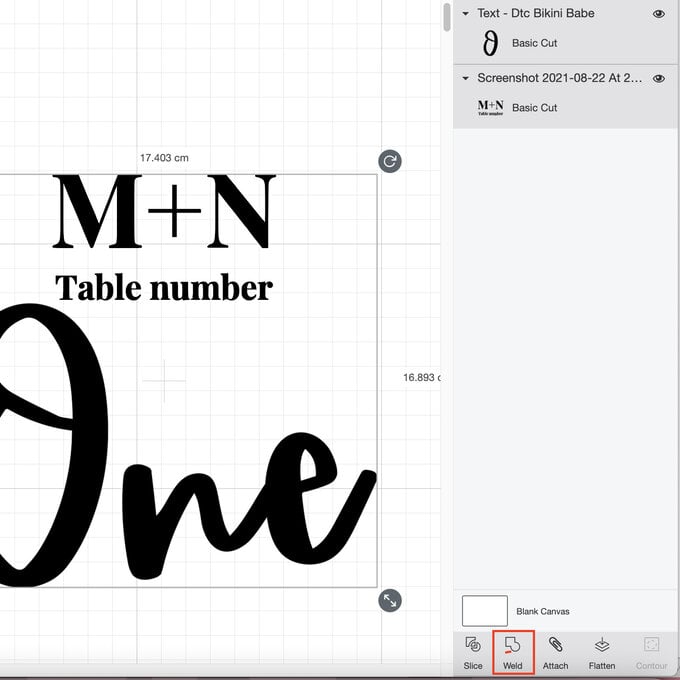
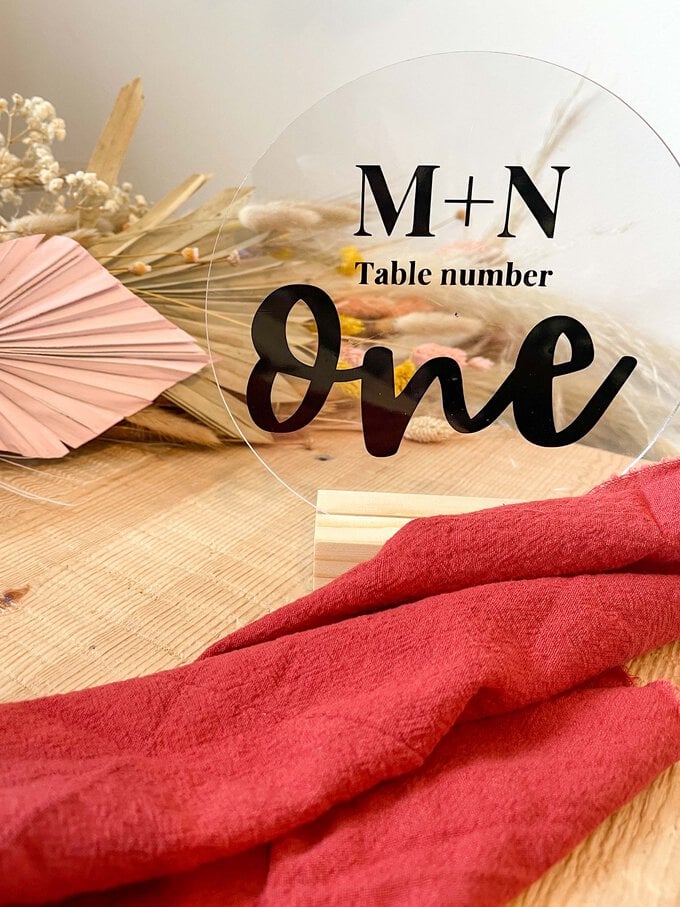
Open Design Space and in a blank canvas, type in your initials and the word 'Table Number' using the font 'Cochin'.
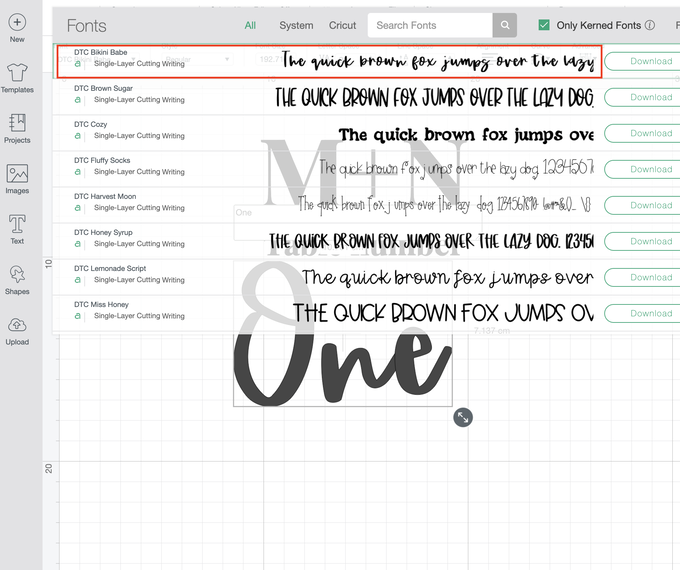
Next, add the table number in text form and change the font to 'DTC Bikini Babe' and place this just below your first set of text.
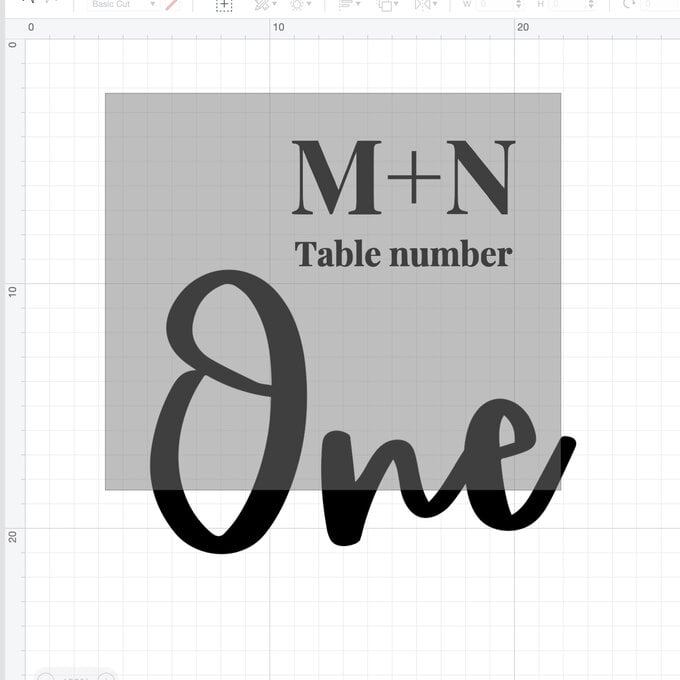
Make the number the same width as your table sign and then drag your mouse over the two pieces of text to select them both at the same time.
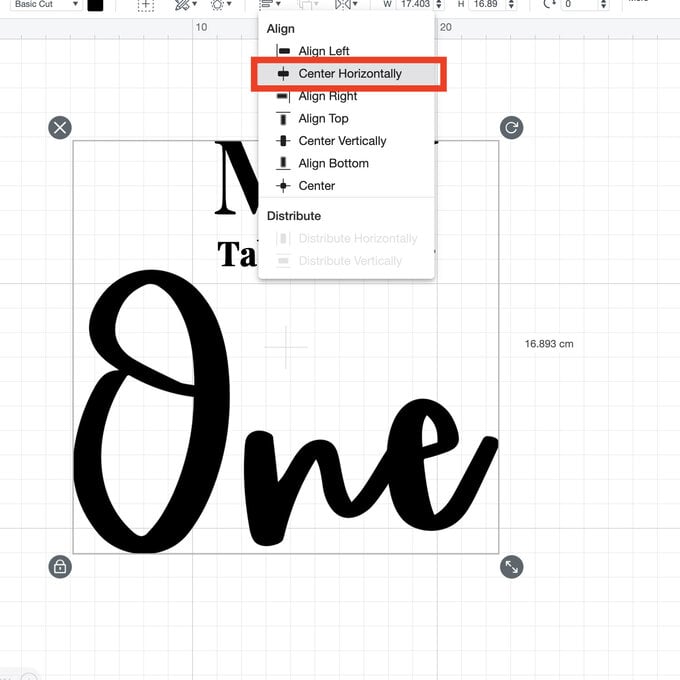
On the top menu select the 'Align' button and then choose 'Centre Horizontally' to make sure everything is centred.
Once you're happy with the placement of the letters, repeat this for as many table numbers as you have all on the same canvas.
Before you cut the image, make sure you select the 'Weld' tool which will flatten the image and stop it from moving around the mat.
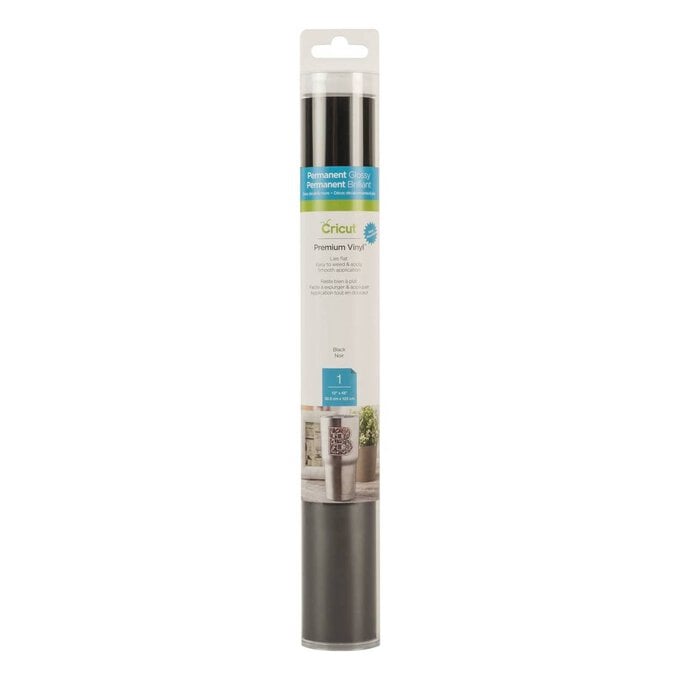
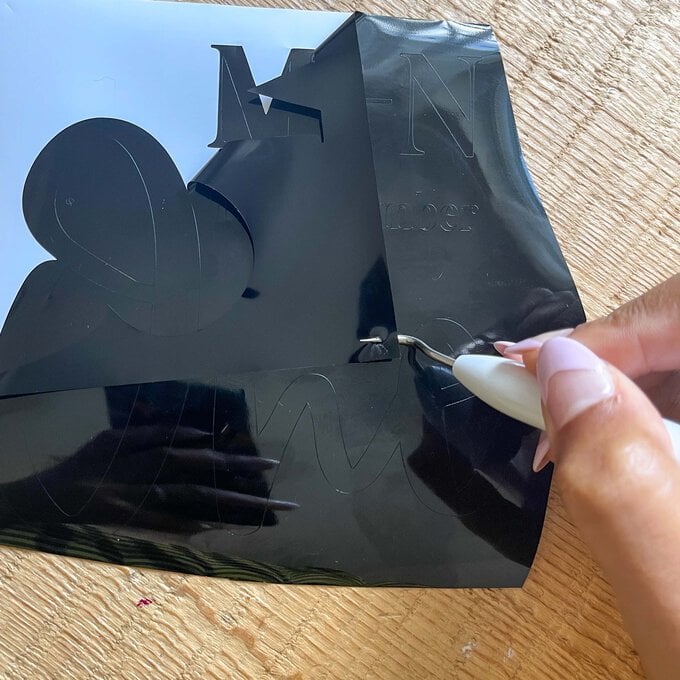
Place the vinyl on to the cutting mat and send your table numbers to cut. Once your cut is complete, weed the vinyl using the Weeding Tool and separate the numbers so you have each one on a separate sheet.
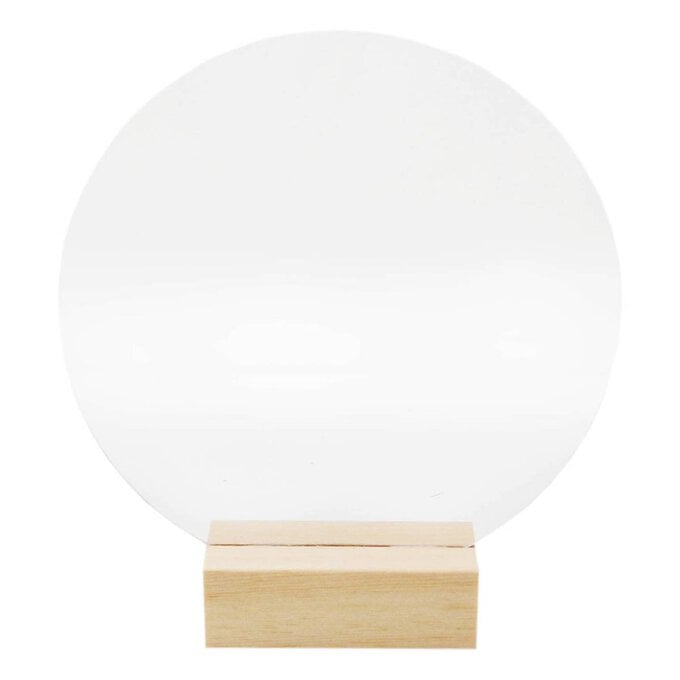
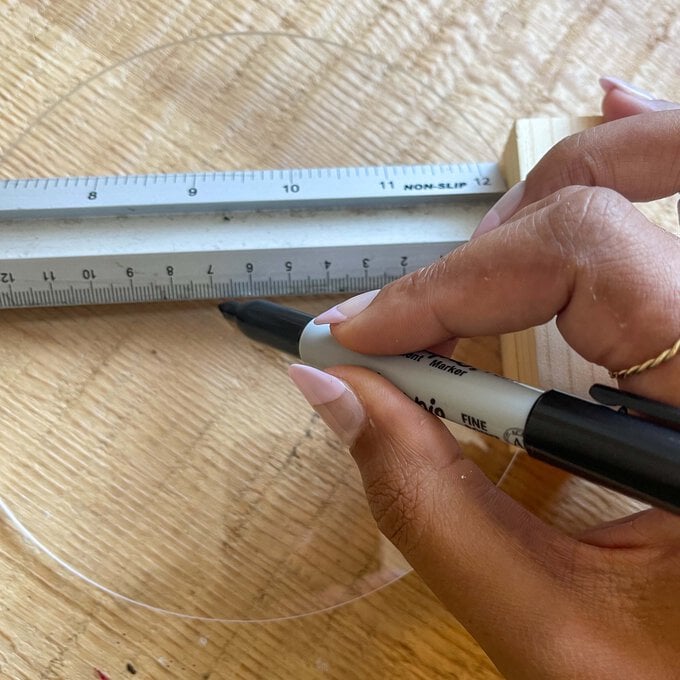
On your table number blank, take a ruler and measure in horizontally and vertically to determine the centre point – we'll use this to line up the vinyl correctly in the next step.
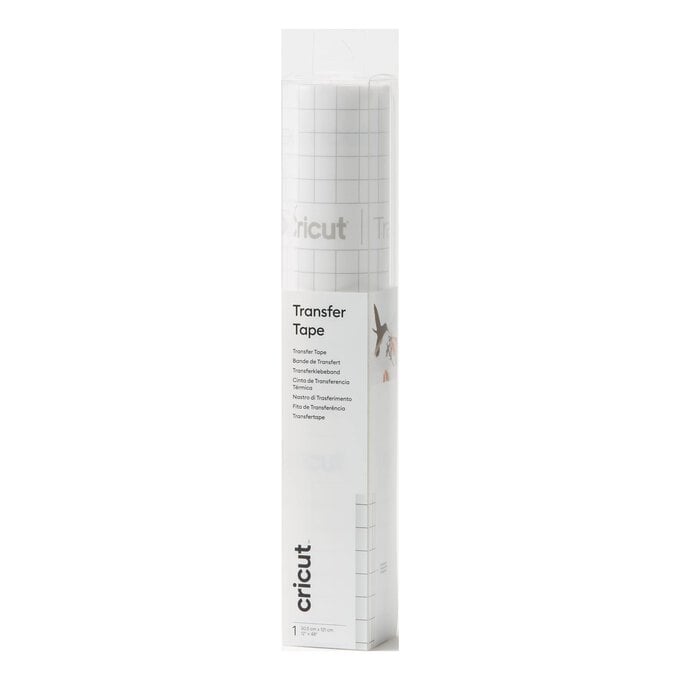
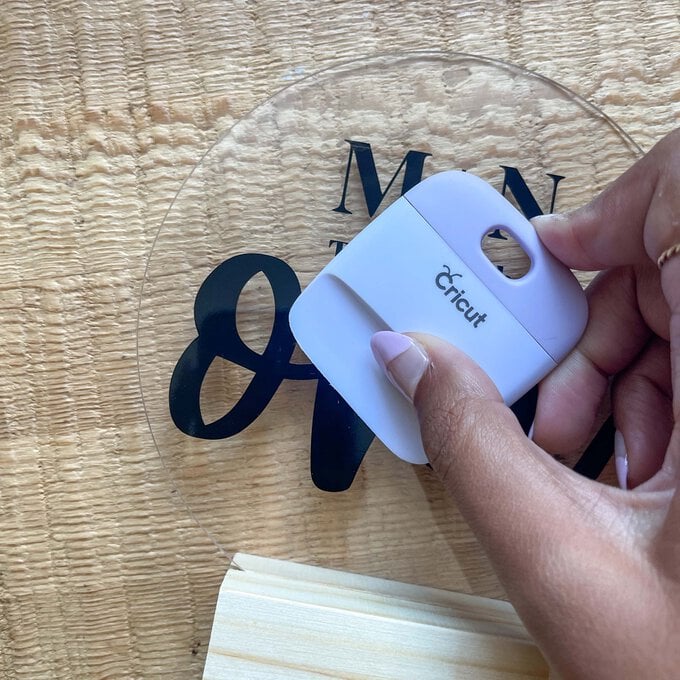
Cut your Transfer Tape to size and peel it away from the backing, place the tape over the weeded letters and use the Scraper Tool to make sure they are picked up.
Peel the letters away from the backing sheet and line up the middle of your letters with the middle point you marked earlier on the table number blank.
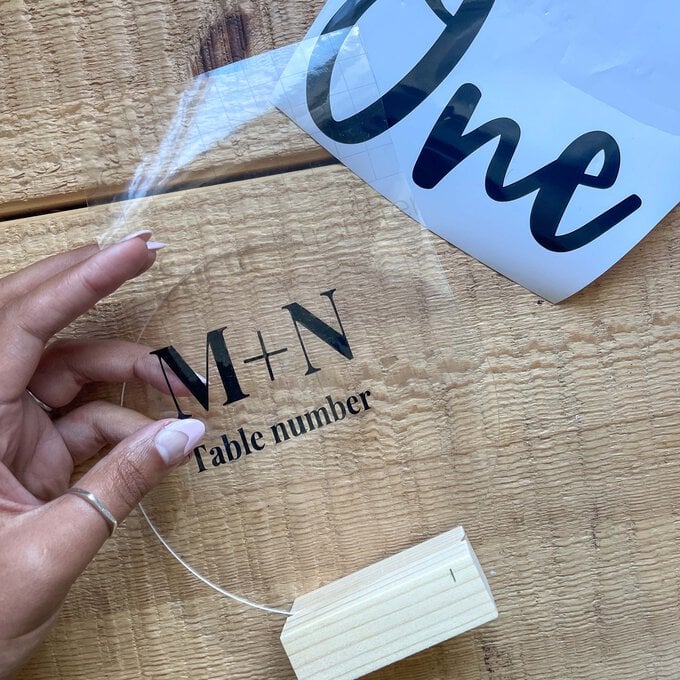
Using the Scraper Tool, rub the Transfer Tape thoroughly to ensure the vinyl stays in place and then slowly peel away the tape – if needed, lay the vinyl back down and scrape the letters a bit more if they start to lift.
Once you've completed all your table numbers, you'll be able to display them with pride!
Related Products
.jpg?sw=680&q=85)