Glowforge: How to Make Easter Egg Hunt Signs
Create the perfect Easter egg hunt signs with the help of your Glowforge Machine!
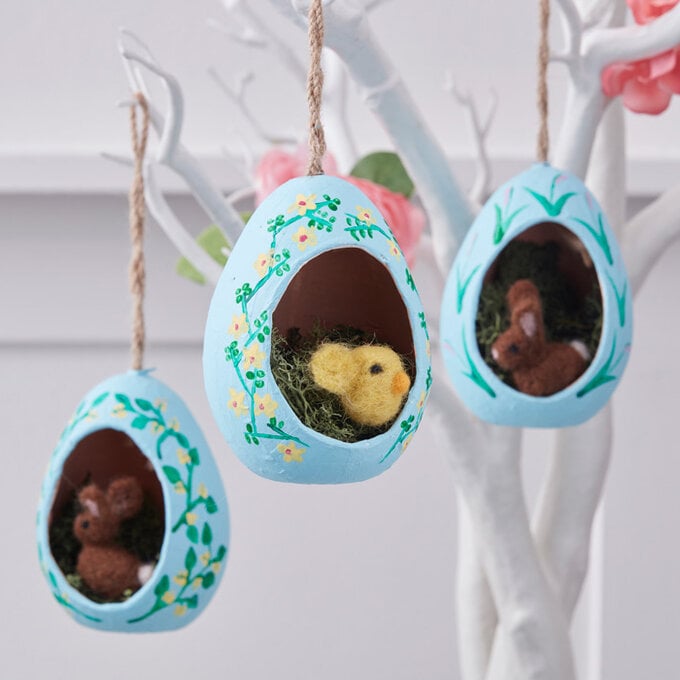
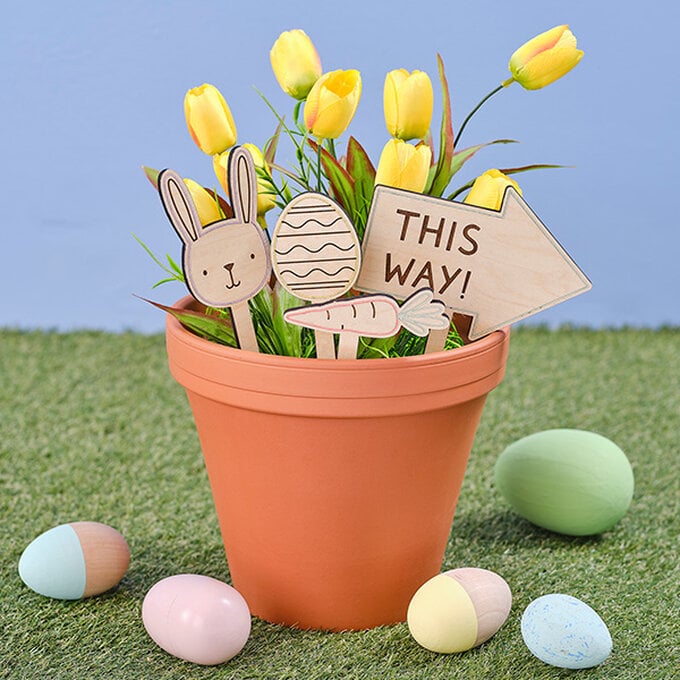
Add some excitement to your little one's Easter activity with these signs that can be used year after year.
What's more, these beautiful decorations can be produced in just a few simple steps.
You will need
Subtotal
Is $ 1,985.00 , was $ 2,270.00
Subtotal
Is $ 27.00 , was $ 39.00
Subtotal
Is $ 3.49
Subtotal
Is $ 3.49
Subtotal
Is $ 28.00 , was $ 40.00
How to make
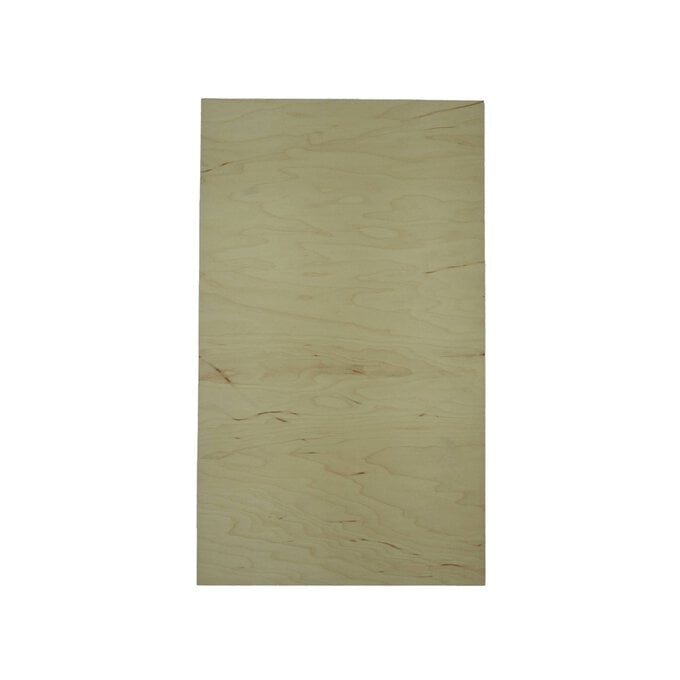
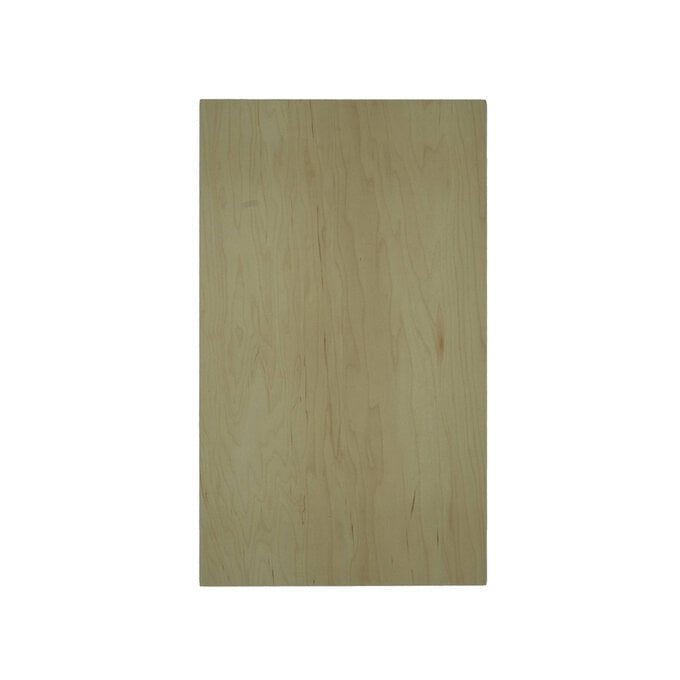
* Glowforge Proof grade Maple Thick Plywood 12 x 20 Inches
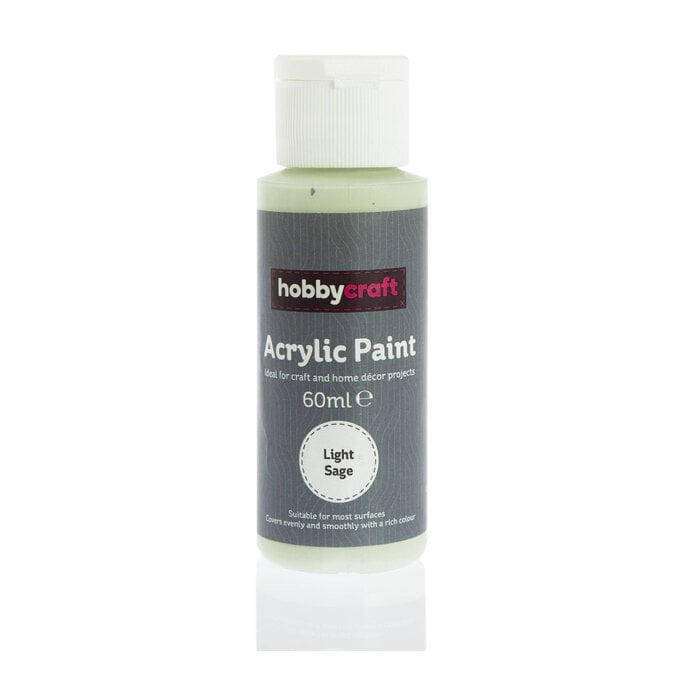
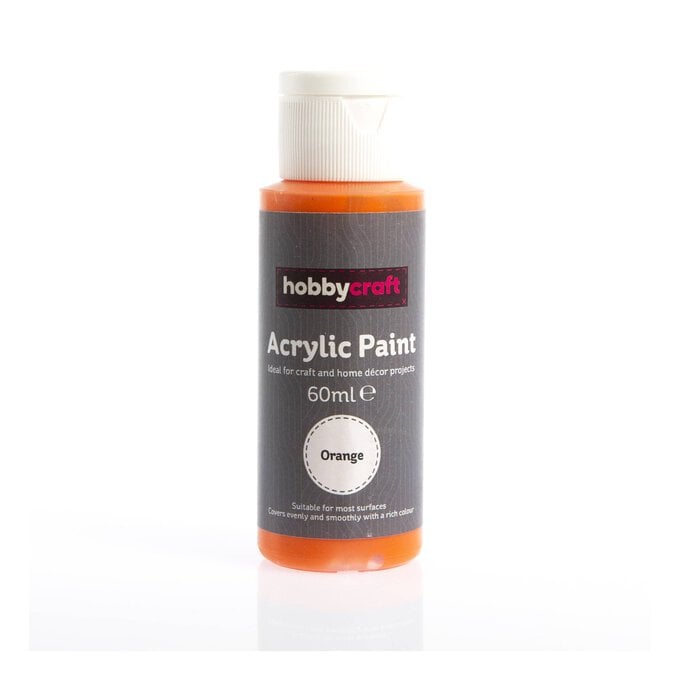
* Hobbycraft Acrylic Paint in Light Sage, Iris, Yellow and Orange
* A Paintbrush
* Free Templates - Downloaded + Printed


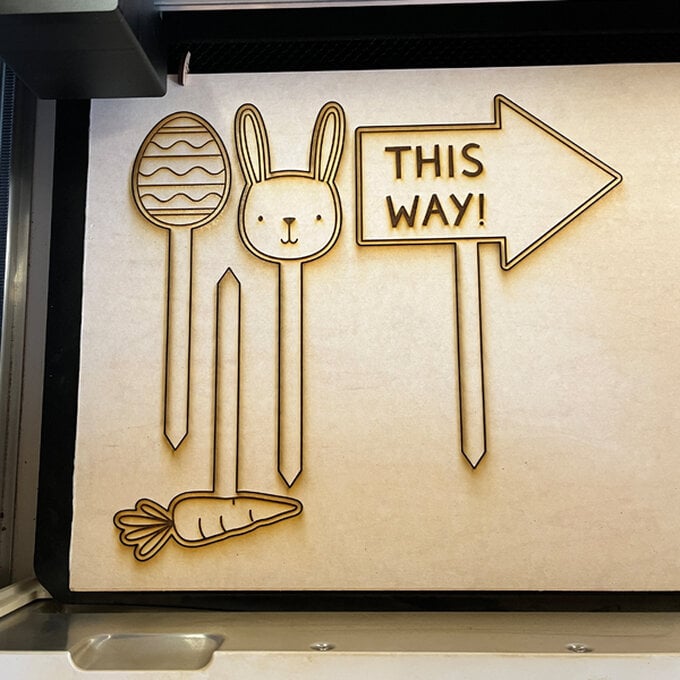
To begin, download the free Easter Egg Hunt Signs file.
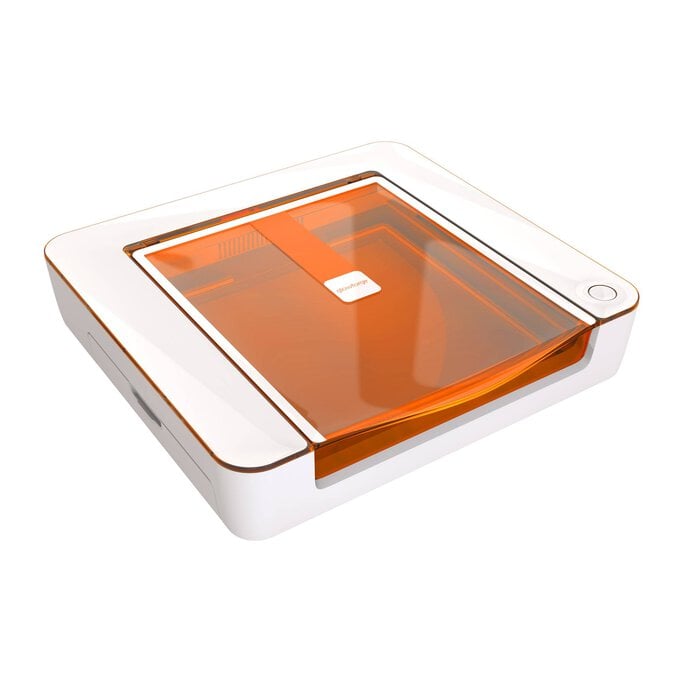
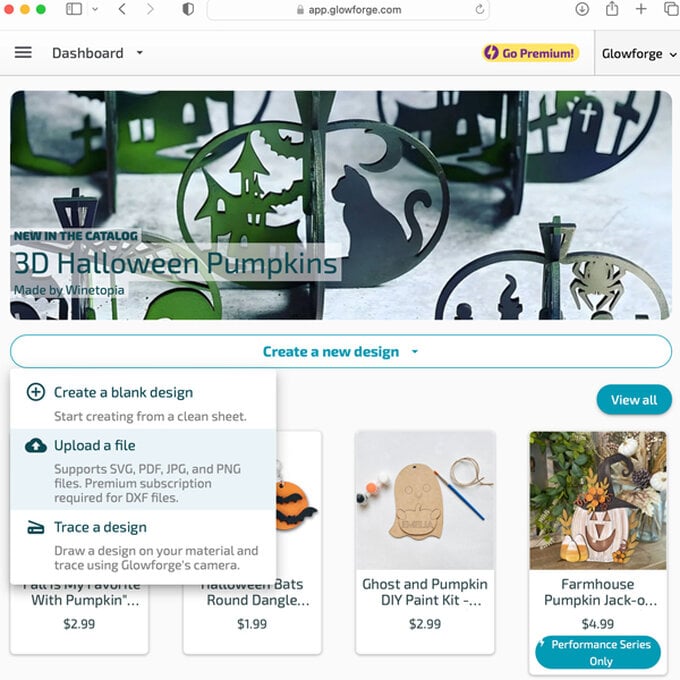
Place the maple plywood in your Glowforge and open the Glowforge homepage on your device.
Click on 'Create a New Design’ on the left of the screen, then click on 'Upload a File’ and select the Easter Egg Hunt Signs file.
Line up the design on the part of the board you want it to be cut on.
If the board still has the label on it, the software will detect the Glowforge proofgrade material automatically and load the settings for the cut and engrave. If it doesn’t, click on ‘Unknown Material’ and select maple thick plywood.
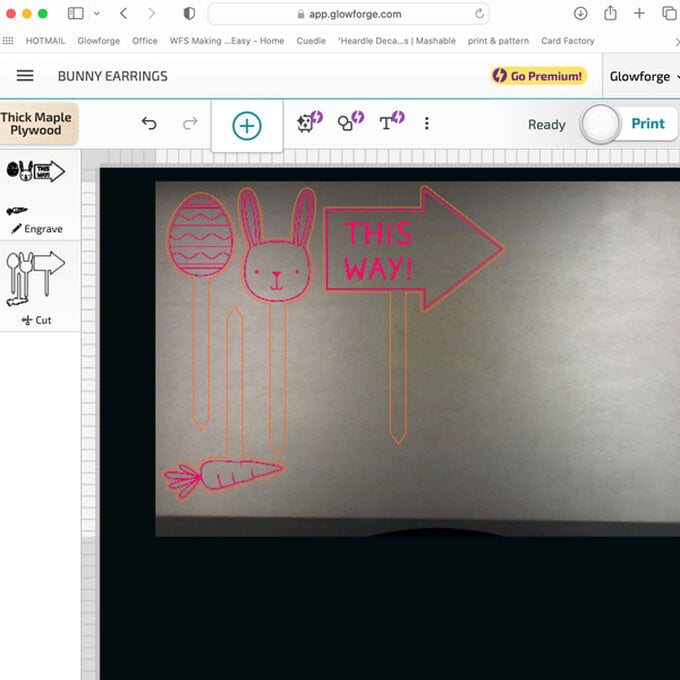
Click 'Print' and press the flashing button on your Glowforge.
When the print is finished, remove the board from the machine.
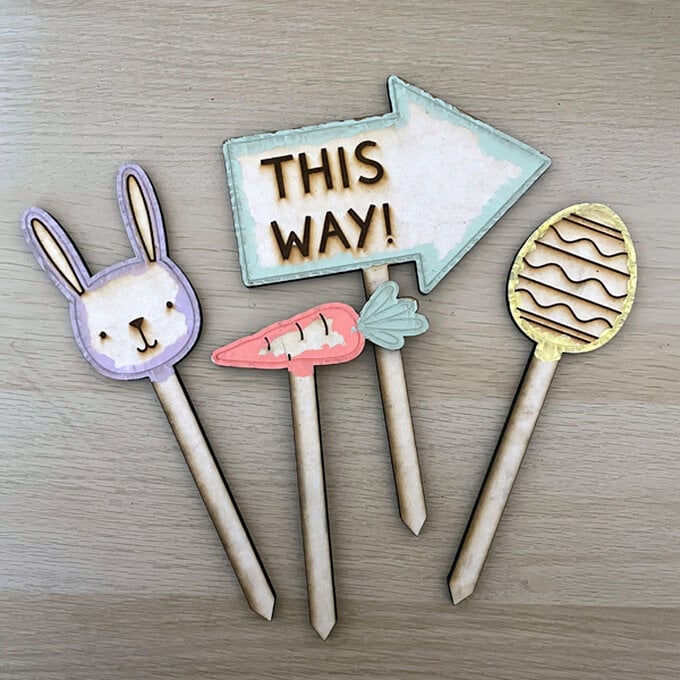
Leave the mask on, and paint the outline of each sign.
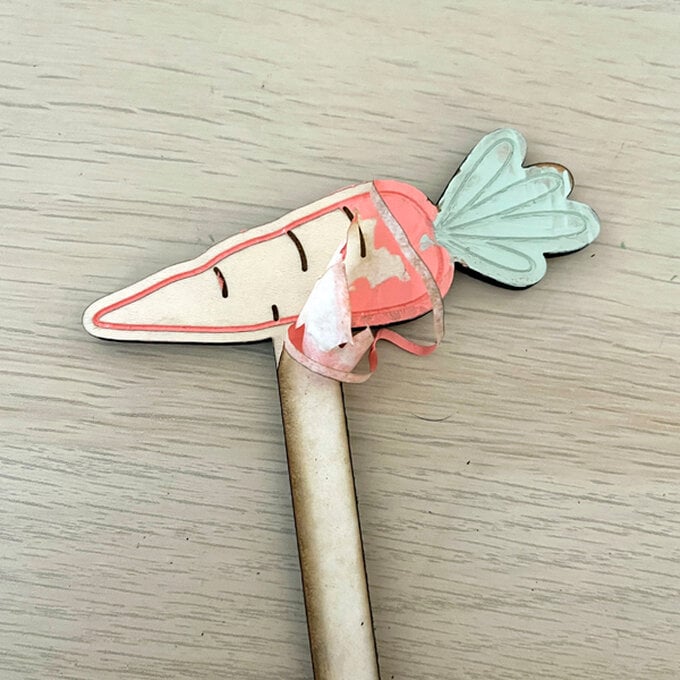
Use yellow for the egg, iris for the bunny, sage for the arrow, and orange and sage for the carrot.
When the paint is dry, remove the mask from the signs.
Related Products