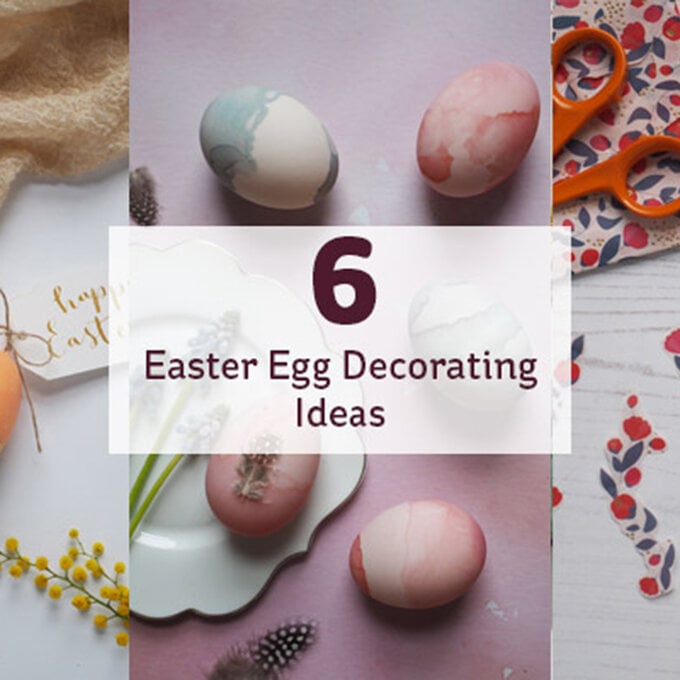
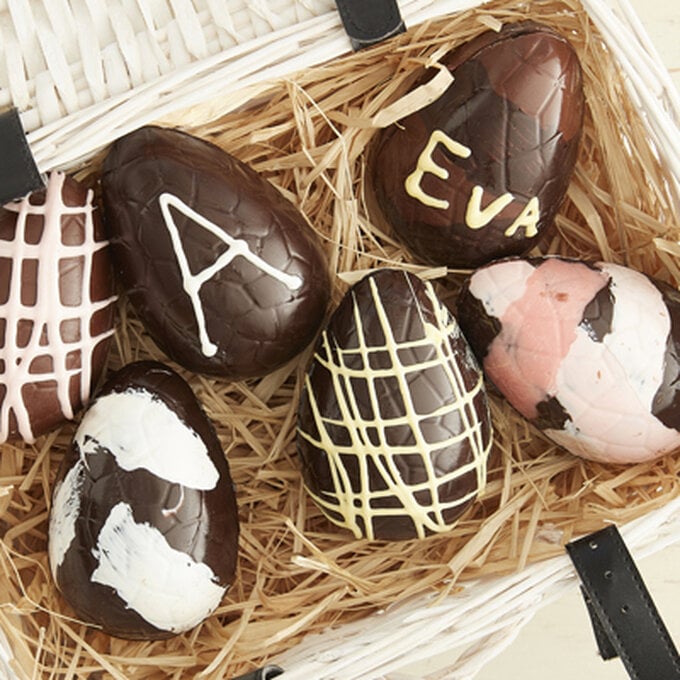
How to Make Marbled Eggs
Have fun creating these decorative eggs with marbling. They will look great hanging up this Easter.
Tutorial by Becki Clark
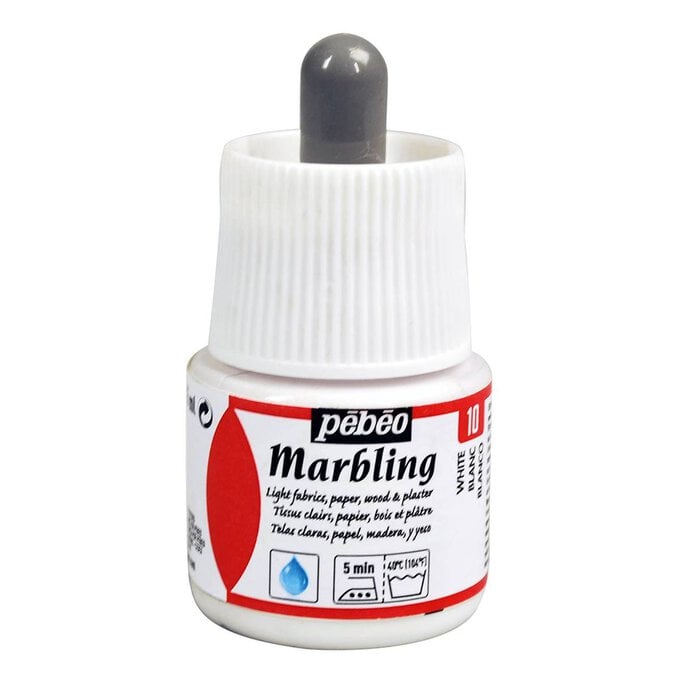
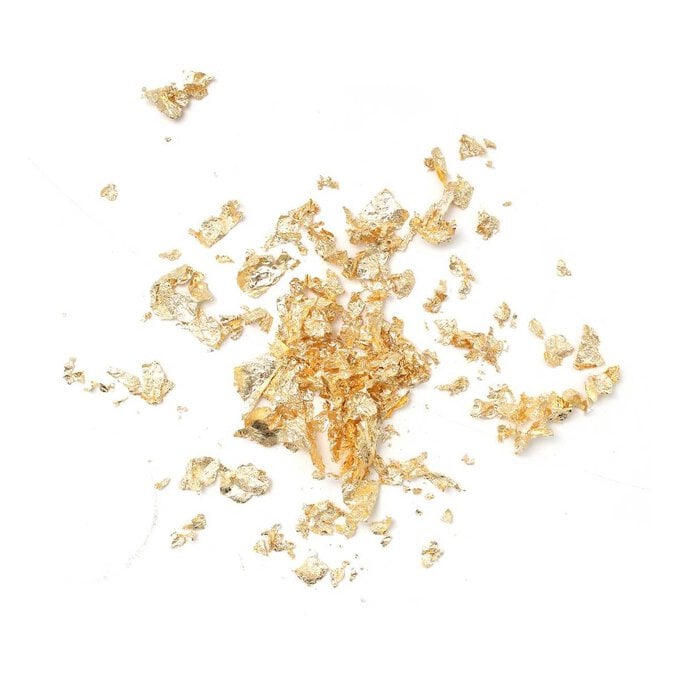
You will need

Subtotal
Is $ 8.49
Subtotal
Is $ 8.49

Subtotal
Is $ 3.49
Subtotal
Is $ 11.00

Subtotal
Is $ 6.49
How to make
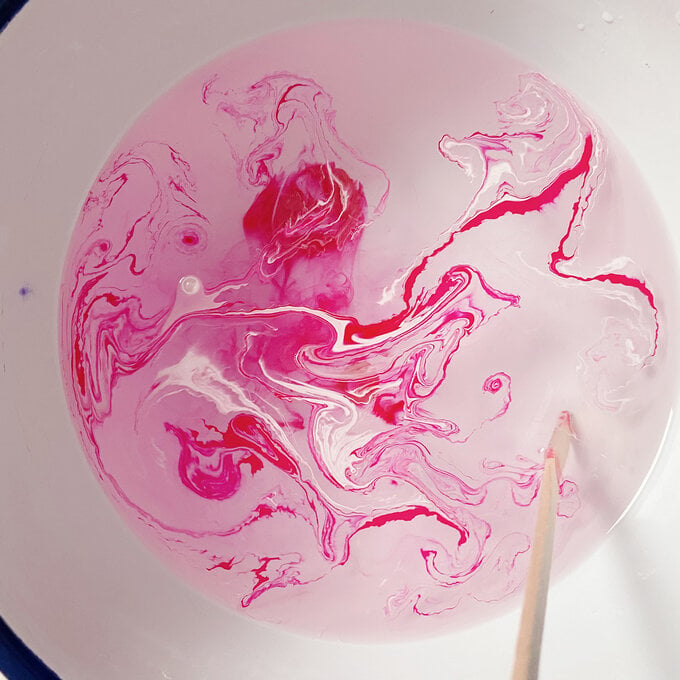
Choose the colours you'd like to work with onto your eggs, the great thing about marbling is you can use as many or as little colours as you like so if you're new to it maybe choose a few colours or one you'll use for a couple of projects, I've going to be using Pink and white. Add water to your marbling tray and then begin to add pipets of ink into the water mixing between the colours you have chosen.
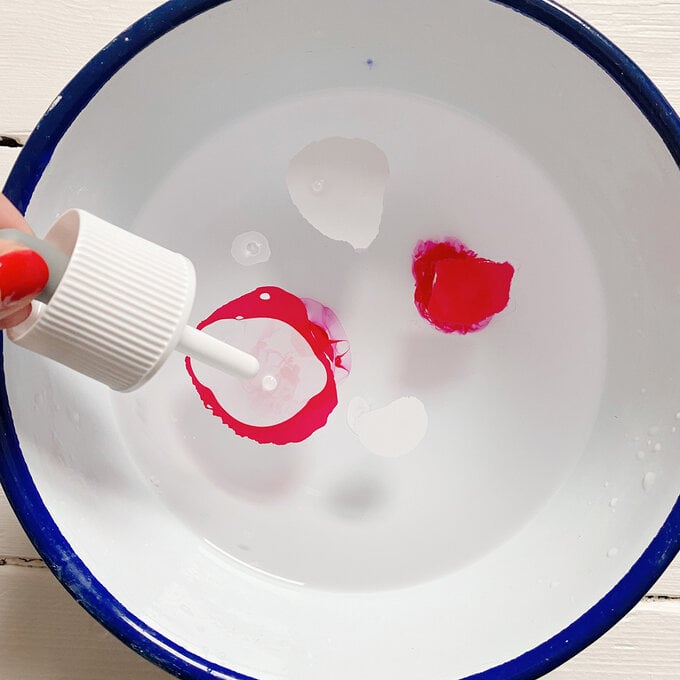
Take the stirring stick and swirl the ink around to create your marbled effect in the tray.
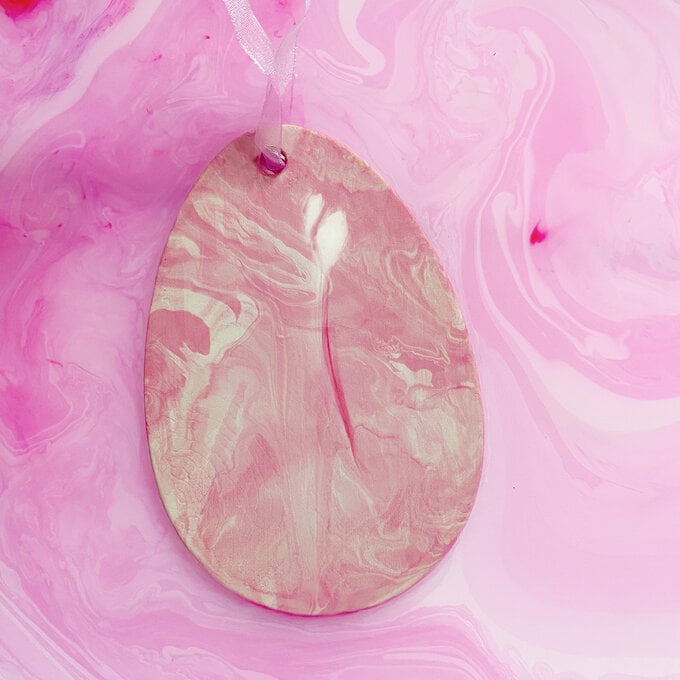
Place your ceramic egg face down into the mixture and cover both sides of the ceramic before lifting it back out
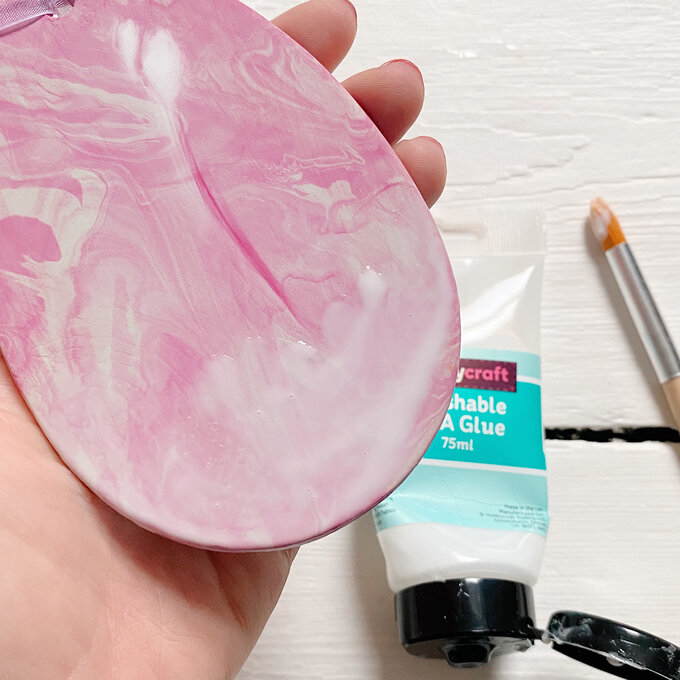
Once dry add a layer of pva glue to the bottom on the egg that staggers across the line of the egg, this is where you'll place the gold flakes
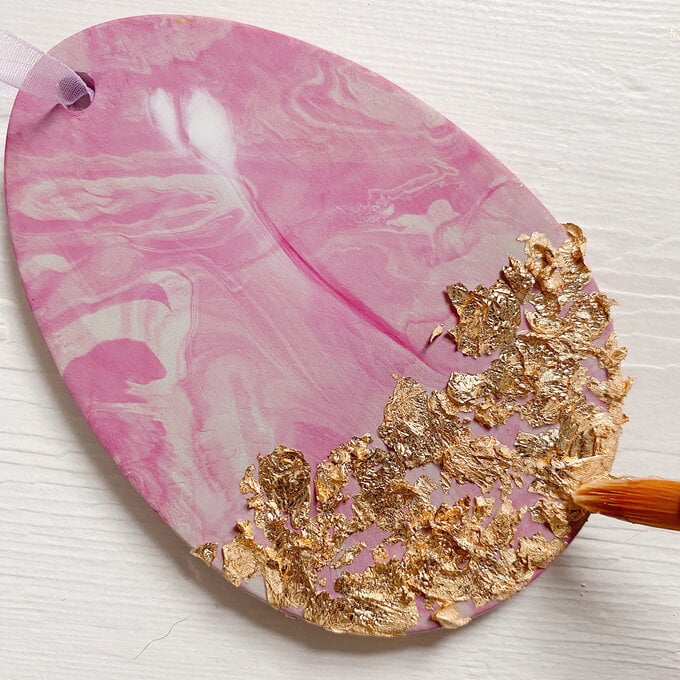
Sprinkle the gold flakes onto the pva area and using the paint brush lightly push down to secure them to the ceramic.
Related Products