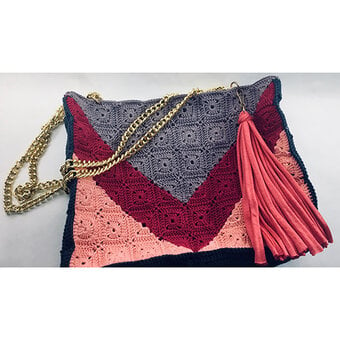
How to Crochet a Granny Square Clutch Bag
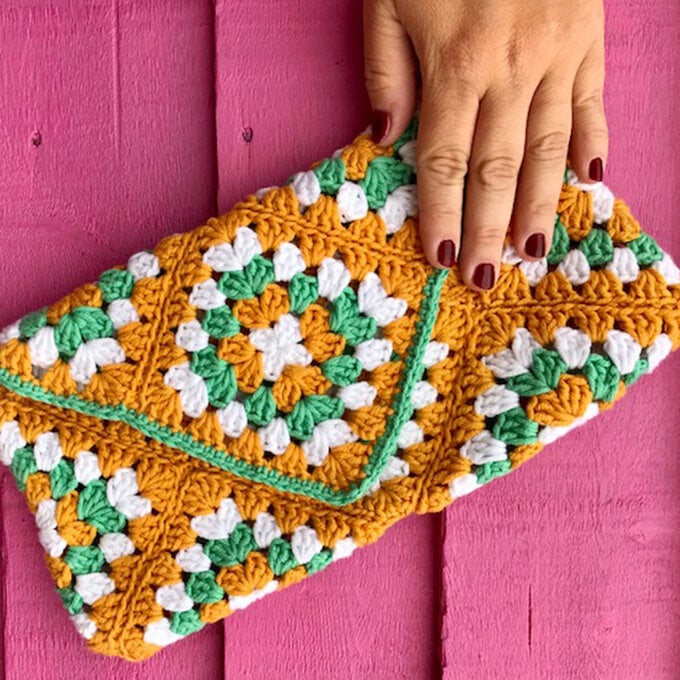
This is a fun quick make is ideal for a summers evening and would look great in any of the Knitcraft Cotton Blend colours. Using a 3.5mm hook and a chain 1 space in between treble crochet clusters ensures small items will not easily drop out.
Give your wardrobe a lease of life with this holiday essential! Get crocheting in whatever colours will compliment your style.
Pattern by @little_crochet_makes
You will need
Subtotal
Is $ 5.49
Subtotal
Is $ 4.49
Subtotal
Is $ 5.49
Subtotal
Is $ 4.49
You Will Need
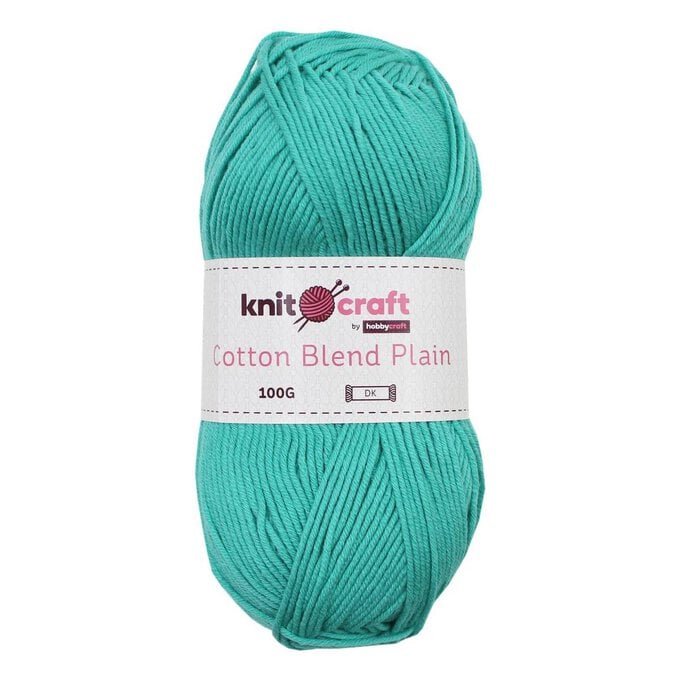
* Knitcraft Cotton Blend DK Yarn 100g - White, Mustard, Teal
* 3.5mm Crochet Hook
* Yarn Needle
* Scissors
* 18mm Snap Fastener (Optional)
Abbreviations
Ch – Chain
Tr – Treble Crochet
Slst – Slip stitch
Dc – Double Crochet
Ws – Wrong side
Rs – Right side
Pattern Notes
This pattern is written using UK terms.
Tension is not essential for this project, but each square is approximately 10cm (4”) x 10cm (4”) using a 3.5mm hook.
Starting chains count as first tr for this pattern, unless otherwise stated.
Ensure you block your granny squares/half squares before you join them.
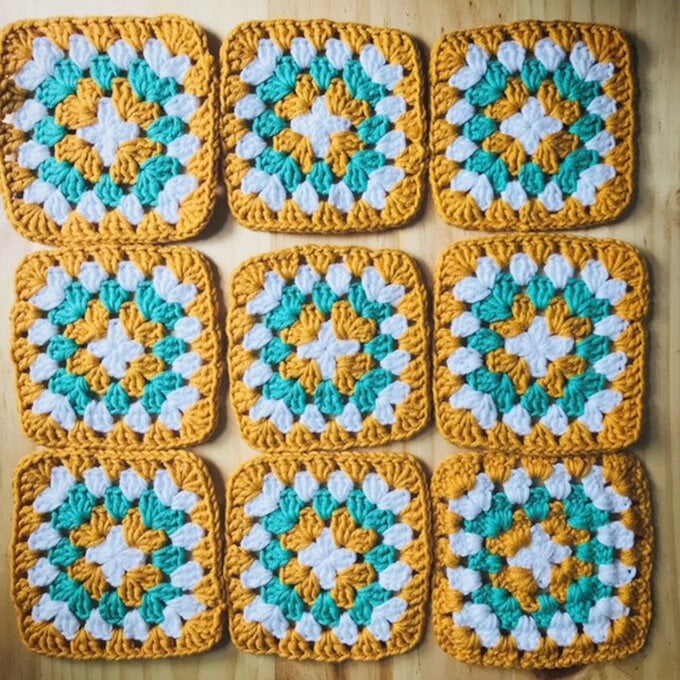
(Make 9)
Using the 3.5mm hook and 'Yarn A', ch 4, slst in the first ch to form a loop.
Round 1: Ch 3 (counts as first tr throughout), 2tr into the loop, ch1, *3tr into loop, ch1* rep twice more. Slst into the top of starting ch3. (4 tr clusters)
Change to 'Yarn B', attach yarn to any ch-sp (corner).
Rnd 2: Ch3, [2tr, ch1, 3tr] in first corner, *ch1, [3tr, ch1, 3tr] in next corner*, rep twice more, ch1. Slst into the top of starting ch3. (8 tr clusters)
Change to 'Yarn C', attach yarn to any corner.
Rnd 3: Ch3, [2tr, ch1, 3tr] in first corner, *ch1, 3tr in next ch-sp, ch1, [3tr, ch1, 3tr] in next corner* (into same corner), rep twice more, ch1, 3tr in next ch-sp, ch1. Slst into the top of starting ch3. (12 tr clusters)
Change to 'Yarn A', attach yarn to any corner.
Rnd 4: Ch3, [2tr, ch1, 3tr] in first corner, * *ch1, 3tr in next ch-sp* twice, ch1, [3tr, ch1, 3tr] in next corner* rep from first * twice more, *ch1, 3tr in next ch-sp* twice, ch1. Slst into the top of starting ch3. (16 tr clusters)
Change to 'Yarn B', attach yarn to any corner.
Rnd 5: Ch3, [2tr, ch1, 3tr] in first corner, * *ch1, 3tr in next ch-sp* three times, ch1, [3tr, ch1, 3tr] in next corner* rep from first * twice more, *ch1, 3tr in next ch-sp* three times, ch1. Slst into the top of starting ch3. (20 tr clusters)
Fasten off and weave in all the ends.
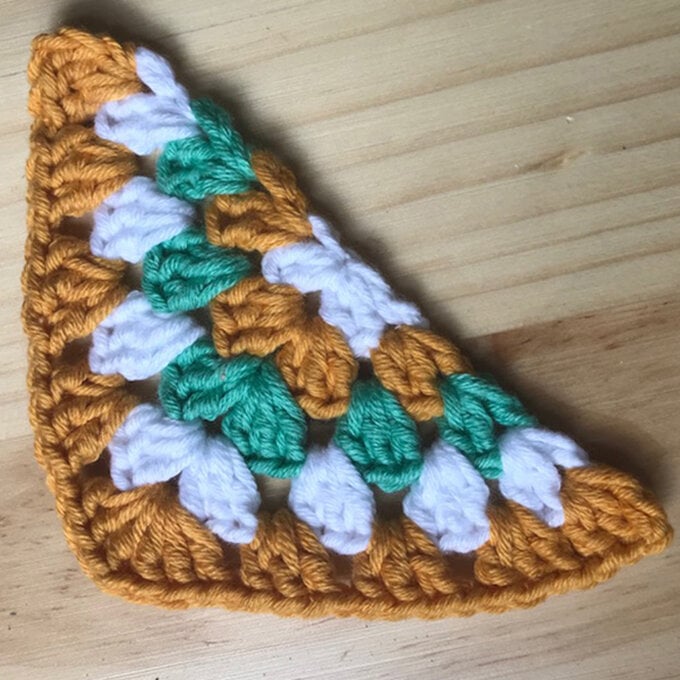
(Make 2)
Using 'Yarn A', ch3, slst in the first ch to form a loop.
Rnd 1: Ch3 (counts as first tr throughout), 2tr into the loop, ch1, 3tr. (2 tr clusters)
Change to 'Yarn B', attach yarn in between the first ch3 and the first tr of rnd 1.
Rnd 2: Ch3, 2tr in same space, ch1, [3tr, ch1, 3tr] in next ch-sp (corner), ch1, 3tr in between the last two tr of previous rnd. (4 tr clusters)
Change to 'Yarn C', attach yarn in between the first ch3 and the first tr of rnd 2.
Rnd 3: Ch3, 2tr in same space, ch1, 3tr in next ch-sp, ch1, [3tr, ch1, 3tr] in next ch-sp (corner), ch1, 3tr in next ch-sp, ch1, 3tr in between the last two tr of previous rnd. (6 tr clusters)
Change to 'Yarn A', attach yarn in between the first ch3 and the first tr of rnd 3.
Rnd 4: Ch3, 2tr in same space, *ch1, 3tr in next ch-sp* twice, ch1, [3tr, ch1, 3tr] in the corner, *ch1, 3tr in next ch-sp* twice, ch1, 3tr in between the last two tr of previous rnd. (8 tr clusters)
Change to 'Yarn B', attach yarn in between the first ch3 and the first tr of rnd 4.
Rnd 5: Ch3, 2tr in same space, *ch1, 3tr in next ch-sp* three times, ch1, [3tr, ch1, 3tr] in the corner, *ch1, 3tr in next ch-sp*, three times, ch1, 3tr in between the last two tr of previous rnd. (10 tr clusters)
Fasten off and weave in all the ends.
Block all the squares and half squares.
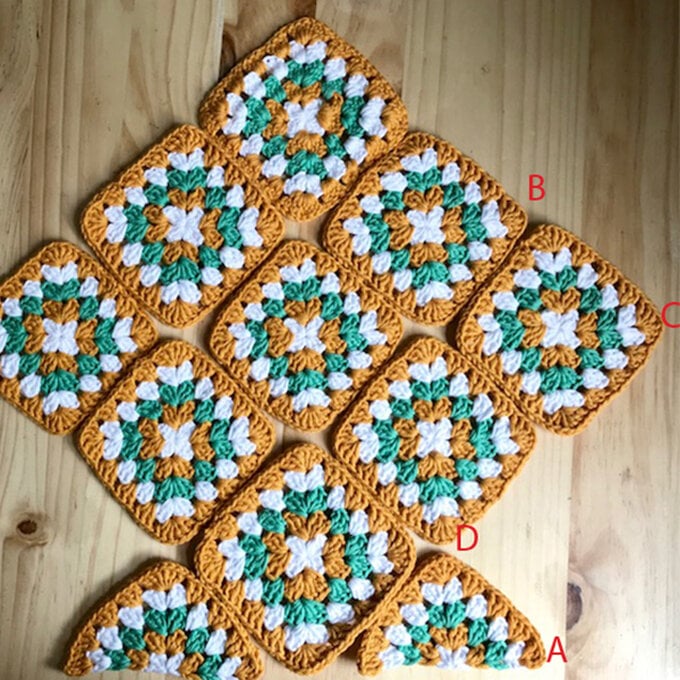
Using the diagram as a guide, join all the squares together into a 3x3 square with 'Yarn B and a yarn needle. To do this, take the two squares you are joining and hold them with WS together. whip stitch in BLO across the edge of the squares. Repeat until all the squares are joined in the correct positions, and then repeat the method to attach the two half squares in the correct positions.
With RS facing, pull the half squares (A) up to half way of the second from the top square (B). Fold far left and right squares (C) to the spaces below the half squares (D) and sew them attached, weave in the ends. Turn the clutch bag inside out to have the RS showing.
To neaten the edge of the clutch, attach 'Yarn C' to any tr along the open edge of the bag. Ch1, dc in each st along the granny squares, 2dc in each st along the half squares. Fasten off and weave in ends.
Optional: Attach a snap fastener to the inside of the clutch to secure it shut.
