How to Crochet an Amigurumi Apple and Pear
Learn how to build three dimensional Amigurumi figures by following the below pattern by Sarah Jane, who has created this ridiculously cute apple and pear duo using Knitcraft Cotton Blend.
Amigurumi is the art of using yarn to create small, stuffed creatures, once you've learned the crochet basics there's no stopping what you can create!
Project and instructions by Sarah Jane
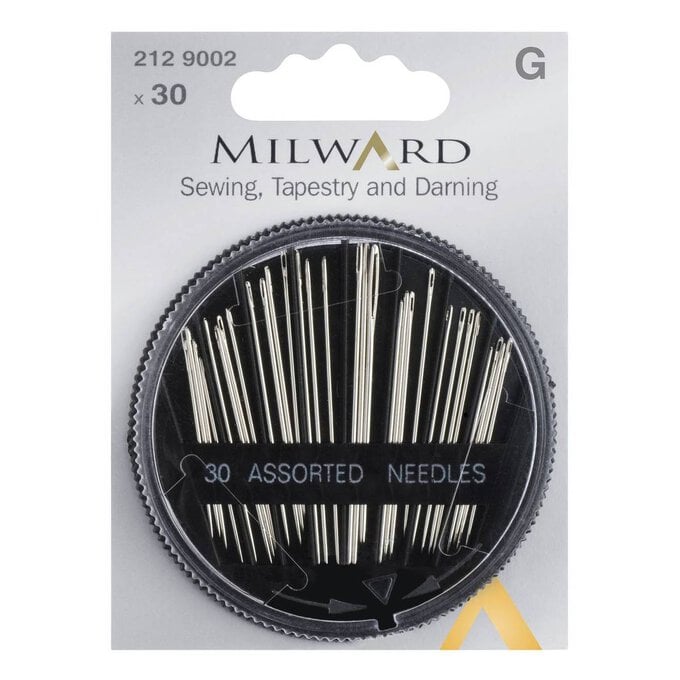
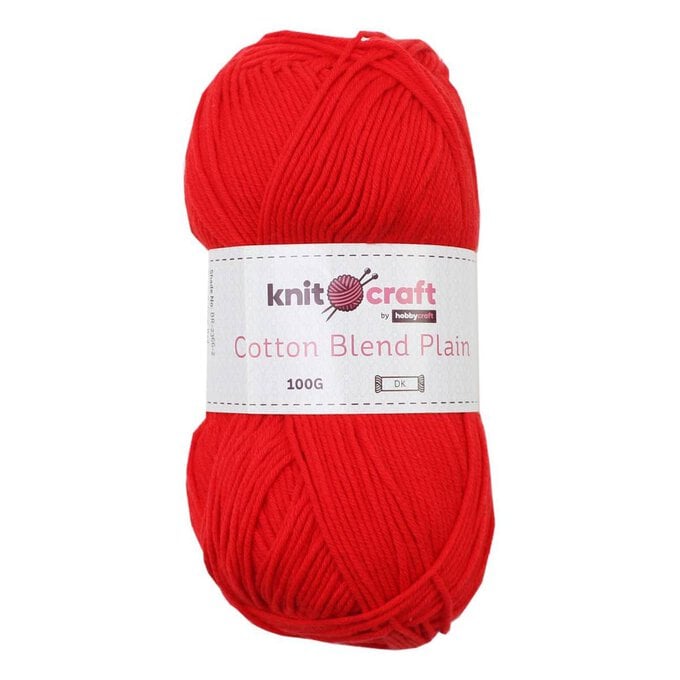
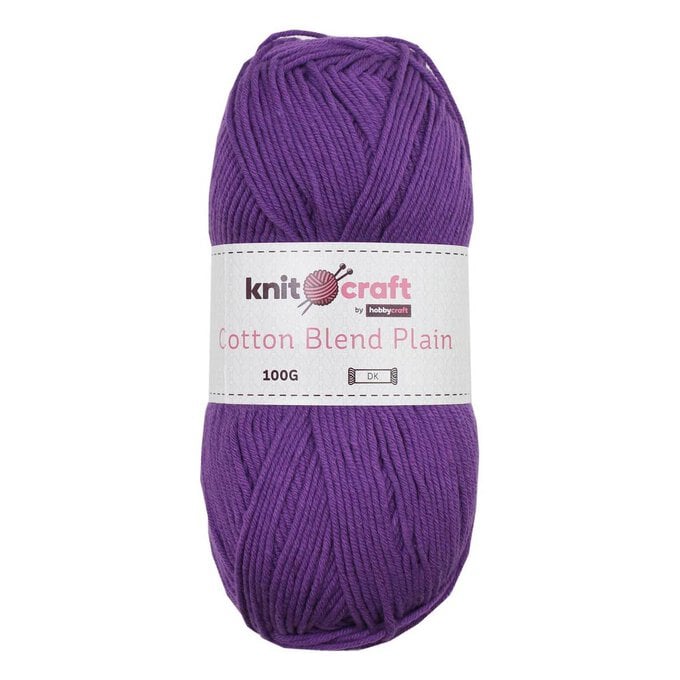
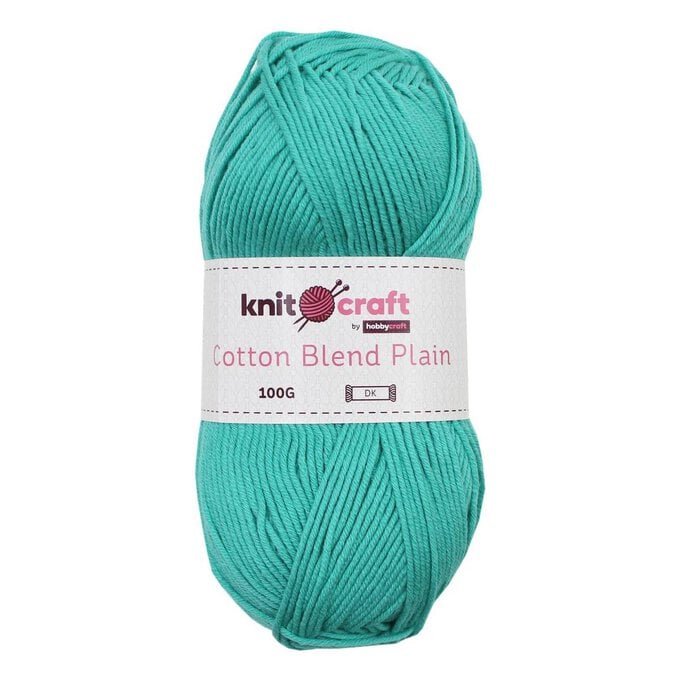
You will need
Subtotal
Is $ 9.49
Subtotal
Is $ 6.49
Subtotal
Is $ 5.49

Subtotal
Is $ 4.49
Subtotal
Is $ 3.49
Subtotal
Is $ 5.49
Subtotal
Is $ 5.49
Subtotal
Is $ 5.49
Out of stock
Subtotal
Is $ 2.49
Finished size:
Pear – approximately 16cm tall by 10cm wide
Apple – approximately 10cm tall by 10cm wide
Abbreviations:
This pattern is written in UK terms (1dc is equivalent to 1sc in US terms)
ch – chain
st(s) – stitch(es)
sl st – slip stitch
dc – double crochet
dec – decrease (dc two together)
htr – half treble
tr – treble
How to Make
Work in continuous rounds throughout.
Using Green, ch 2
Round 1: 6dc in second ch from hook (6)
Round 2: 2dc in each st around (12)
Round 3: (dc, 2dc in next st) six times (18)
Round 3: (dc, 2dc in next st) six times (18)
Round 4: (2dc, 2dc in next st) six times (24)
Round 5: (3dc, 2dc in next st) six times (30)
Round 6: (4dc, 2dc in next st) six times (36)
Round 7: 36dc
Round 8: (5dc, 2dc in next st) six times (42)
Round 9: 42dc Round 10: (6dc, 2dc in next st) six times (48)
Rounds 11 to 18: 48dc
Round 19: (6dc, dec in next st) six times (42)
Round 20: (5dc, dec in next st) six times (36)
Round 21: (4dc, dec in next st) six times (30)
Attach safety eyes and embroider a mouth using the picture as a guide.
Rounds 22 to 27: 30dc
Round 28: (3dc, dec in next st) six times (24)
Round 29: 24dc
Round 30: (2dc, dec in next st) six times (18)
Stuff pear.
Round 31: (dc, dec in next st) six times (12)
Round 32: dec six times (6)
Fasten off and weave in ends.
Cheeks (make 2) Using Red,
6dc in second ch from hook, join with sl st to first dc
Fasten off leaving a long thread and sew cheeks to the pear.
Leaf:
Using Purple, ch 8, dc in second ch from hook, htr, tr, 2tr, tr, htr, dc, ch 2, working in underside of ch, dc, htr, tr, 2tr, tr, htr, dc, sl st to first dc.
Fasten off leaving a long thread and sew leaf to pear.
Stalk:
Using Teal, ch 7, 2htr in third ch from hook, 2htr, 2dc
Fasten off leaving a long thread and sew stalk to pear.
Work in continuous rounds throughout.
Using Red, ch 2 Round 1: 6dc in second ch from hook (6)
Round 2: 2dc in each st around (12)
Round 3: (dc, 2dc in next st) six times (18)
Round 4: (2dc, 2dc in next st) six times (24)
Round 5: (3dc, 2dc in next st) six times (30)
Round 6: (4dc, 2dc in next st) six times (36)
Round 7: 36dc
Round 8: (5dc, 2dc in next st) six times (42)
Round 9: 42dc
Round 10: (6dc, 2dc in next st) six times (48)
Rounds 11 to 18: 48dc
Round 19: (6dc, dec in next st) six times (42)
Round 20: (5dc, dec in next st) six times (36)
Round 21: (4dc, dec in next st) six times (30)
Attach safety eyes and embroider a mouth using the picture as a guide.
Round 22: (3dc, dec in next st) six times (24)
Round 23: (2dc, dec in next st) six times (18) Stuff apple.
Round 24: (dc 1, dec in next st) six times (12)
Round 25: dec, six times (6)
Fasten off leaving a long thread. This is the bottom of the apple.
Thread the yarn onto a tapestry needle and thread needle through the centre of apple, from bottom to top, pulling the yarn a little tighter but not too tight, to make an indentation in the top and bottom of the apple, thread back through the centre of the apple and fasten off securely at the bottom and weave in ends.
Checks
Using Green, make 2 as above.
Leaf.
Using Teal, make 1 as above.
Stalk.
Using Purple, make 1 as above.
Related Products