How to Felt a Yellow Daisy
Level
Intermediate
Time
1 hour
Budget
10 - 30
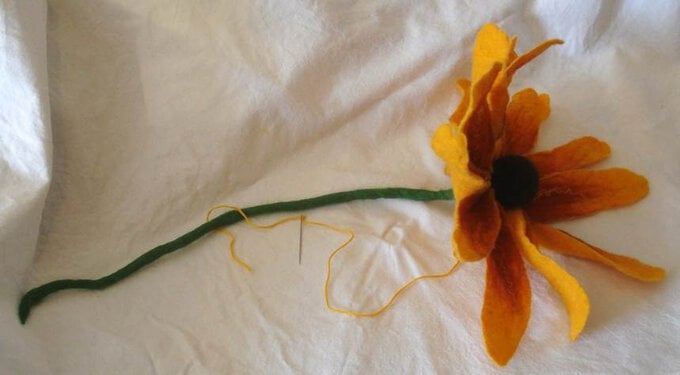
This yellow daisy makes a really eye catching addition to any bouquet. It's large, vibrant and fun. You could make three or four in varying shades of your chosen colour scheme for a really dramatic look. I hope you have as much fun making this as I did.
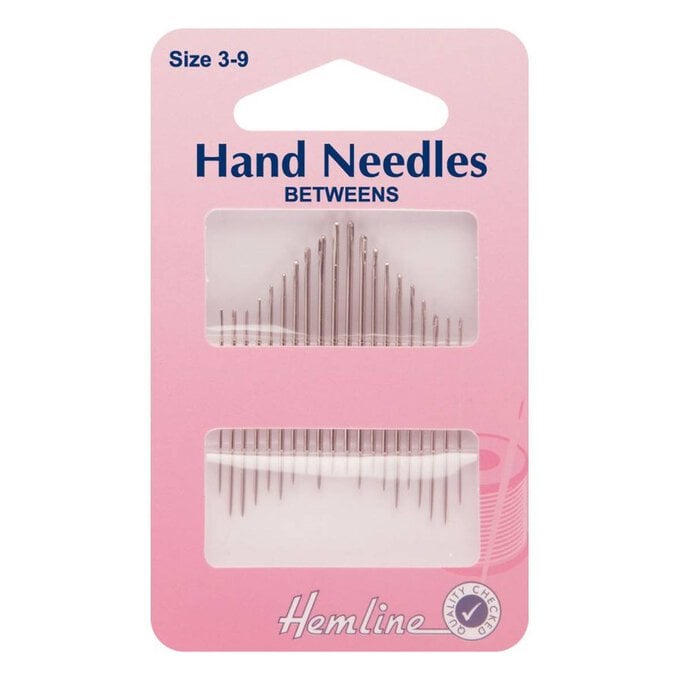
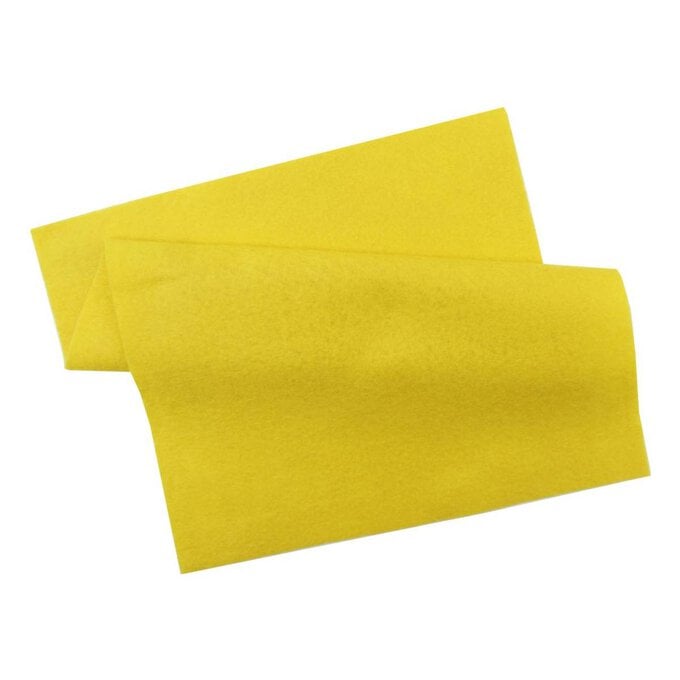
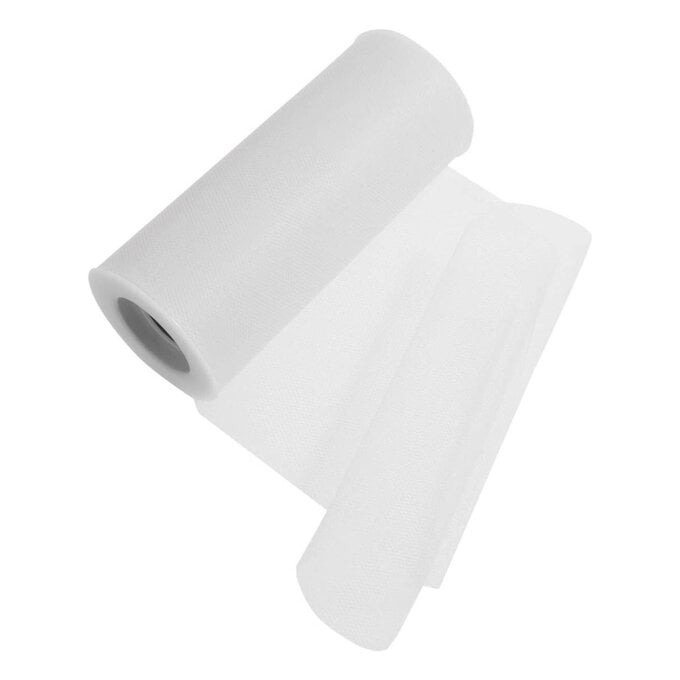
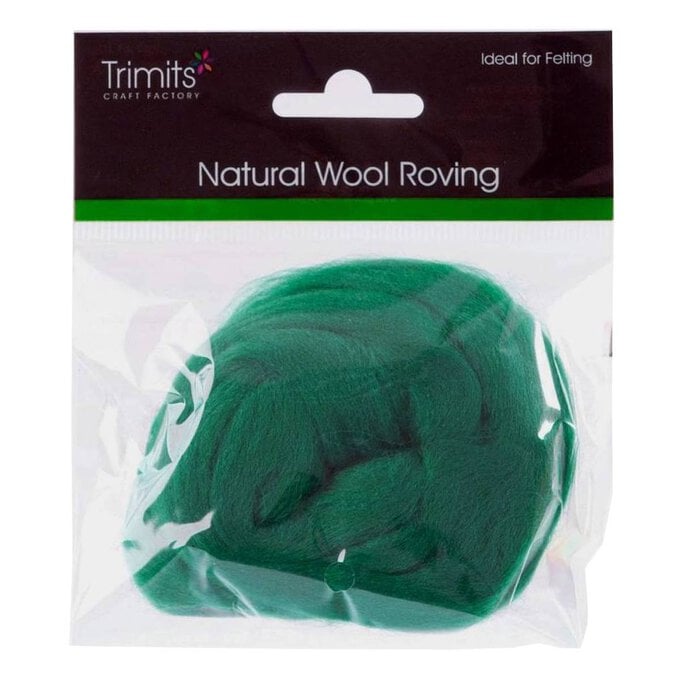
You will need
Quantity:
1
Subtotal
Is $ 3.49
Quantity:
1
Subtotal
Is $ 1.49
Quantity:
1
Subtotal
Is $ 6.49
Quantity:
1
Subtotal
Is $ 5.49

Quantity:
1
Subtotal
Is $ 12.00 , was $ 25.00
Quantity:
1
Subtotal
Is $ 6.49
Quantity:
1
Subtotal
Is $ 30.00
Quantity:
1
Subtotal
Is $ 6.49
Quantity:
1
Subtotal
Is $ 3.49
Quantity:
1
Subtotal
Is $ 9.49
Quantity:
1
Subtotal
Is $ 2.49
Quantity:
1
Subtotal
Is $ 5.49
Quantity:
1
Subtotal
Is $ 5.49
Quantity:
1
Subtotal
Is $ 2.49
Total:
£0.00
How to make
You will also need:
Kitchen tray
Washing up liquid
Hot water
Paper template
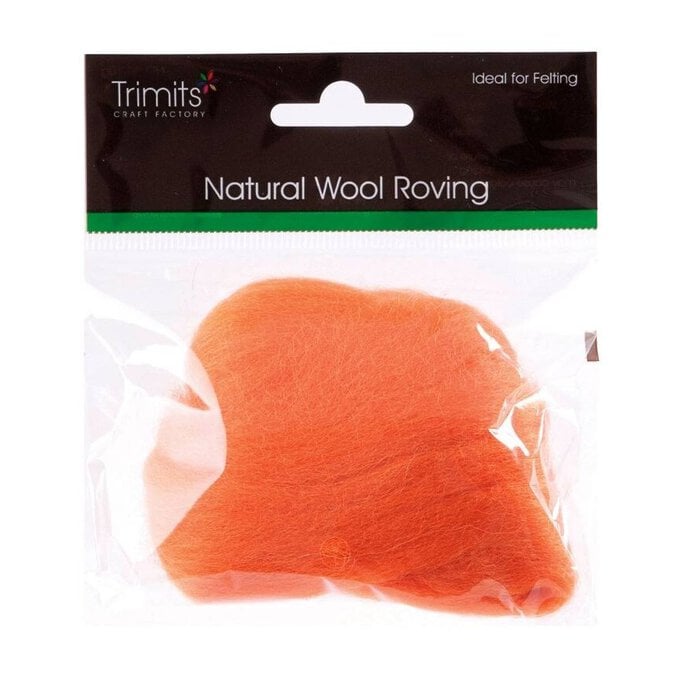
Yellow silk roving (optional)
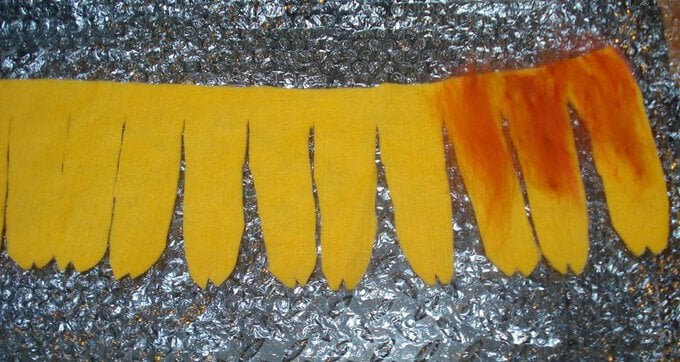
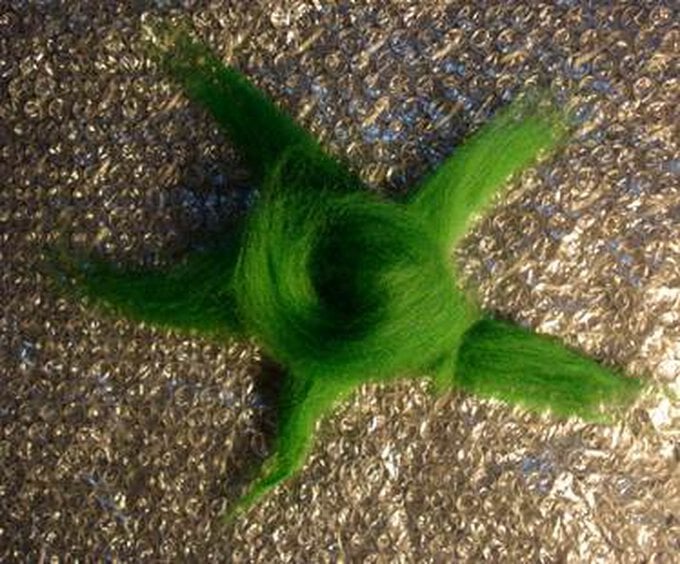
Step-1
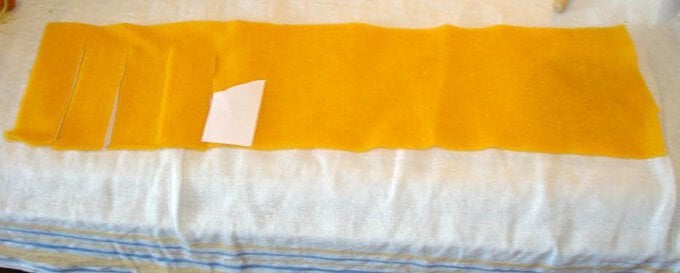
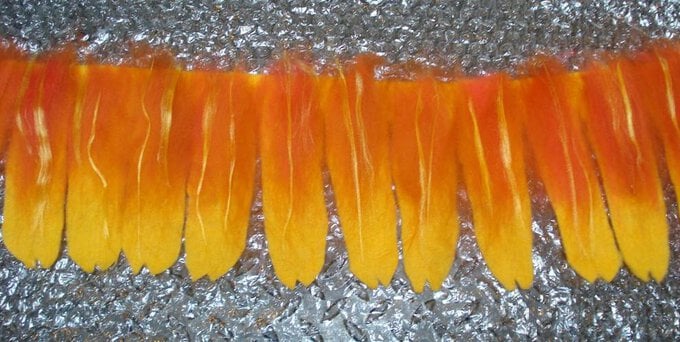
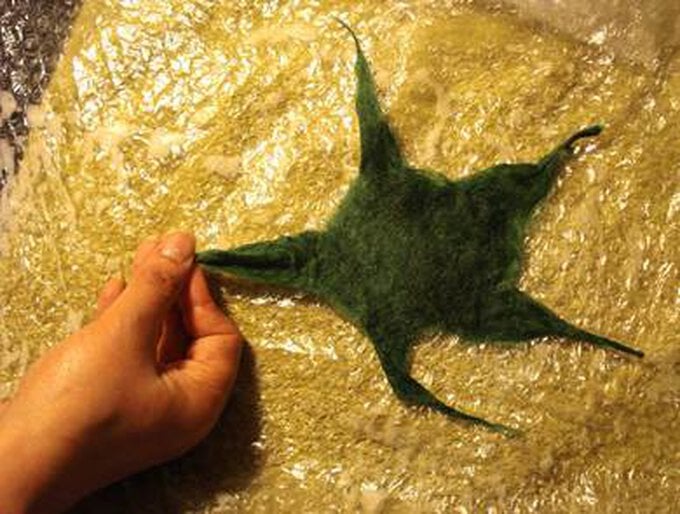
Step-2
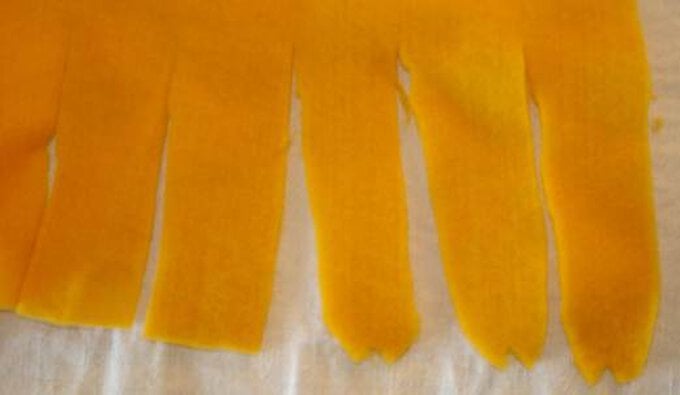
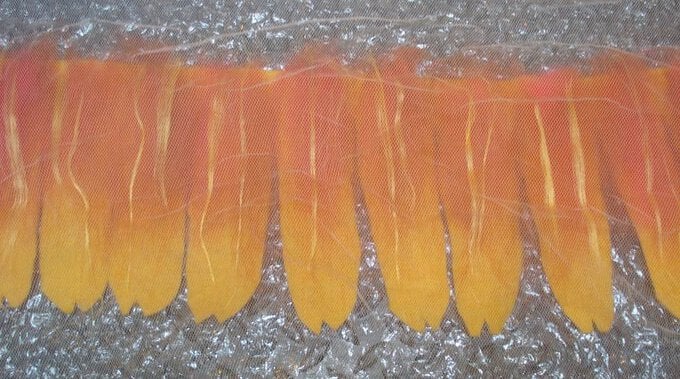
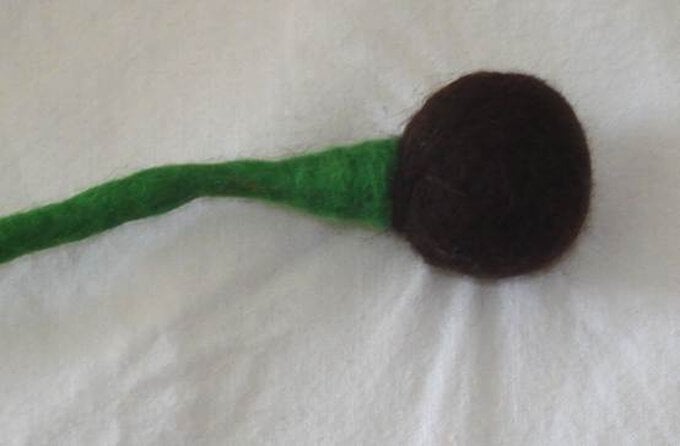
Step-3
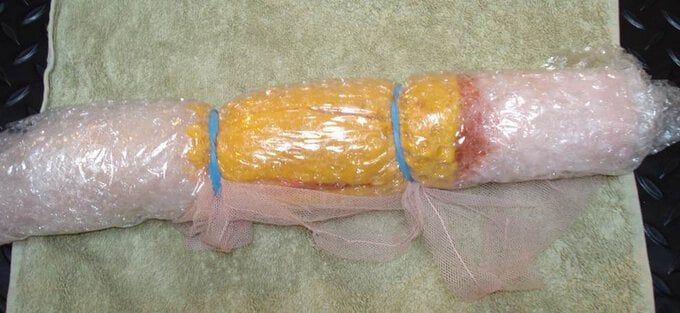
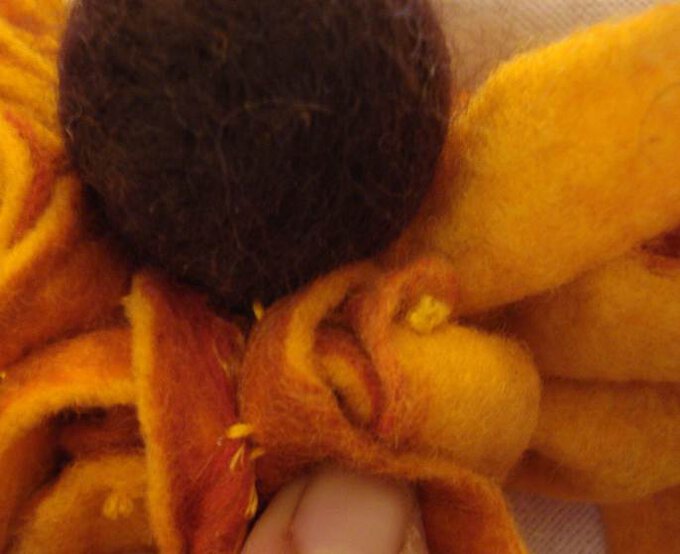
Step-4
Step-5
Step-6
Step-7
Step-8
Step-9
Step-10
Step-11
Step-12
Step-13
Step-14
Step-15
Step-16
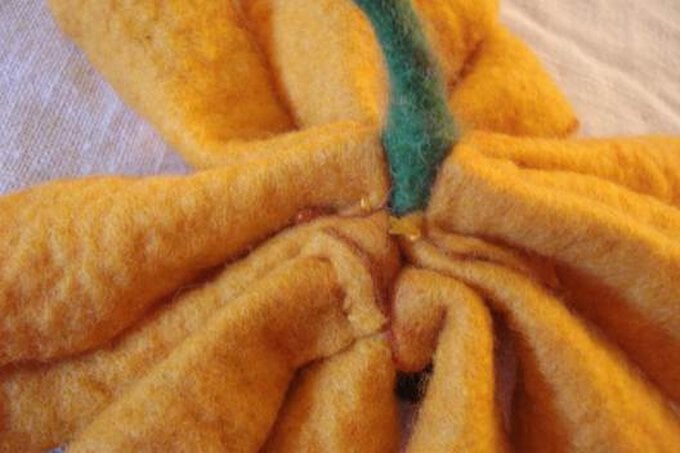
Step-17
Related Products
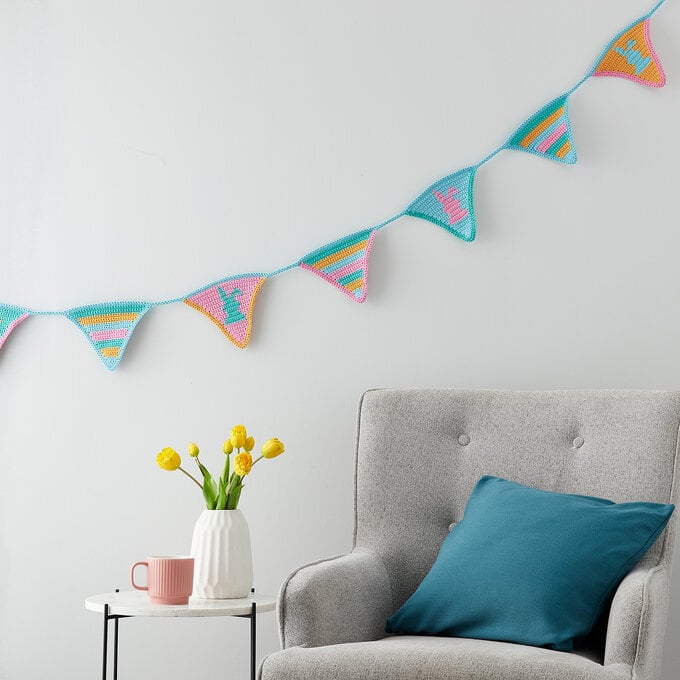
How to Crochet Bunny Bunting
This Hanging Green Flocked Ceramic Bunny Decoration is sure to bring quirky style to your spring celebrations! Transform your home décor with this textured bunny design, featuring classic long ears. The simple decoration will look great on display, adding an ...
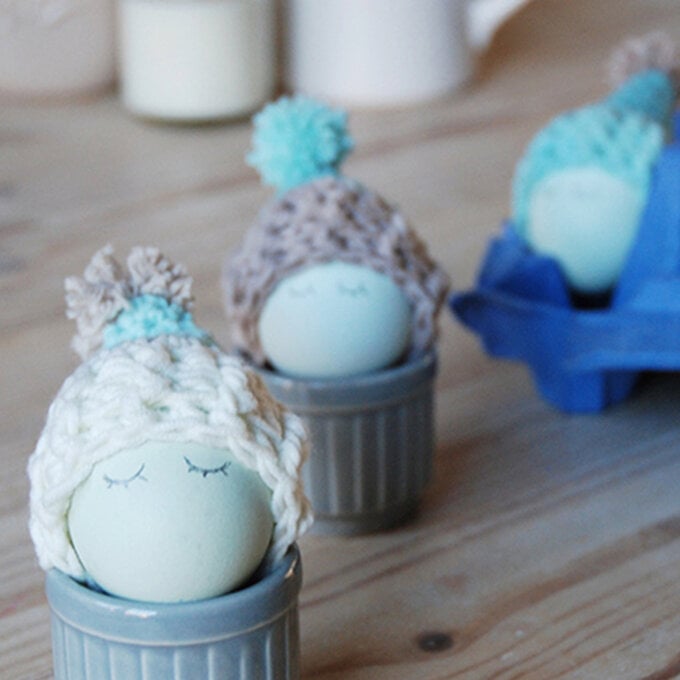
How to Crochet Egg Hat Cosies
FREE PATTERN Crochet a Pink BeanieBrand: DMCYarn: DMC My Boshi YarnBalls of Yarn: 3Size of garment: 60 cm (23.6 inches)Needle size: 6 mmFREE PATTERN Crochet a Pink Beanie. Pattern by Hobbycraft Artisan: Natalie Beard Find out more. Get your home ...
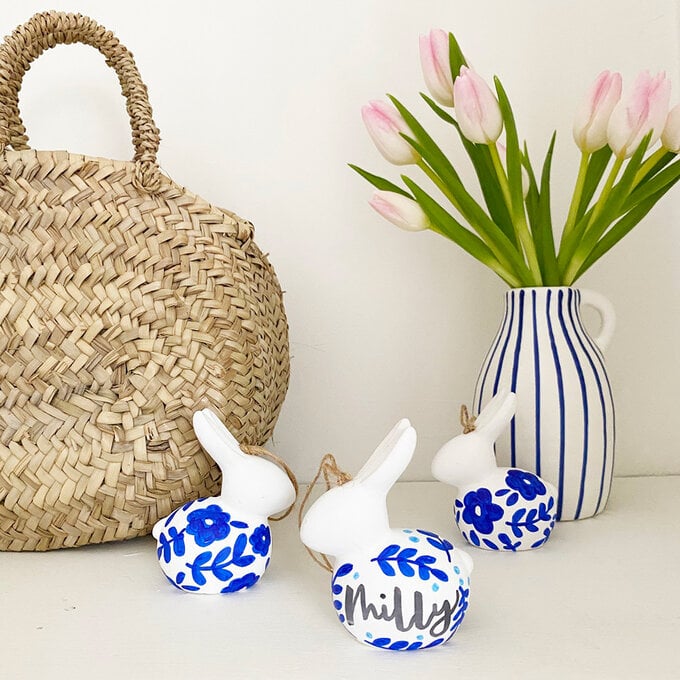
How to Decorate Ceramic Bunnies
Project and instructions by Hobbycraft Artisan: Becky Wallace from Rock Paper Vinyl Find out more. Make a simple and elegant memory box for your bridesmaids! Fill it with personalised goodies and treats to help them plan for your big day. ...
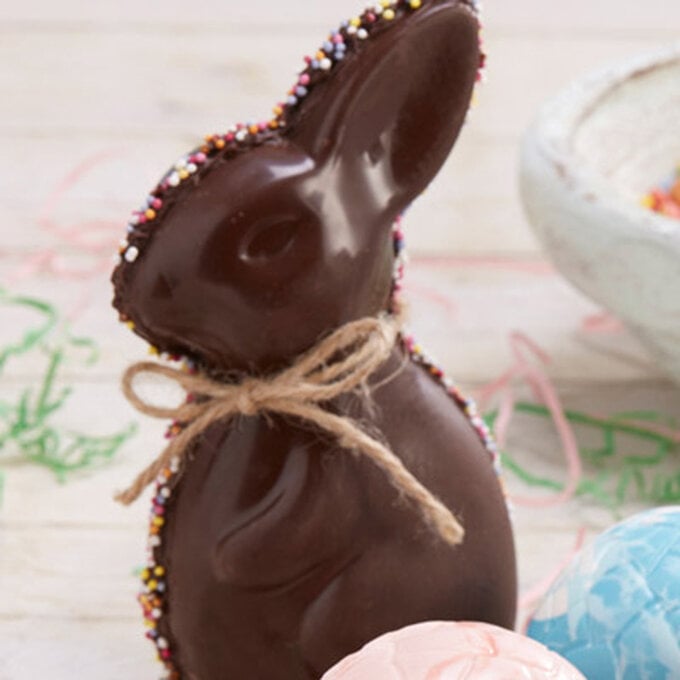
How to Make a Chocolate Easter Bunny
This Hanging Green Flocked Ceramic Bunny Decoration is sure to bring quirky style to your spring celebrations! Transform your home décor with this textured bunny design, featuring classic long ears. The simple decoration will look great on display, adding an ...
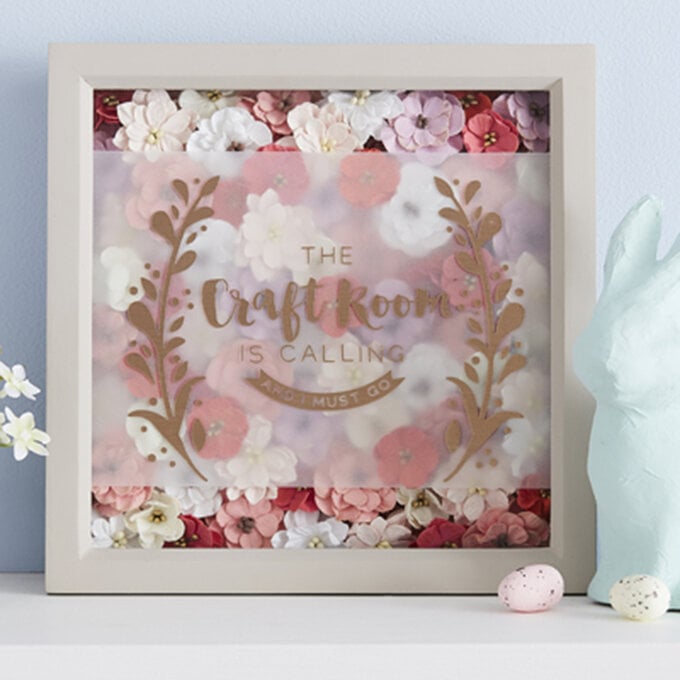
How to Make a Paper Flower Box Frame
Project by Hobbycraft Artisan: Irene De Sá Find out more. Have a drawer full of Cricut vinyl scraps? Prepare to decorate your home for Pride Month with this bright, vinyl wall art. It couldn't be easier to follow our step-by-step ...
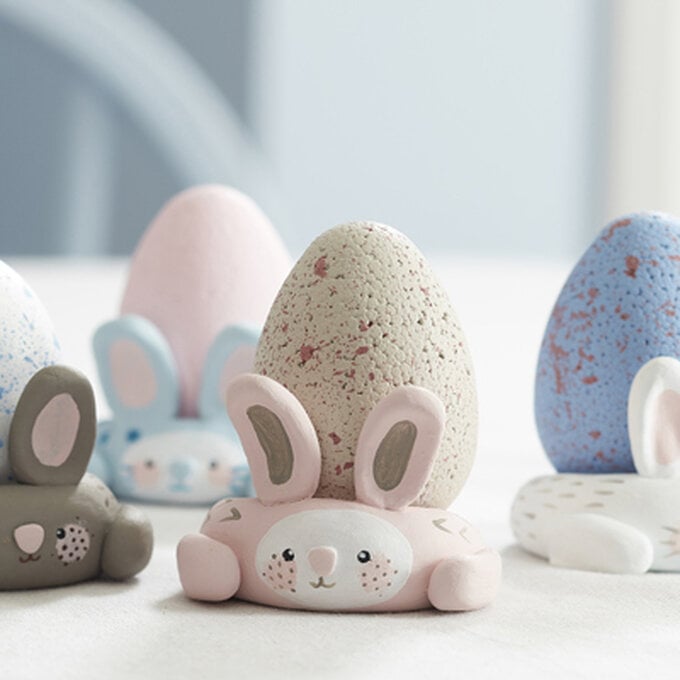
How to Make Air Drying Clay Easter Bunny Egg Cups
Project and instructions by Hobbycraft Artisan: Becky Wallace from Rock Paper Vinyl Find out more. Make a simple and elegant memory box for your bridesmaids! Fill it with personalised goodies and treats to help them plan for your big day. ...

