How to Make a Baby Memory Box Frame
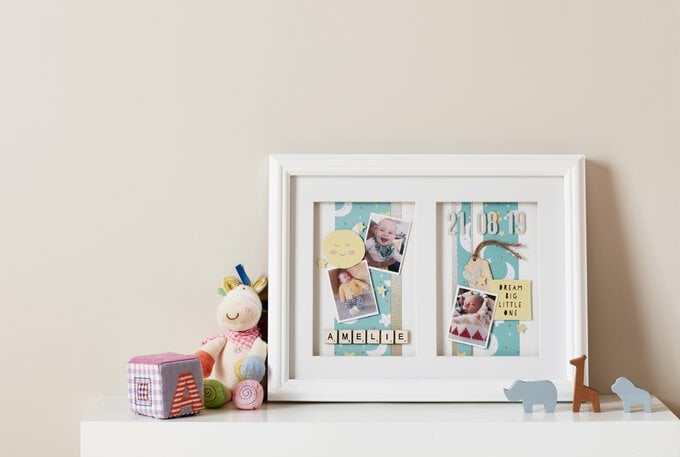
The perfect way to celebrate a new arrival, the baby memory box frame preserves the earliest moments for long after the little one is all grown. The memory box frame is a great way to display photos of your baby, giving you a charming keepsake.
Easy to make with scrapbooking supplies and a simple frame, this project can be created for your own baby or as a gift for new parents, grandparents, aunts and uncles. It would even make a wonderful Christening gift.
Project and instructions by Jackie Jasper.
You will need
Subtotal
Is $ 19.00
Out of stock
Subtotal
Is $ 4.49
Subtotal
Is N/A
Out of stock
Subtotal
Is $ 30.00
Out of stock
Subtotal
Is $ 4.49
Out of stock
Subtotal
Is $ 1.49 , was $ 3.49
Subtotal
Is $ 9.49
Out of stock
Subtotal
Is $ 9.49
Subtotal
Is $ 9.49
Out of stock
How to make
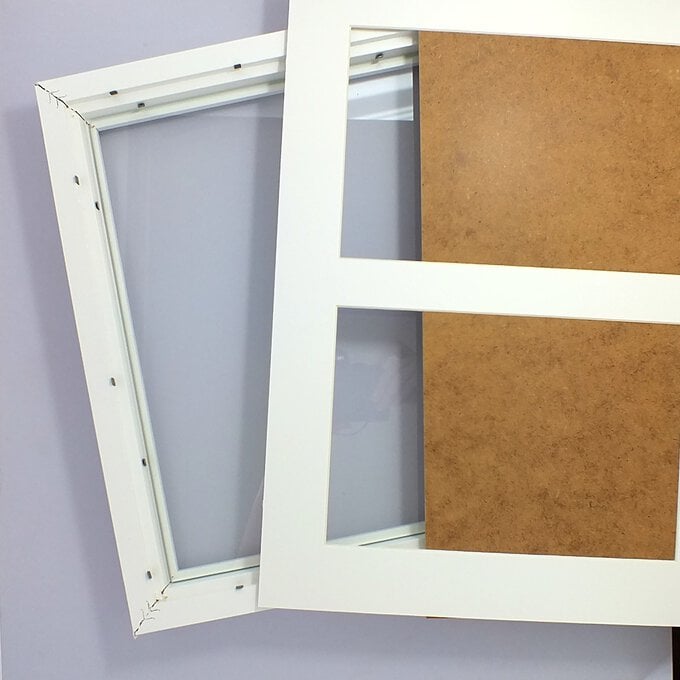
Start by preparing the frame, bend up the flexible pins on the reverse side and carefully remove the backing board and mount, setting to one side for later.
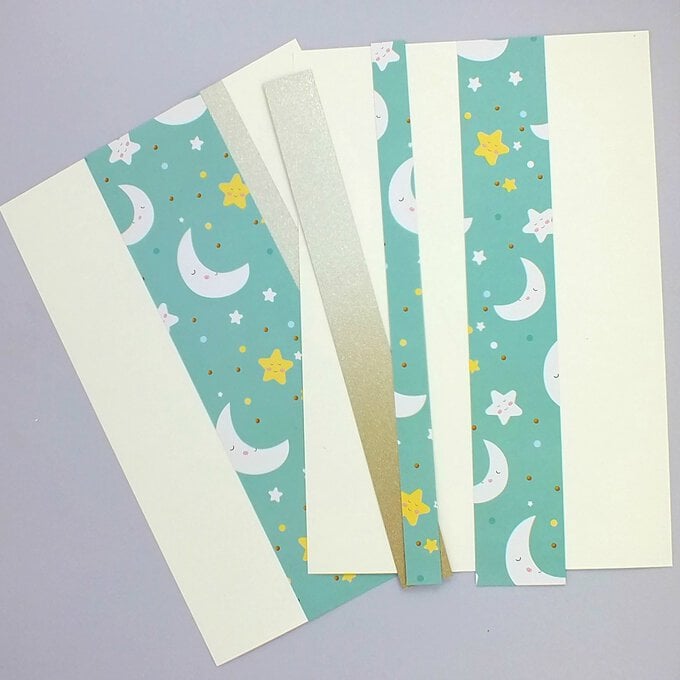
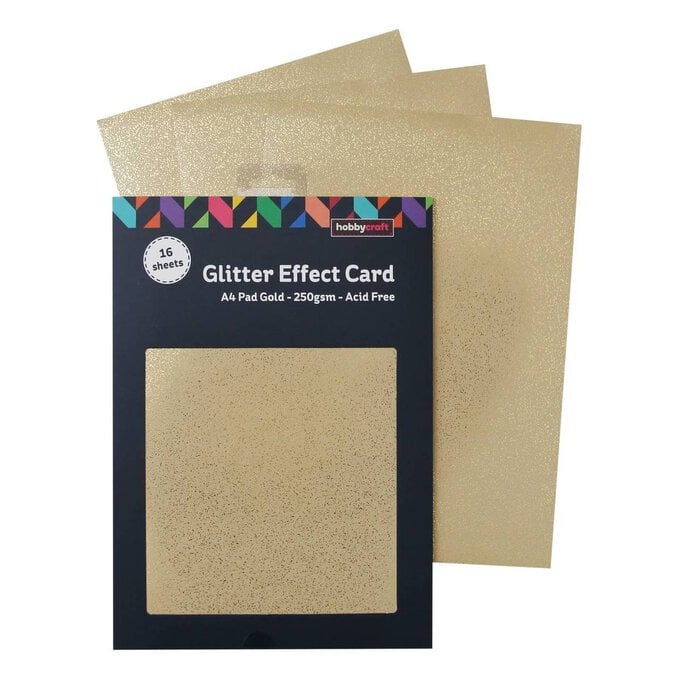
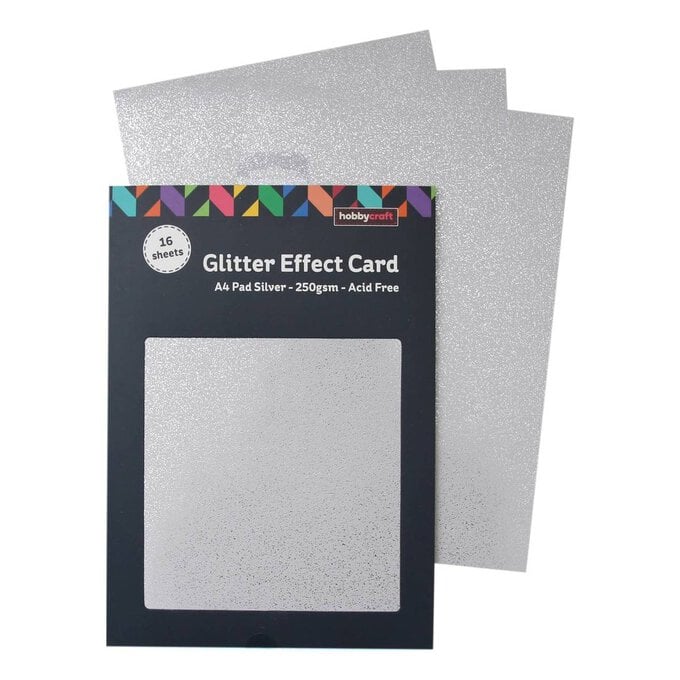
Adhere various sized strips of patterned and glittered paper to two pieces of A4 white cardstock. Use the mount as a guide to where the strips should be fixed.
Fussy-cut out some embellishments from one of the sentiments sheets that comes with the paper pad, fix 3d foam pads to the backs of all the pieces.
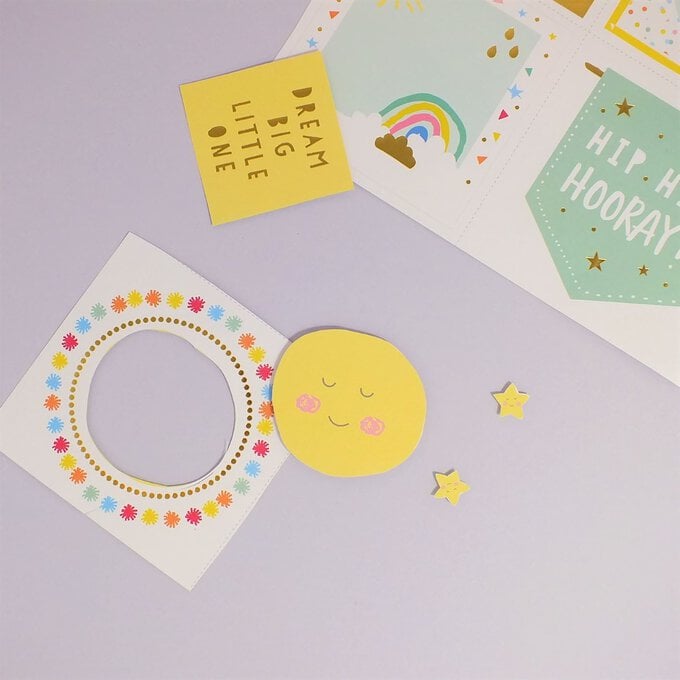
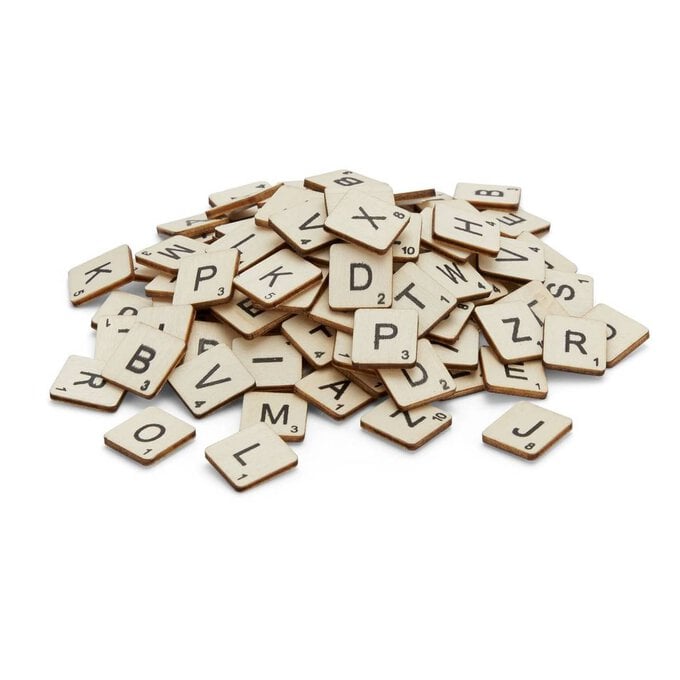
Attach all the embellishments along with the wooden tiles letters and thickers, use the mount again to help align all the bits and pieces.
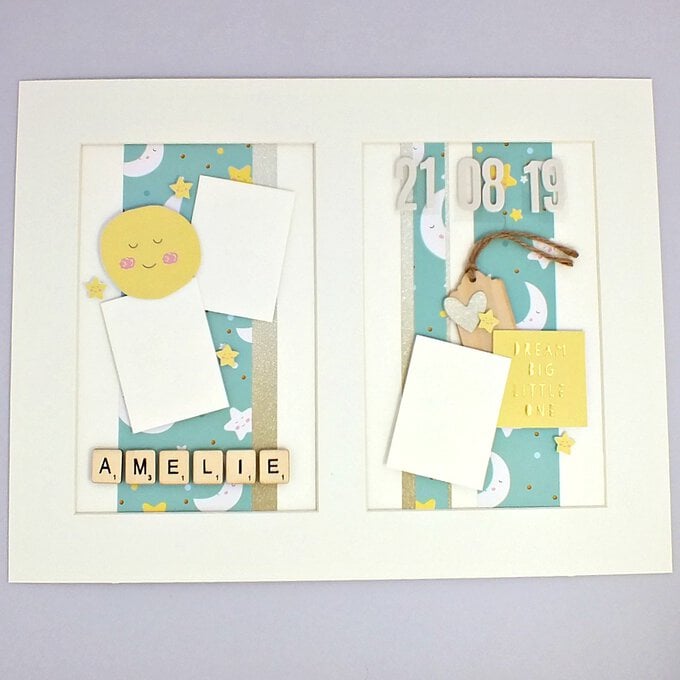
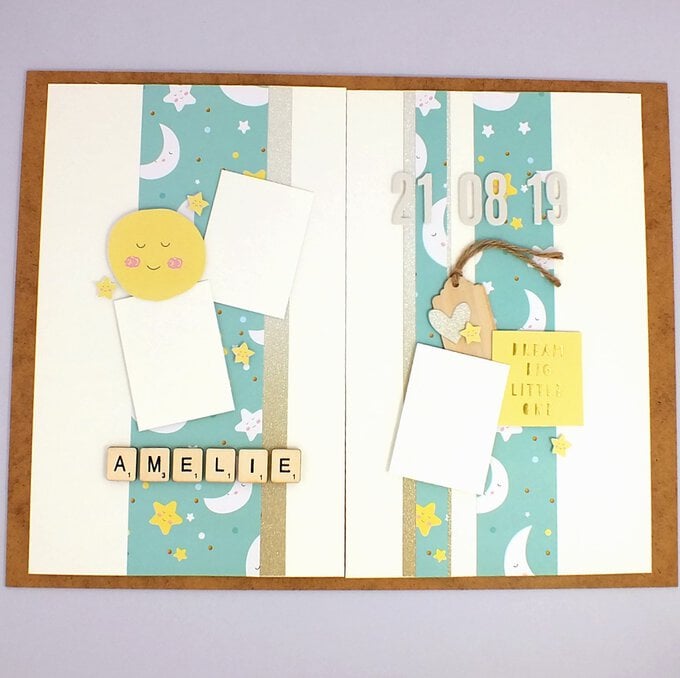
Fix the two panels to the backing board using double-sided tape, you may need to trim a centimetre off both A4 pieces so they meet in the middle rather than overlap, attach your chosen photos then place the mount back into the frame securing all the pins back in position then fit the backing board back on top bend the pins back to hold everything in place.




.jpg?sw=340&q=85)
