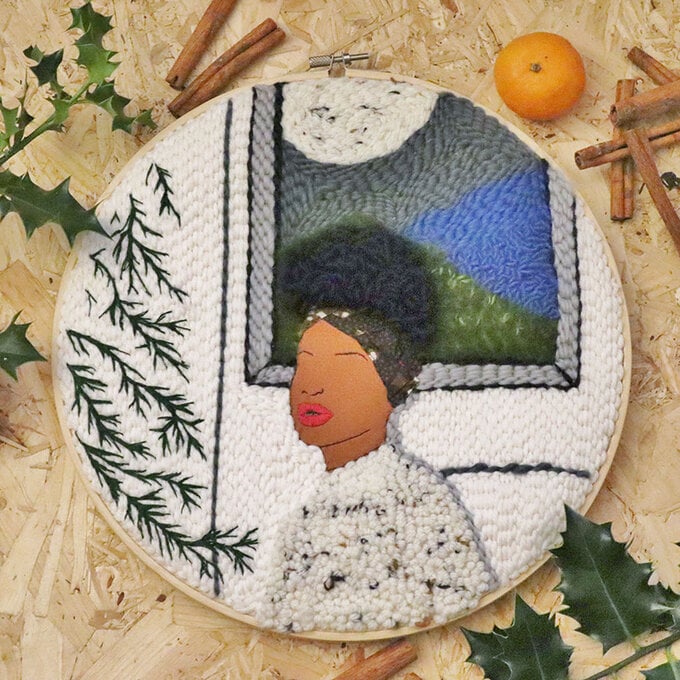
How to Make a Spring Punch Needle Children's Mobile
Add a touch of spring to your child's room with this characterful punch needle mobile. Each character is double-sided and stuffed, so you could even enlarge the templates to make some punch needle softies to match!
This is a great way to use your punch needle embroidery skills to craft a lovely gift for a newborn.
Project and instructions by @CarolineJaneCreative.
You will need
Subtotal
Is $ 24.00
Subtotal
Is $ 8.49

Subtotal
Is $ 10.00
Subtotal
Is $ 6.49
Subtotal
Is $ 4.49
Subtotal
Is $ 6.49
Subtotal
Is $ 4.49
Subtotal
Is $ 4.49
Out of stock
Subtotal
Is $ 1.49
Subtotal
Is $ 1.49
Subtotal
Is $ 1.49
Subtotal
Is $ 7.49
Out of stock

Subtotal
Is $ 2.49
Subtotal
Is $ 7.49
How to make
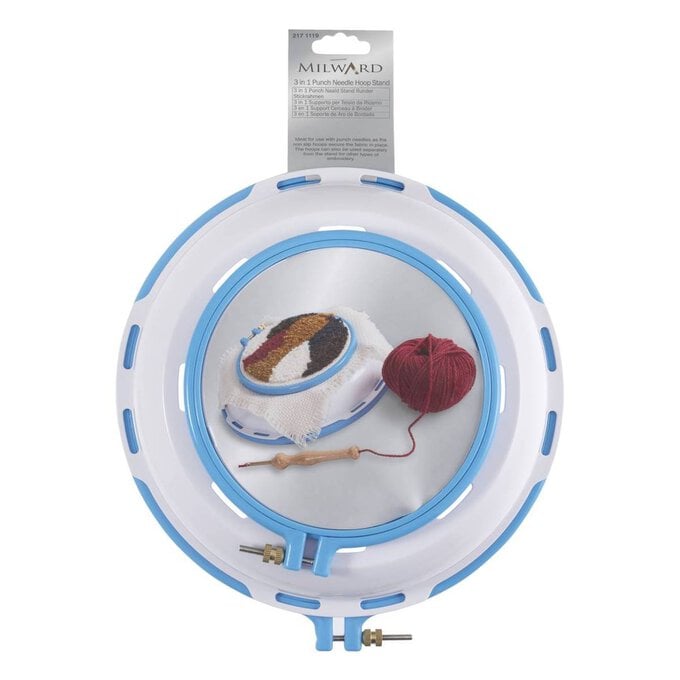
* Milward 3 in 1 Punch Needle Hoop Stand
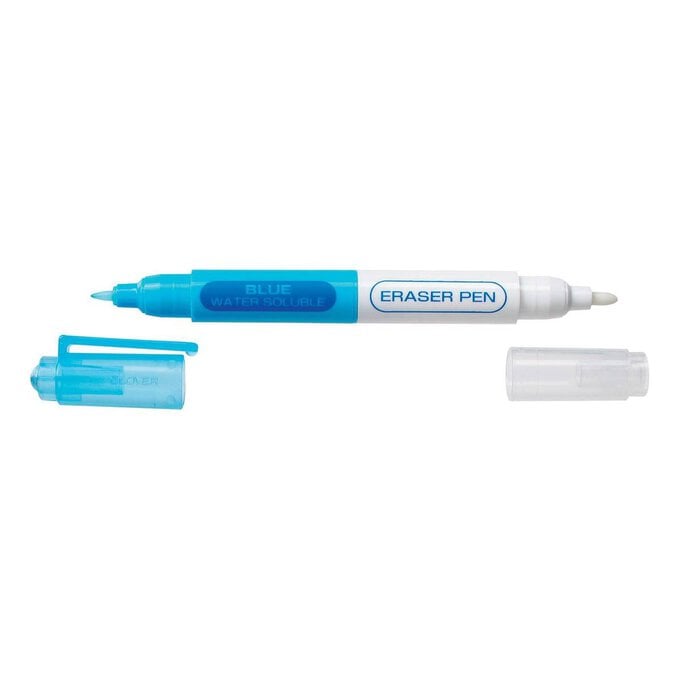
* Clover Blue Chaco Fabric Pen with Eraser
* Yellow Solid Masking Tape 24mm x 50m
* Milward Adjustable Punch Needle 5mm
* Hessian Natural Fat Quarter 4 Pack
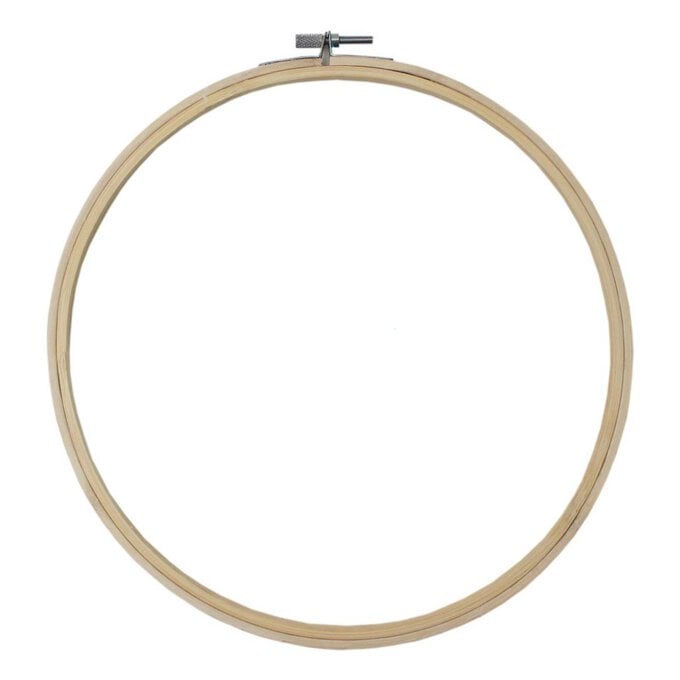
* Bamboo Embroidery Hoop 9 Inches
* Women's Institute Yellow Premium Acrylic Yarn 100g
* Knitcraft Beige Everyday DK Yarn 50g
* Women's Institute Soft and Cuddly DK Yarn in Cream, Orange, Brown
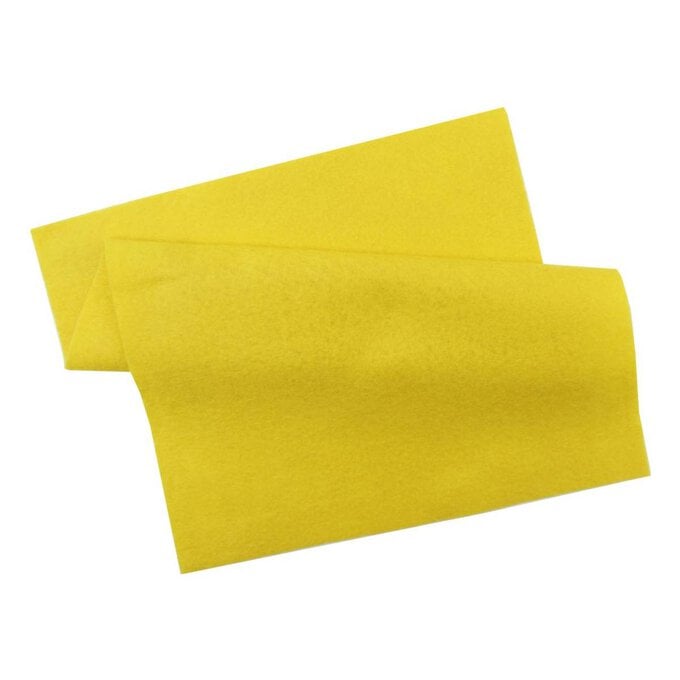
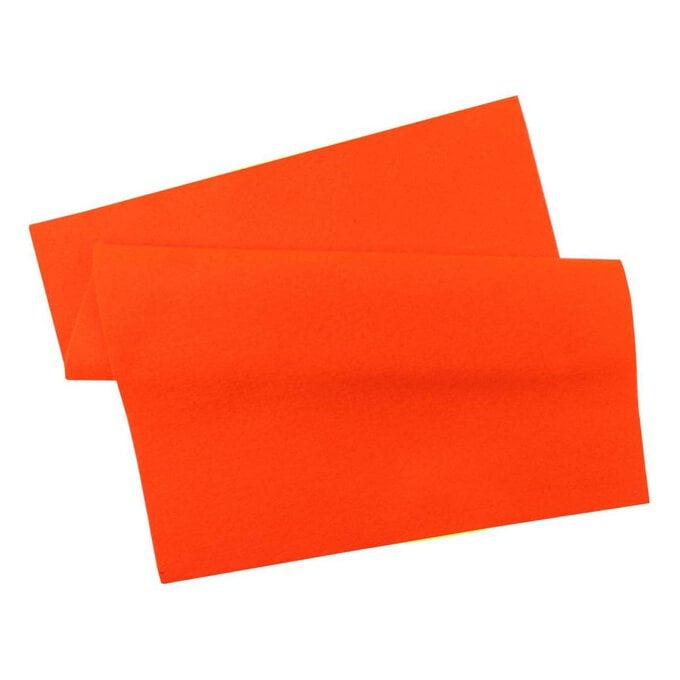
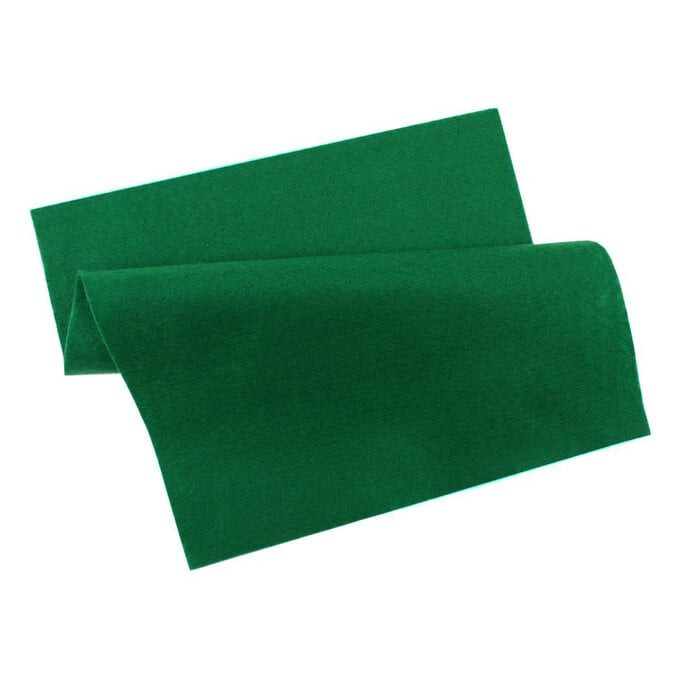
* Polyester Felt Sheet A4 in Yellow, Orange, Green & Cashmere
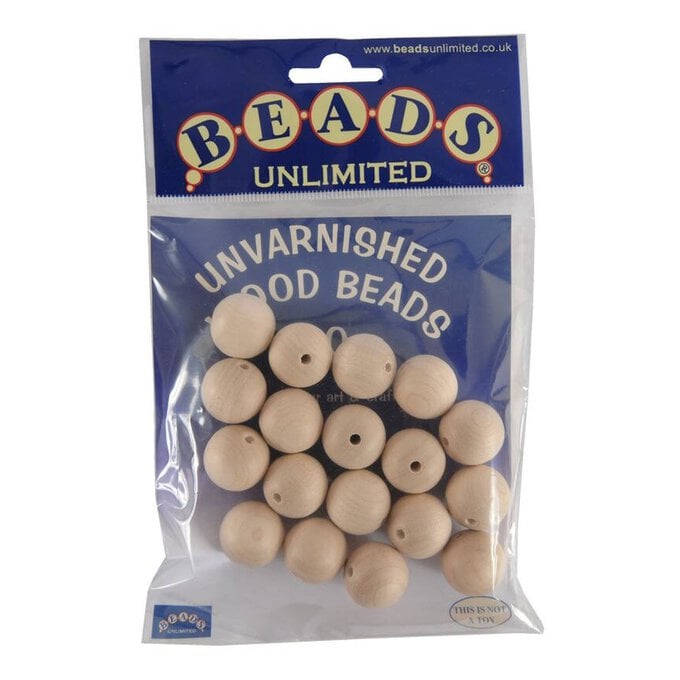
* Beads Unlimited Unvarnished Wooden Beads 20mm 18 Pack
* Wooden Macrame Rings 2 Inches 2 Pack
* DMC Cream Mouline Special 25 Cotton Thread 8m (Ecru)
* Beads Unlimited Unvarnished Wooden Beads 12mm 60 Pack
* Beads Unlimited Jet Black Pressed Round Beads 8mm 40 Pack

In preparation for this project, please download the template below.

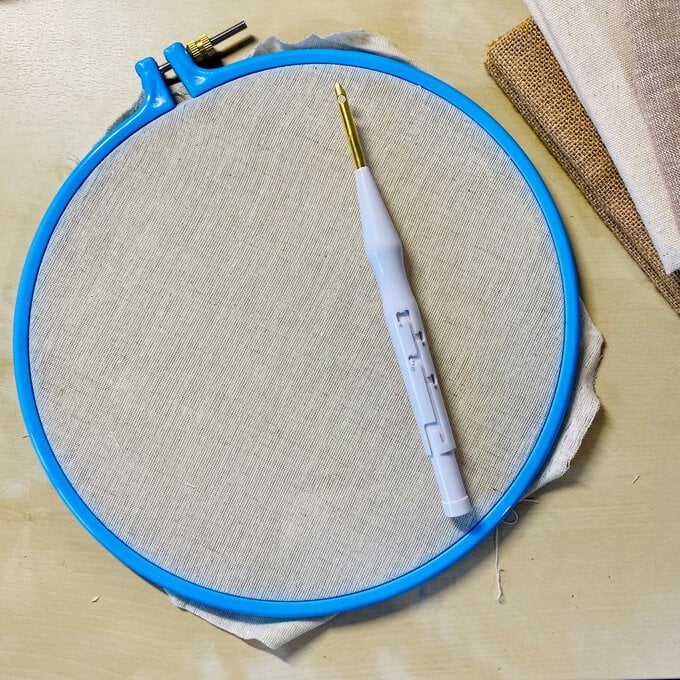
Download the templates making sure you have the front and back template for each character. Stretch a cut section of the fabric in the 9” part of the gripper hoop, ensuring it is 'drum tight'.
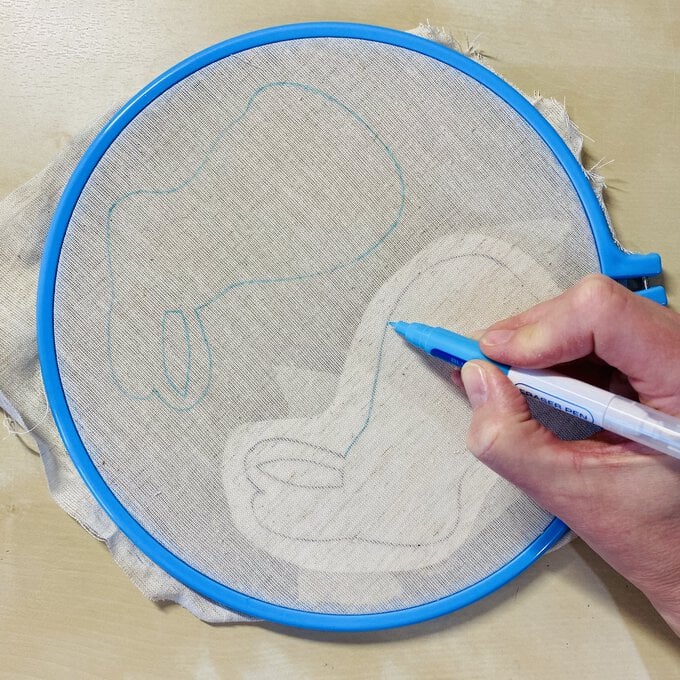
Attach a template to the back of the stretched fabric using masking tape. Place the frame in front of a light source such as a window or a light box. Trace the design using the erasable fabric marker. You will be able to fit multiple templates onto the fabric, but ensure you have a minimum 2cm gap between them.
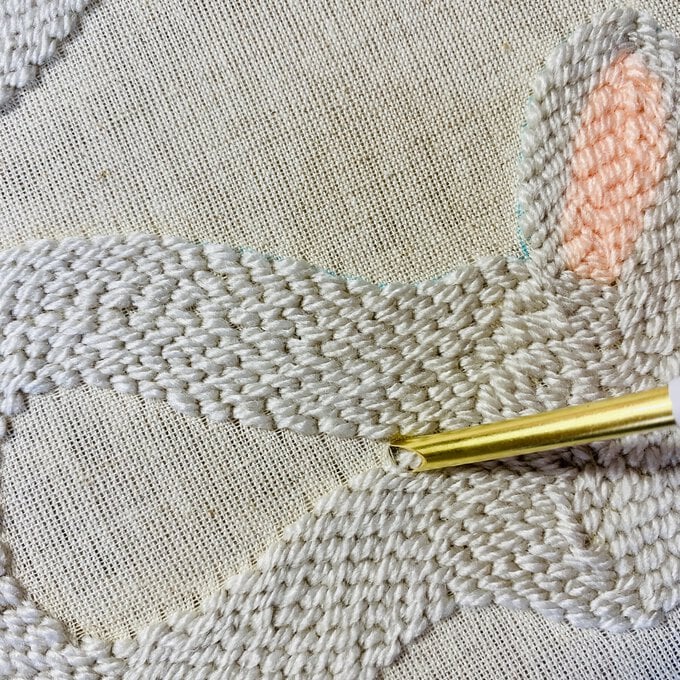
To punch needle all characters (specific instructions for each character follow in the next steps): You will be creating looped stitches of different lengths. Set your needle to the setting given on the templates. Thread your needle as per instructions on the pack. It is a good idea to thread it using 2 strands of yarn. Hold the needle as you would a pen. For the first stitch, push the needle all the way into the fabric from the front and gently pull the yarn tail through to the right side (these will be snipped off later).
For the subsequent stitches, bring the needle up and out slightly, then glide it across to create a short stitch, before pushing the needle back in. Repeat this process to fill the spaces. To change direction, keep the needle in the fabric and turn it in the direction you wish to carry on punching. Ensure your stitches are consistent and your yarn is running freely.
Once you have punched all the characters in the one hoop, snip the yarn tails. Repeat the tracing and punching in Steps 2-5 until all sections have been punched. Cut out the characters leaving a minimum 1cm section of fabric around each one. It is a good idea to pair up the front and back of each punched piece.

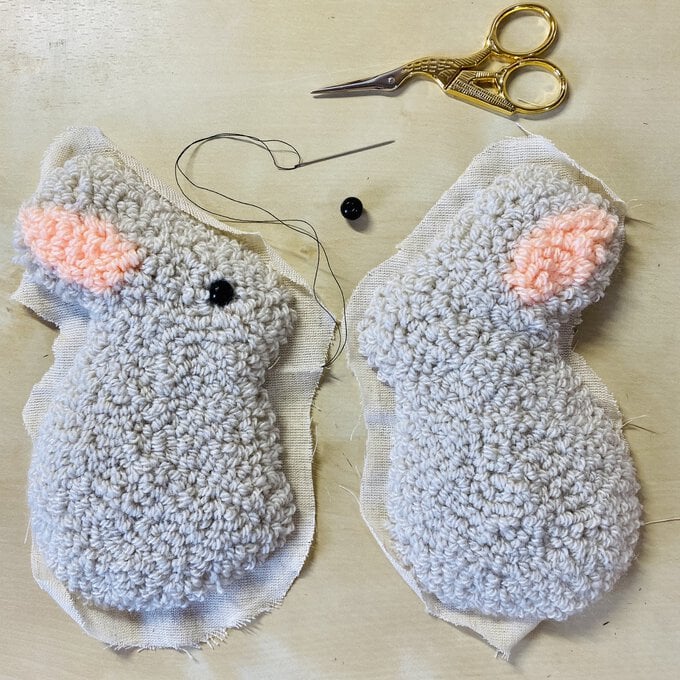
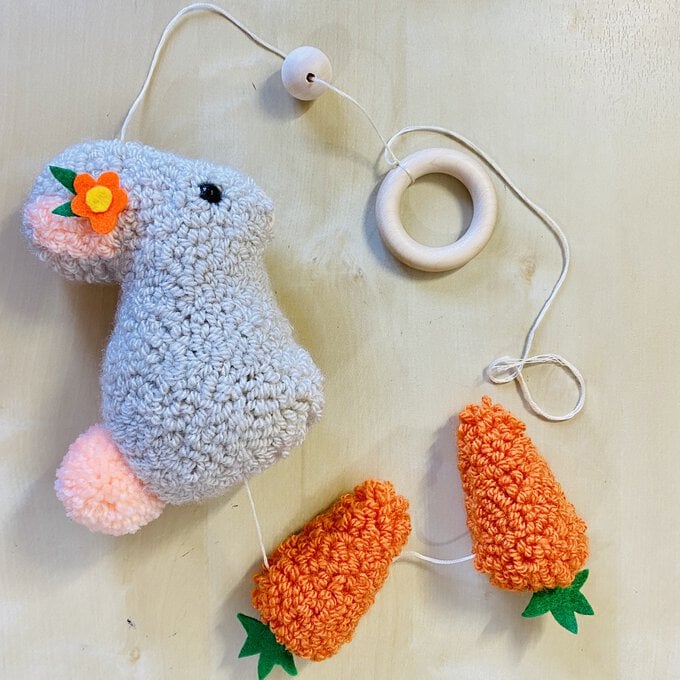
For the rabbit: Set your needle to C, punch the pink ear section first, followed by the grey. Sew an 8mm bead to each section for the eyes.
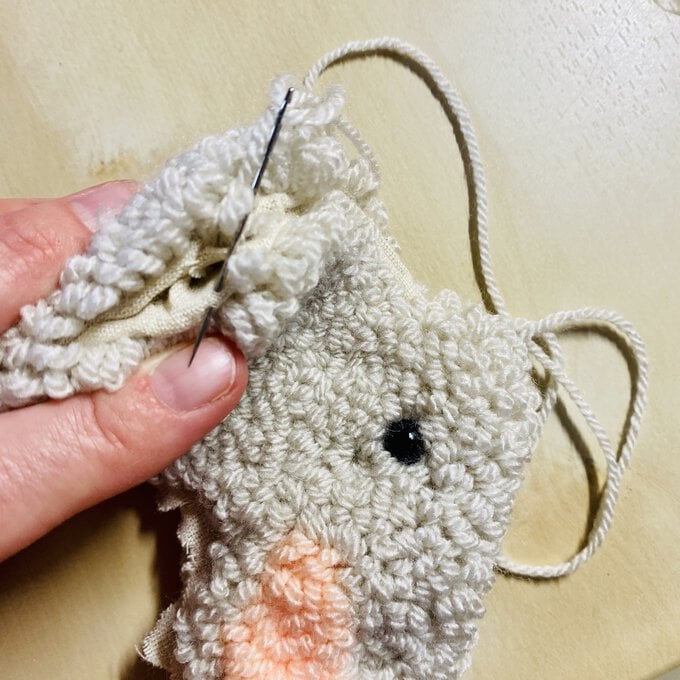
For the rabbit contd.: Place the wrong sides together and tuck in the seam allowance as you sew around the rabbit using the grey yarn. Leave a small gap, stuff it and sew the gap. Add a pom pom for the tail, stitch a pink nose and add a small felt flower to each ear.
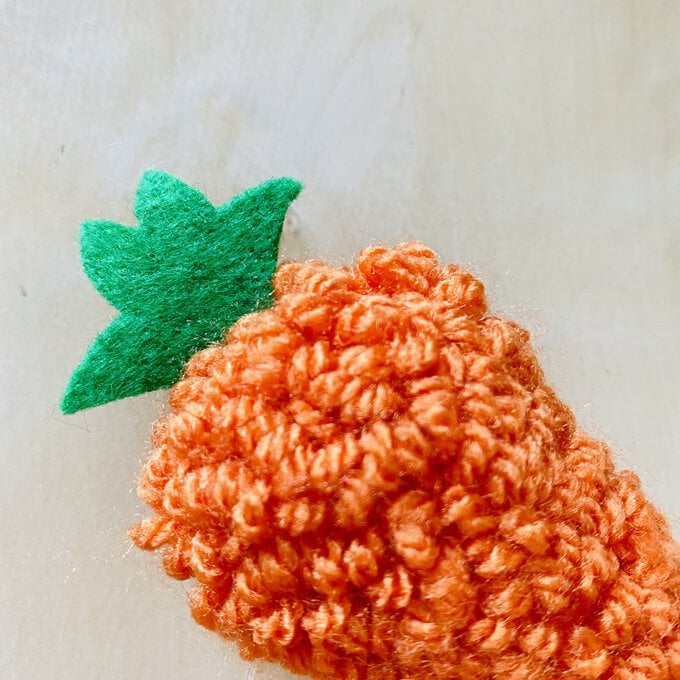
For the 2 carrots: Set your needle to C and punch the carrots using the orange yarn. Stitch around the edges as you did in Step 6 and sew in the carrot top when you get to that section.
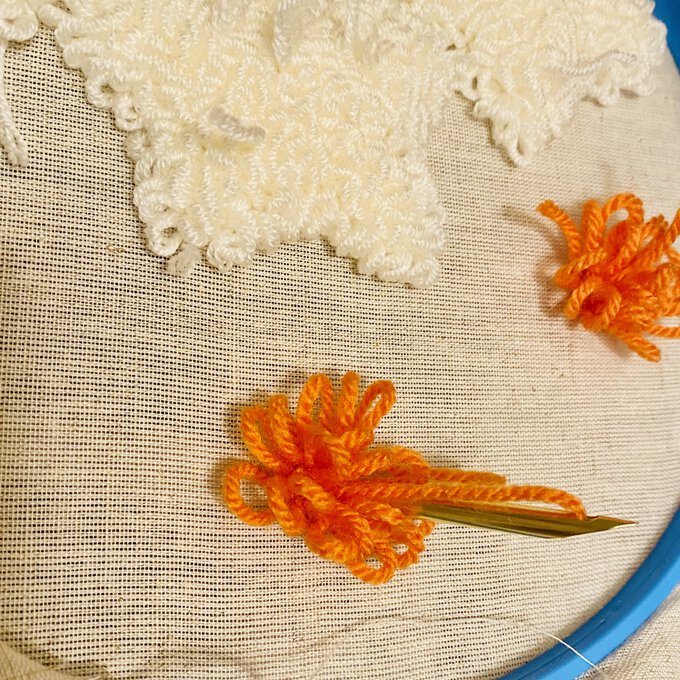
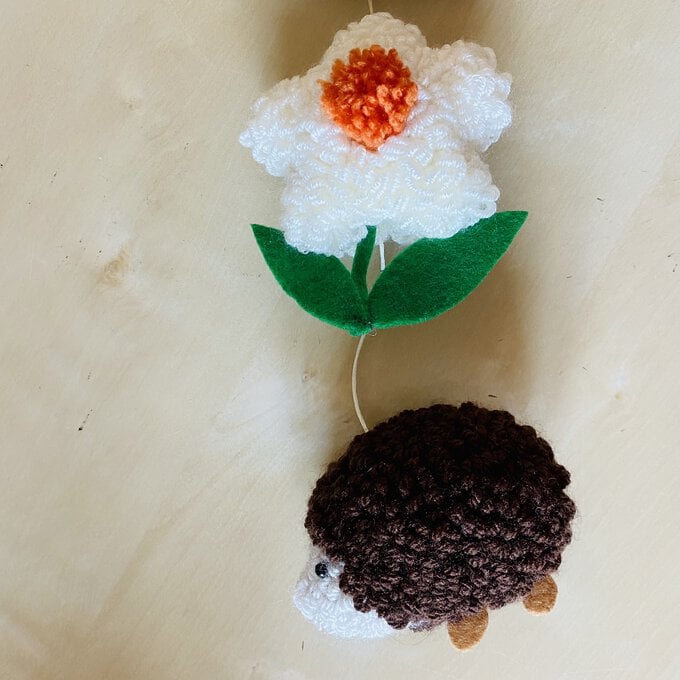
For the 3 flowers: Set your needle to A and punch the orange middle section. Change the setting to C and punch the rest of the flowers with the cream yarn, taking care not to catch the orange stitches. Cut the loops of the orange section to create tufted stitches.
For the 3 flowers contd.: Using the green felt, cut out a stem and 2 leaves for each flower. Join the front and back of the flower as in Step 6, ensuring you sew in the stem. Stitch the leaves to the base of the stem.

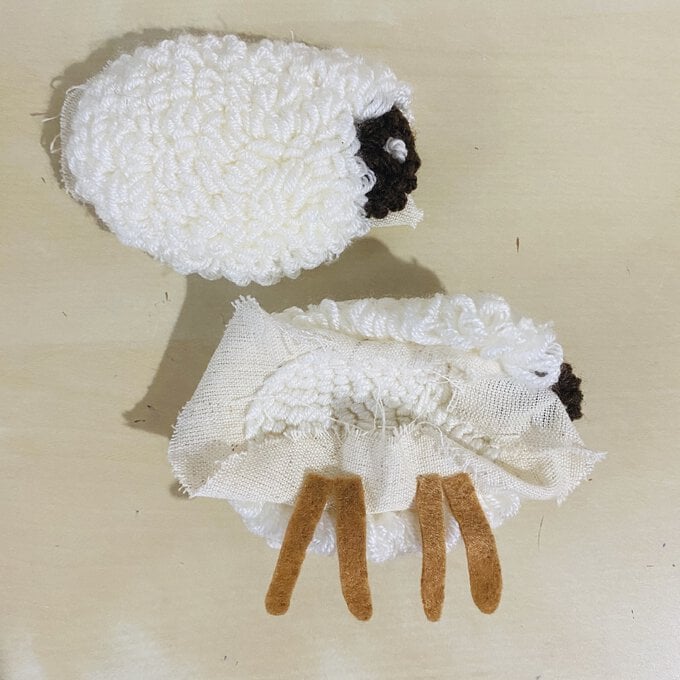
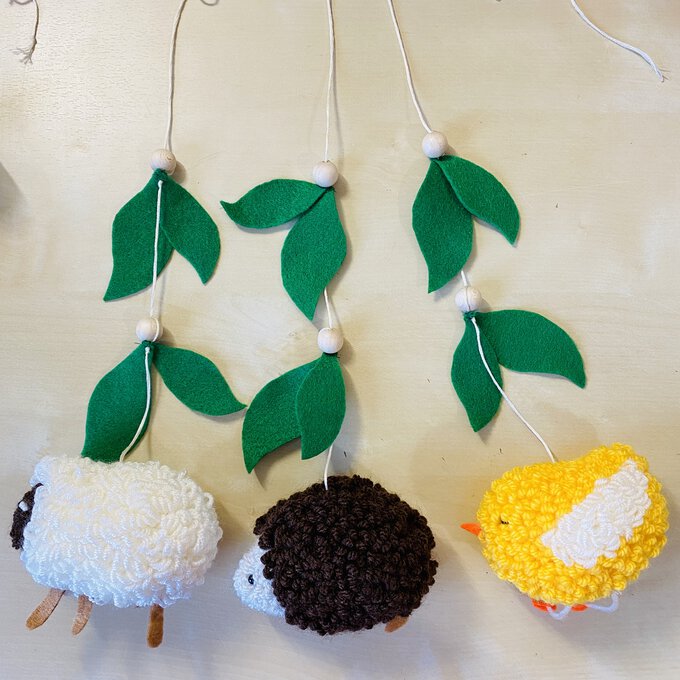
For the 2 sheep: Set your needle to D and punch the sheep's head using brown yarn. Change the setting to B and using the cream yarn finish punching the body. Stitch a French knot in each head section for the eyes. Cut out 4 legs and stitch them in as you join the front and back, as in Step 6. You may want to add a small stitch to the legs to keep them in place as you sew.
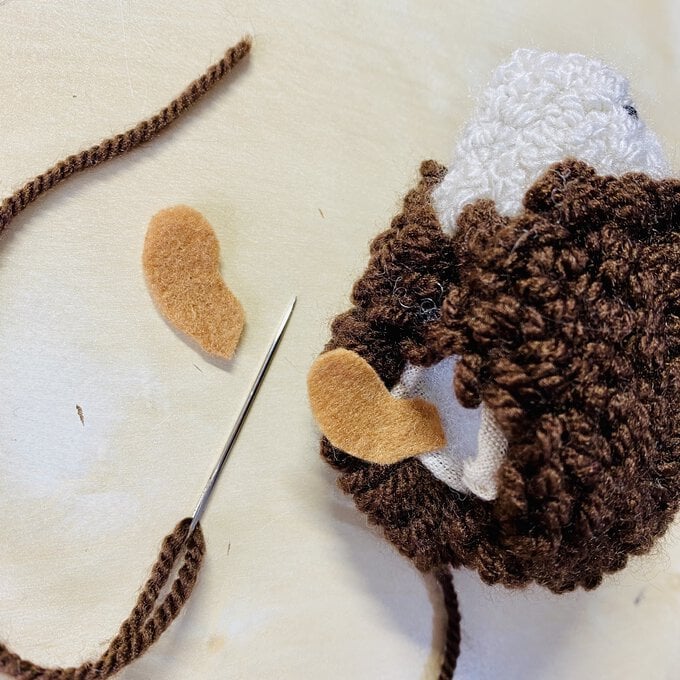
For the 2 hedgehogs: Set your needle to D and punch the head using grey yarn. Change the setting to B and continue punching the body using the brown yarn. Either attach a small black bead for each eye or stitch a French knot, as with the sheep. Cut out 2 small feet as in the picture and stitch them in as you join the front and back.
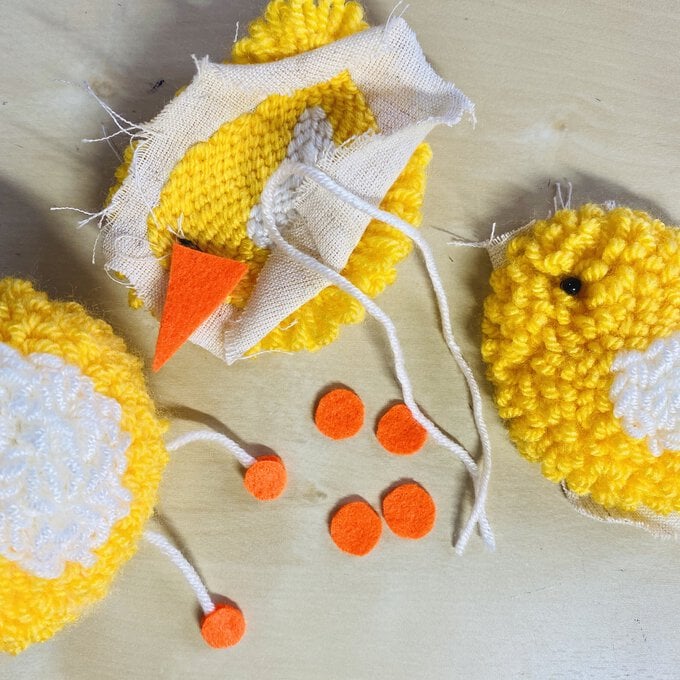
For the 2 birds: Set your needle to C and punch the cream wing section first, followed by the rest of the body using yellow yarn. Stitch a small black bead for each eye. Cut an orange felt triangle for the beak and a length of cream yarn, folded in half, for the legs. Stitch both in as you join the front and back together, as in Step 6. Cut out 4 small orange felt circles and glue onto the bottom of the legs.
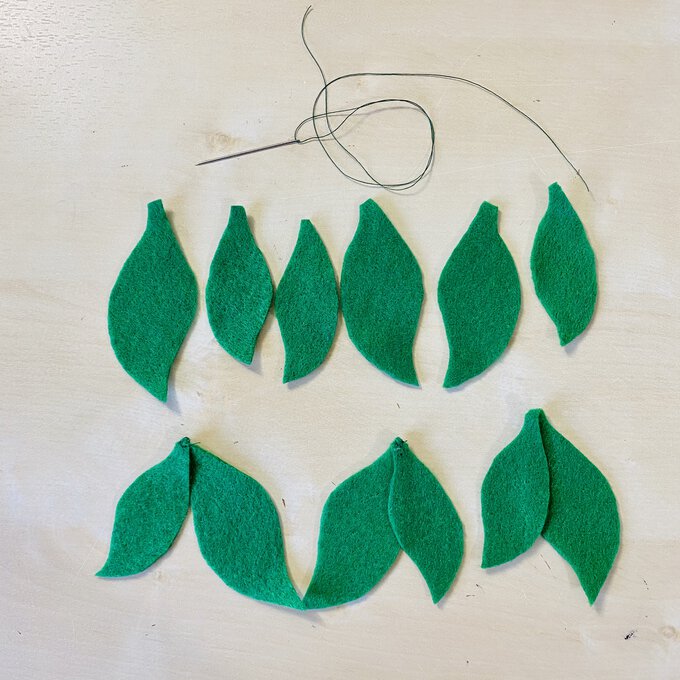
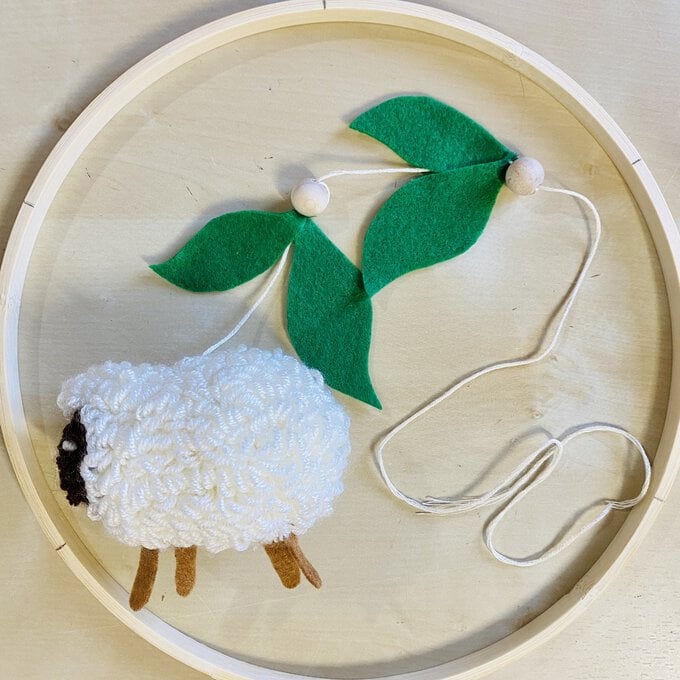
Cut out 6 large and 6 small leaves from the green felt. Sew a few stitches in the top to join a small and large leaf together.
To assemble the mobile: Cut three 1m lengths of embroidery thread. Tie a knot in the thread and push the needle up through the base of the sheep and out through the top. Tie another knot in the thread about 8cm above the top of the body and make a stitch through a set of leaves. Take the thread through one 12mm wooden bead twice to ensure the bead stays in place. Add another set of leaves. Repeat this process for one hedgehog and one bird.
Cut three 1m lengths of embroidery thread. Tie a knot in the thread and push the needle up through the base of the sheep and out through the top. Tie another knot in the thread about 8cm above the top of the body and push the needle up through the flower. Repeat with one hedgehog and one bird.
Cut another length of embroidery thread. Tie a knot in the thread and push the needle up through the side of one of the carrots at an angle. Tie another knot in the thread about 5cm along the thread and repeat with the other carrot. Secure the thread to the base of the rabbit and attach a length to the top. Thread this through a 20cm wooden bead (this will be the bead all ends are threaded through) and tie onto the wooden ring.
Using the inner section of the wooden 9” embroidery hoop, mark a pencil line at 12cm intervals.
Tie the strands to the wooden hoop where you drew the pencil lines making sure the strands drop evenly. Wrap the thread around a few times and tie a knot. Take the thread through one 20mm wooden bead twice, ensuring the bead sits on the hoop.
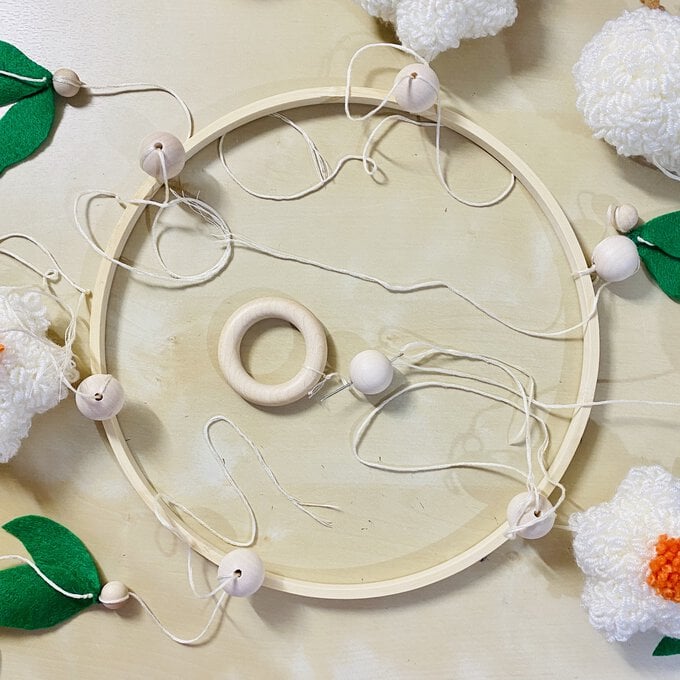
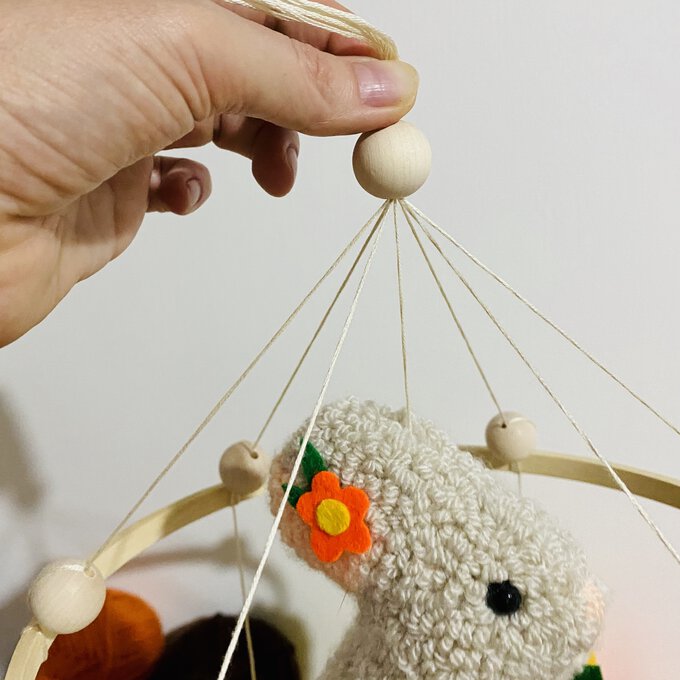
Thread all strands through the single wooden bead at the top and tie them all to the wooden ring. Pass any ends back through the bead to hide them. You could add a blob of glue to the knot to make it extra secure.
Related Products