How to Make a Spring Wreath with Tulips
Celebrate Spring with a lovely, sumptuous tulip wreath made with a basic faux tulip wreath and extra bunches of faux tulips.
Add some ribbon and hang from your front door to welcome in the warmer weather.
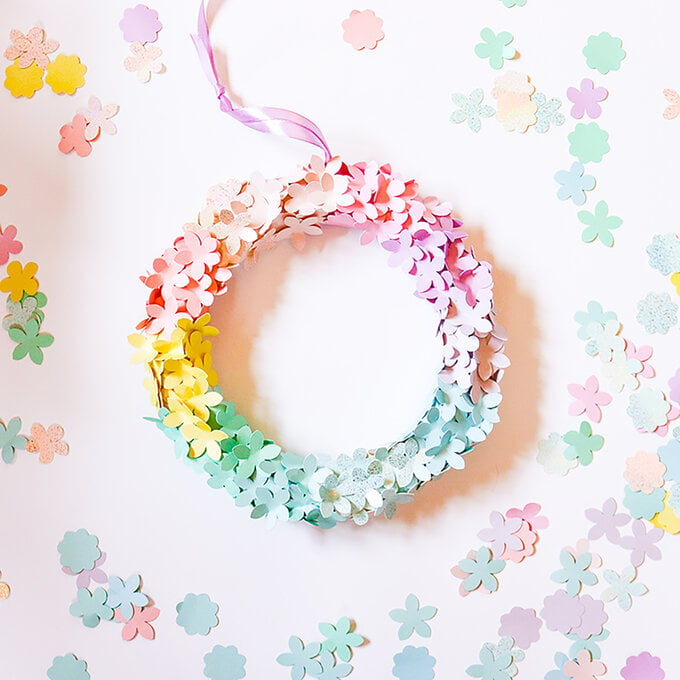
These soft pastel colours are simply perfect for spring!
Project and instructions by Jo Boland
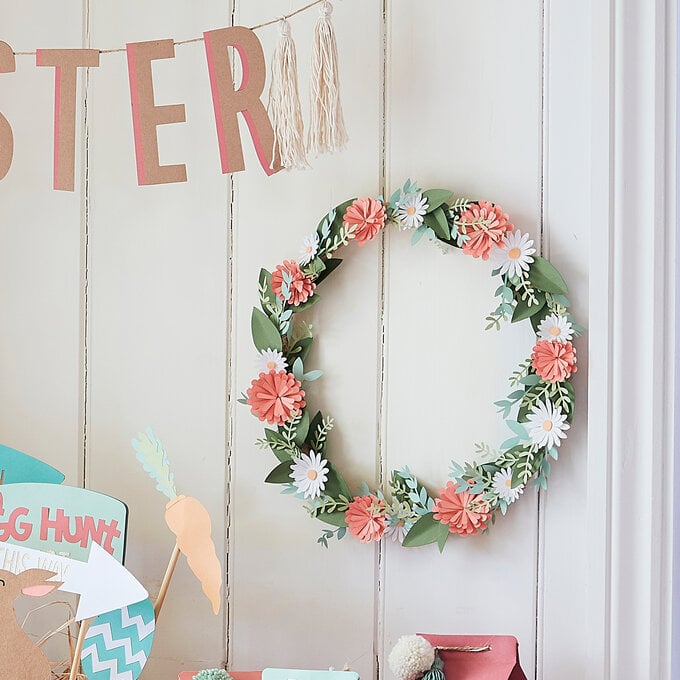
Discover more Spring projects here >
Looking to create a new project for your home? Join one of our workshops book your place here
You will need
Subtotal
Is $ 7.49
Subtotal
Is $ 4.49
Subtotal
Is $ 8.49

Subtotal
Is $ 3.49
How to make
* A Spring Tulip Wreath
* Tulip Bouquet x 4
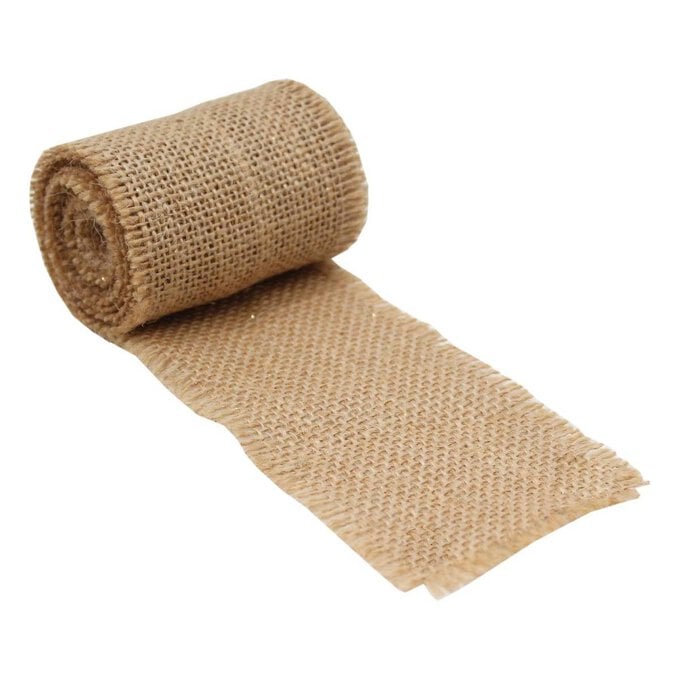
* Natural Jute Fabric Roll
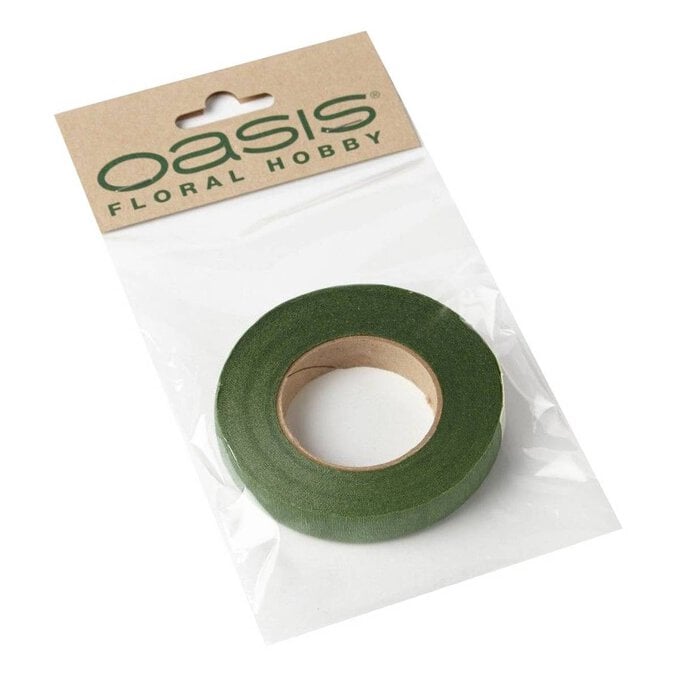
* Oasis Flower Tape
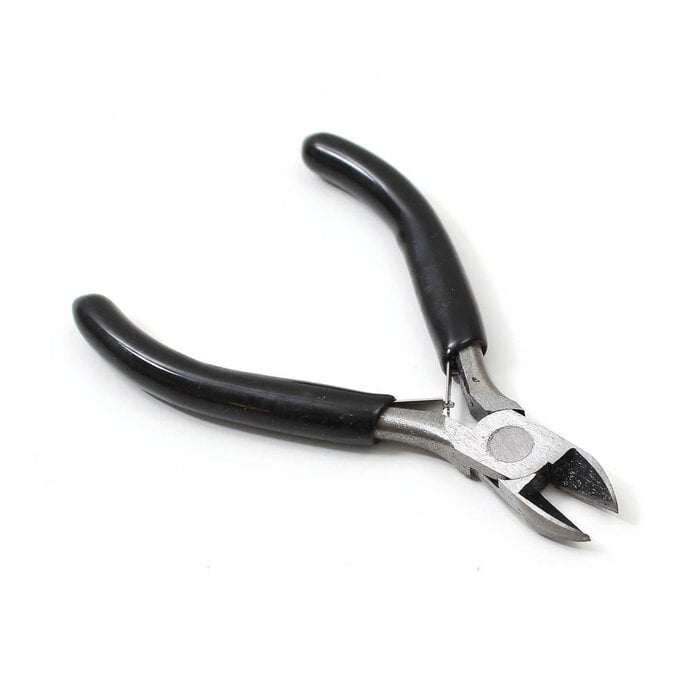
* Wire Cutters


Remove the foliage from each individual tulip stem, keeping only the wide tulip leaves on a third of the stems, leave the rest bare.
Top Tip: Don’t throw away the extra foliage, keep it for other projects.

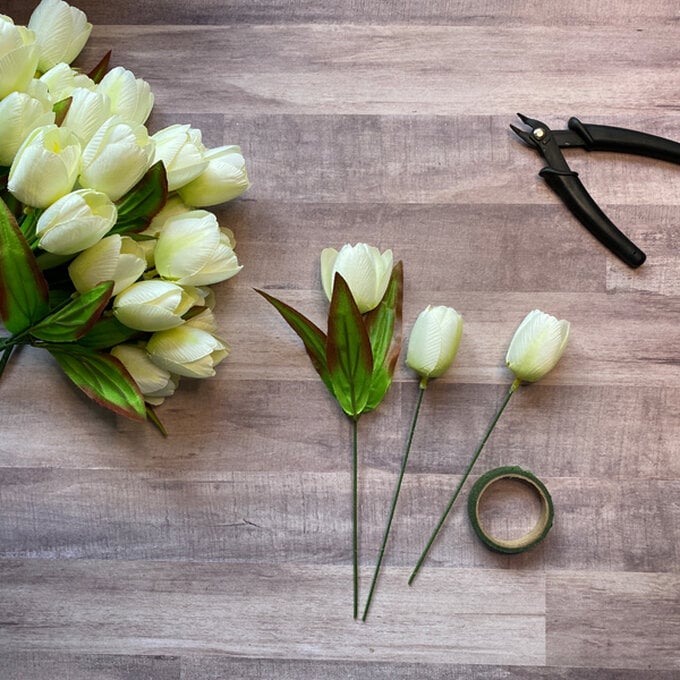
Hold 3 tulip stems together, one stem with leaves and two without.
Position the tulip heads so they are at slightly different lengths. Secure them together with Oasis flower tape by wrapping the sticky tape around the stems at an angle. Stretch the tape gently as you wind it around the stems, this will make the tape stick to itself. Continue all the way to the bottom to conceal the shape ends.
Tear the excess tape off. You should have eight bunches of three tulips.


Place a white tulip bunch in amongst the existing tulips on the basic tulip wreath.
Working from the back, wrap flower tape around both the stem and the wreath base to hold it in position.
Top Tip: Tear off a 20cm strip of flower tape, this is an easier amount to work with rather than trying to wrap the reel around the stems and base.

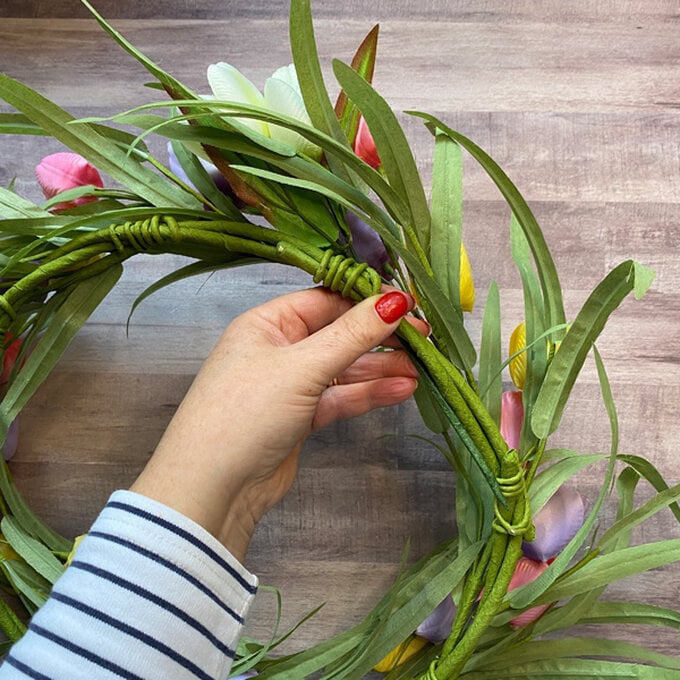


Continue around the wreath adding in the other seven tulip bunches.
Add additional flower tape to secure the stems in position if required.


To finish, why not add a bow to your wreath? We’ve looped jute round the wreath base and tied in a bow at the top.

Related Products