Skip to Content (Press Enter) Skip to Footer (Press Enter)

How to Make an Ombre Floral Cake

Level
Intermediate
Time
1/2 day
Budget
10 - 30

Learn how to decorate this show-stopping ombre floral cake by following the tutorial below, where baking expert Lucy Bruns takes you through each step using new Sugar and Crumbs Russian flower piping nozzles.

You will need

Is $ 18.00

Quantity: 1

Subtotal

Is $ 18.00

Is $ 5.49

Quantity: 1

Subtotal

Is $ 5.49

Is $ 4.49

Quantity: 1

Subtotal

Is $ 4.49

Is $ 5.49

Quantity: 1

Subtotal

Is $ 5.49

Is $ 5.49

Quantity: 1

Subtotal

Is $ 5.49

Is $ 5.49

Quantity: 1

Subtotal

Is $ 5.49

Is $ 5.49

Quantity: 1

Subtotal

Is $ 5.49

Is $ 5.49

Quantity: 1

Subtotal

Is $ 5.49

You’ve viewed 2 of 8 products

You’ve viewed 4 of 8 products

Total:

How to make

Step-1
Sit your cake (on a cake board) on a cake turntable. Coat the entire cake with a layer of buttercream – this is called the crumb coat and ensures that no crumbs will mix into the final layer of buttercream and ruin the look of your cake. Use a cake scraper to ensure a smooth finish – hold the scraper at a 90 degree angle to the cake with your main hand and turn the cake turntable with the other hand. Chill the cake in the fridge for 2 hours or leave overnight for the buttercream to set hard.
ombre1.jpg?sw=680&q=85
Step-2
Decant a pot of buttercream into a bowl and add a few drops of blue food colour – just enough to tint it a very pale colour. Use a small off set palette knife to cover the top of the cake and the top inch of the side of the cake with the buttercream – it doesn't have to be neat at this point.
ombre2.jpg?sw=680&q=85
Step-3
Add a couple more drops of blue colour to the remaining buttercream in the bowl to make a slightly darker shade.
ombre3.jpg?sw=680&q=85
Step-4
Add a 1” stripe of this colour directly under the paler colour.
ombre3.jpg?sw=680&q=85
Step-5
Add more food colour to the buttercream in the bowl and repeat the process, adding subsequently darker shades of blue buttercream to the cake until you reach the base of the cake – I ended up with 5 stripes of differing shades of blue.
ombre4.jpg?sw=680&q=85
Step-6
The next step is to blend the colours together – take the small palette knife in your main hand and hold the rounded end lightly against the side of the buttercream at the base of the cake. Use your other hand to turn the turntable round and round and spinning the cake whilst you apply light pressure with the palette knife to create grooves in the buttercream. Very slowly move the knife upwards to spiral your way up the sides of the cake. When you reach the top of the cake, reposition your knife so that you are holding it on the outer edge of the top of the cake and spin the cake round and round whilst moving the knife continually into the centre.
ombre5.jpg?sw=680&q=85
Step-7

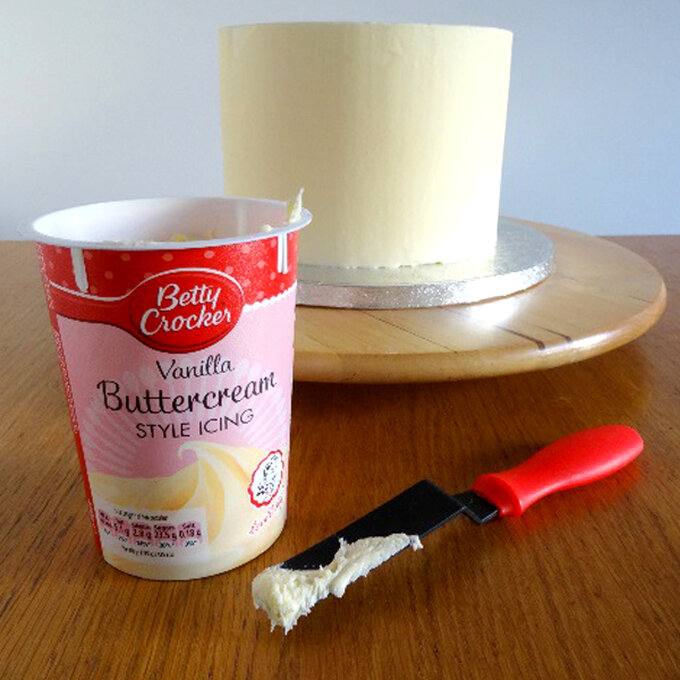
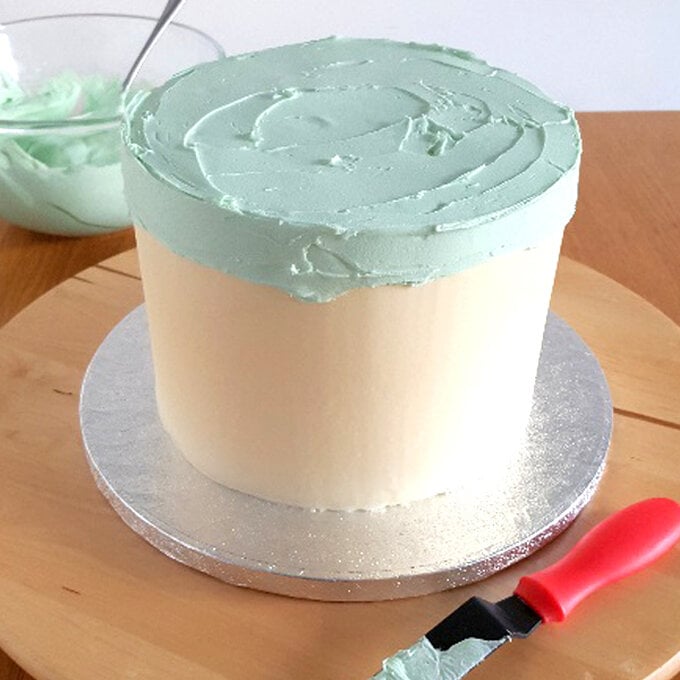
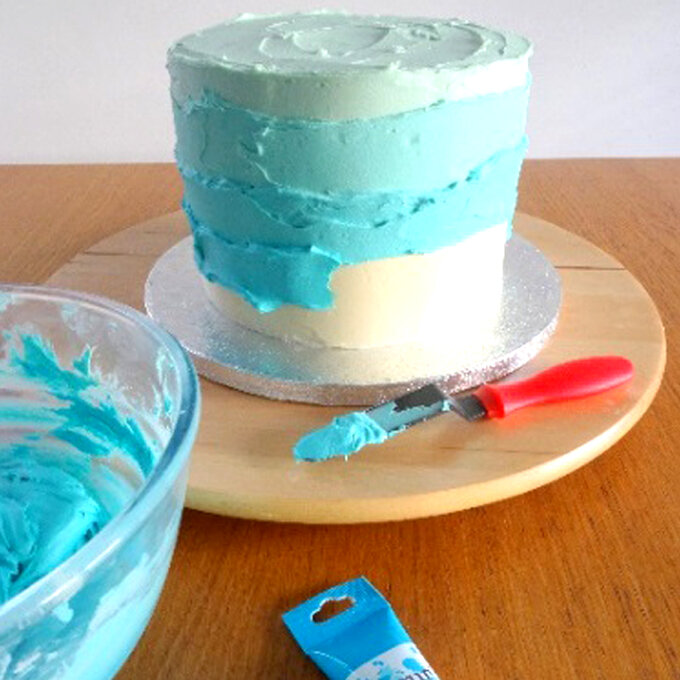
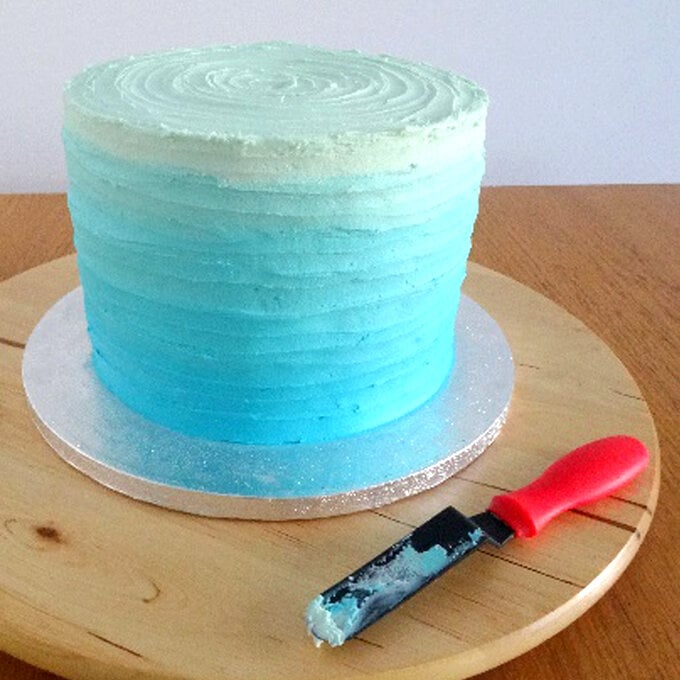
Leave the cake to set up whilst you mix the colours for the flowers.

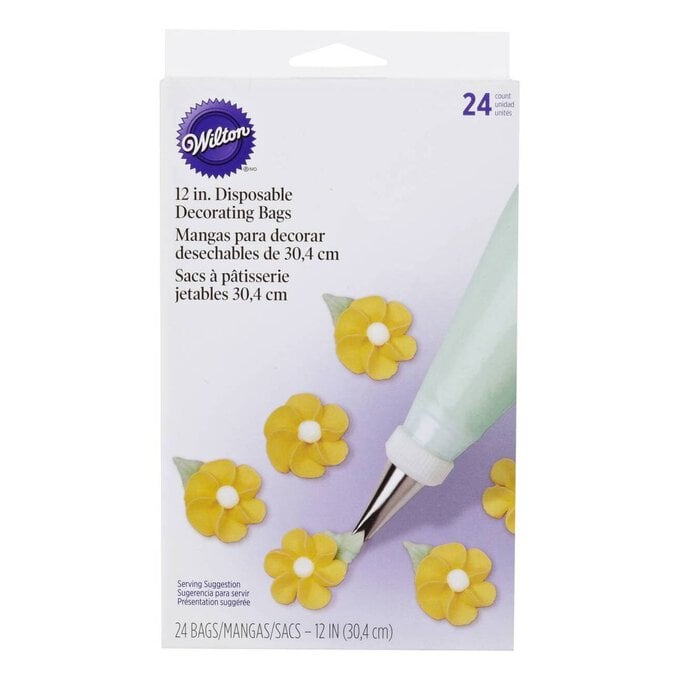
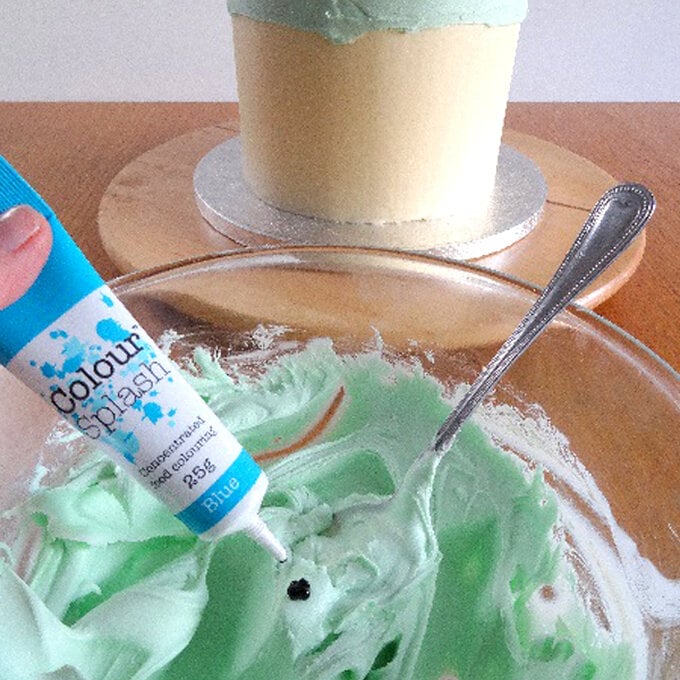
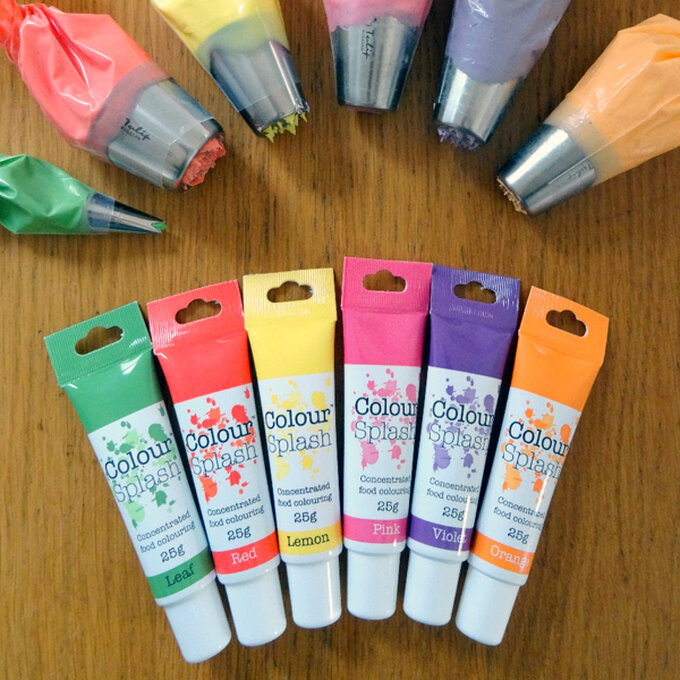
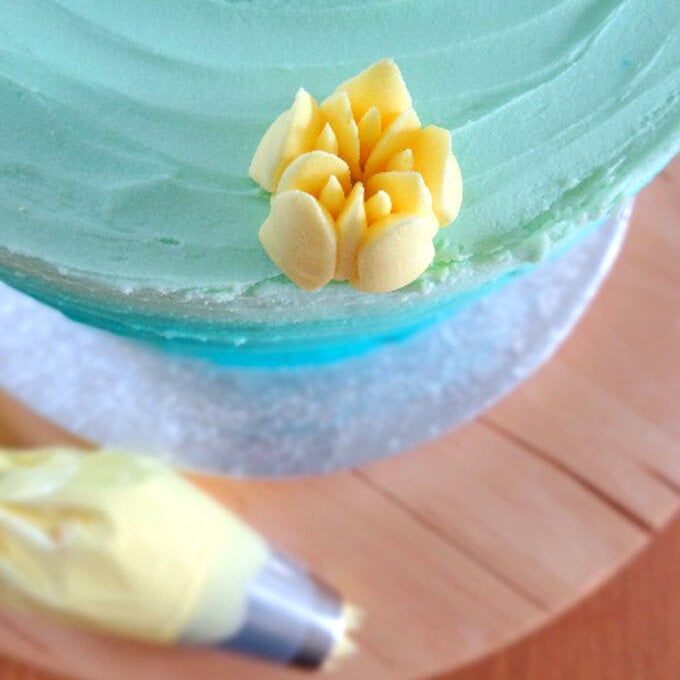
Prep your piping bags by snipping off the points and inserting the nozzles. Divide your buttercream into bowls and colour with your choice of food colours.

ombre10.jpg?sw=680&q=85
Step-8

Hold the piping bag directly over the cake and squeeze firmly so that the frosting makes contact with the cake, then continue to squeeze and pull up so that the flower grows from the nozzle. Stop squeezing the bag when the flower is 2 or 3 cm tall and pull the bag away. You should have a perfect flower!

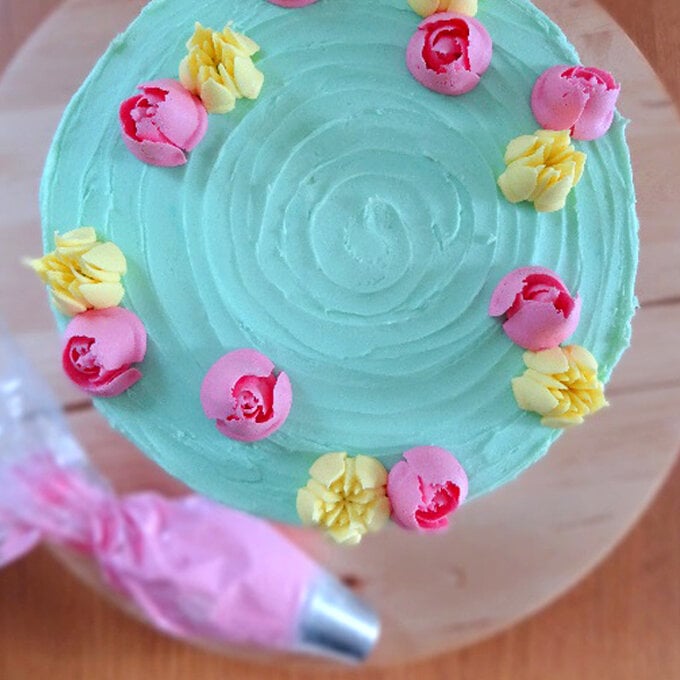
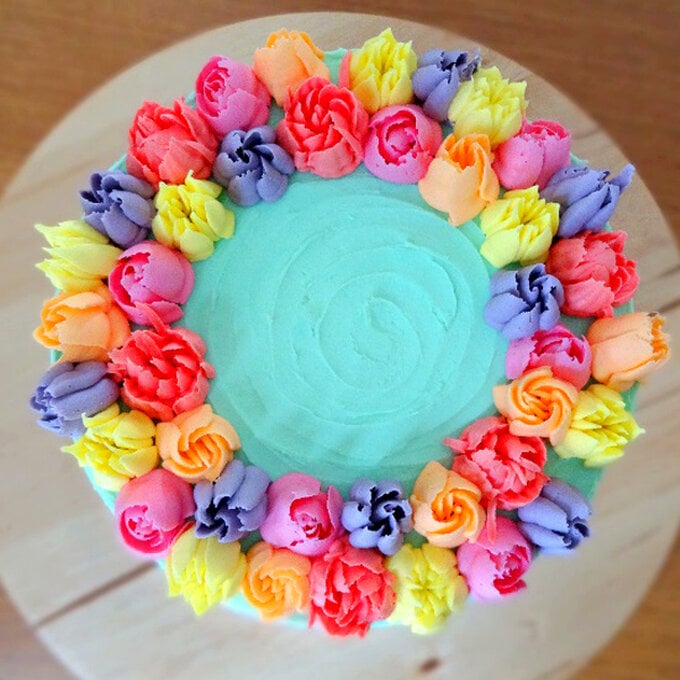
I piped the flowers in a ring around the top of the cake like a wreath. Do a few flowers in one colour first then change to a different colour & nozzle.

Step-9

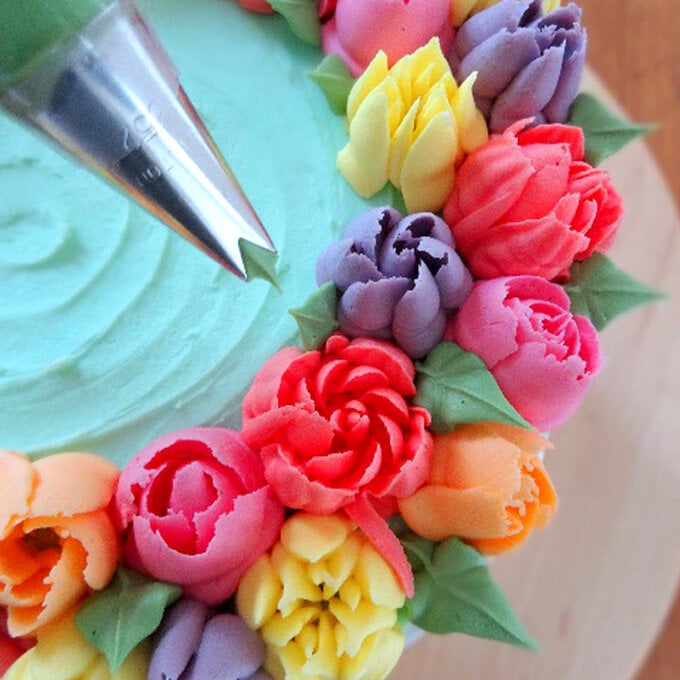
After you have piped all the flowers there will be quite a few gaps where you can't fit another flower in – worry not! These gaps can be filled in with leaves – colour a small amount of frosting with leaf green food colour and put in a piping bag fitted with a leaf nozzle (I used Wilton 352).

Pipe leaves in all of the gaps to further enhance the natural look – just squeeze and pull away sharply to make a pointed leaf.

ombre9.jpg?sw=680&q=85

Related Products

  • bvseo_sdk, dw_cartridge, 18.2.0, p_sdk_3.2.0
  • CLOUD, getReviews, 18ms
  • reviews, product
  • bvseo-msg: Unsuccessful GET. status = 'ERROR', msg = 'Not Found.'; Unsuccessful GET. status = 'ERROR', msg = 'Not Found.';
Top