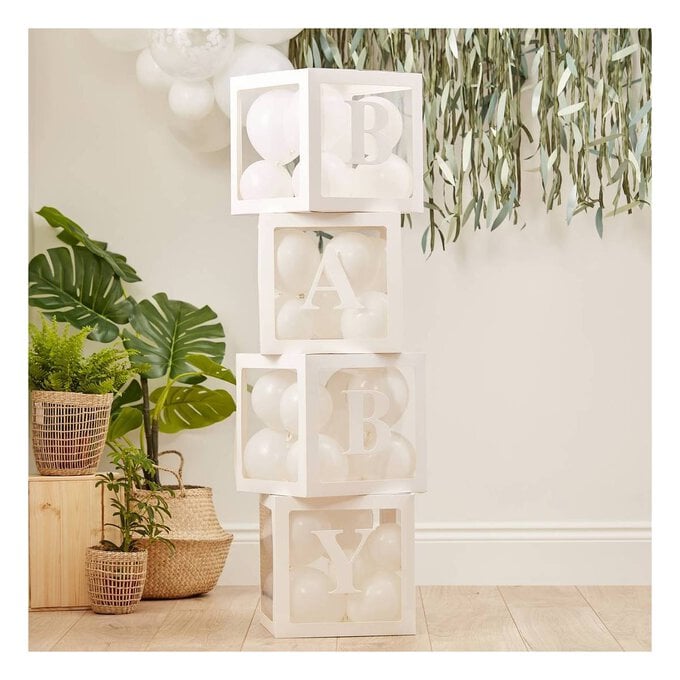
How to Make Soft Baby Blocks
Create these adorable baby blocks using a free to download template from the Cricut Design Space. Here, sewing expert Kathi shows the process from start to finish, and will have you sewing your very own soft baby blocks in no time!
Project and instructions by Katherine Lucy Creates
You will need

Subtotal
Is $ 41.00
Subtotal
Is $ 29.00

Subtotal
Is $ 108.00 , was $ 144.00
Subtotal
Is $ 4.49
Subtotal
Is $ 4.49
Subtotal
Is $ 1.49 , was $ 3.49
Subtotal
Is N/A
Subtotal
Is $ 6.49
Subtotal
Is $ 4.49 , was $ 7.49
Subtotal
Is $ 6.49

Subtotal
Is $ 575.00
How to make
Before you start making I recommend reading through all of the instructions. Make sure your fabric is clean, pressed well and cut into 12″ x 12″ pieces.
Used a 1cm seam allowance throughout.
On Design Space, click customise to take you to be able to edit the blocks. You can then decide how many blocks you would like to make. The project originally contains cutouts for one block, we made three so simply duplicated the squares twice. You could also customise the letters and numbers to spell out a name!

Prepare your cutting mats, following the prompts in Design Space to insert the correct material into the the machine and cut. Make sure the correct settings are selected and you have mirrored the numbers and letters.


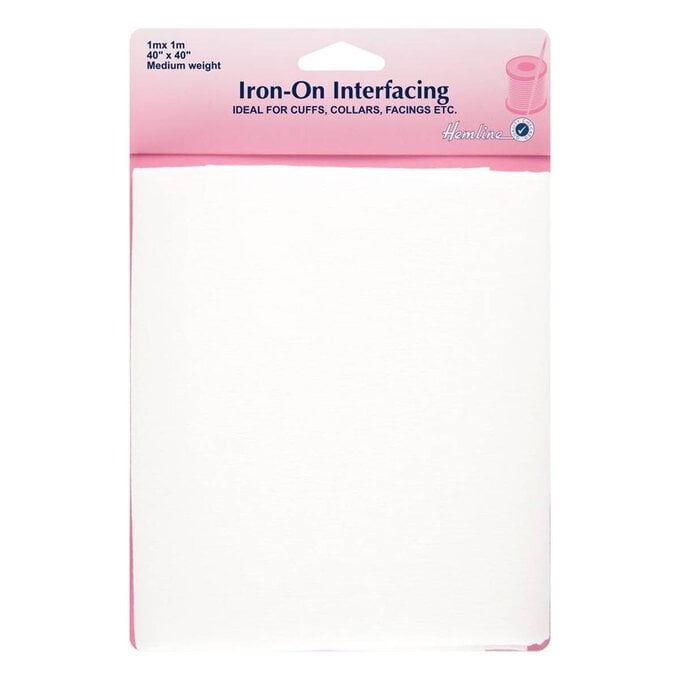
Use a weeder tool to removed the negative spaces from the iron-on liner. Leave the pieces of the design on the plastic backer.


Apply the iron-on to your project using a Cricut EasyPress or and iron and a press cloth.

To make the iron-on pieces extra safe, stitch around the edge of the iron-on shapes, by hand or machine, using a blanket stitch.

Layout your block pieces into a cross shape with two squares long on one of the cross arms. Mix and match the fabric patterns, colours, letters and numbers!

Stitch the block pieces together along the edges, right sides together. For clean corners, do not sew off the edge of the fabric. Stop and backstitch at the corner mark of your seam allowance.

Continue sewing the seams together until you almost have a complete block with an open flap top.
Sew this open down, leaving a gap for you to be able to turn through.
Turn through, pushing our the corners with a chopstick or something similar.

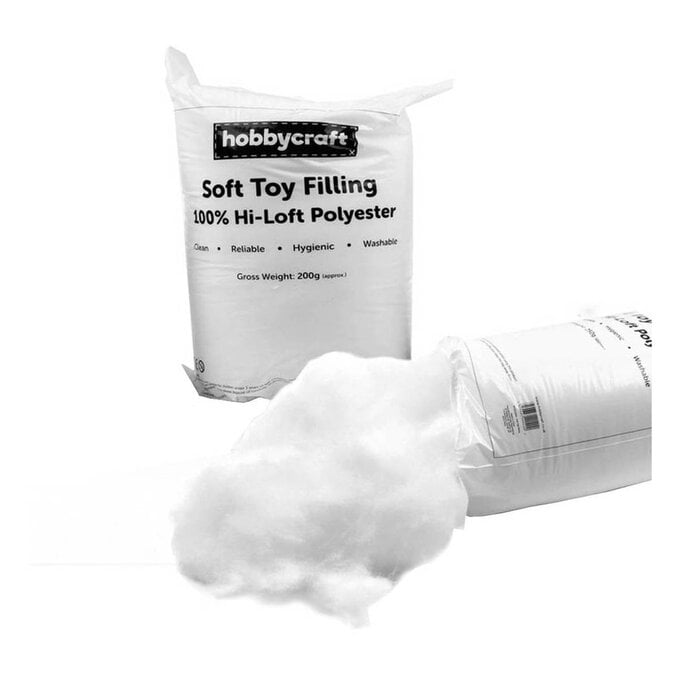
Stuff the block with toy filling and close using a whipstitch and knot securely.
Repeat until you have created all of your blocks.


Related Products

Is $ 32.00