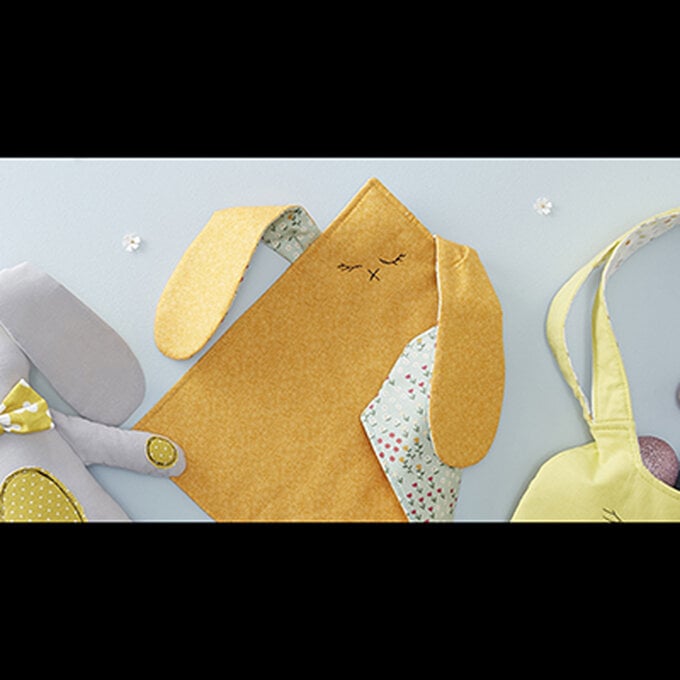
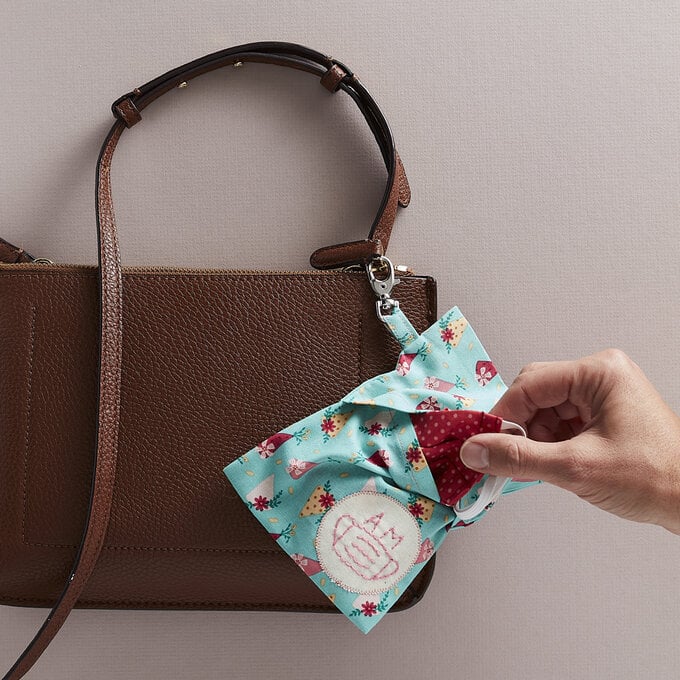
How to Sew a Face Covering Pouch
Create a handy pouch to store your face covering or face mask conveniently. It can be made to clip onto your bag, jeans or belt for easy access whenever you need to quickly cover your face on trips out and about. Easy to make and super practical, it's the perfect addition to your accessories.
Project and instructions by Sophia Palmer.
You will need
Subtotal
Is $ 487.00
Subtotal
Is $ 4.49
Subtotal
Is $ 4.49

Subtotal
Is $ 16.00 , was $ 31.00
Subtotal
Is $ 13.00

Subtotal
Is $ 7.49
Subtotal
Is $ 5.49
Subtotal
Is N/A
Subtotal
Is $ 4.49 , was $ 7.49
Subtotal
Is $ 6.49
Subtotal
Is $ 8.49
Subtotal
Is N/A
How to make
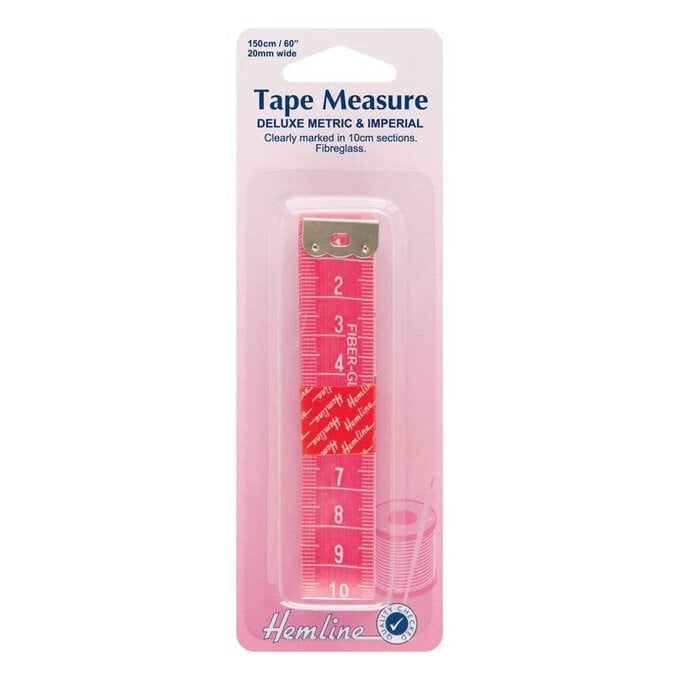
All sewn edges use a 10mm seam allowance.
Use the template provided to cut out your large rectangle.
On both short ends of the rectangle, fold down by 1cm, and again by 1cm, creating a rolled hem.
Press and pin in place.
Sew both rolled hems down close to the open fold, approx 8mm seam allowance.
Fold the bottom up, wrong sides together, by 11cm and press.
Fold the top down, overlapping the bottom folded piece, by 9cm and press.
This will create the finished pressed lines you'll need later.
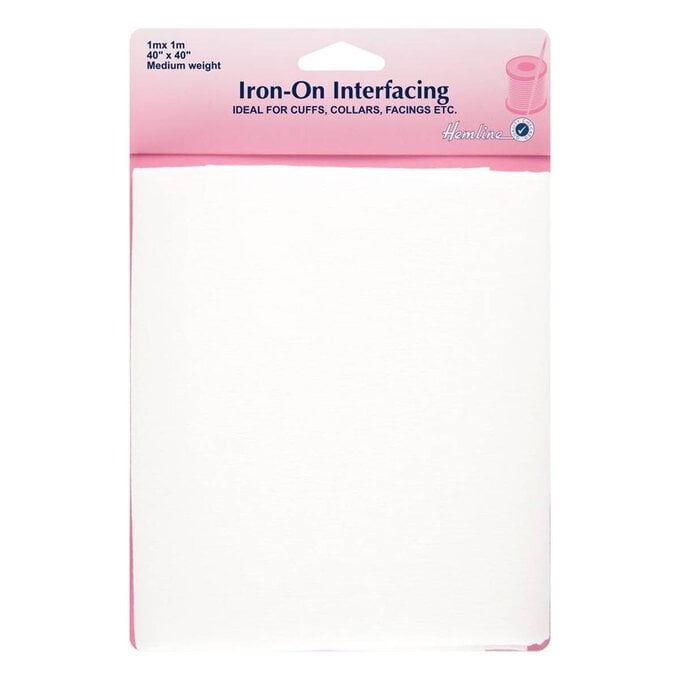
Cut a small piece of plain cotton, about 12x10cm and interface the very centre.
Use the stencil to trace the mask design and add your initials above.
Use a light pencil or fabric pen. You want the motif to be in the centre of the interfaced section.
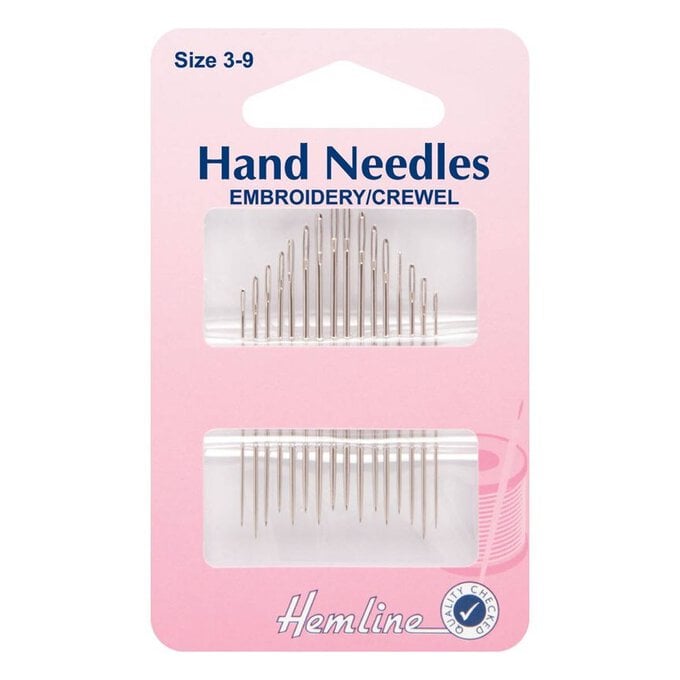
Using embroidery thread, use a simple back-stitch to cover all your drawn lines.
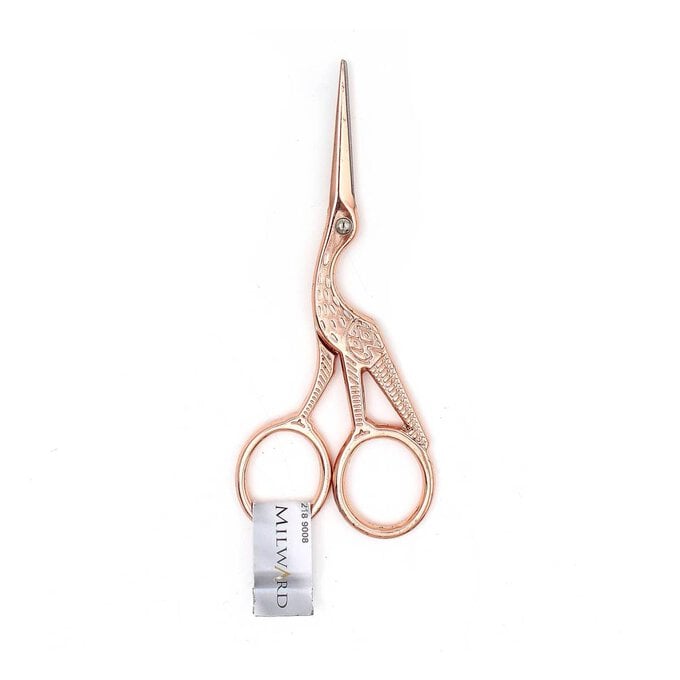
Cut our your circular embroidered motif and place it onto the bottom of your pressed pouch.
Once you're happy with the position, pin in place, opening out your rectangle and making sure you're only pinning through the one layer of fabric.
Sew your motif in place with a small zigzag stitch.
Using the template provided, cut the tab piece from matching fabric.
Fold this small rectangle in half, lengthways, and press. Then fold the outer long raw edges into the middle to meet this pressed line.
Fold the whole piece in half, lengthways to create a narrow tab.
Sew down each long edge of the tab with a narrow 6mm seam allowance.
Slide your swivel clip along it.
Fold the tab in half, joining raw edges and sew these raw ends together, with 6mm seam allowance to create a loop and secure your clip.
Get your main pouch piece, and fold the top down, right sides together, by that 9cm pressed line (folding it the opposite way from before).
Then fold the bottom up by 11cm and pin the sides.
Slide your swivel clip tab inside the fabric on one side near the top.
You want the sewn line and raw edges to be poking out. Pin to secure.
Sew down both open sides.
For longevity, zigzag the raw edges to stop it fraying over time.
Turn the right way though the overlapping rolled hems and press flat.
Related Products