How to Sew a Patchwork Bag
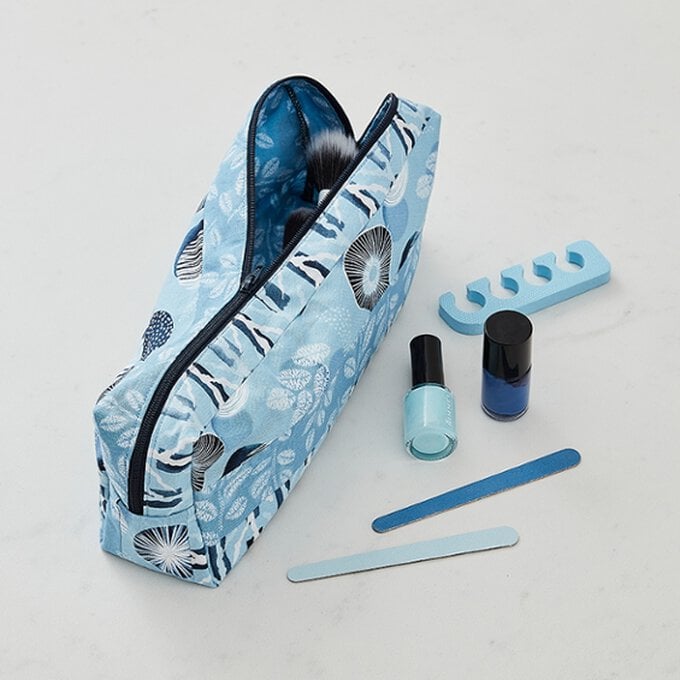
It’s time to use up your scraps stash and sew yourself a handy patchwork grab bag. This project is suitable for beginners. However, if you haven’t used zips before, we recommend practicing on a spare zip before completing this project.
As a sewer, you'll have lots of tools that may go walkabout every now and again, keep them in one place with this handy grab bag that you can sew up within the hour. With its extra-wide opening, you won't have to be worrying about scrabbling around inside.
Project and instructions by Rosie's Craft Corner
You will need
Subtotal
Is $ 4.49
Subtotal
Is $ 14.00
Out of stock
Subtotal
Is $ 128.00
You will also need:
*A pencil
*Dressmaking scissors
*Pins
*A tape measure
*Thread
Optional:
*A sewing machine
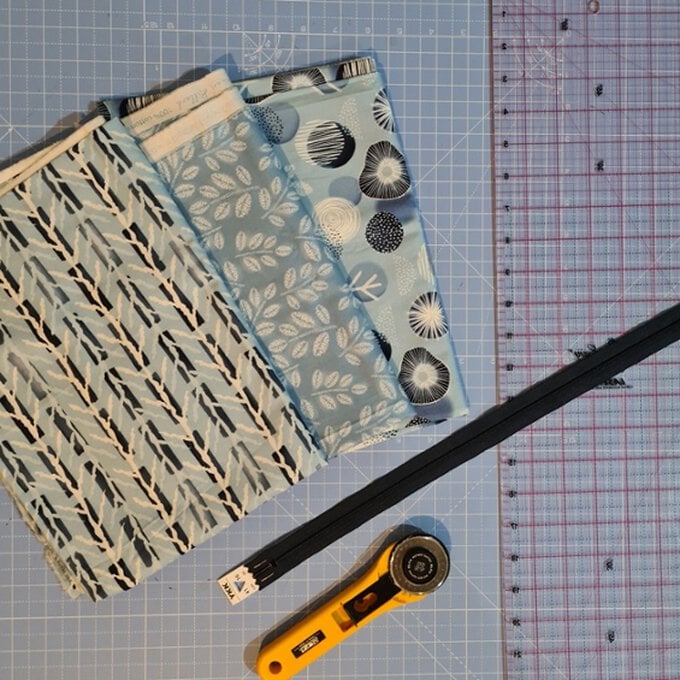
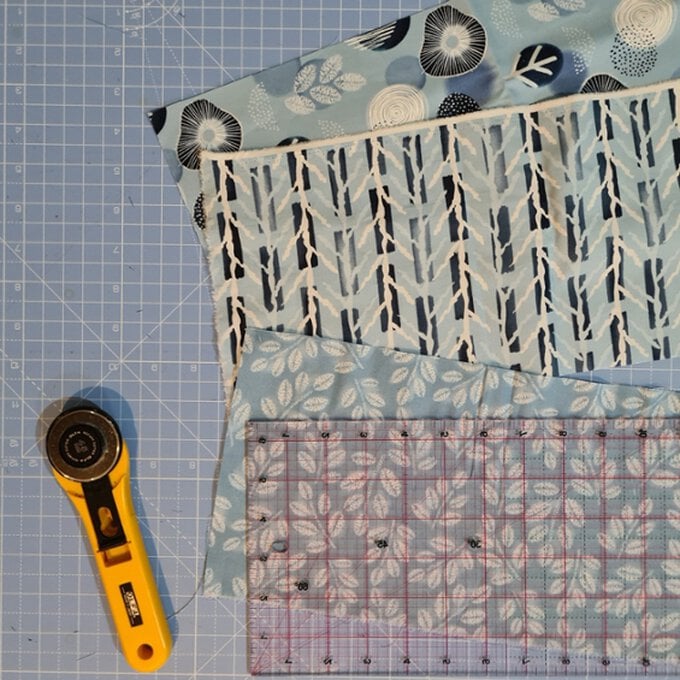
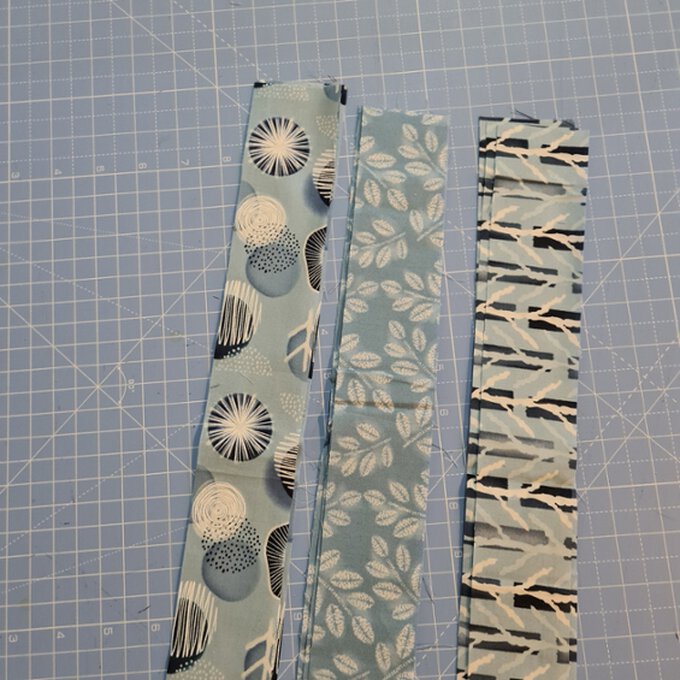
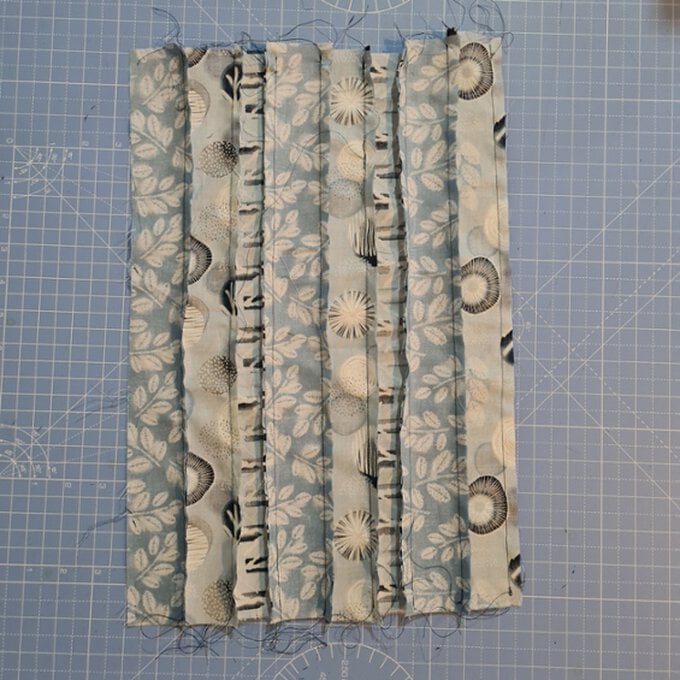
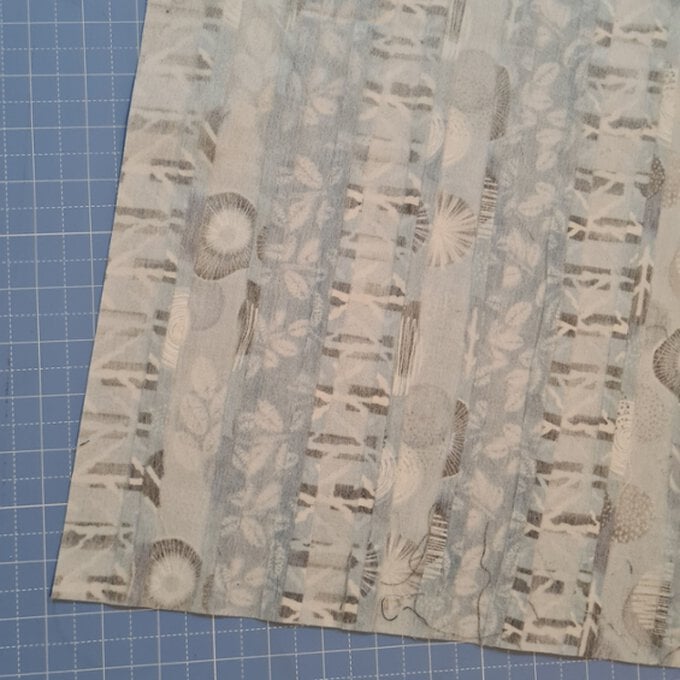
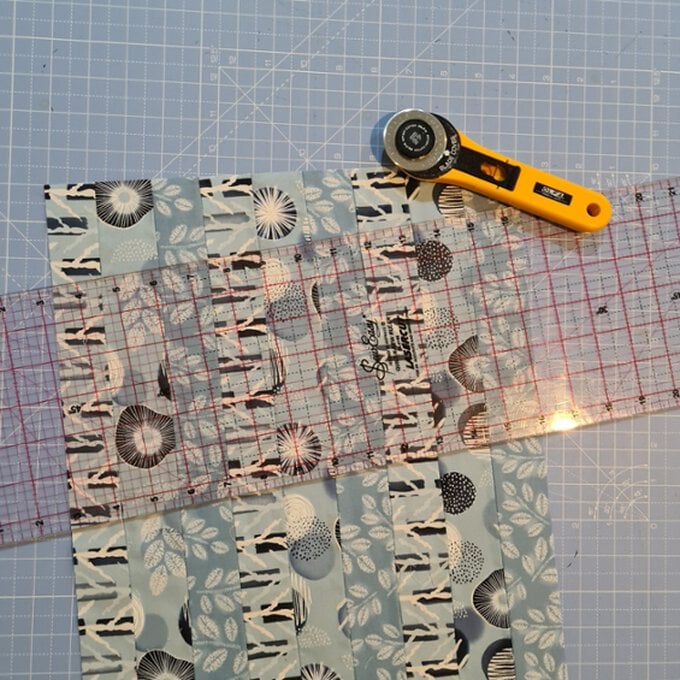
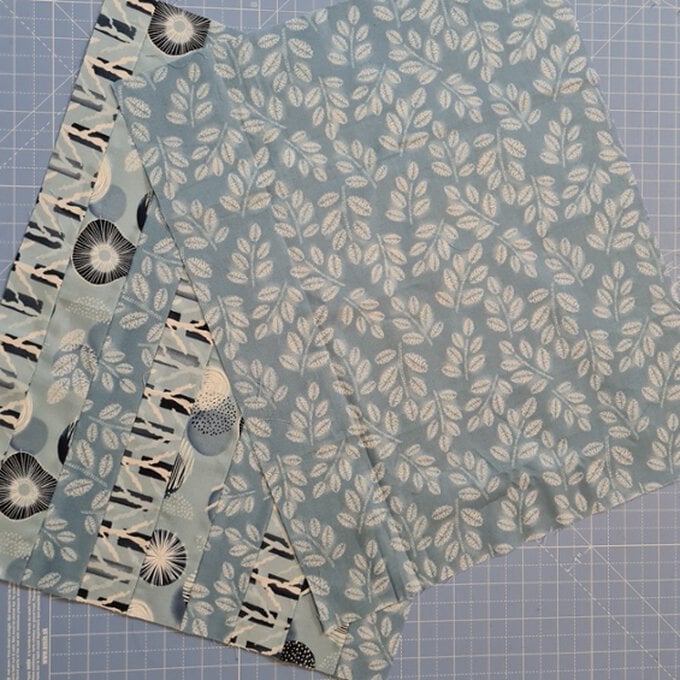
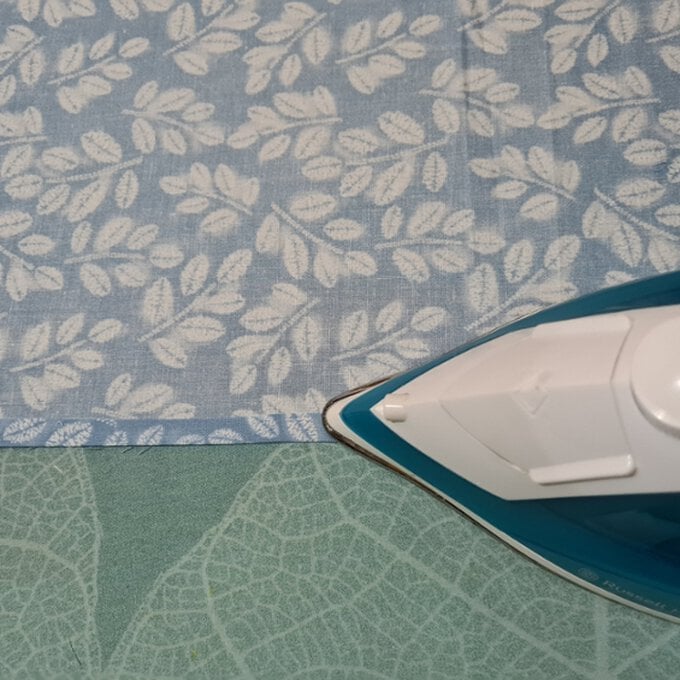

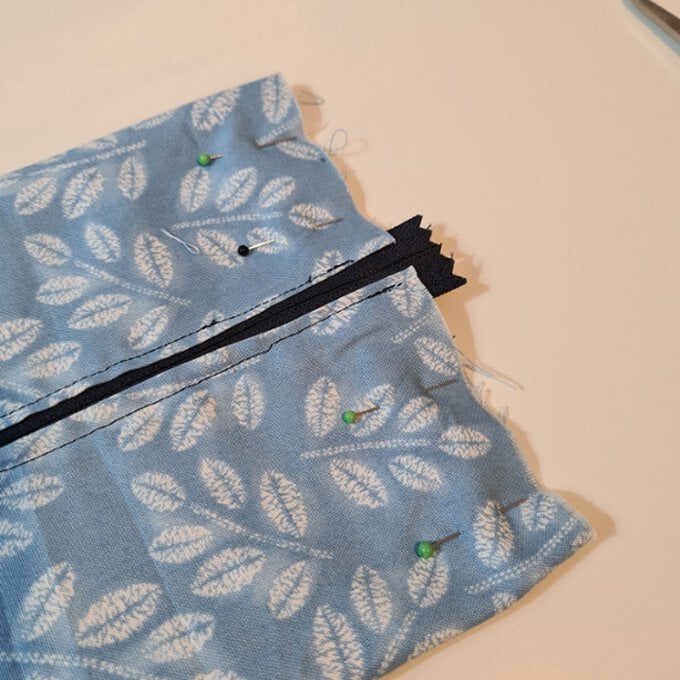
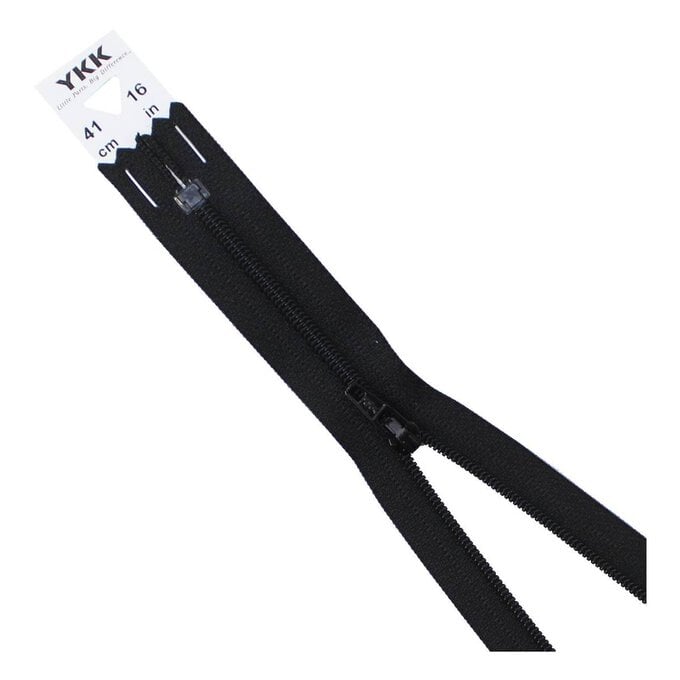
With your zip (be sure to match it up. The inner lining fabric should be on the underside of your zip) place it between both layers so that both right sides are facing as they will be sewn.
Start sewing your first zip side in between the layers of fabric.
Tip: Keep distance from your zip teeth, if caught with a stitch, your zip will fail to work. If the fabric gets too close to the zip, it can also get caught and your zip might stick.
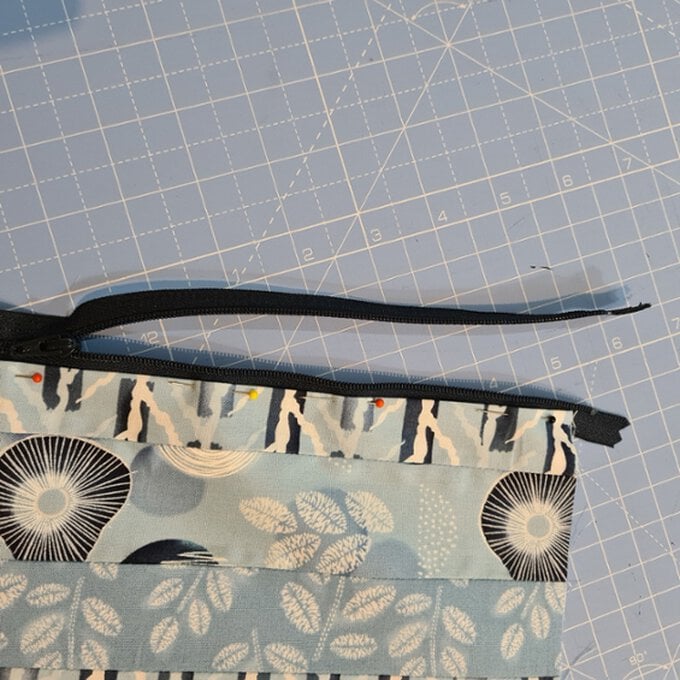
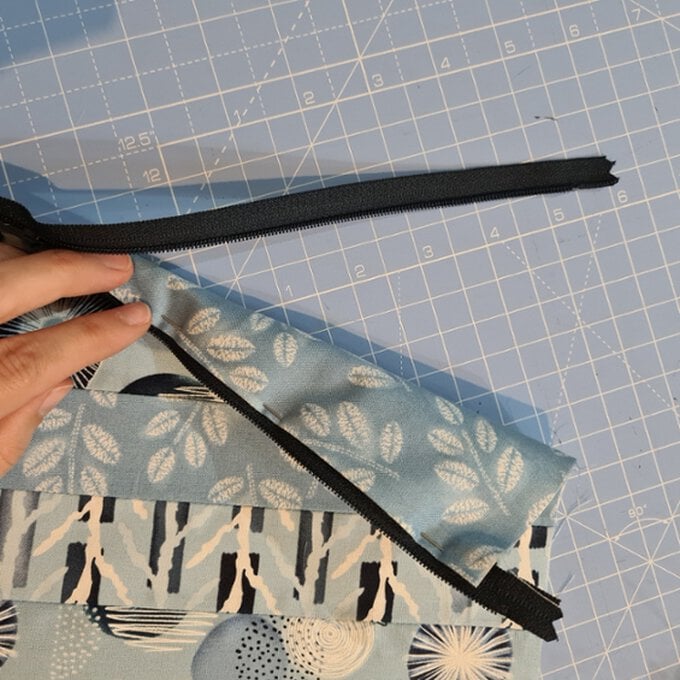
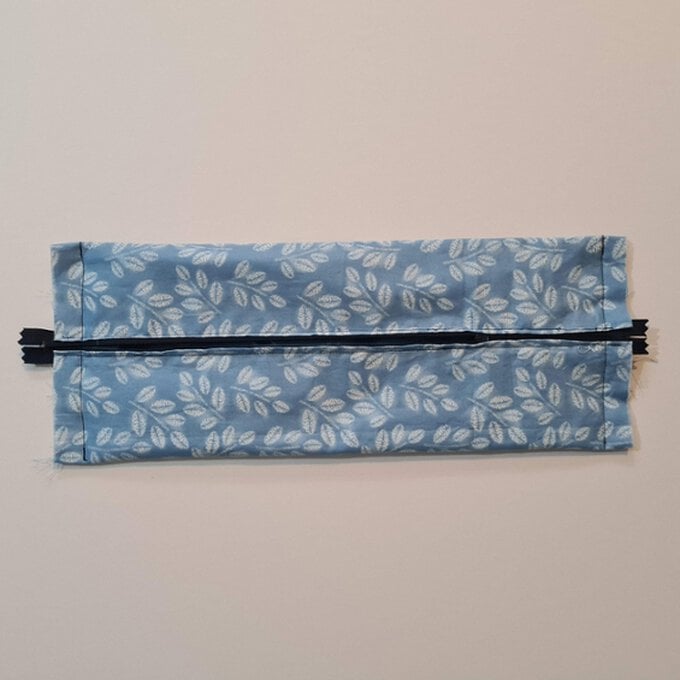
Once one side of your zip is sewn in, repeat on the other side.
Tip: Sew with your zip unzipped as far as you can go before you need zip it up. This part can be fiddly, you will need to manipulate your fabric whilst sewing.
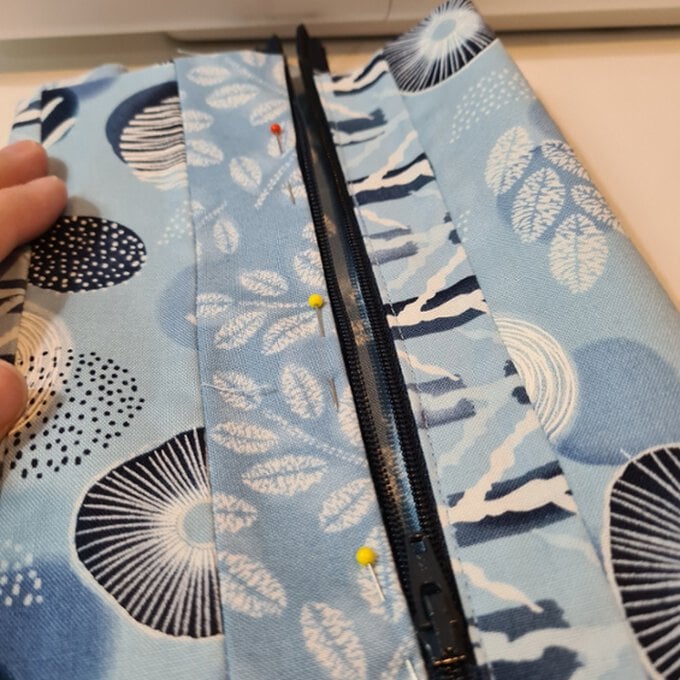
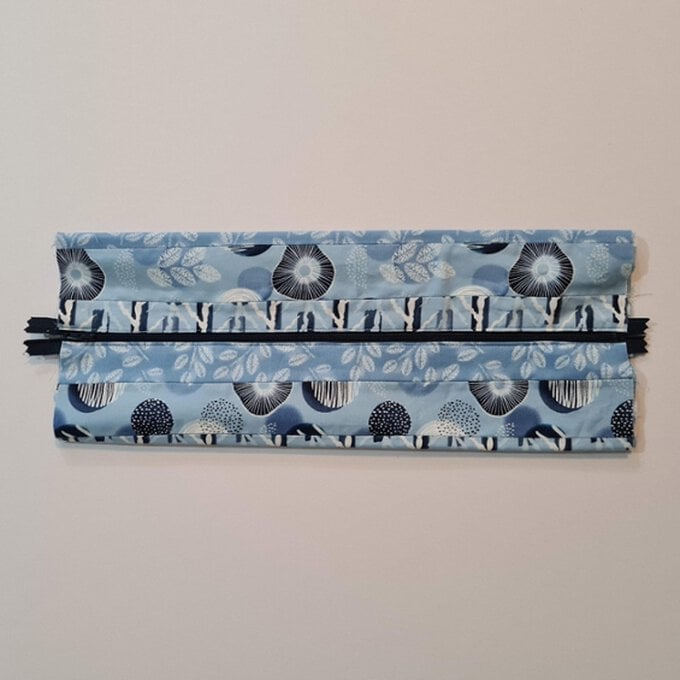
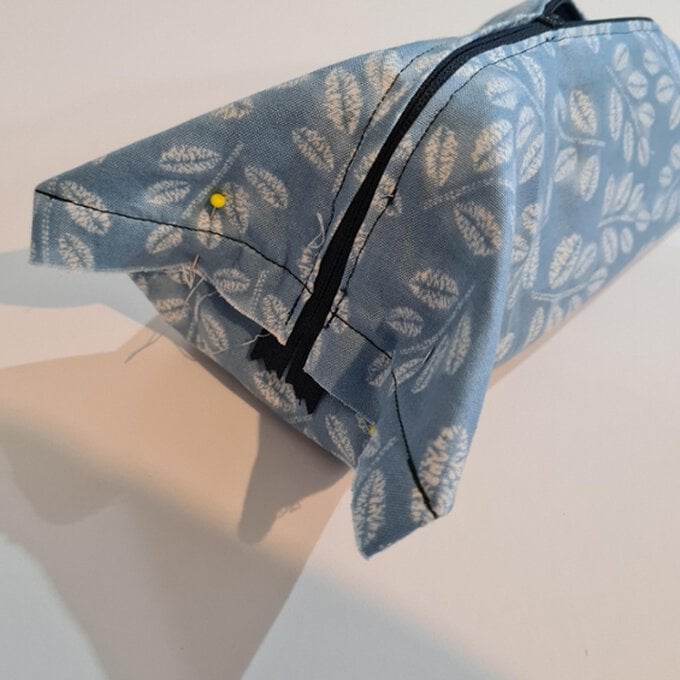
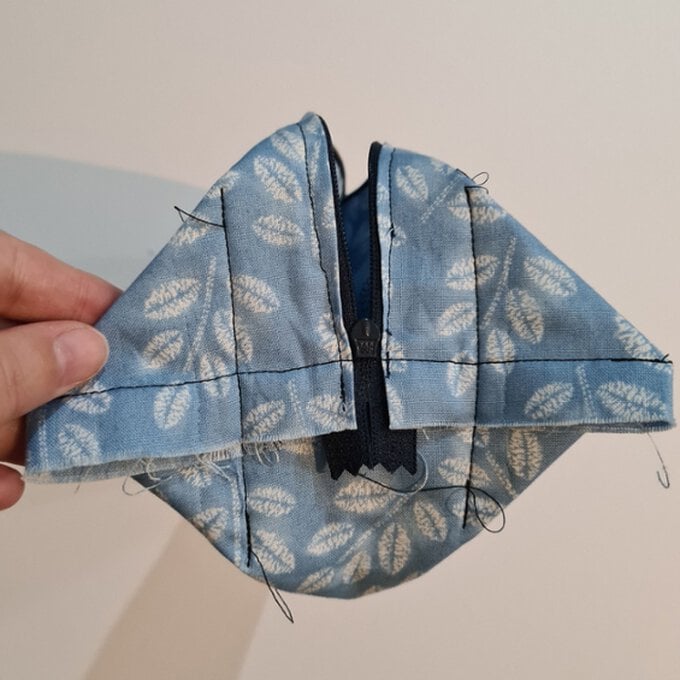
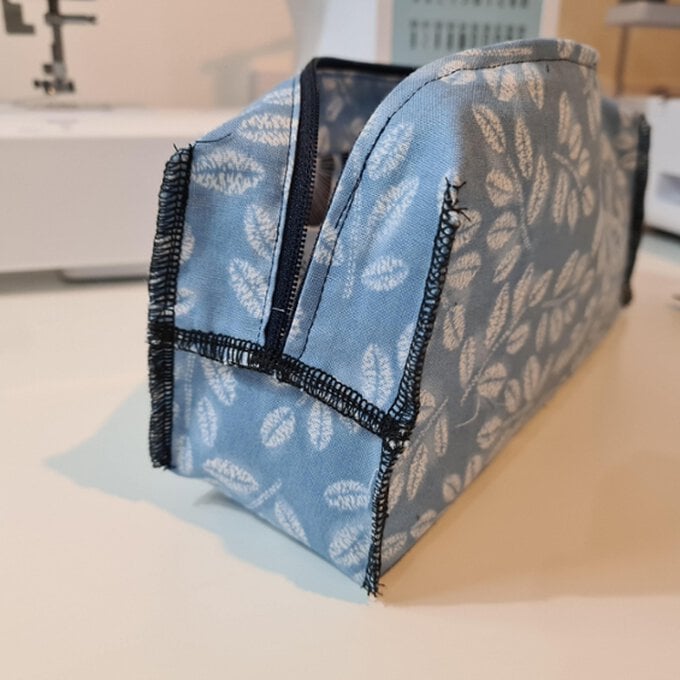
Pin close both opens ends, with your zipper laying in the middle.
Important! Be sure to keep your zip open as much as possible before you sew close your ends.
