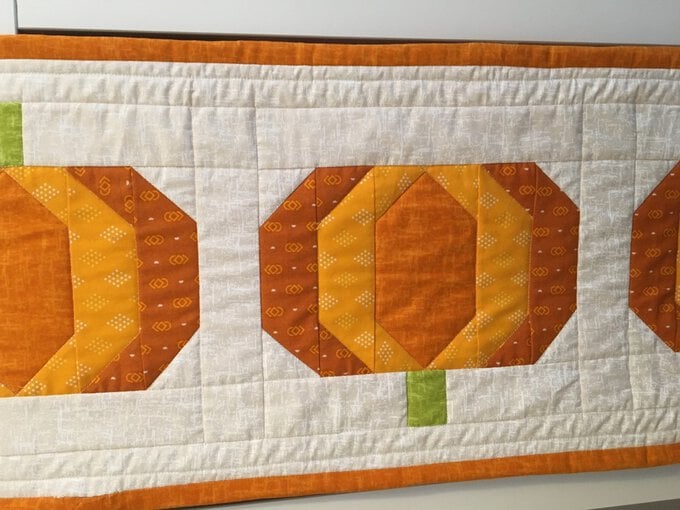
How to Sew a Pumpkin Table Runner
Discover how to sew a beautiful pumpkin table runner for your home this autumn with our step-by-step guide. Perfect for intermediate level sewers, this project is ideal for transforming your favourite autumnal fabric and fat quarters into a beautiful keepsake that can be displayed, cherished and enjoyed year after year.
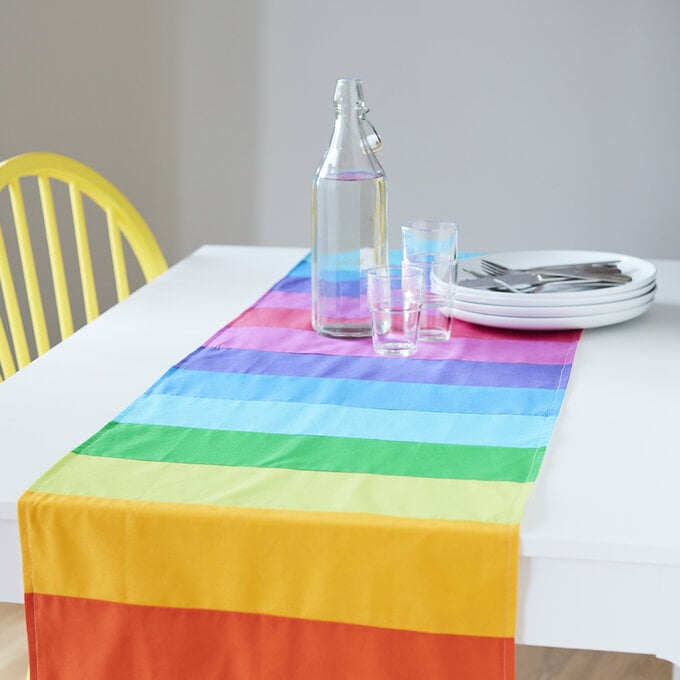
Display alongside your favourite autumnal dried flowers and foliage to really create a dynamic impact at an autumnal dinner party.
The finished size of the table runner is approximately 150cm x 33cm.
Project and instructions by Sarah Holliman at SJStitchery.
You will need
Subtotal
Is $ 121.00
Subtotal
Is $ 24.00
Subtotal
Is $ 20.00
Subtotal
Is $ 31.00

Subtotal
Is $ 9.49
Subtotal
Is $ 4.49

Subtotal
Is $ 13.00
Subtotal
Is $ 1.49 , was $ 3.49
Subtotal
Is $ 4.49
Subtotal
Is N/A
Subtotal
Is $ 32.00
You will also need:
* Background Fabric (neutral colour of white/cream) – 0.5m
* Small amount of green/brown fabric for stem piece.
* 1m fabric for quilt backing
* Orange fabric for Bias binding
Choose the selection of colours you would like to use for your pumpkin blocks. You are going to need an inside, middle fabric, outside fabric and background fabric.
This table runner is made up of five separate pumpkin blocks (you may wish to make less, depending on the size of your table). Each block is joined by 2-inch sashing.
Using a ruler and rotary cutter, cut the following pieces from your fabric selections:
Inside Pumpkin:
*1 of 3.5 x 6.5-inch rectangle
Middle Pumpkin:
* 2 of 2 x 6.5-inch rectangles
* 4 of 2-inch squares
Outside Pumpkin:
* 2 of 2 x 6.5-inch rectangles
* 4 of 2-inch squares
Background Fabric:
* 2 of 2 x 4.5-inch rectangles
* 4 of 2-inch squares
* 1 of 2 x 9.5-inch rectangle
Stem Fabric
* 1 of 1.5 x 2-inch rectangle
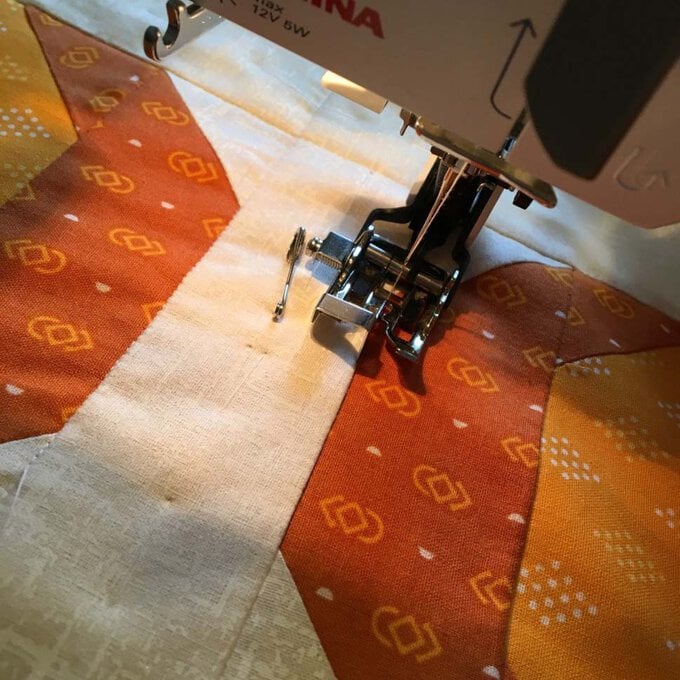
Lay out all of your fabric pieces for your pumpkin block and press with an iron.
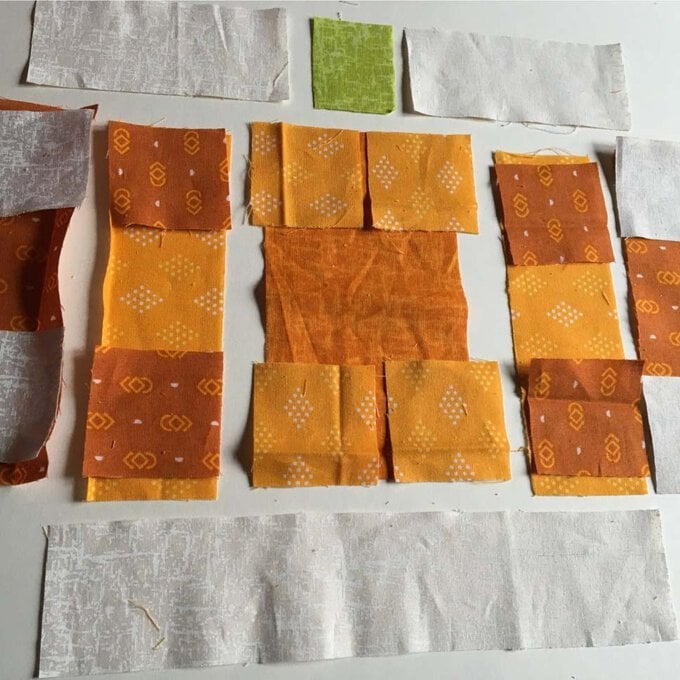
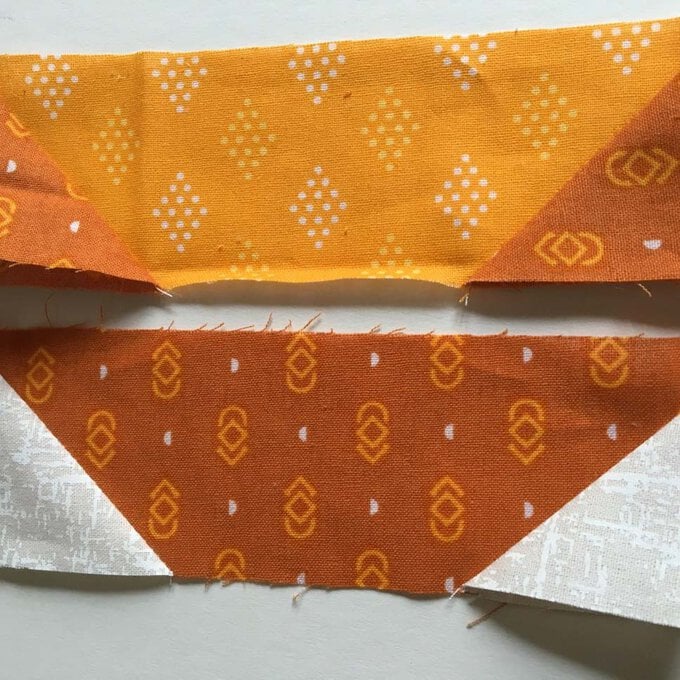
Starting from the outside, place the outside fabric down and position both of the background fabric squares, face down, on either end of the strip.
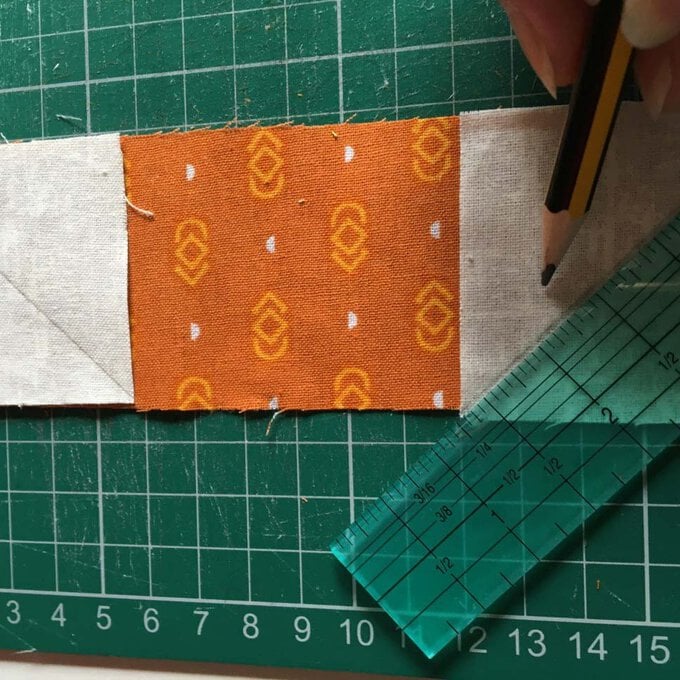
Each strip of the pumpkin will have a triangular end facing towards the inside of the pumpkin. To do this we need to mark a diagonal line with a pencil across each of the background fabric squares to form the triangular top (make sure the line at the top is the opposite diagonal to the one on the bottom square).
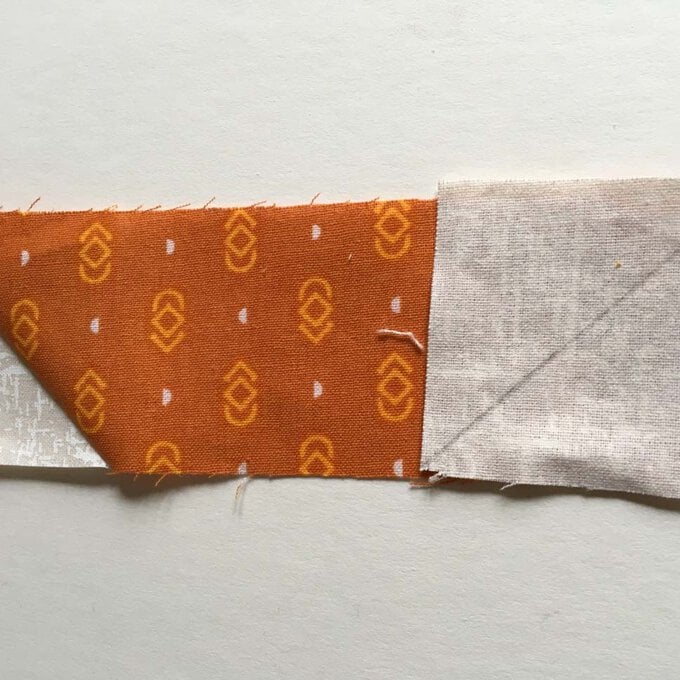
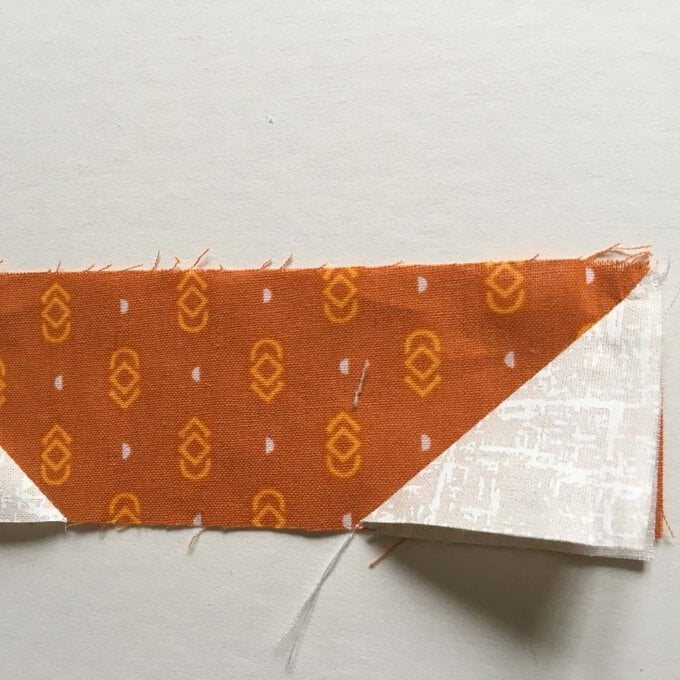
Sew down the middle of the diagonal line and then remove the excess fabric. Press with an iron.
Sew the middle fabric piece in exactly the same way but with the outside fabric squares placed on top of the middle fabric. Mark the diagonals as before and sew along the line. Remove the excess fabric and press with an iron.
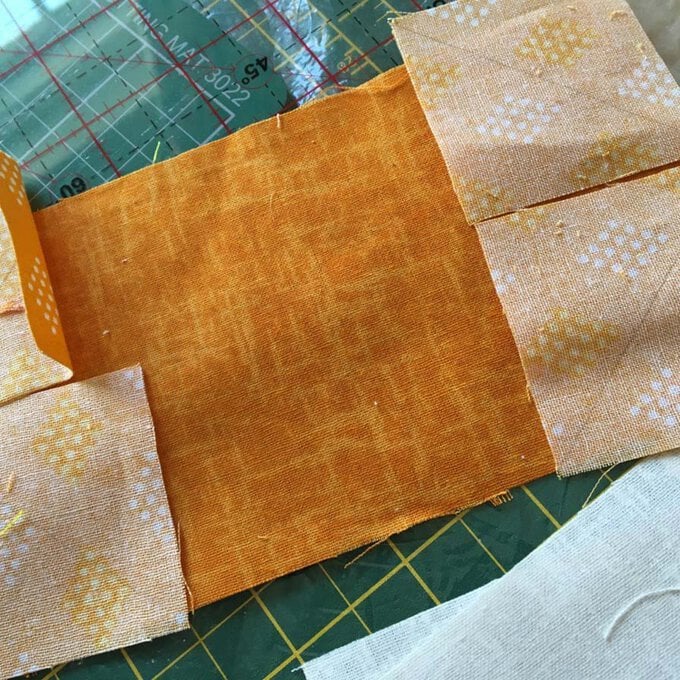
Take the inside fabric piece and place all four of the middle fabric squares facing down onto each of the corners of the rectangle.
Again, mark the diagonals and stitch into place as before. Remove the excess fabric and press with an iron.
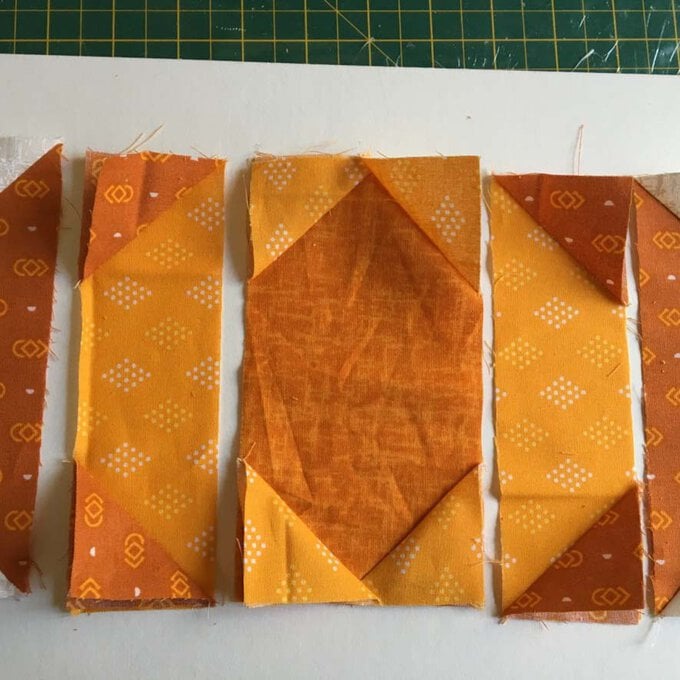
Layout all five fabric strips, making sure your pattern is correct.
With right sides together, stitch all of the panels together. Press with an iron.
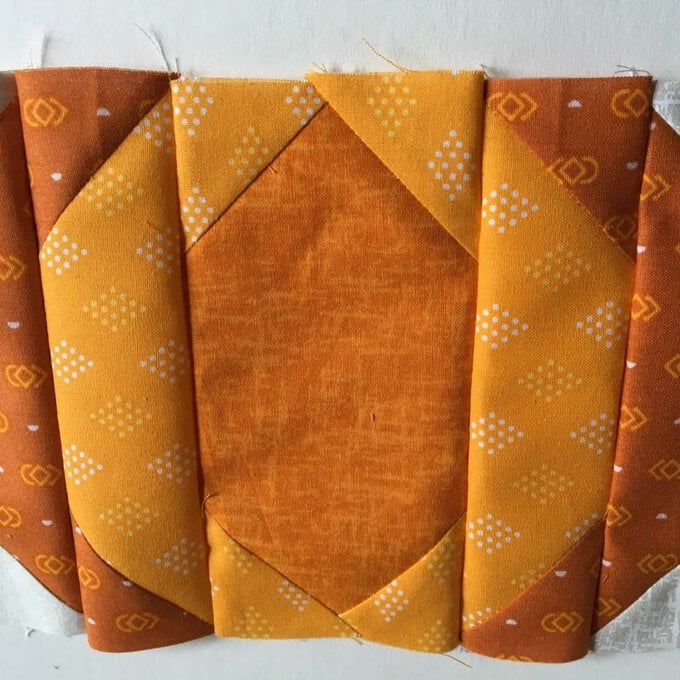
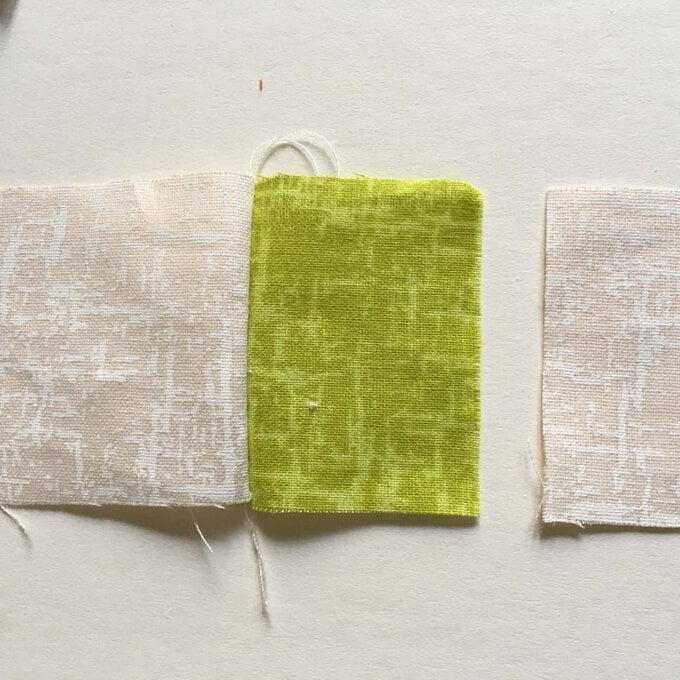
Take the two smaller rectangles of background fabric and with right sides together, stitch the stem rectangle of fabric into the middle of the two pieces.
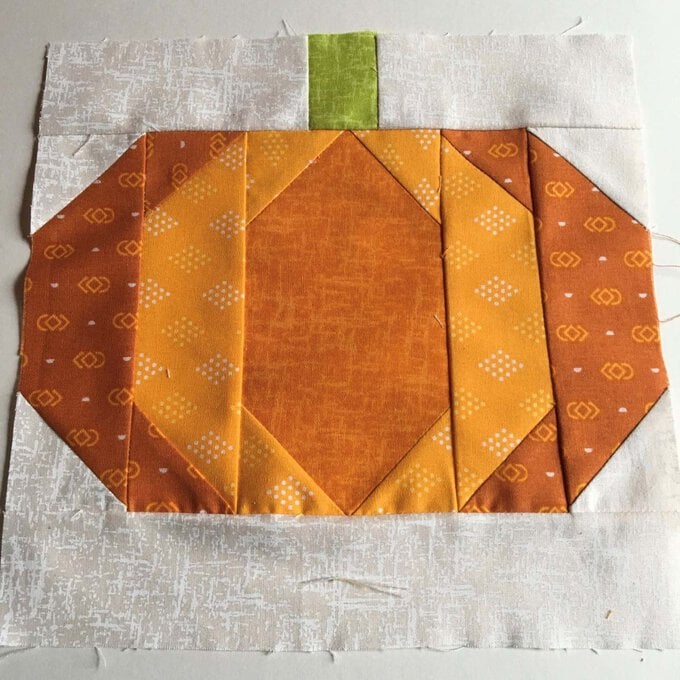
Stitch this whole strip piece to the top of the pumpkin panel and iron into place.
Take the 9.5-inch strip of background fabric and stitch this piece into place on the bottom of the pumpkin panel.
Press with an iron.

You've now finished one panel piece of the table runner. Complete the same process for the remaining four panels. Make less panels if you require a shorter table runner. You can either use the same colours for each panel or use different colours if you wish.
Decide on the design of your table runner. I have chosen to rotate the pumpkin design, but you could place all of the panels in the same direction if you wish.
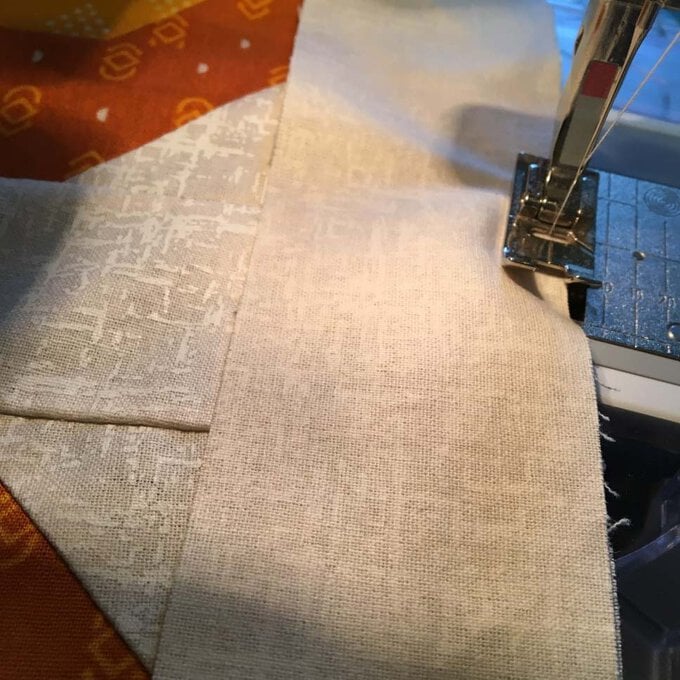
Cut four 2-inch-wide strips of background fabric. These will separate the panels. With right sides together sew along one side of each pumpkin block to join the pumpkin panels together.
Cut long pieces of 2-inch-wide strips of your chosen fabric for the top and bottom borders of the table runner. If you have chosen to make all five panels you may need to join the fabric strips in the middle, depending on the length of the runner.
Sew the top and bottom borders in place and press seams flat. You have now completed the top of your table runner!
Get your batting and cut a piece to roughly the same size as the top piece leaving about one inch excess all around. Smooth your fabric top over the batting, taking time to ensure the layers are completely flat and baste or pin into place.
Complete the same process with the quilt backing.
You should now have your 3 layers. Secure all layers into place with quilting pins and or tacking stitches.
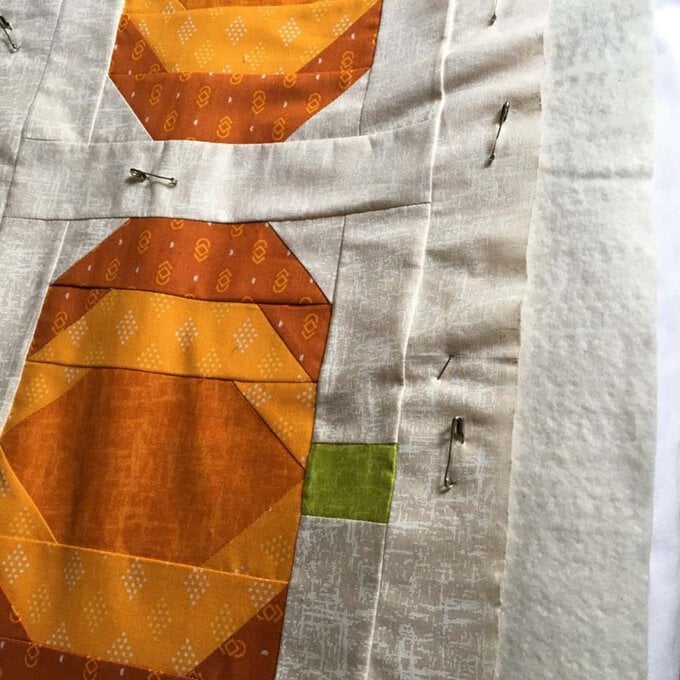
Quilt in place as you like.
When you have completed quilting, trim the edges, and remove any excess batting or backing fabric.
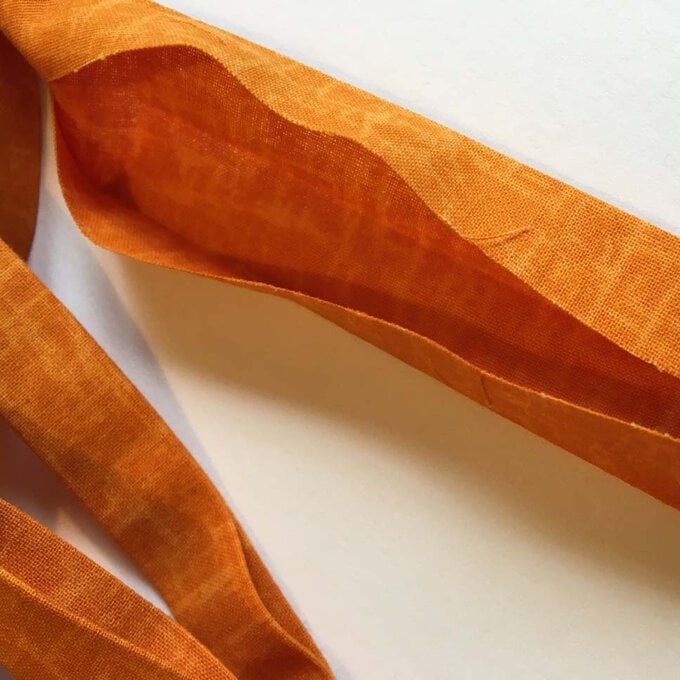
Decide on the binding you want for your table runner. Cut length long strips of 2.5-inch-wide fabric. Sew strips together and press with an iron and fold to make a bias binding.
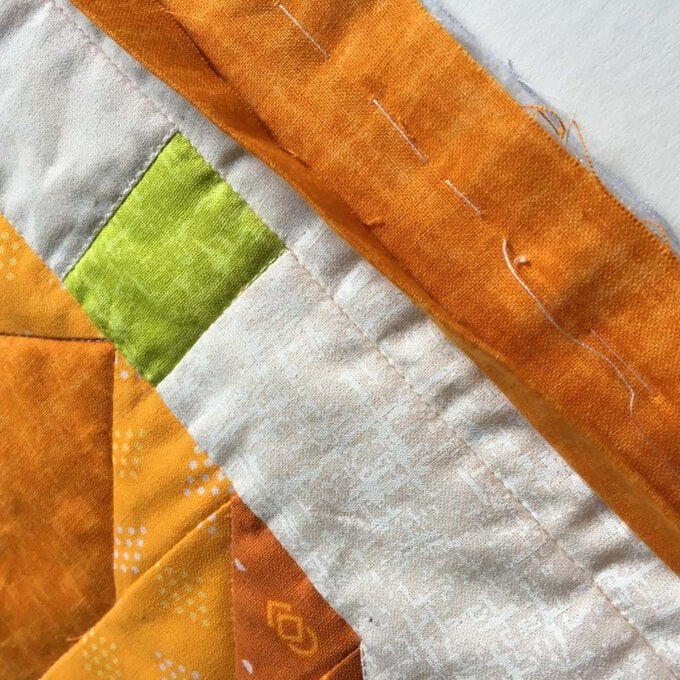
Sew one fold of the bias binding to the front edge of the runner, mitring the corners as you go. Fold the bias binding over the edge and slip stitch into place.
Remove any excess threads and tie any loose ends that are remaining.
Your pumpkin patch table runner is now complete!
Related Products