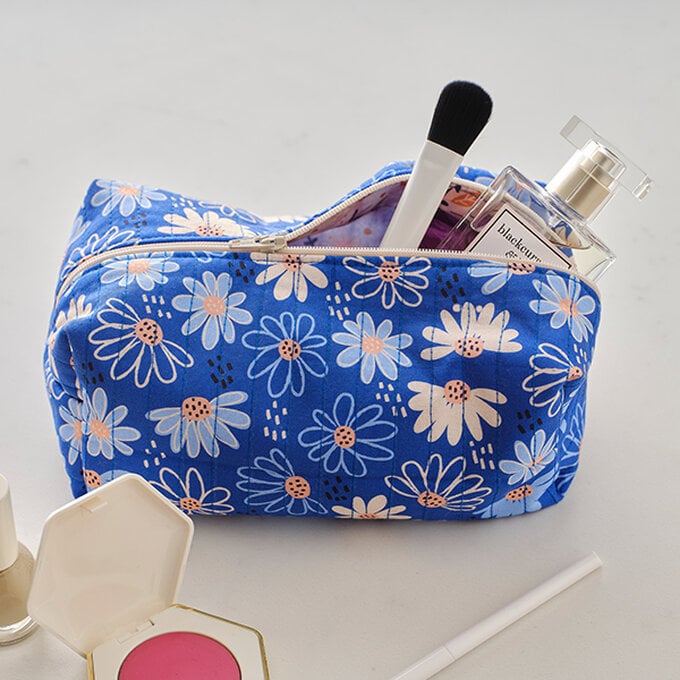
How to Sew a Quilted Makeup Bag
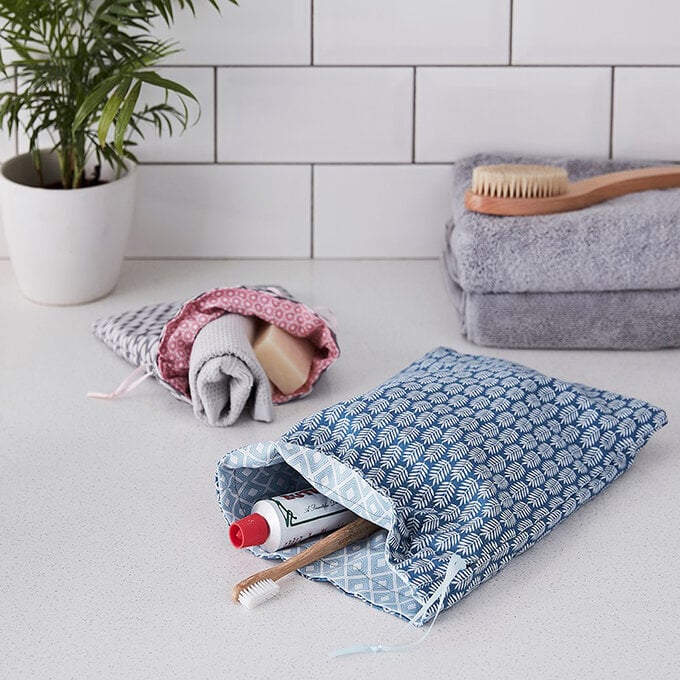
This versatile bag can be used to keep all manner of items stored safe and sound, from make-up to travel toiletries, jewellery to stationery, the possibilities are endless!
This project is perfect for intermediate sewers who have experience inserting zips, and have honed their sewing machine skills to pin-point precision.
The finished bag will measure approximately 9 x 11 x 20cm.
You will need

Subtotal
Is $ 13.00
Subtotal
Is $ 31.00
Subtotal
Is $ 4.49
Subtotal
Is $ 12.00
How to make
* Sewing Machine with zipper foot attachment
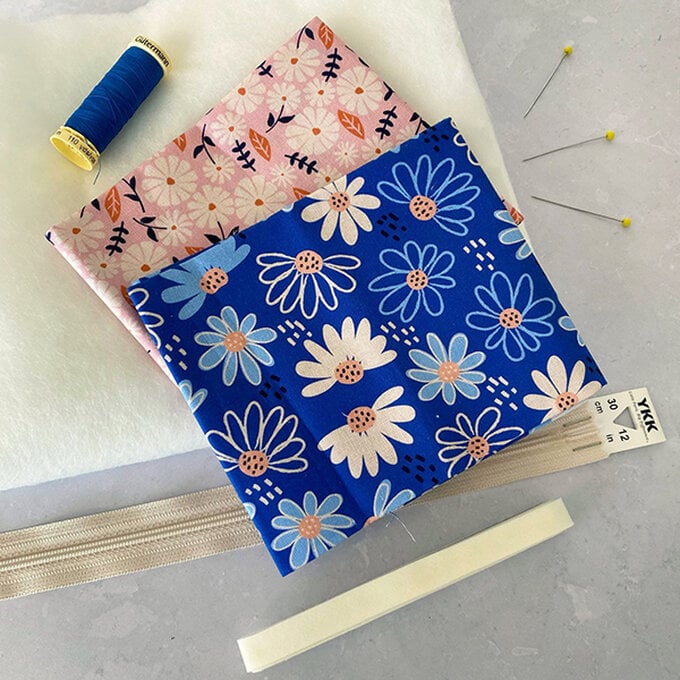
* Two Fat Quarters
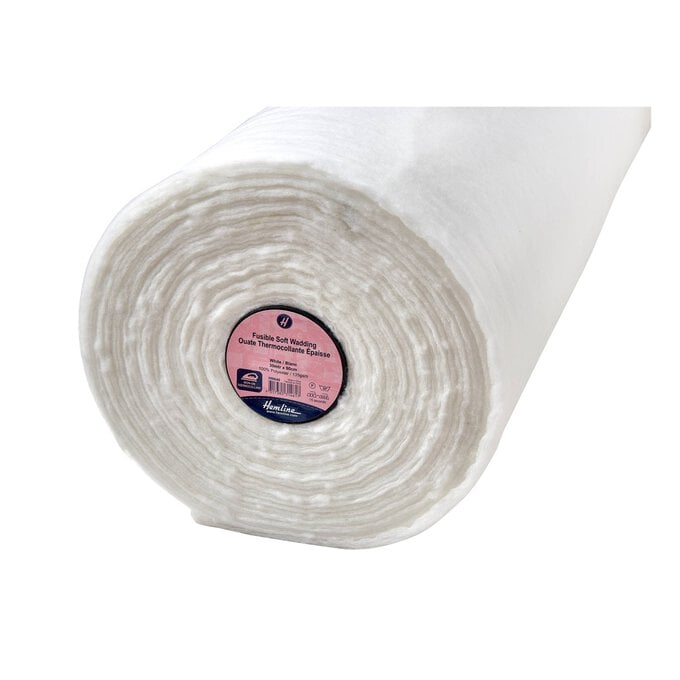
* Fusible Interfacing
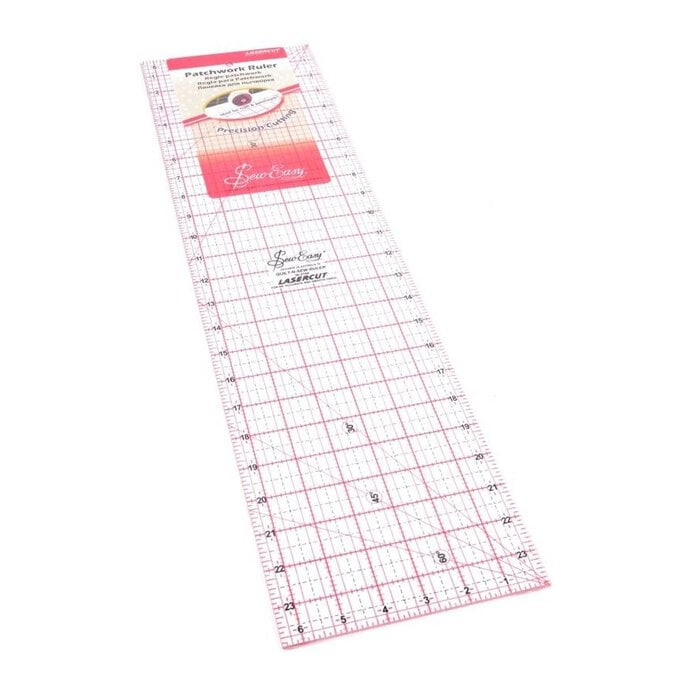
* Quilting Ruler
* Gutermann Sew all Thread
* Dressmaking Pins
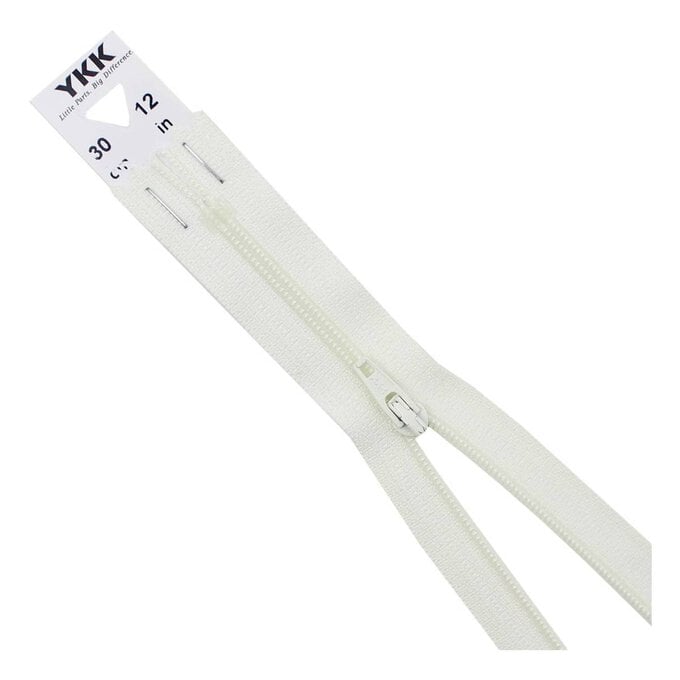
* 12 inch Zipper
* 12mm Bias Binding
* Fabric Scissors
* A Pencil/Vanishing Ink Pen


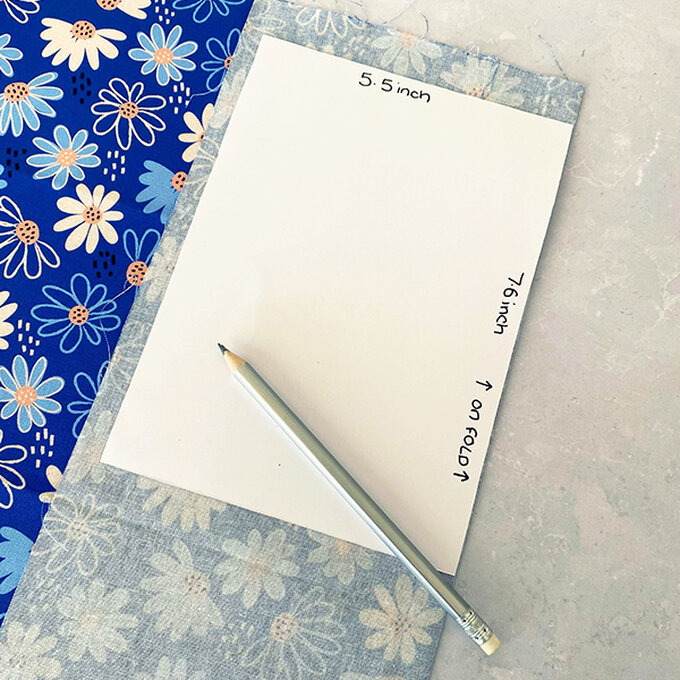
Start by cutting out all the required fabric pieces using the template supplied. This includes -
* Two pieces for the outer part of the bag
* Two pieces for the lining
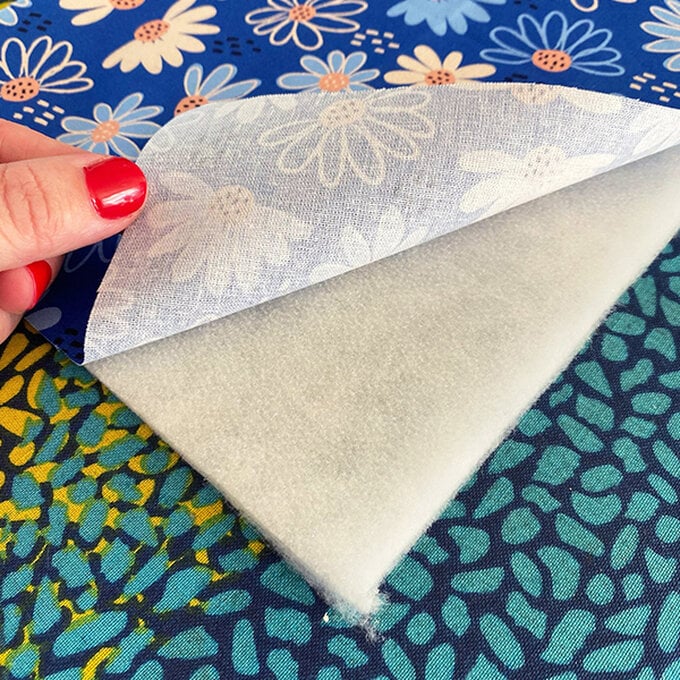
* Two pieces of interfacing - you can use any kind of interfacing/fusible wadding you like depending on how padded you would like the bag to be.
The template is designed to be cut on the fold so simply fold your fabric in half and align the ‘place on fold’ edge of the template onto the folded edge of the fabric.
Draw around the template using a fabric pencil or vanishing ink pen and cut the fabric out (remember not to cut along the folded edge!)
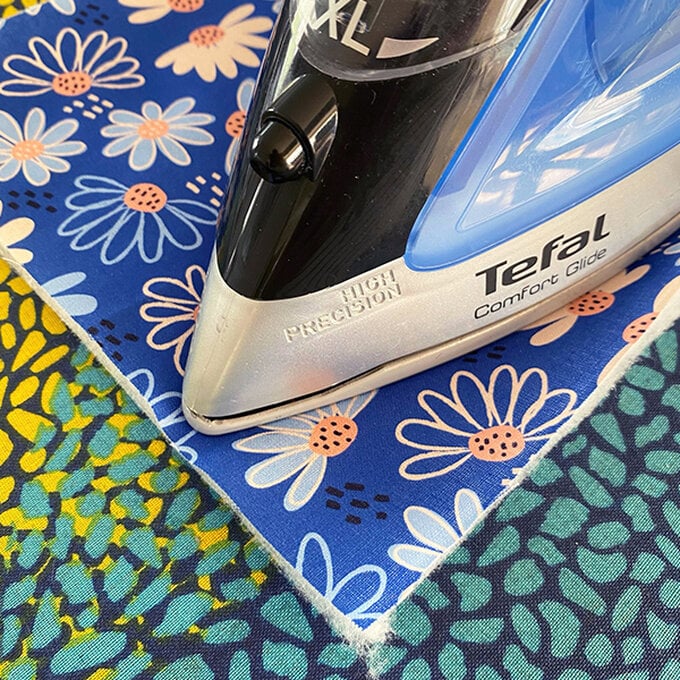
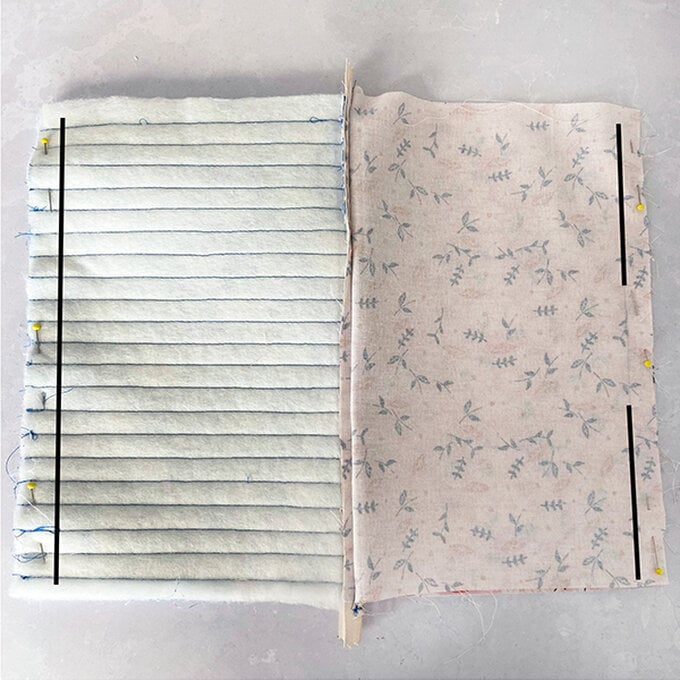
Using an iron, fuse the fusible interfacing onto two outer fabric pieces; you should be able to see the shiny side which is the glue side of your interfacing, this is the side that is placed on the wrong sides of the fabric.
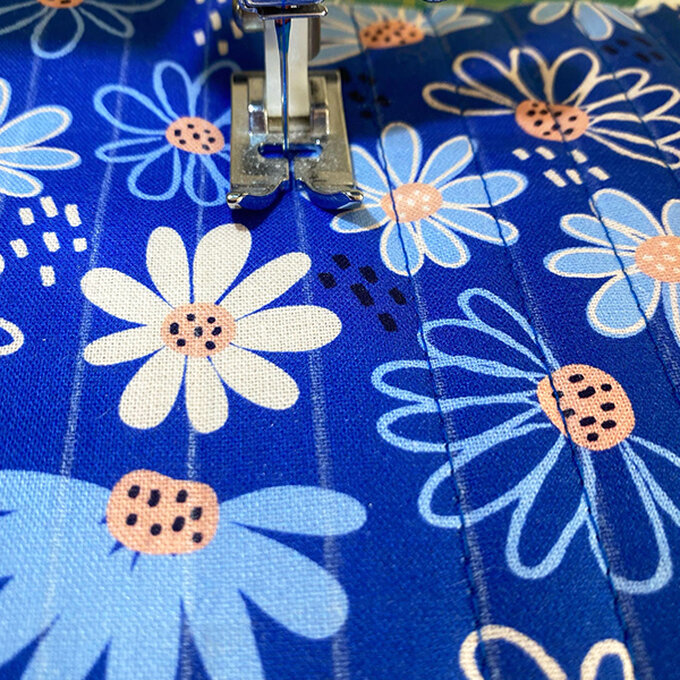
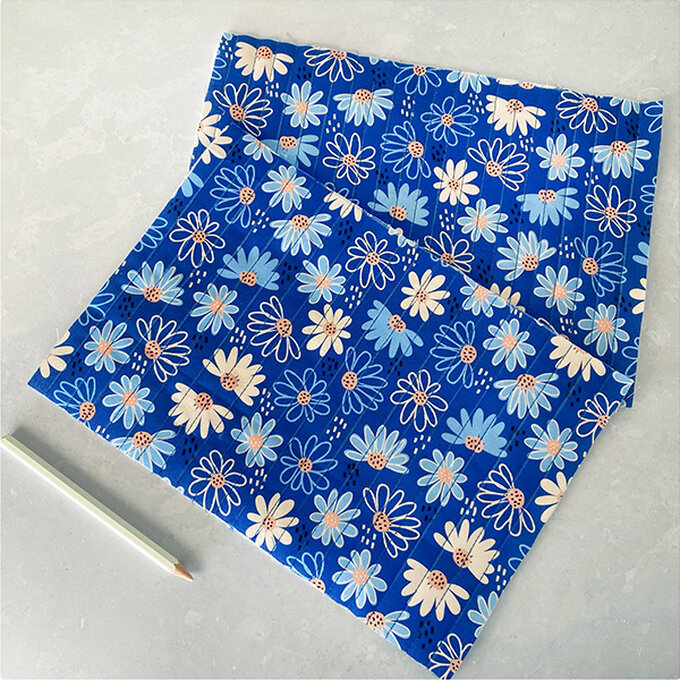
Now it's time to quilt the outer pieces before constructing the bag!
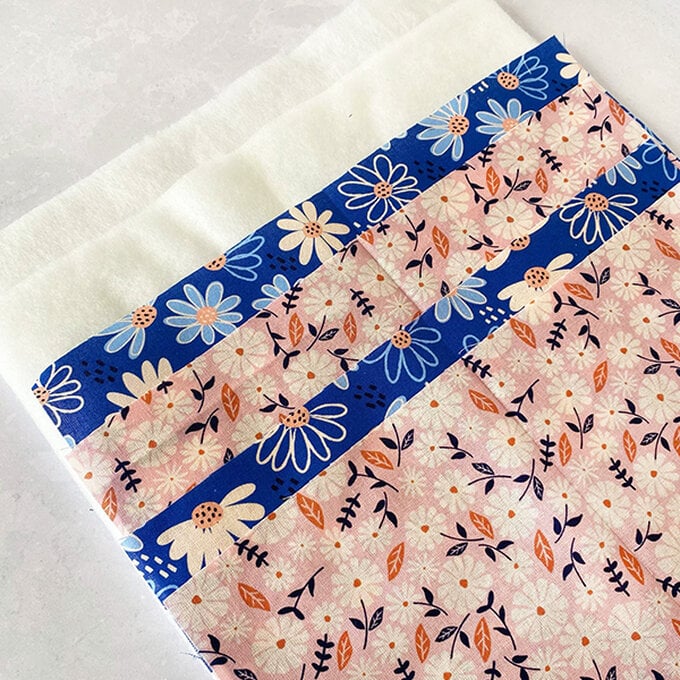
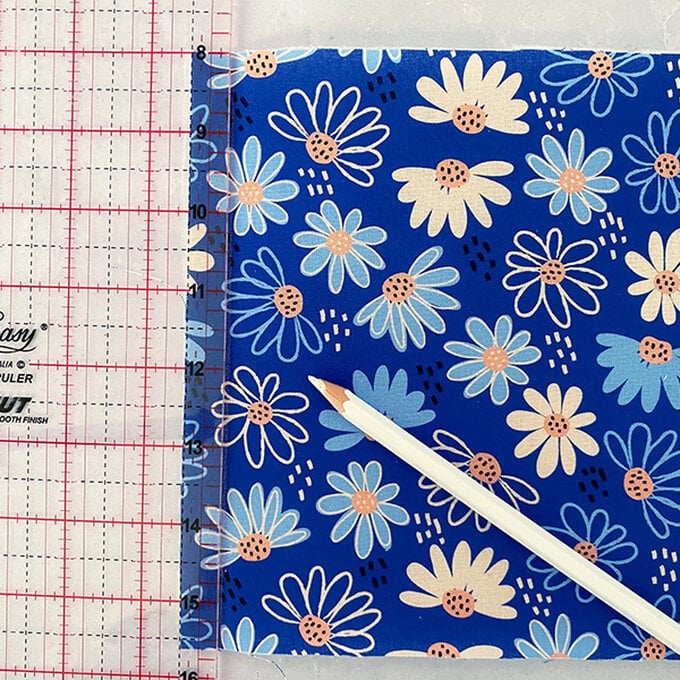
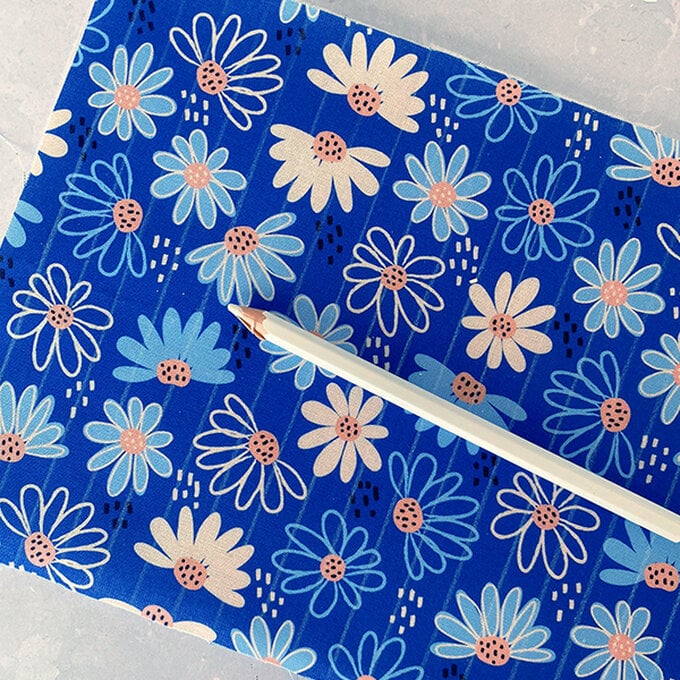
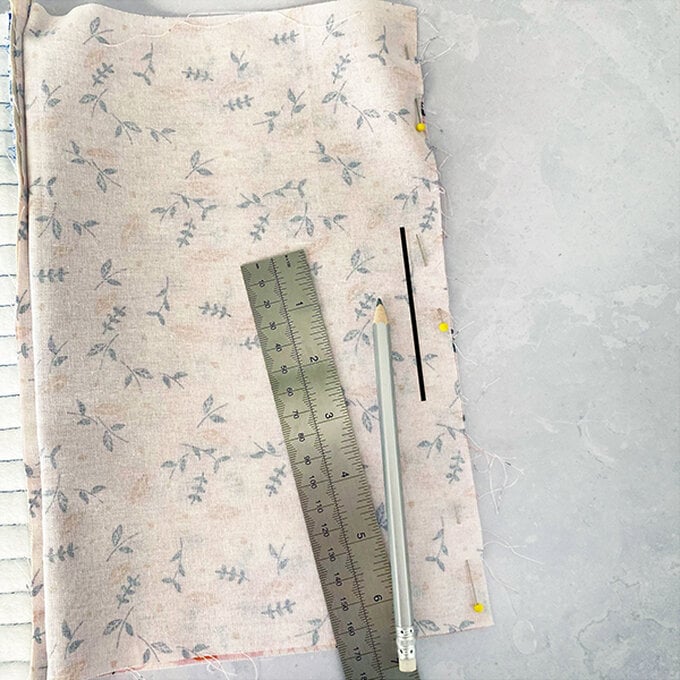
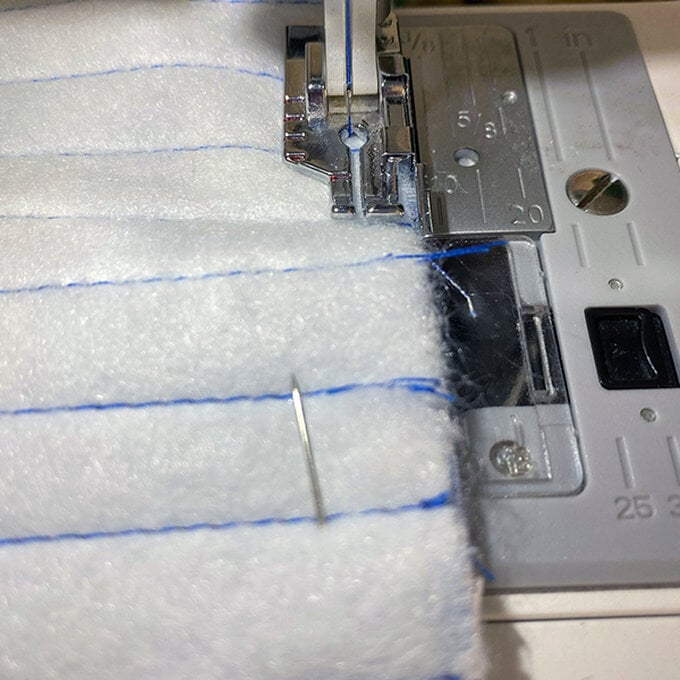
You can quilt your pouch anyway you like including diagonally, horizontally or even create a diamond layout. For this tutorial we used vertical lines 0.5 inches apart.
Using a fabric pencil and a ruler (a quilting ruler makes this easier) draw your sewing lines onto the outer pieces; draw a line every 0.5 inches across the whole piece.
Repeat on both outer pieces.
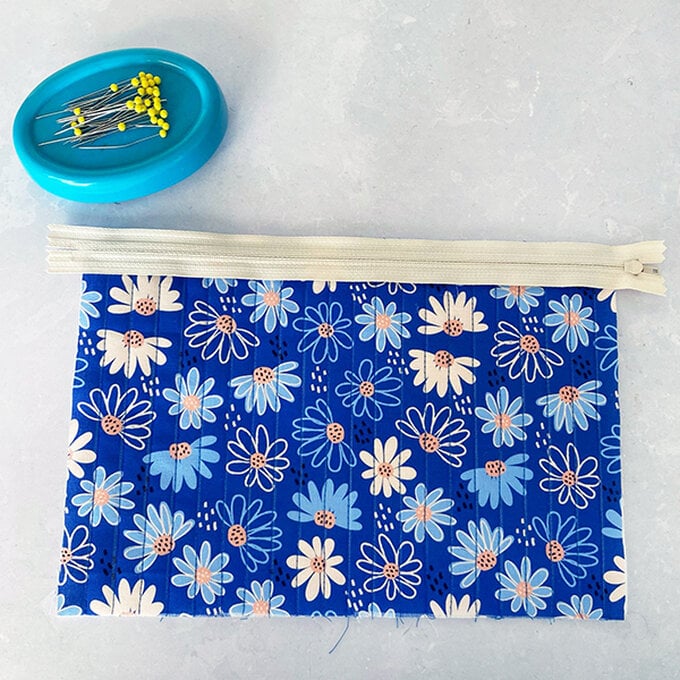
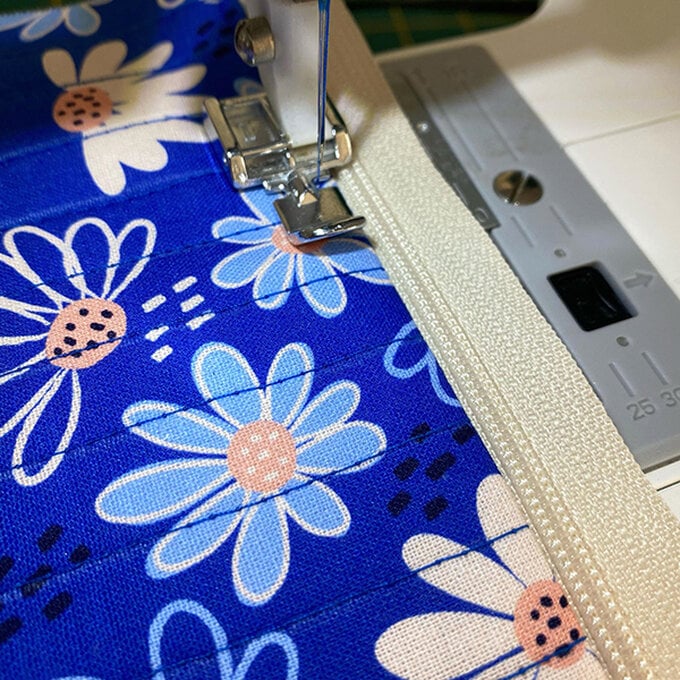
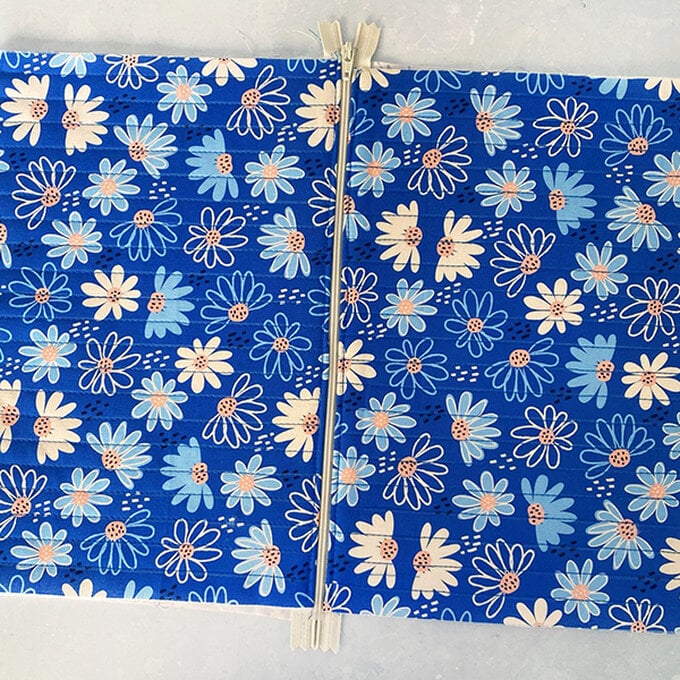
Place one of the outer pieces right-side facing up and place the zip face down along the top edge, ensuring the zipper is central.
Pin in place.
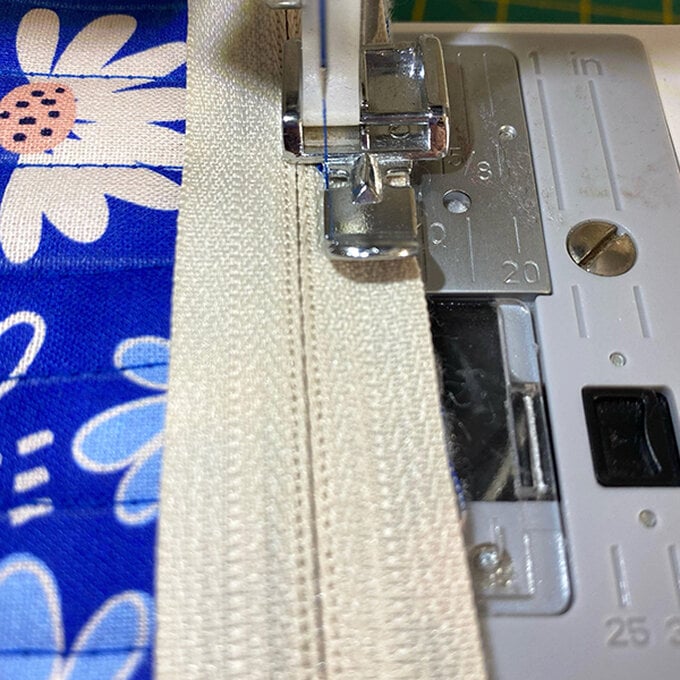
Using a zipper foot sew along the edge.
Guide the edge of the zipper foot along the raw edges of the fabric. An inch before reaching the end of the zipper, where the metal pull is, raise the pressure foot and gently slide the zipper pull out of the way past the foot and continue sewing, this will help to avoid a curved stitch line.
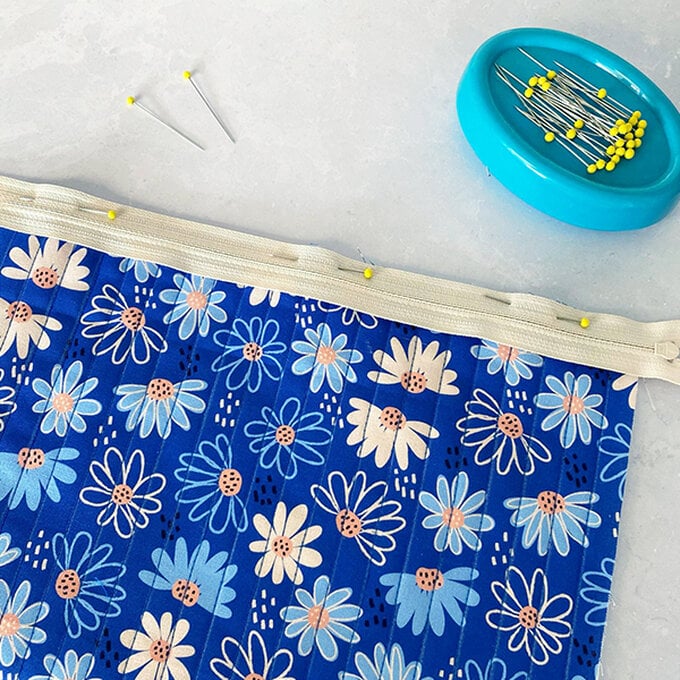
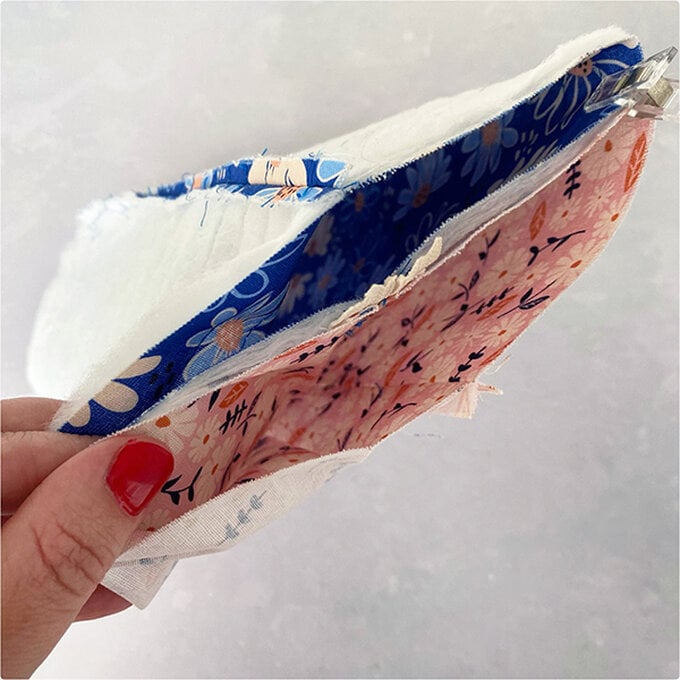
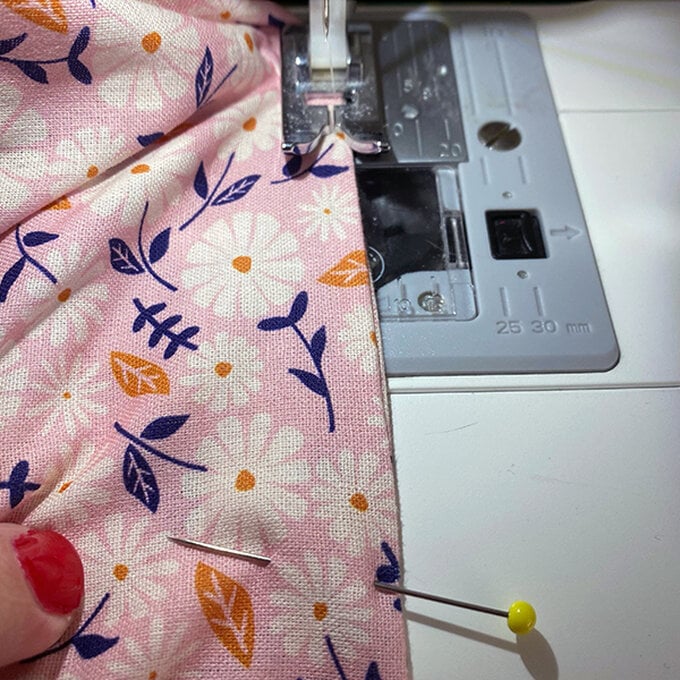
Take an outer and lining piece of fabric and places right-sides together, align the edges, and pin into place along the zipper edge.
Using the zipper foot once more, sew along the edge of the zipper to attach the lining, remembering the technique for when you reach the zipper pull from step six.
Top Tip: Your sewing machine will allow you to lift the foot higher than the standard height by simply lifting the lever up again and holding it up, if it is proving tricky manoeuvring the zip pull.

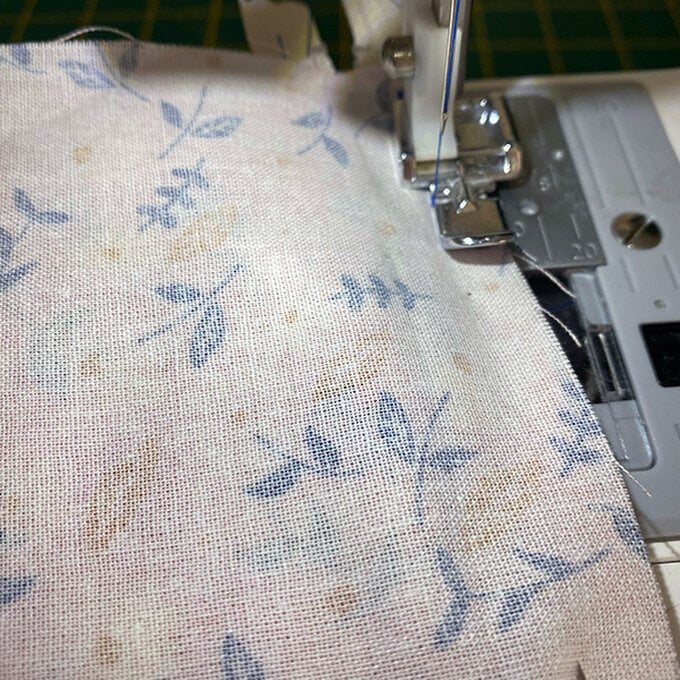
Fold both pieces over so that the wrong sides are touching each other.
Press to ensure everything is nice and flat and topstitch just below the zipper by a few millimetres;Ttis will ensure the fabric doesn’t ride up and get caught in the zipper when you are using it.
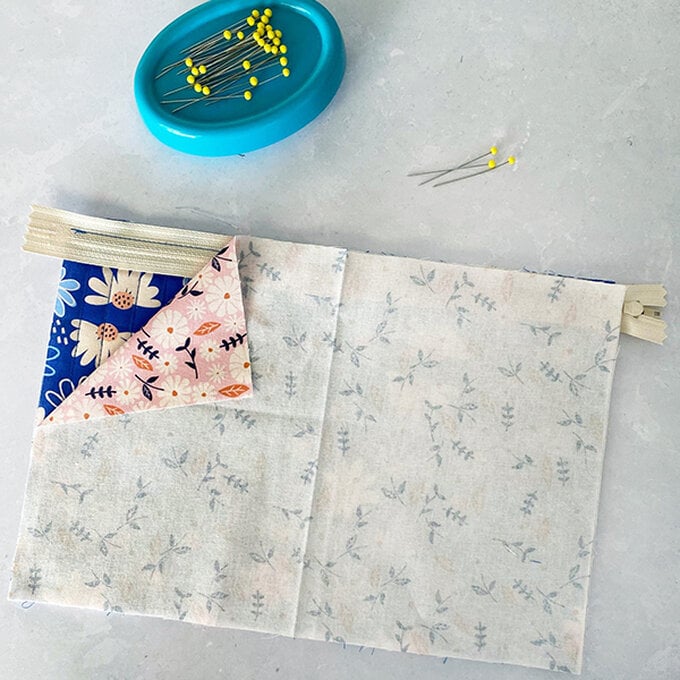
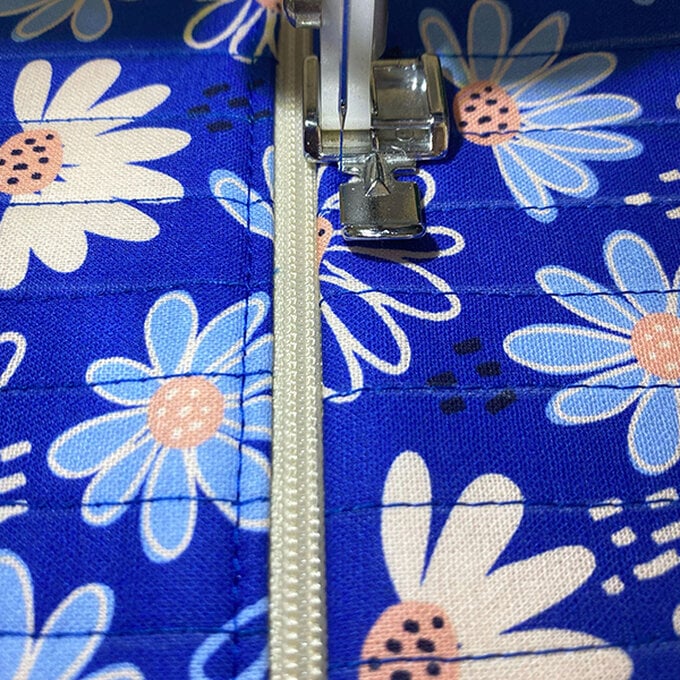
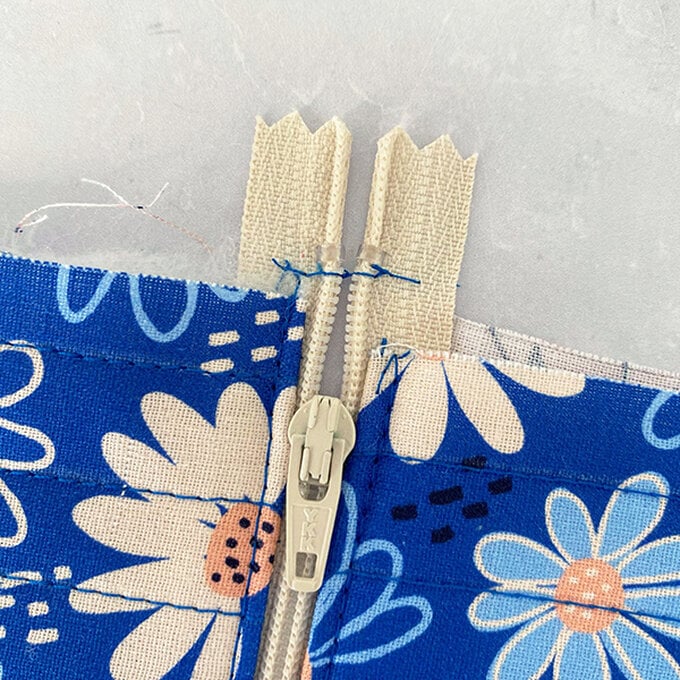
Repeat steps five to nine on the other side of the zipper, adding the second outer and lining piece and topstitching into place.
Close the zipper nearly all the way, and place some tacking stitches on the open end of the zipper to hold it together; this will make the next few stages easier.
Open the zipper halfway; this is very important otherwise you won’t be able to turn your bag out the right way!
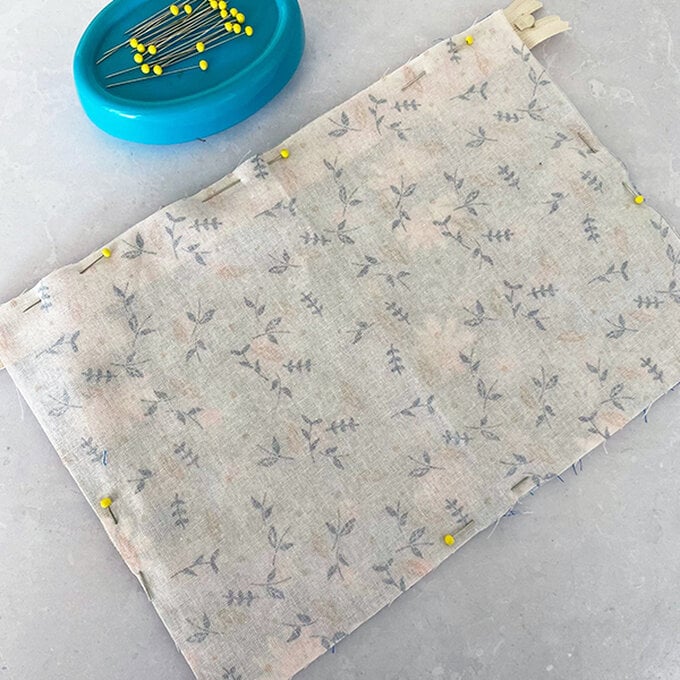
Flip the fabric layers over so that the right sides of the lining pieces are together and the right sides of the main outer pieces are together. Match everything up and pin the bottom seams.

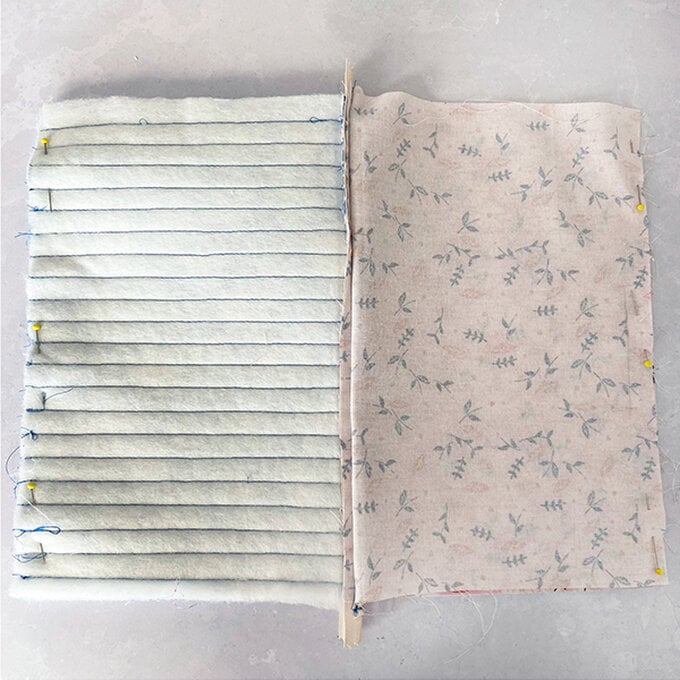
Using a fabric pencil, mark a 3 inch line in the middle of the bottom of the lining; this line will remind you not to sew this part.
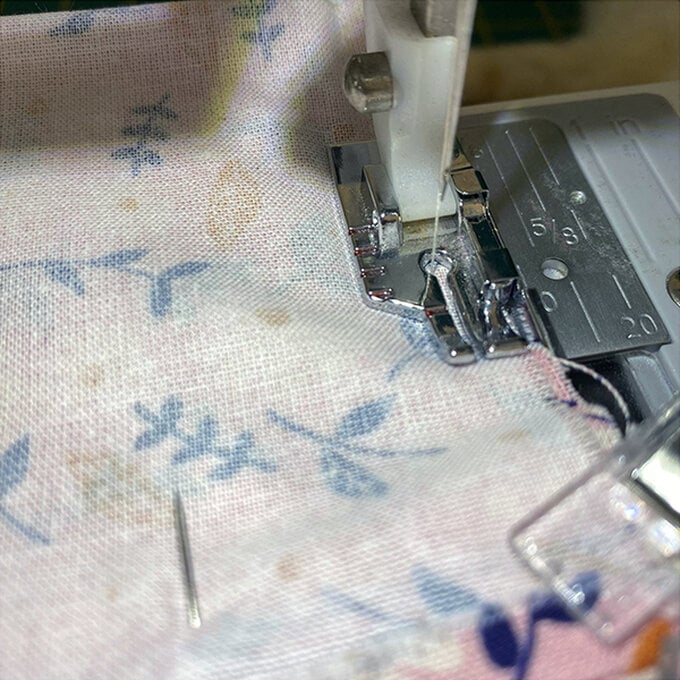
Sew along the top and bottom edges with a ¼ inch seam allowance leaving the sides open and remembering not to sew where you’ve drawn your gap.
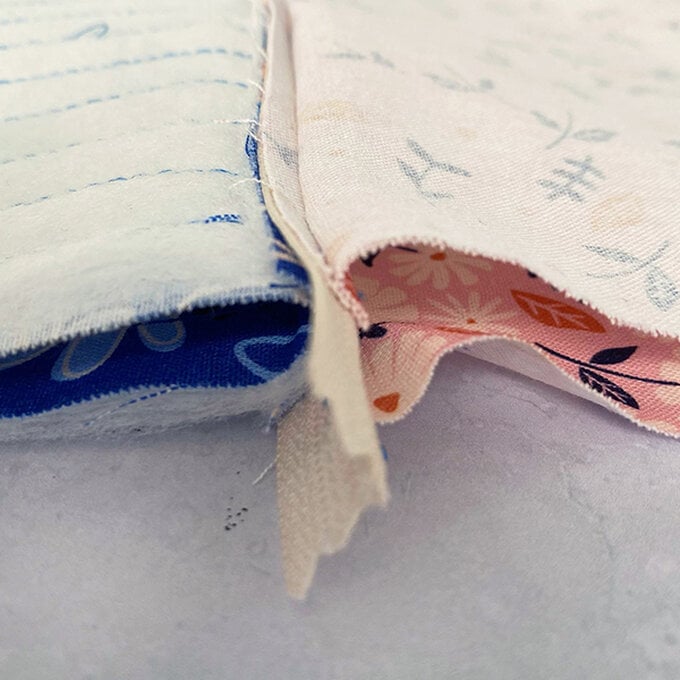
Press open the top and bottom seams with an iron.
Pull open the bag so that the pressed open seams sit centred, and sandwich where the zip sits. Take time to make sure everything lines up and pin or clip the open sides in place.
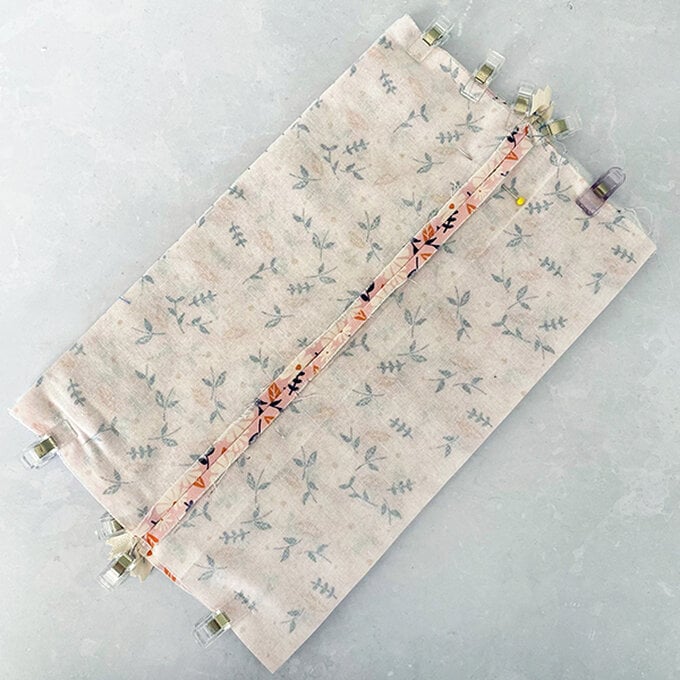
With a ¼ inch seam allowance sew the open sides closed. Trim off excess fabric and zipper leaving a ¼ inch seam
Pull everything through the gap in the lining and the through the open zipper to turn the bag out so that the lining is on the outside.
Using a pointy but not a sharp tool carefully poke the corners out so everything is nice and neat, being careful not to poke a hole through the corners.
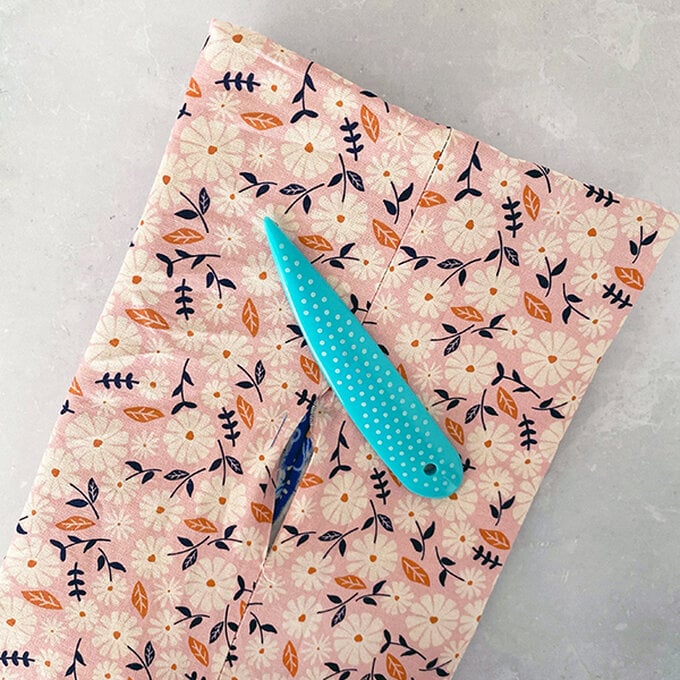
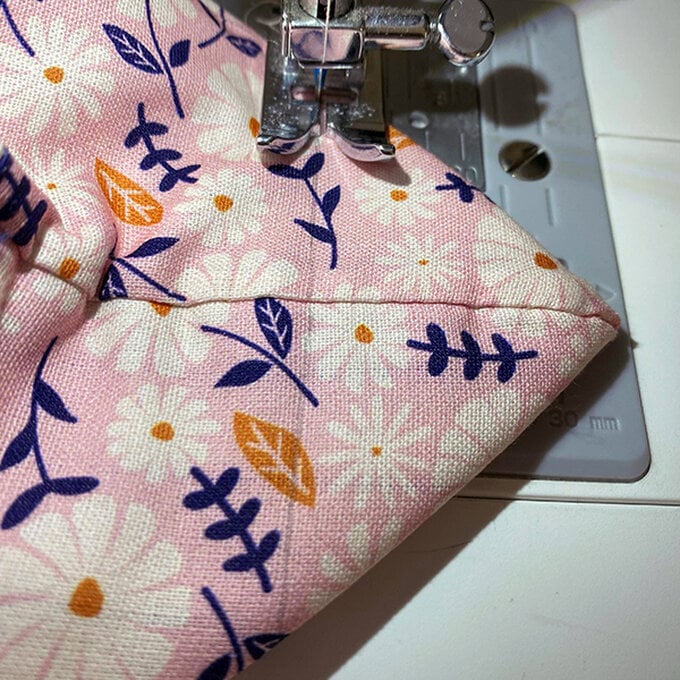
To box out the corners, pinch out one of the corners to create a 90 degree corner.
Using the corner template on the pattern supplied, align the template with the corner of the bag and draw a line using a fabric pencil or chalk.
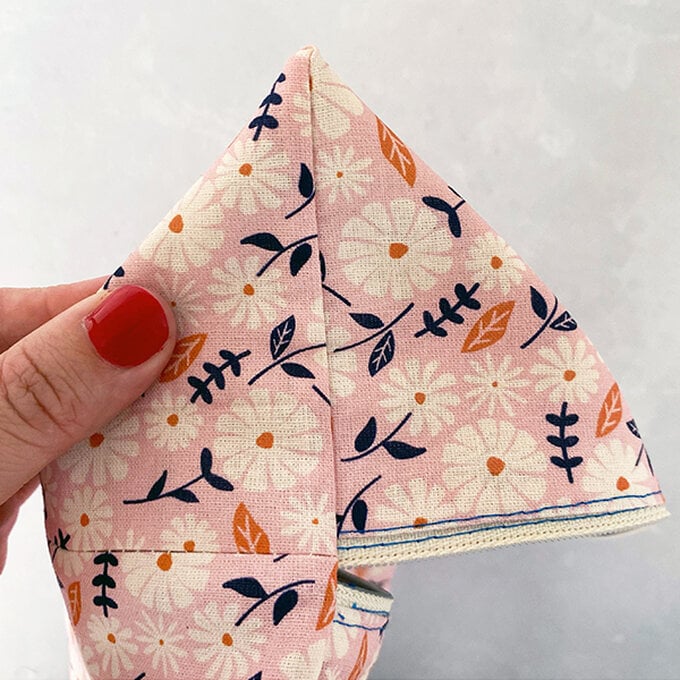
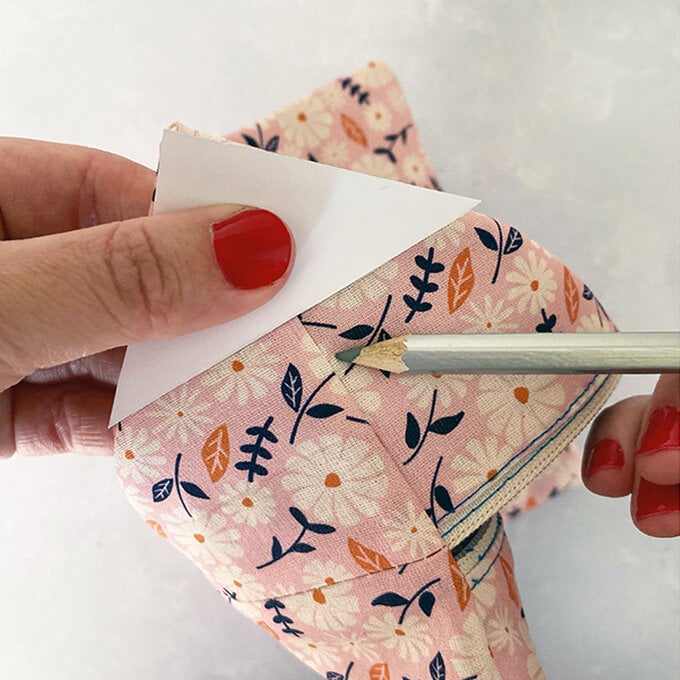
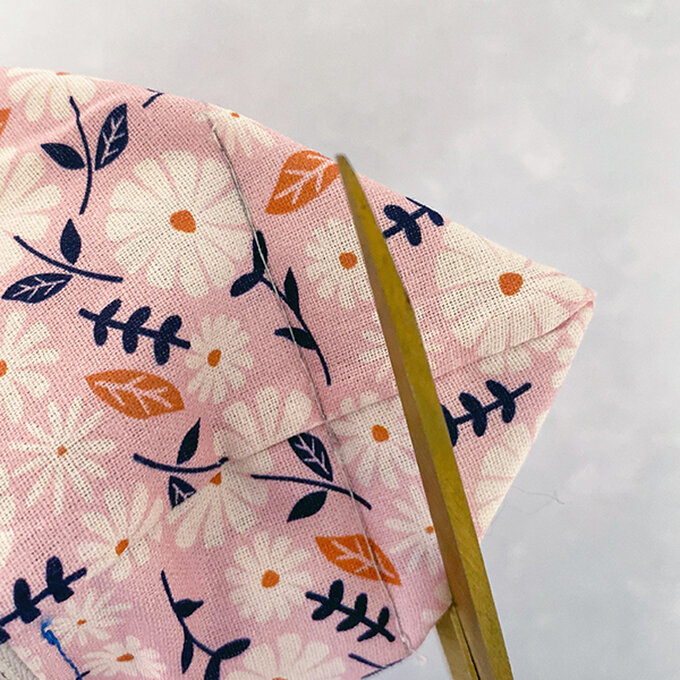
Stitch across the marked line, and repeat for all corners and trim off the excess leaving a ¼ inch seam.
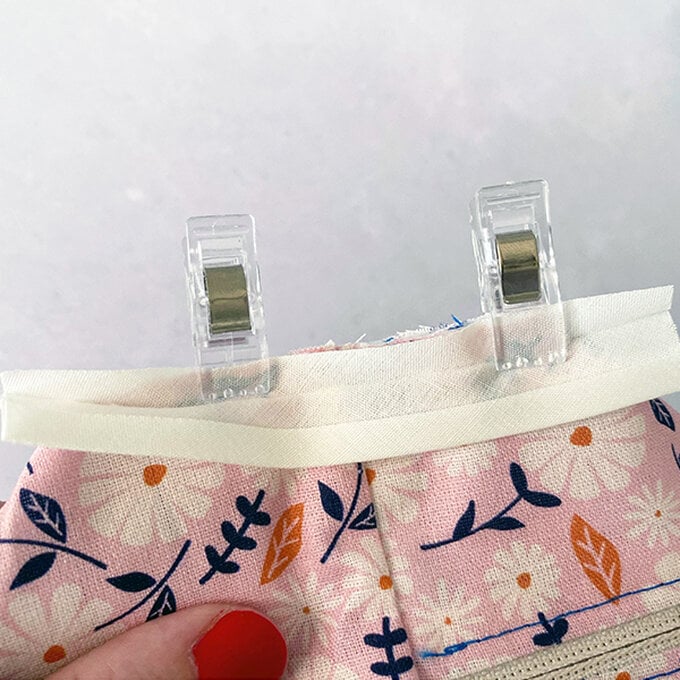
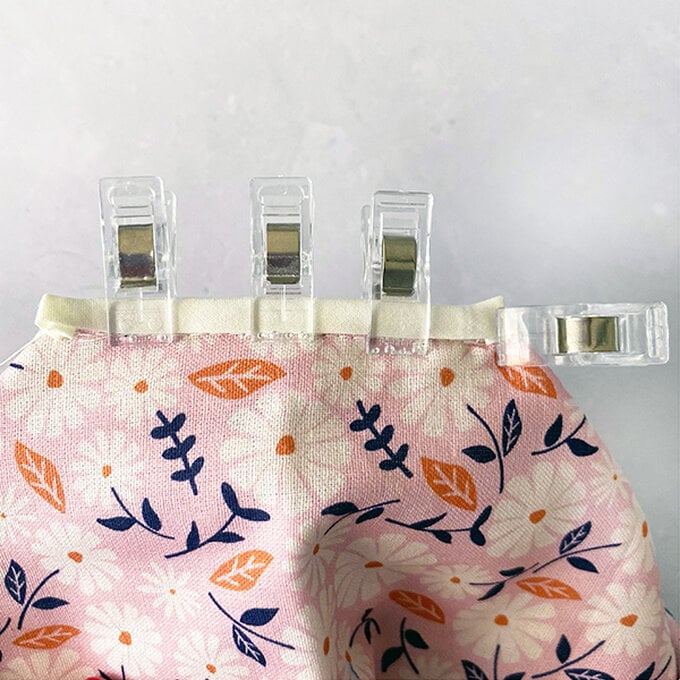
To cover the raw edges, open up the fold on one side of the bias binding so it is flat then align it with one of the raw edges and pin in place right sides together.
Sew into place, then fold the bias fabric upwards.
Turn the bag over so you can see the raw edges of your bag. Fold the sides of the bias inwards at the side so there will be no raw bias binding edges and lastly fold the bias in half so that everything is neatly tucked away. This part maybe be a bit fiddly so take your time until you are happy everything is neat.
Sew in place.
Lastly, fold the raw edges of the lining gap inwards and either hand-stich closed, or machine stitch with a small allowance so it will not be noticeable.
Related Products