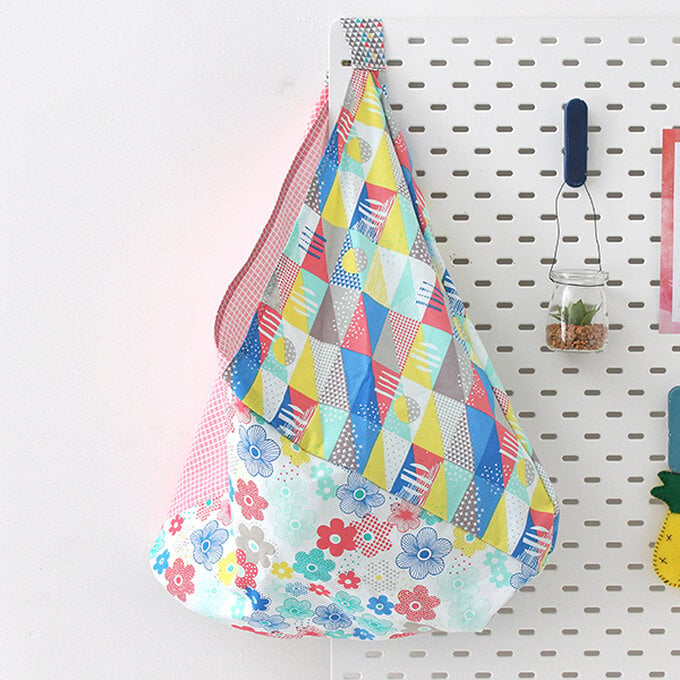
How to Sew an Origami Beach Bag
Level
Beginner
Time
1 hour
Budget
10 - 30
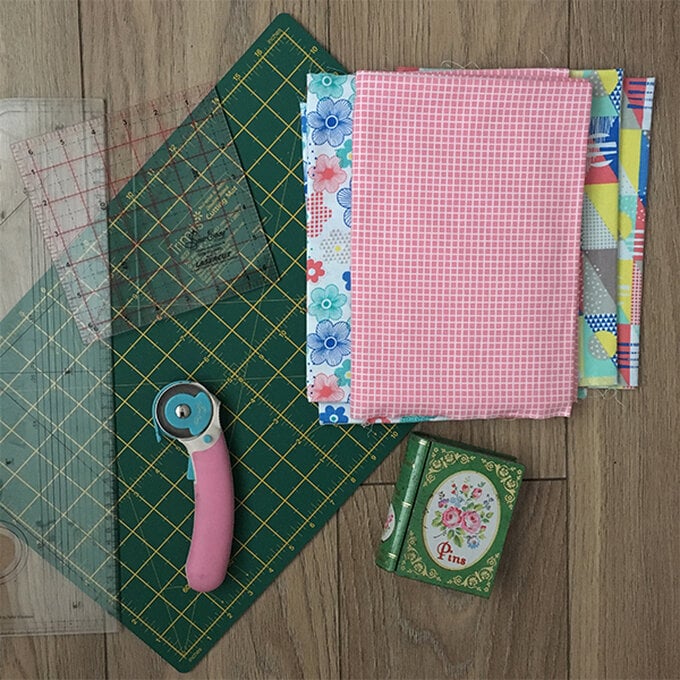
Create this simple origami beach bag as an accessory for your casual, summer look using our new fat quarter range available online and in store at Hobbycraft! The following tutorial is written by our haberdashery expert, Kathi, during which she explains a technique that can be applied to fabric of any pattern.
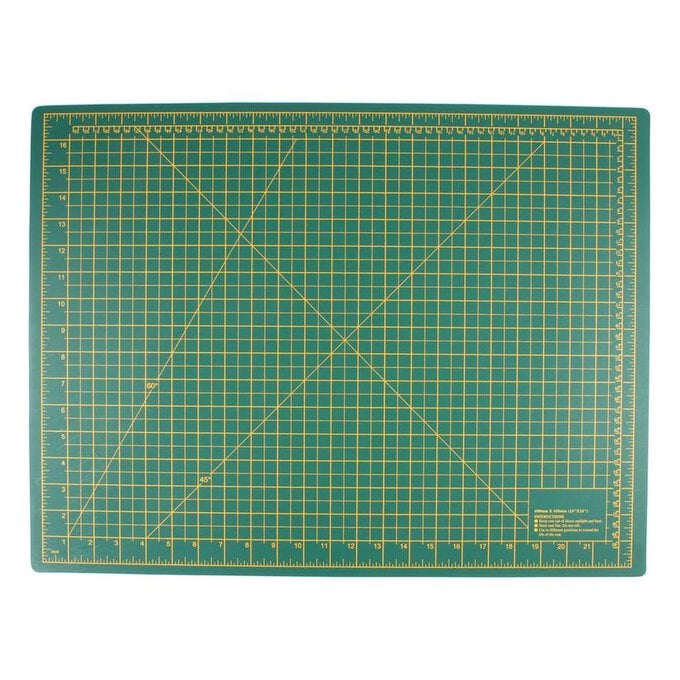
You will need
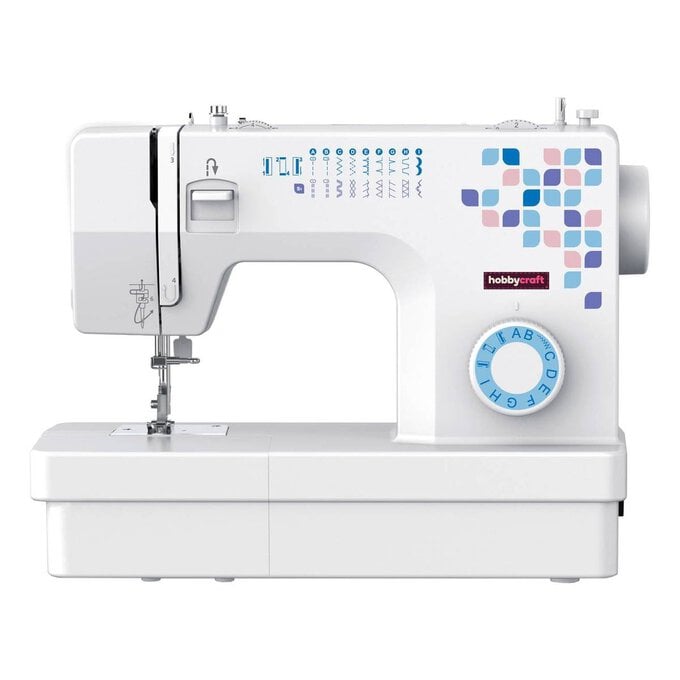
Quantity:
1
Subtotal
Is $ 121.00
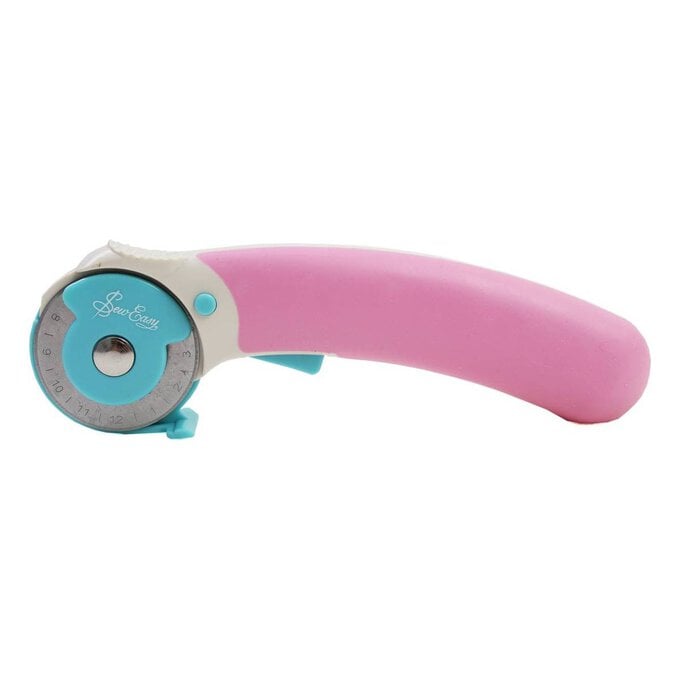
Quantity:
1
Subtotal
Is $ 24.00
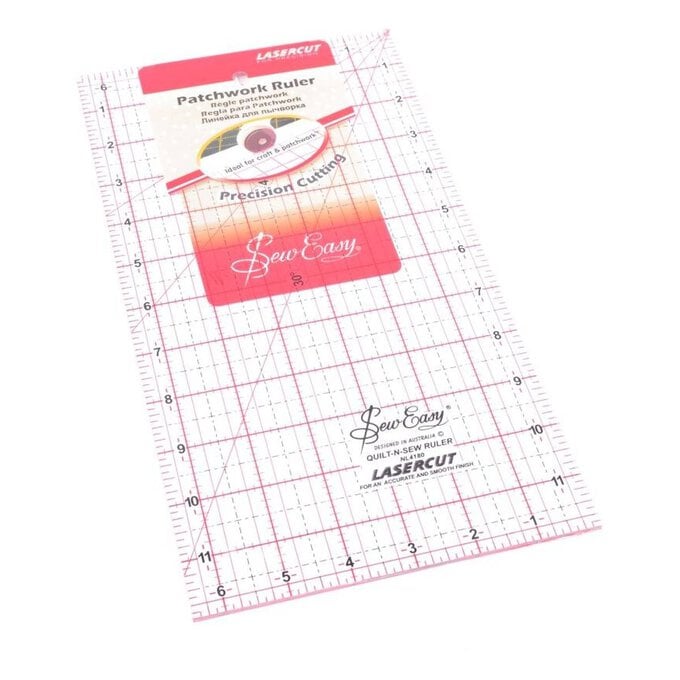
Quantity:
1
Subtotal
Is $ 25.00
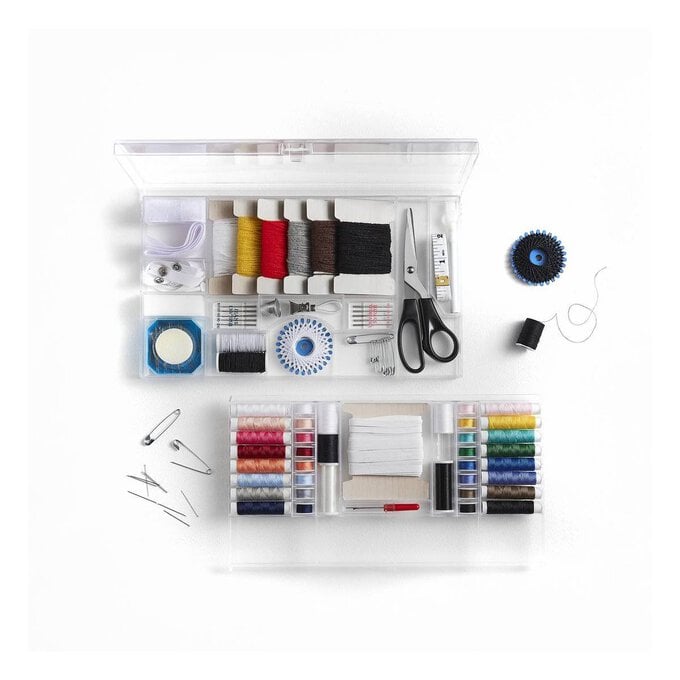
Quantity:
1
Subtotal
Is $ 27.00
Quantity:
1
Subtotal
Is $ 20.00

Quantity:
1
Subtotal
Is $ 7.49
Total:
£0.00
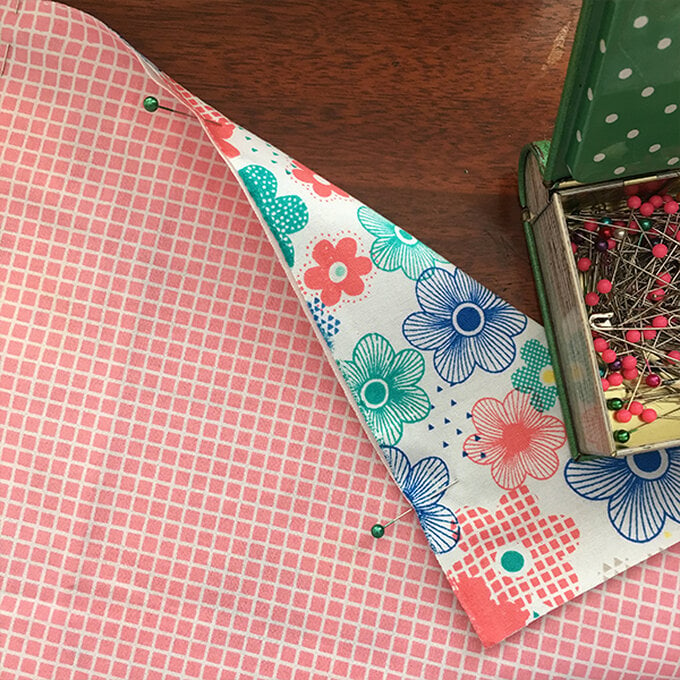
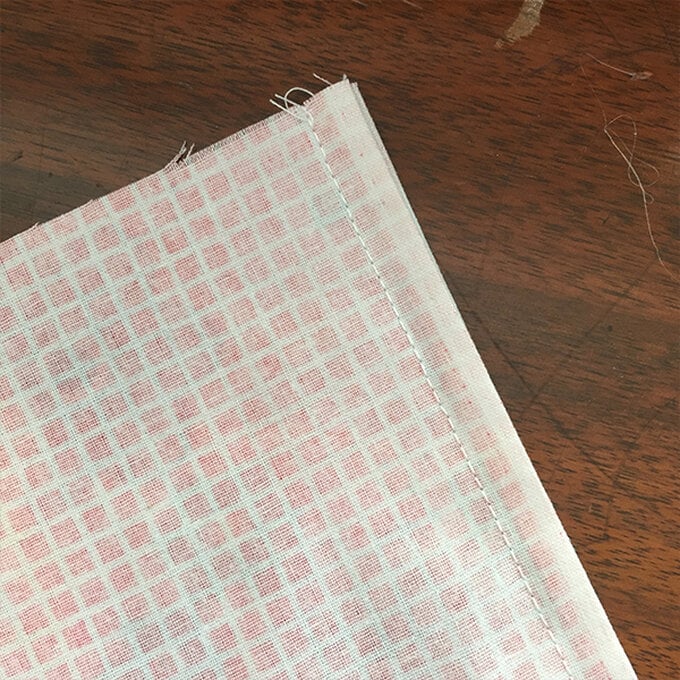
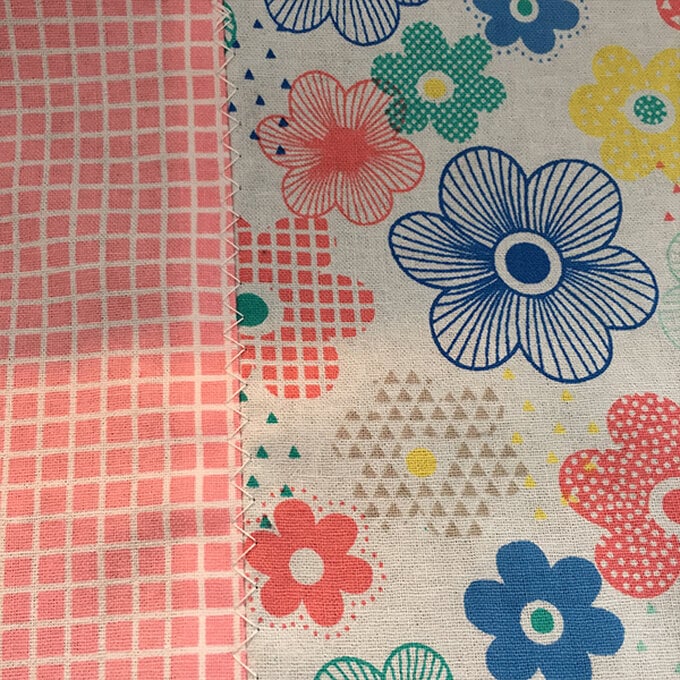
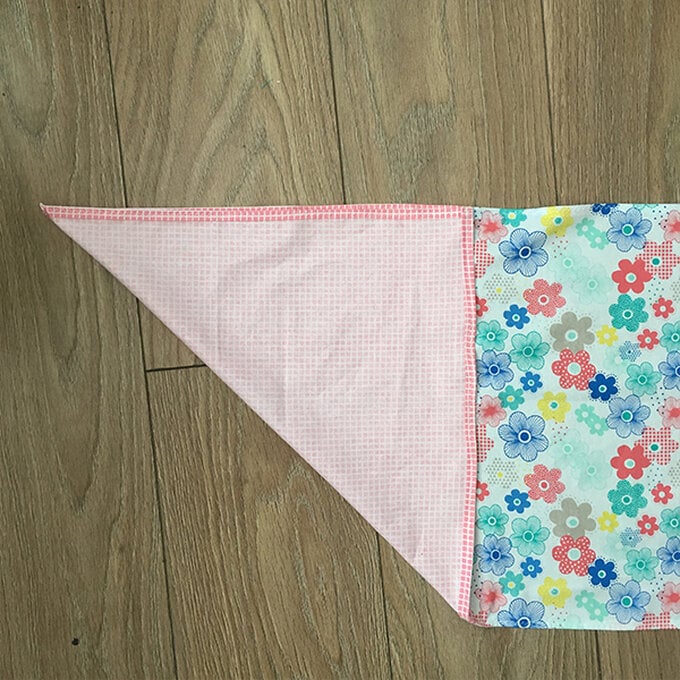
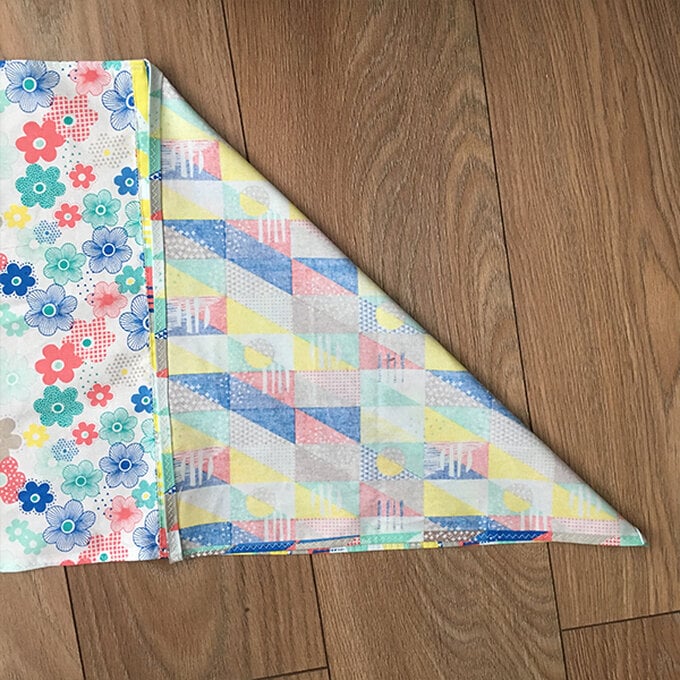
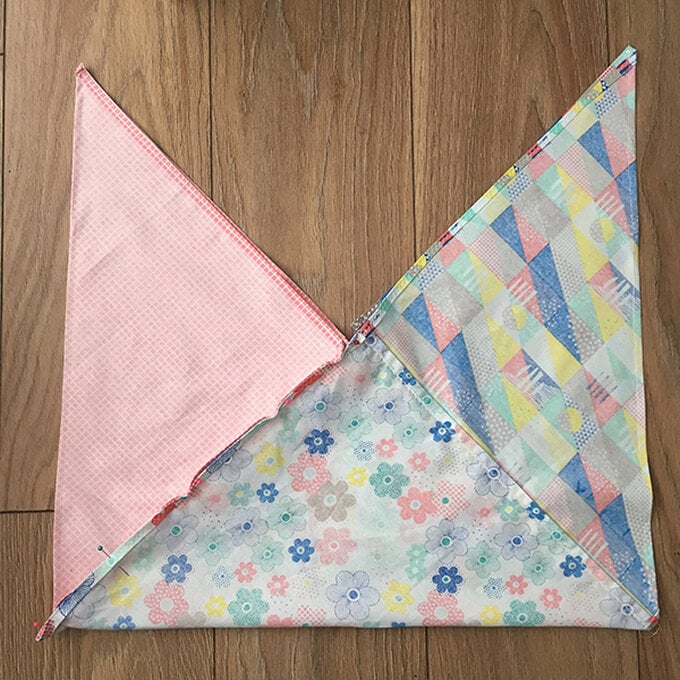
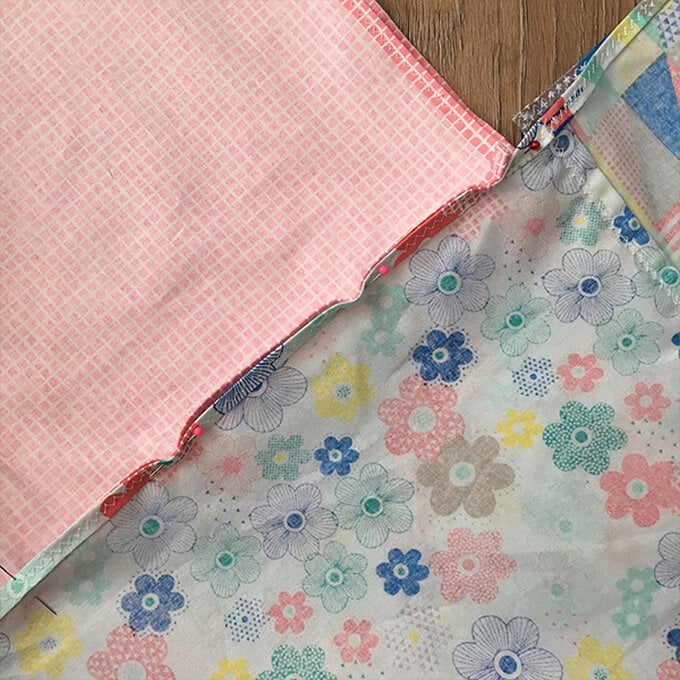
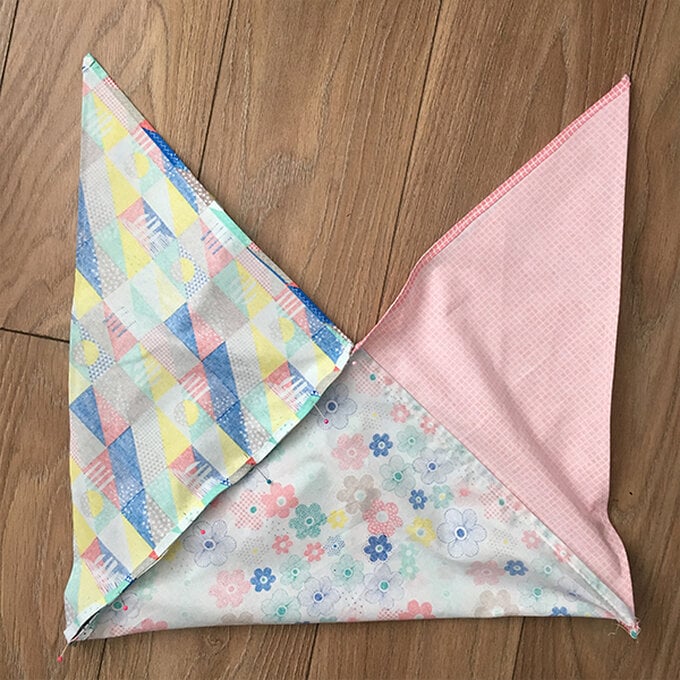
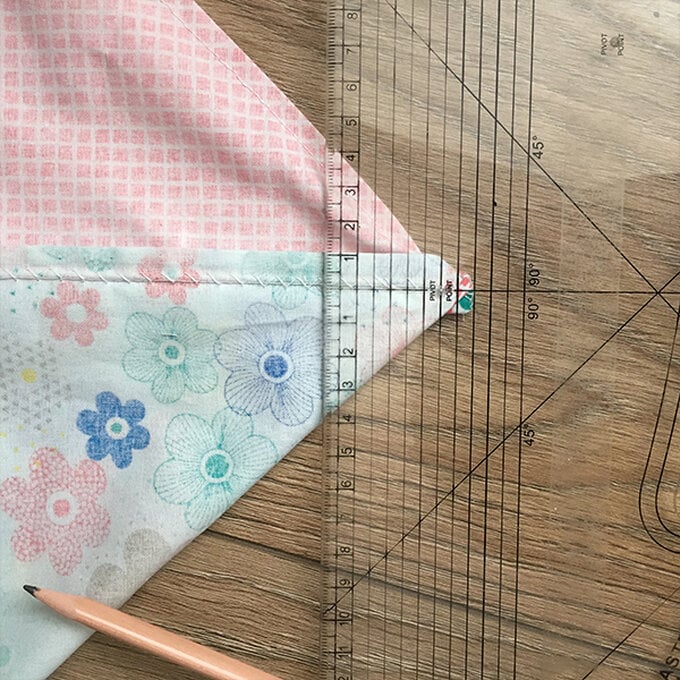
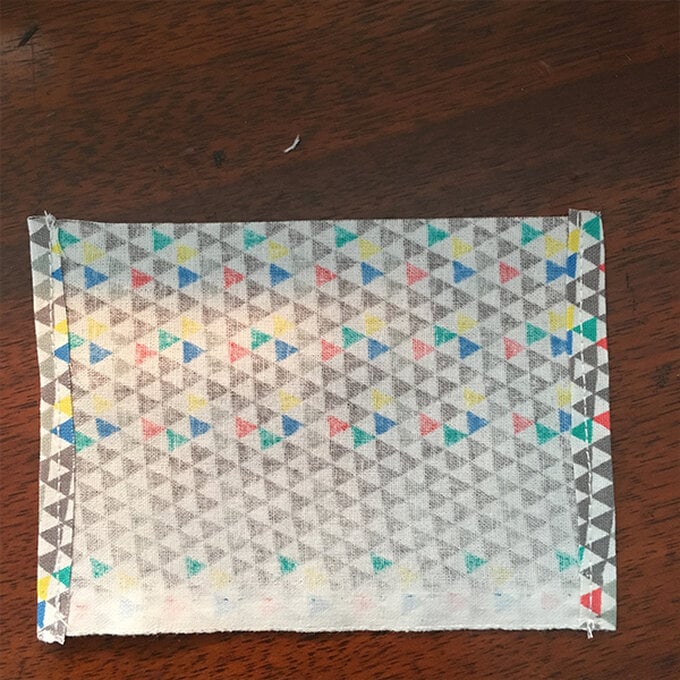
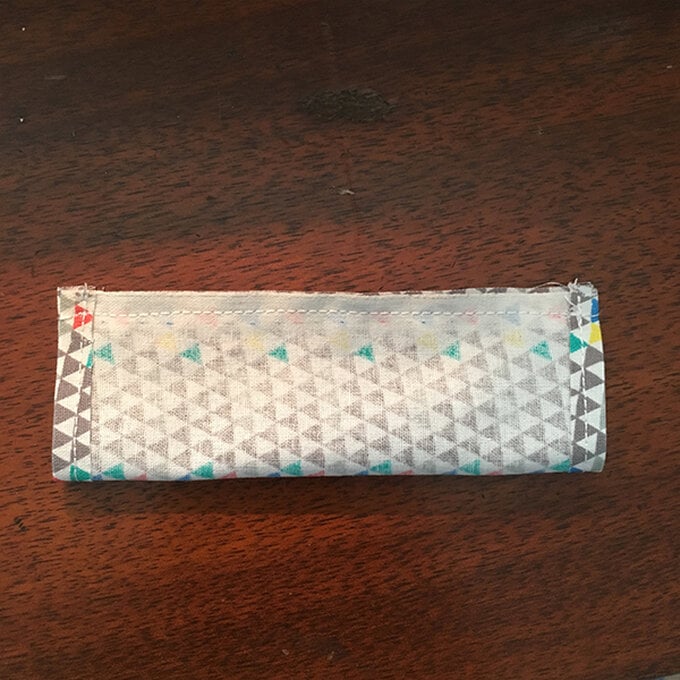
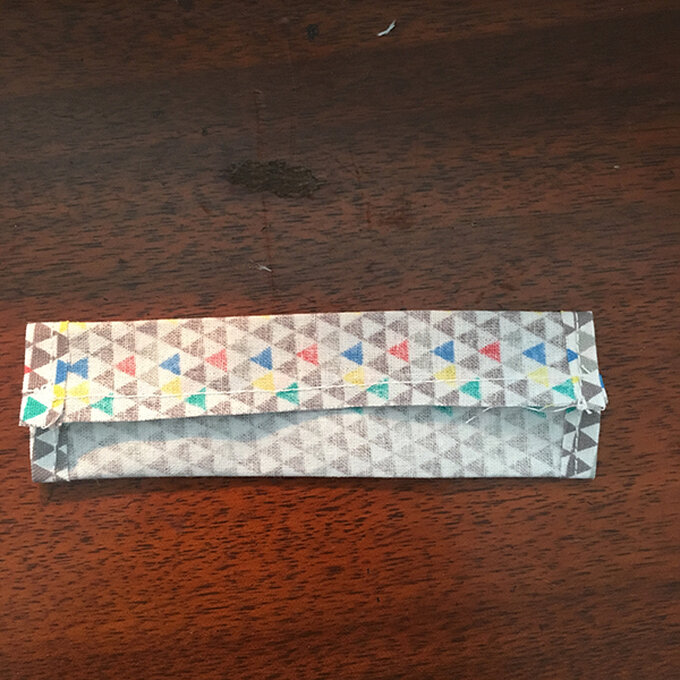
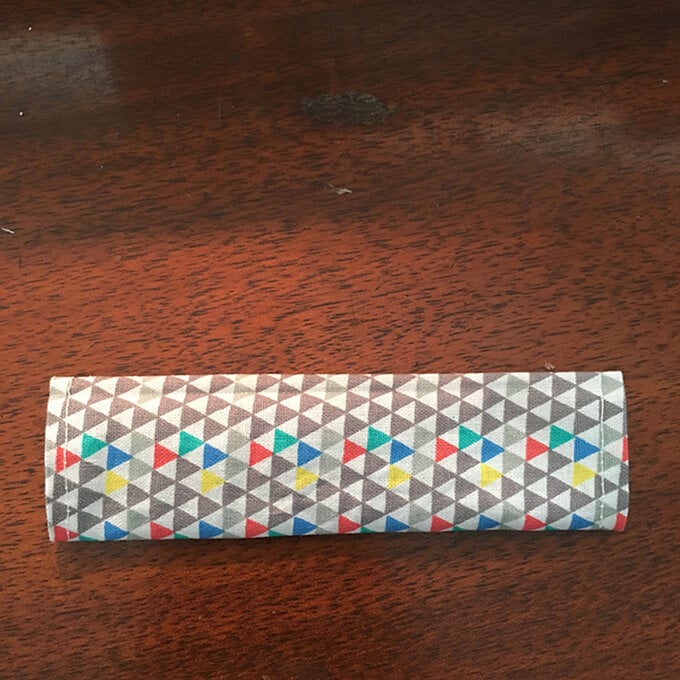
How to make
Step-1
Step-2

Step-3
Step-4
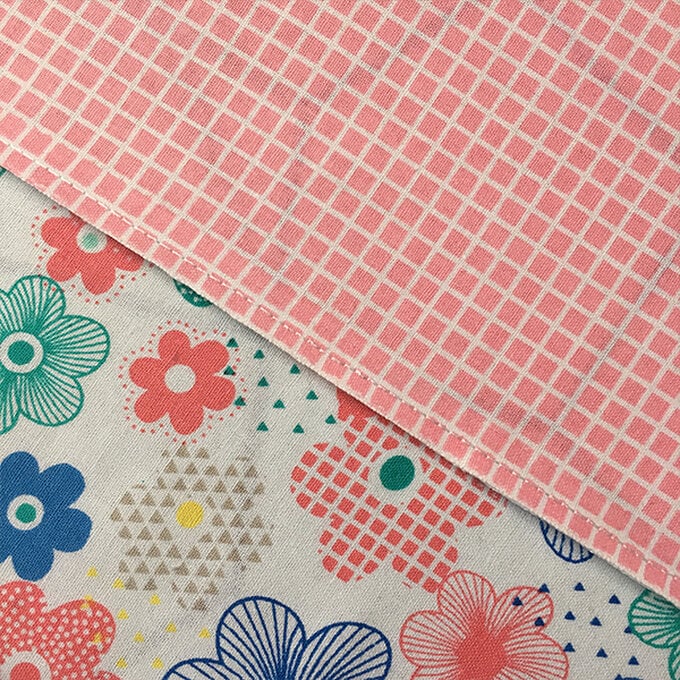
Step-5
Step-6
Step-7
Step-8
Step-9
Step-10
Step-11
Step-12
Step-13
Step-14
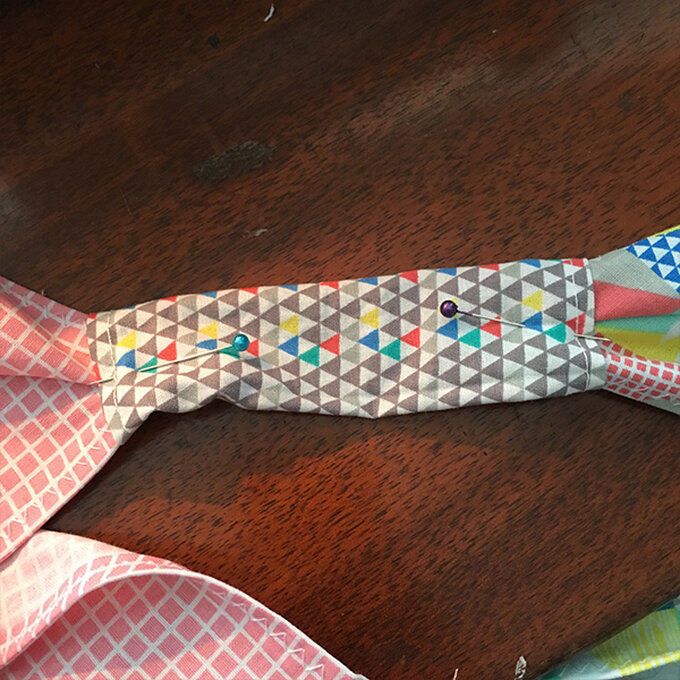
Step-15
Related Products
How to Crochet a Beach Bag
Some dragons are fierce and ferocious, others protect their hoards of gold deep underground. But Dempsey the Dragon just loves to share! He's the friendliest fellow you have ever met. Now don't get him wrong; he has piles of treasure ...
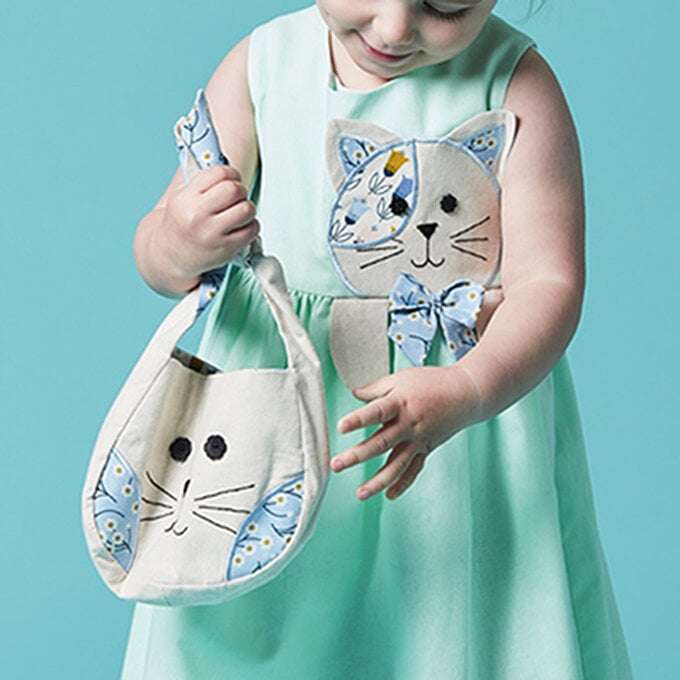
How to Make a Child's Cat Dress and Matching Bag
Project by Hobbycraft Artisan: Eden Forbes Find out more. Sew up this adorable bunny bag, perfect for your child's Easter chocolate stash! Sewing expert Debbie von Grabler-Crozier has provided a template and a tutorial to follow, so have a read ...
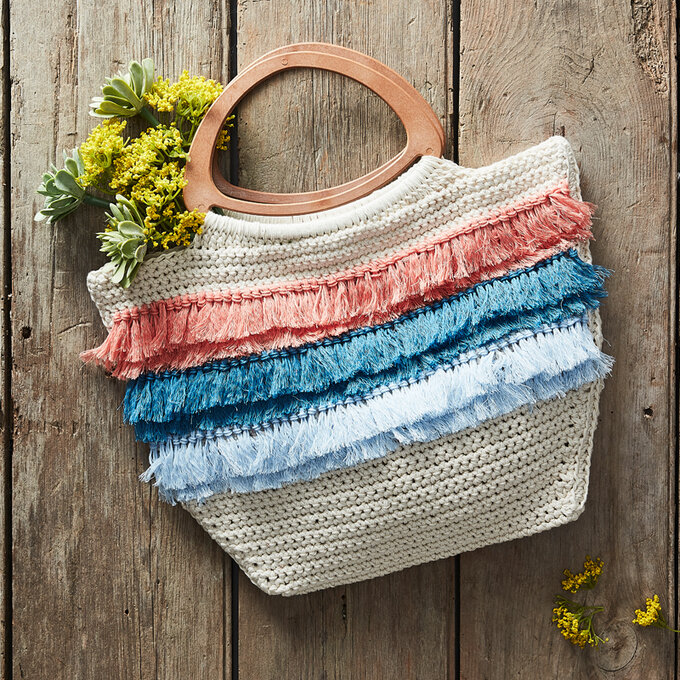
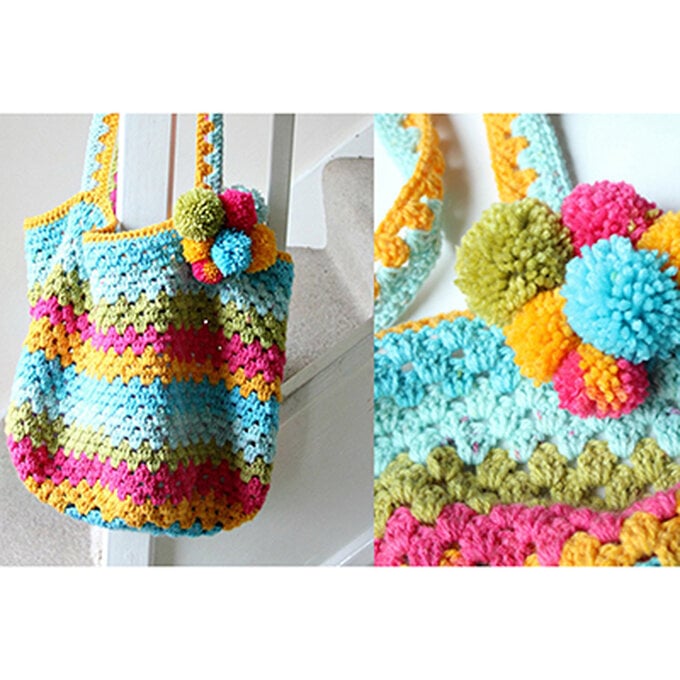
How to Make a Crochet Tassel Beach Bag
Discover five creative ways to use Cricut vinyl for unique personalised labels and stickers that will transform our classic three-tier trolley in no time! Customising your storage has never been easier thanks to the removable vinyl range from Cricut, giving ...
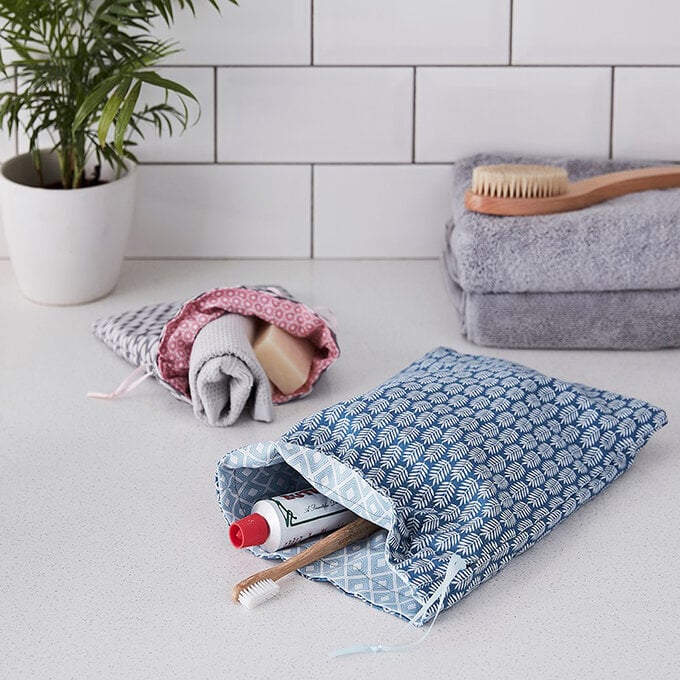
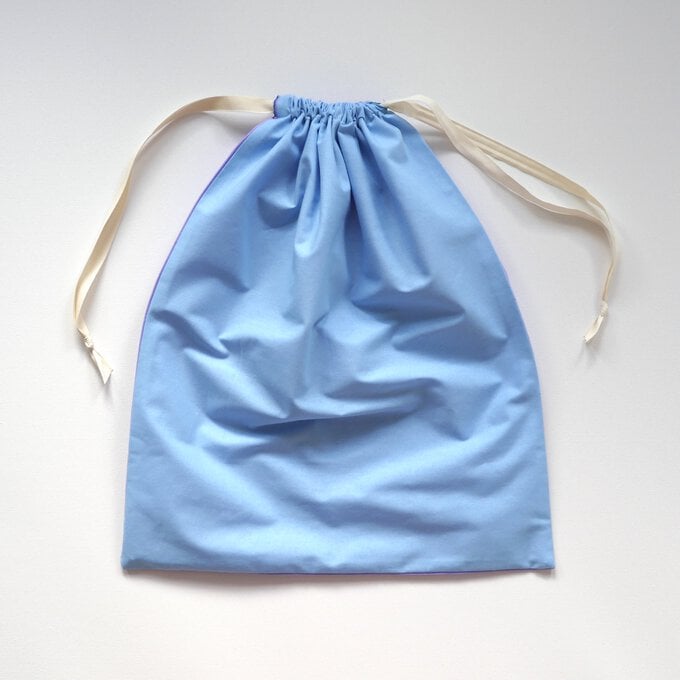
How to Make a Fabric Drawstring Bag
Accessorise with this Black Cotton Drawstring Bag and start personalising! Decorate the light and smooth cotton bag with felt shapes, buttons, sequins ribbon, embroidery, yarn or any other crafty technique. With this plain bag, you'll be able to design a wonderfully unique, ...

How to Make a Hand Printed Boxy Bag
Discover five creative ways to use Cricut vinyl for unique personalised labels and stickers that will transform our classic three-tier trolley in no time! Customising your storage has never been easier thanks to the removable vinyl range from Cricut, giving ...
How to Make a Scrubs Bag
Piece by Hobbycraft Artisan: Beth Vaughan Find out more. Create a beautiful embroidery piece inspired by Black History Month, designed by Shikira from Kreative Pursuit Crafts. Capturing a multicultural collection of faces, the embroidery hoop design is the perfect creative ...

